
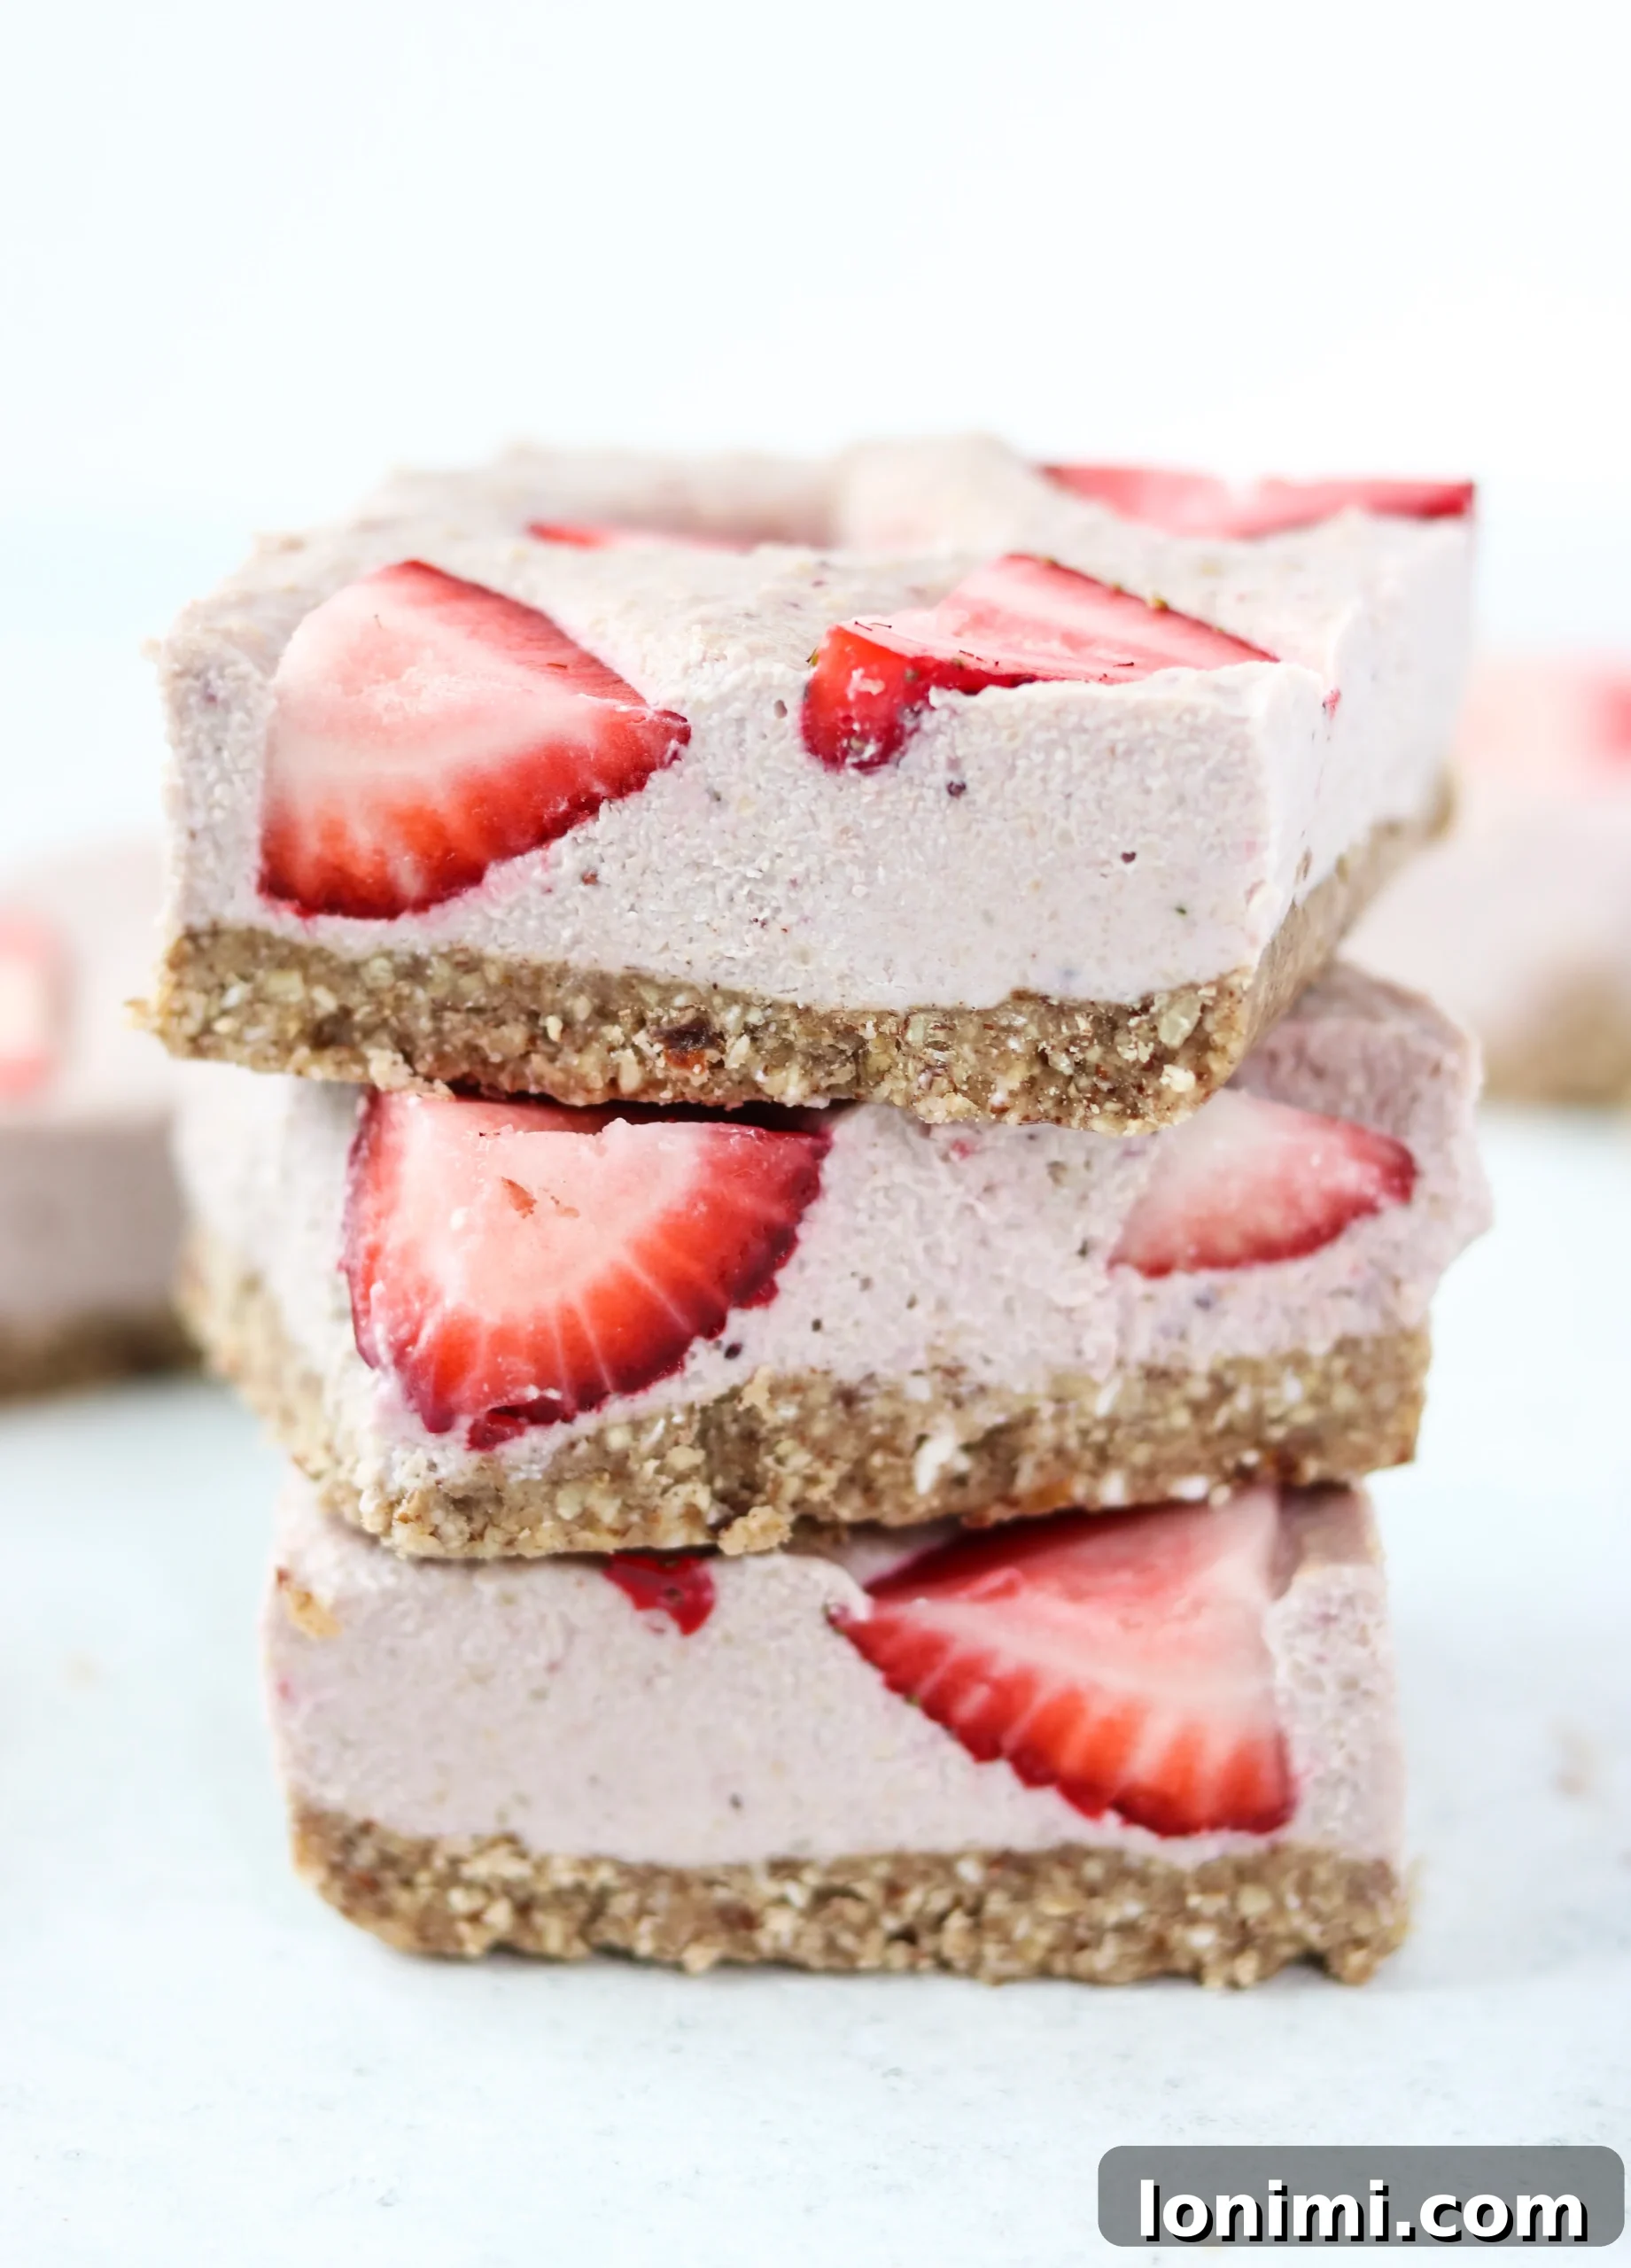
Paleo & Vegan No-Bake Strawberry Cheesecake Bars: Your Perfect Summer Dessert
As the days grow longer and the sun shines brighter, our thoughts often drift to summer gatherings, backyard barbecues, and refreshing desserts. But finding a dessert that’s both indulgent and aligns with a healthy lifestyle can be a challenge. That’s where these incredible Paleo & Vegan No-Bake Strawberry Cheesecake Bars come in! They are the quintessential warm-weather treat, offering all the rich, creamy flavor of traditional strawberry cheesecake without any dairy, refined sugar, or baking required. Imagine a cool, luscious bite that transports you straight to a sun-drenched picnic – that’s exactly what these bars deliver.
Why You’ll Adore These Strawberry Cheesecake Bars
These bars aren’t just a dessert; they’re a revelation for anyone seeking delicious, wholesome options. They are meticulously crafted to be:
- Dairy-Free: Perfect for those with lactose intolerance or following a vegan diet.
- Refined Sugar-Free: Sweetened naturally with dates and maple syrup, making them a healthier indulgence.
- Paleo-Friendly: Adhering to Paleo guidelines, they are free from grains, legumes, and processed ingredients.
- Vegan: Completely plant-based, suitable for all vegan diets.
- No-Bake: No oven needed! This is a lifesaver during hot summer months, keeping your kitchen cool.
- Incredibly Flavorful: Despite being free from common allergens and processed ingredients, they burst with the fresh, tangy sweetness of strawberries and a surprisingly rich, creamy texture.
These bars are designed to be a showstopper at any gathering, proving that healthy desserts can be just as, if not more, satisfying than their traditional counterparts. Get ready to impress your friends and family with a dessert that caters to various dietary needs without compromising on taste.
The Secret to Creamy, Dreamy Cheesecake: Cashews!
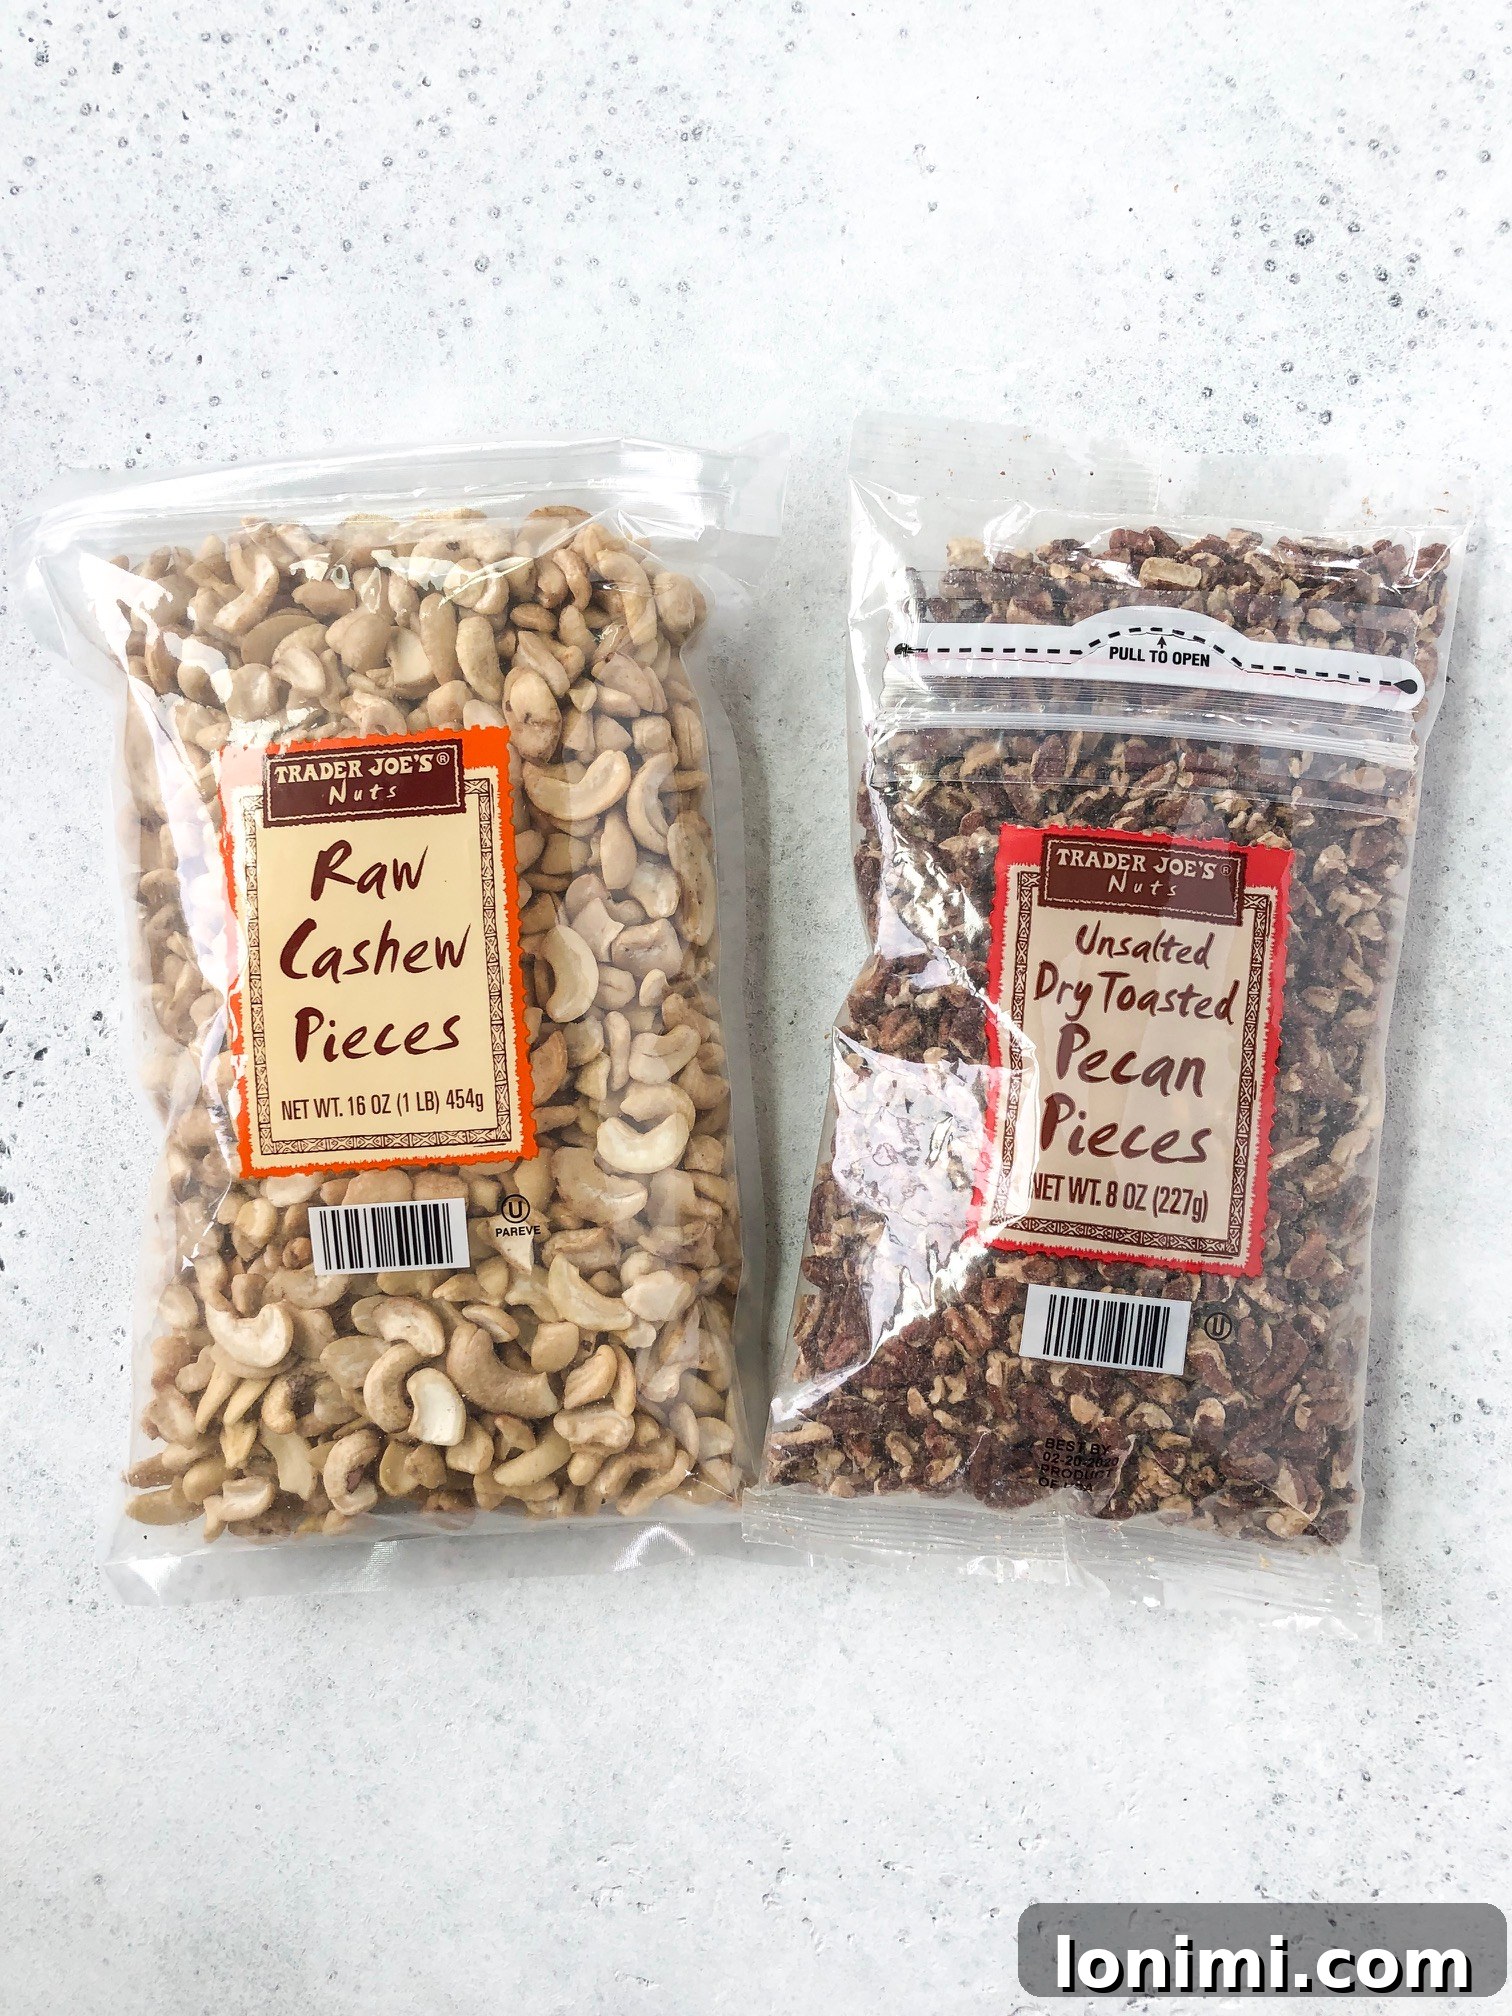
The magic behind the incredibly smooth and luscious texture of these no-bake cheesecake bars lies in one unassuming but powerful ingredient: cashews. When soaked and blended, raw cashews transform into a rich, velvety cream that perfectly mimics the consistency of traditional cream cheese. This makes them an indispensable ingredient in vegan and dairy-free cheesecakes, providing a natural richness and body that is simply unparalleled.
Beyond their textural prowess, cashews also offer a host of nutritional benefits. They are packed with healthy fats, protein, and essential minerals like magnesium, zinc, and copper. This means you’re not just enjoying a delicious dessert, but one that offers some wholesome goodness too. Their mild flavor ensures that the vibrant taste of fresh strawberries truly shines through, making them the ideal base for this summery treat. It’s truly amazing how versatile this little nut can be, reinventing classic desserts into healthier, equally delectable versions.
Gathering Your Wholesome Ingredients
Crafting these delectable bars requires a thoughtful selection of high-quality, whole ingredients. While some nuts can be a bit pricey, sourcing them smartly can make a difference. Many health-focused grocery stores or bulk sections offer raw, unsalted, and untoasted varieties at reasonable prices. Investing in good quality ingredients ensures the best flavor and texture for your homemade cheesecake bars.
For the Irresistible Pecan Coconut Crust
The foundation of any great cheesecake is its crust, and this pecan coconut base is truly exceptional. It’s naturally sweet, subtly spiced, and provides the perfect textural contrast to the creamy filling.
- Raw/Unsalted Chopped Pecans: These provide a rich, buttery flavor and a satisfying crunch. Using raw pecans ensures maximum freshness and allows their natural taste to shine.
- Pitted Dates: Dates are the natural binder and sweetener for the crust. Their sticky texture helps hold everything together, and their caramel-like sweetness is a perfect complement.
- Coconut Oil (solid form): This adds richness and helps the crust set firmly when chilled. Ensure it’s in its solid state for proper consistency.
- Almond Flour: A gluten-free flour that contributes to the crust’s structure and adds a delicate, nutty flavor.
- Unsweetened Shredded Coconut: Enhances the tropical notes and adds another layer of texture.
- Sea Salt: A pinch of salt balances the sweetness and brings out the flavors of the other ingredients.
- Cinnamon: A warm spice that adds depth and coziness to the crust, making it even more inviting.
For the Luscious Strawberry Cashew Filling
The filling is where the magic truly happens, transforming simple ingredients into a smooth, vibrant, and utterly delicious cheesecake experience.
- Raw Unsalted Cashews: The star of the show, providing the signature creamy texture. Soaking them is crucial for a silky-smooth blend. Get raw unsalted cashews here.
- Maple Syrup: A natural, unrefined sweetener that adds a lovely warmth and depth of flavor. Honey can also be used as a substitute if preferred. Find high-quality maple syrup here.
- Coconut Cream: This is the thick, hardened part from a can of full-fat coconut milk. It’s essential for achieving the rich, fatty mouthfeel typically associated with cheesecake. My personal favorite is Native Forest brand, which consistently yields plenty of thick cream. If you’re not using Native Forest, a good trick is to refrigerate your can of full-fat coconut milk upside down overnight – the cream will separate and rise to the top!
- Halved Strawberries: Fresh, ripe strawberries are paramount for their vibrant color and sweet-tart flavor. They are divided for both blending into the filling and decorating the top.
- Vanilla Extract: A touch of vanilla enhances all the other flavors, adding a classic dessert aroma.
- Fresh Squeezed Lemon Juice: This brightens the flavor profile, adds a hint of tanginess, and helps balance the sweetness, mimicking the tartness of traditional cheesecake.
Essential Tools for No-Bake Perfection
While the beauty of a no-bake recipe is its simplicity, a few key kitchen tools will make the process incredibly smooth and efficient. You won’t need an oven, but these items are crucial for achieving that perfect cheesecake texture:
- Food Processor: This is your best friend for both the crust and the filling. It quickly breaks down the nuts and dates for the crust into a sticky, uniform mixture, and then creates a super smooth, creamy filling from the soaked cashews. I highly recommend using a food processor for this recipe as there isn’t a lot of liquid, which can sometimes be tricky for blenders.
- High-Speed Blender (Alternative): If you don’t have a food processor, a powerful high-speed blender can work for the filling, but it might require more scraping down the sides to ensure an even blend. For the crust, a food processor is generally superior for achieving the right consistency.
- 9×9 or 8×8 Inch Baking Pan: A square baking pan is ideal for making bars. An 8×8 inch pan will result in slightly thicker bars, while a 9×9 inch pan will yield thinner ones. Choose according to your preference.
- Parchment Paper: Lining your baking pan with parchment paper is non-negotiable! It ensures easy removal of the bars once they are set, making cutting and serving a breeze. Leave an overhang on the sides to use as “handles.”
- Spatula: Useful for spreading the crust and the filling evenly into the pan.
Having these tools ready will ensure a seamless and enjoyable cooking experience, leading to perfectly crafted no-bake cheesecake bars every time.
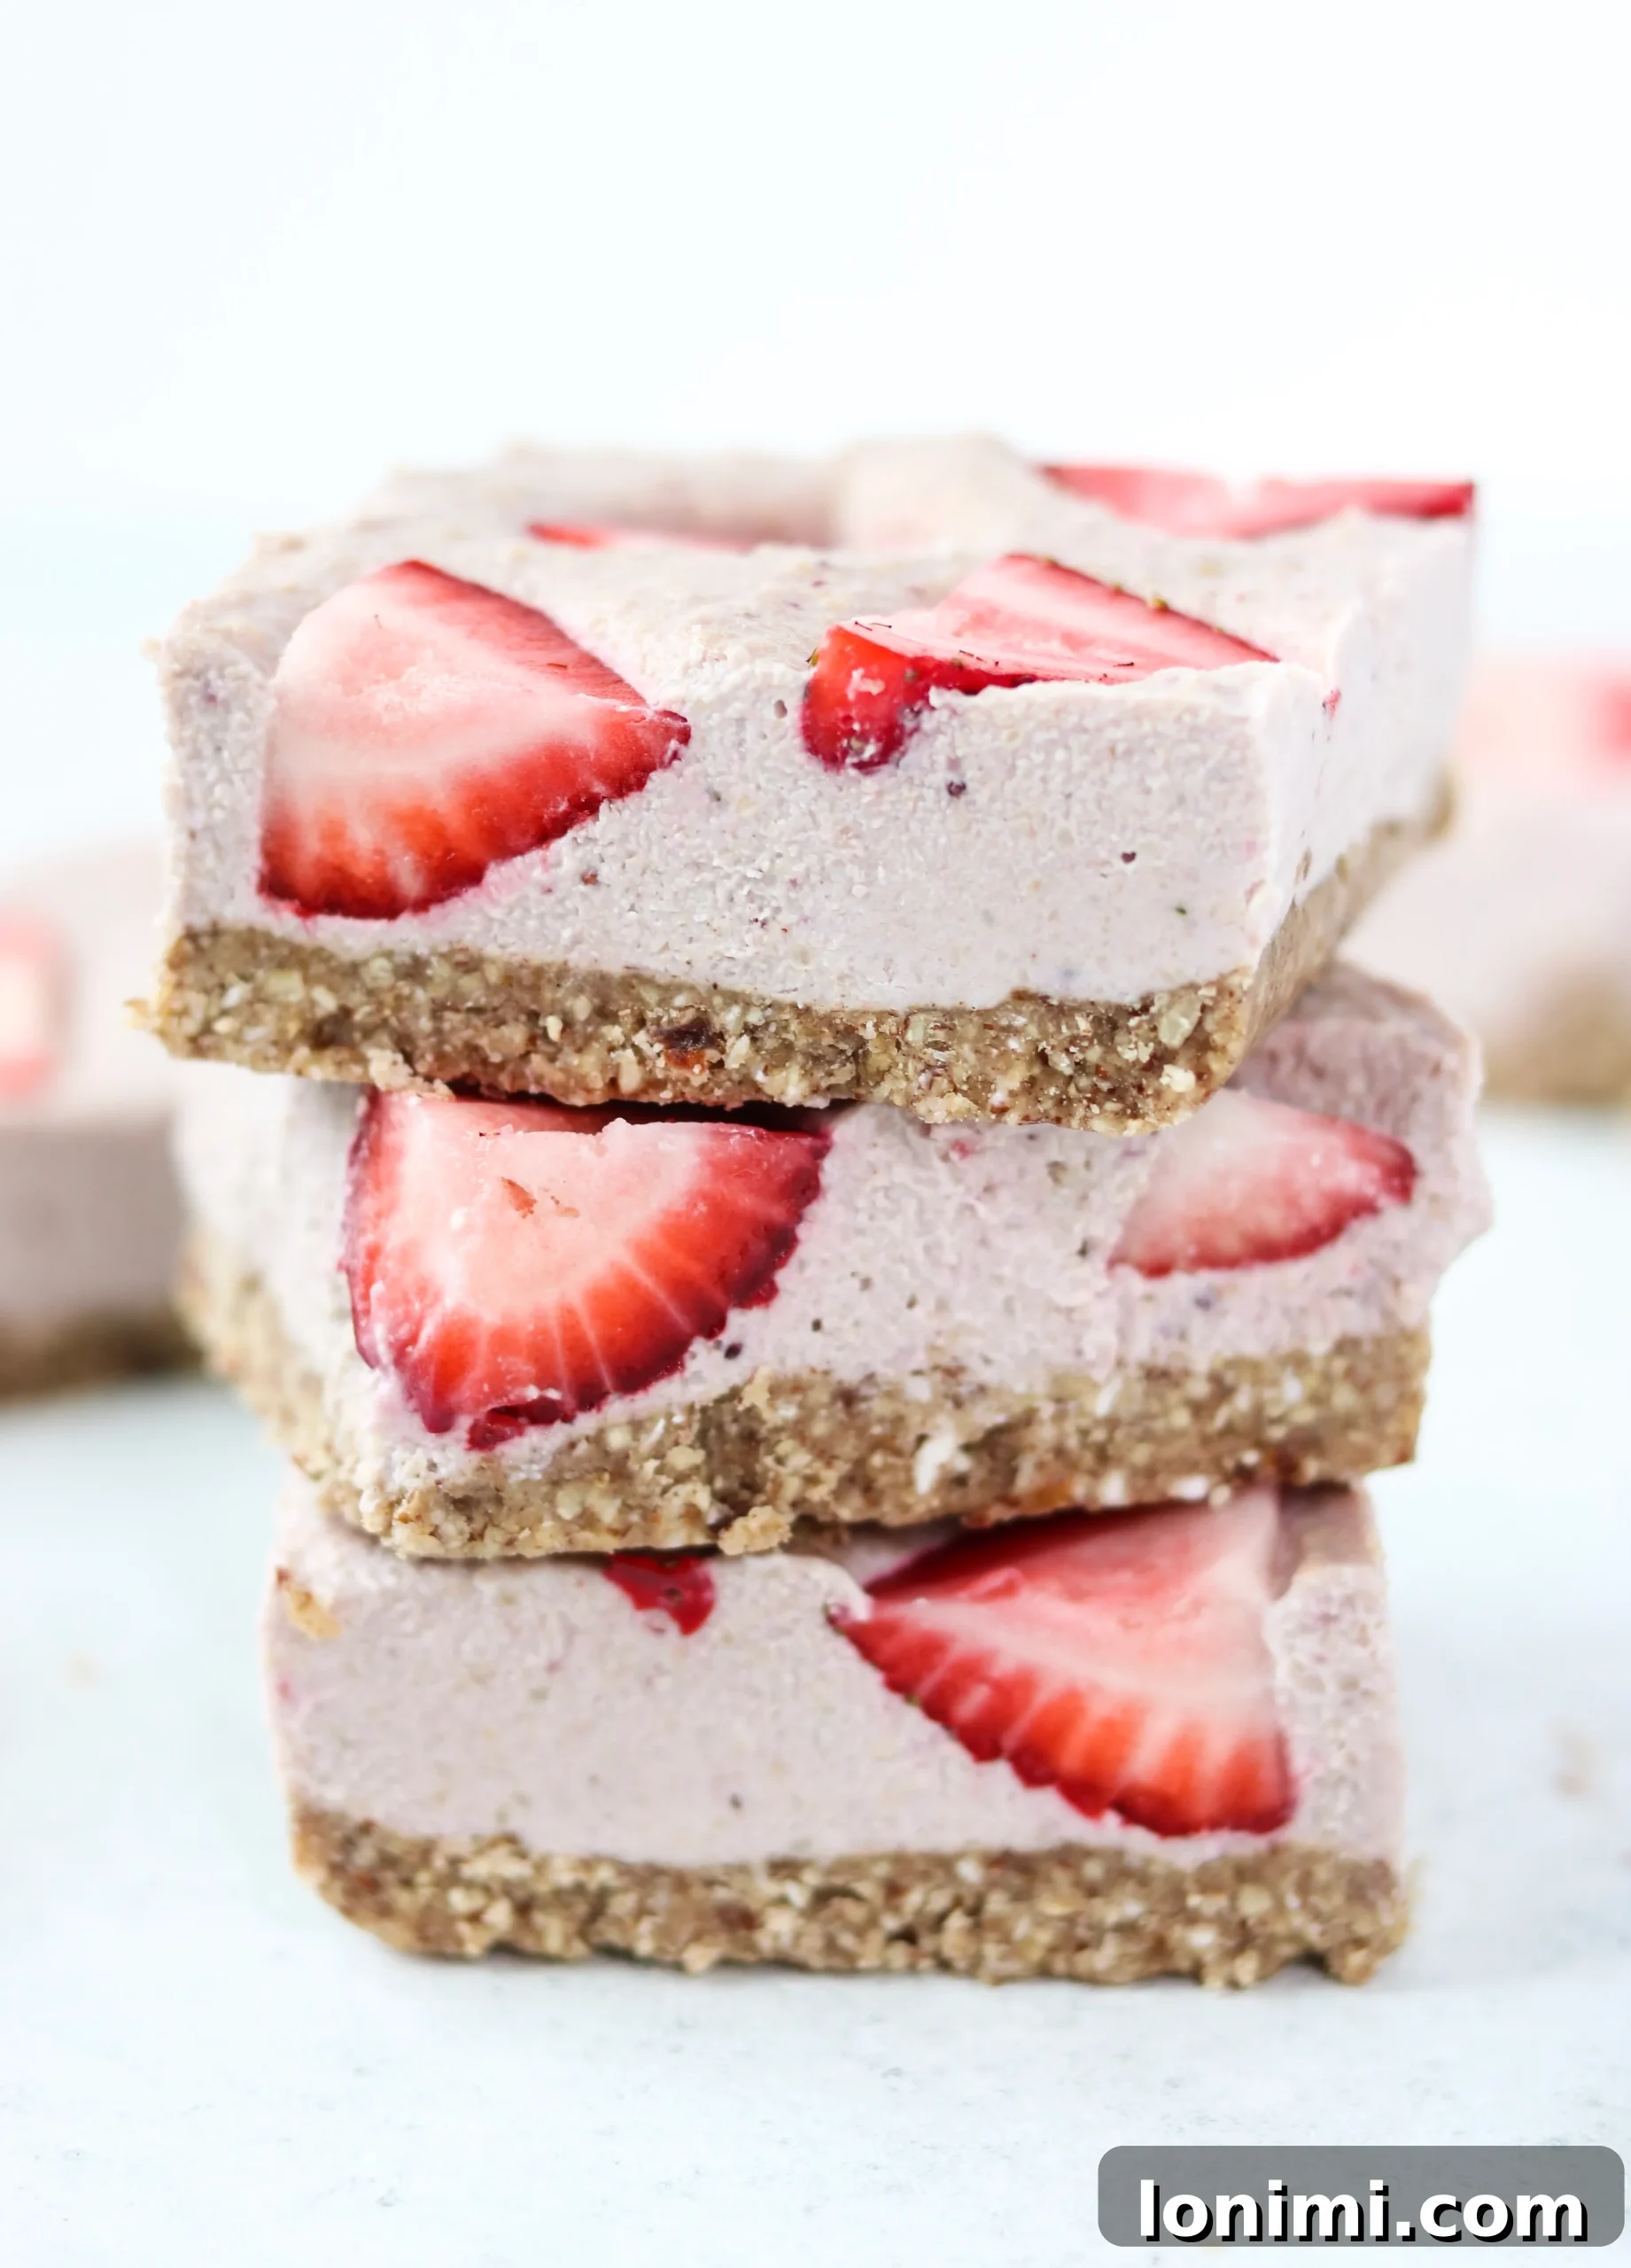
Step-by-Step: Crafting Your No-Bake Strawberry Cheesecake Bars
Ready to create these delightful treats? Follow these simple steps for perfect results:
Preparation is Key
- **Soak the Cashews and Dates:** Begin by boiling a pot of water. Place your raw cashews and pitted dates into two separate, heat-proof bowls. Pour the boiling water over both, ensuring they are fully submerged. Let them soak for a minimum of 30 minutes, or even longer (up to several hours) if you have time. Soaking softens them, making them easier to blend into a smooth consistency.
- **Prepare Your Pan:** While the cashews and dates are soaking, line a 9×9 inch baking pan (or an 8×8 inch pan for thicker bars) with parchment paper. Leave enough overhang on the sides to easily lift the bars out later.
Making the Perfect Crust
- **Combine Crust Ingredients:** Once the cashews and dates have soaked, drain them thoroughly and set aside. In your food processor, combine all the ingredients for the crust: raw/unsalted chopped pecans, drained pitted dates, solid coconut oil, almond flour, unsweetened shredded coconut, sea salt, and cinnamon.
- **Pulse to Form Crust:** Pulse the mixture for about 30 seconds, stopping to scrape down the sides of the food processor bowl as needed. Continue pulsing until the mixture forms a sticky, coarse crumble that holds together when pressed.
- **Press the Crust:** Spoon the crust mixture into your lined baking pan. Use your hands or the back of a spoon to firmly press the mixture down, creating an even layer across the bottom of the pan.
- **Chill the Crust:** Place the pan with the crust into the freezer while you prepare the filling. This will help it set firmly.
Creating the Creamy Filling
- **Rinse Food Processor:** Give your food processor bowl a quick rinse to remove any crust remnants.
- **Blend Filling Ingredients:** Add the drained cashews, maple syrup, coconut cream, vanilla extract, fresh squeezed lemon juice, and ¾ cup of the halved strawberries to the clean food processor. Set the remaining strawberries aside for topping.
- **Achieve Creamy Texture:** Pulse continuously, scraping down the sides of the bowl frequently, for at least 1 minute. Continue blending until the mixture is completely smooth and creamy, with no cashew bits remaining. This might take a bit longer depending on your food processor.
- **Assemble the Bars:** Remove the chilled crust from the freezer. Pour the strawberry cashew filling over the crust, using a spatula to spread it evenly from edge to edge.
Final Touches and Setting
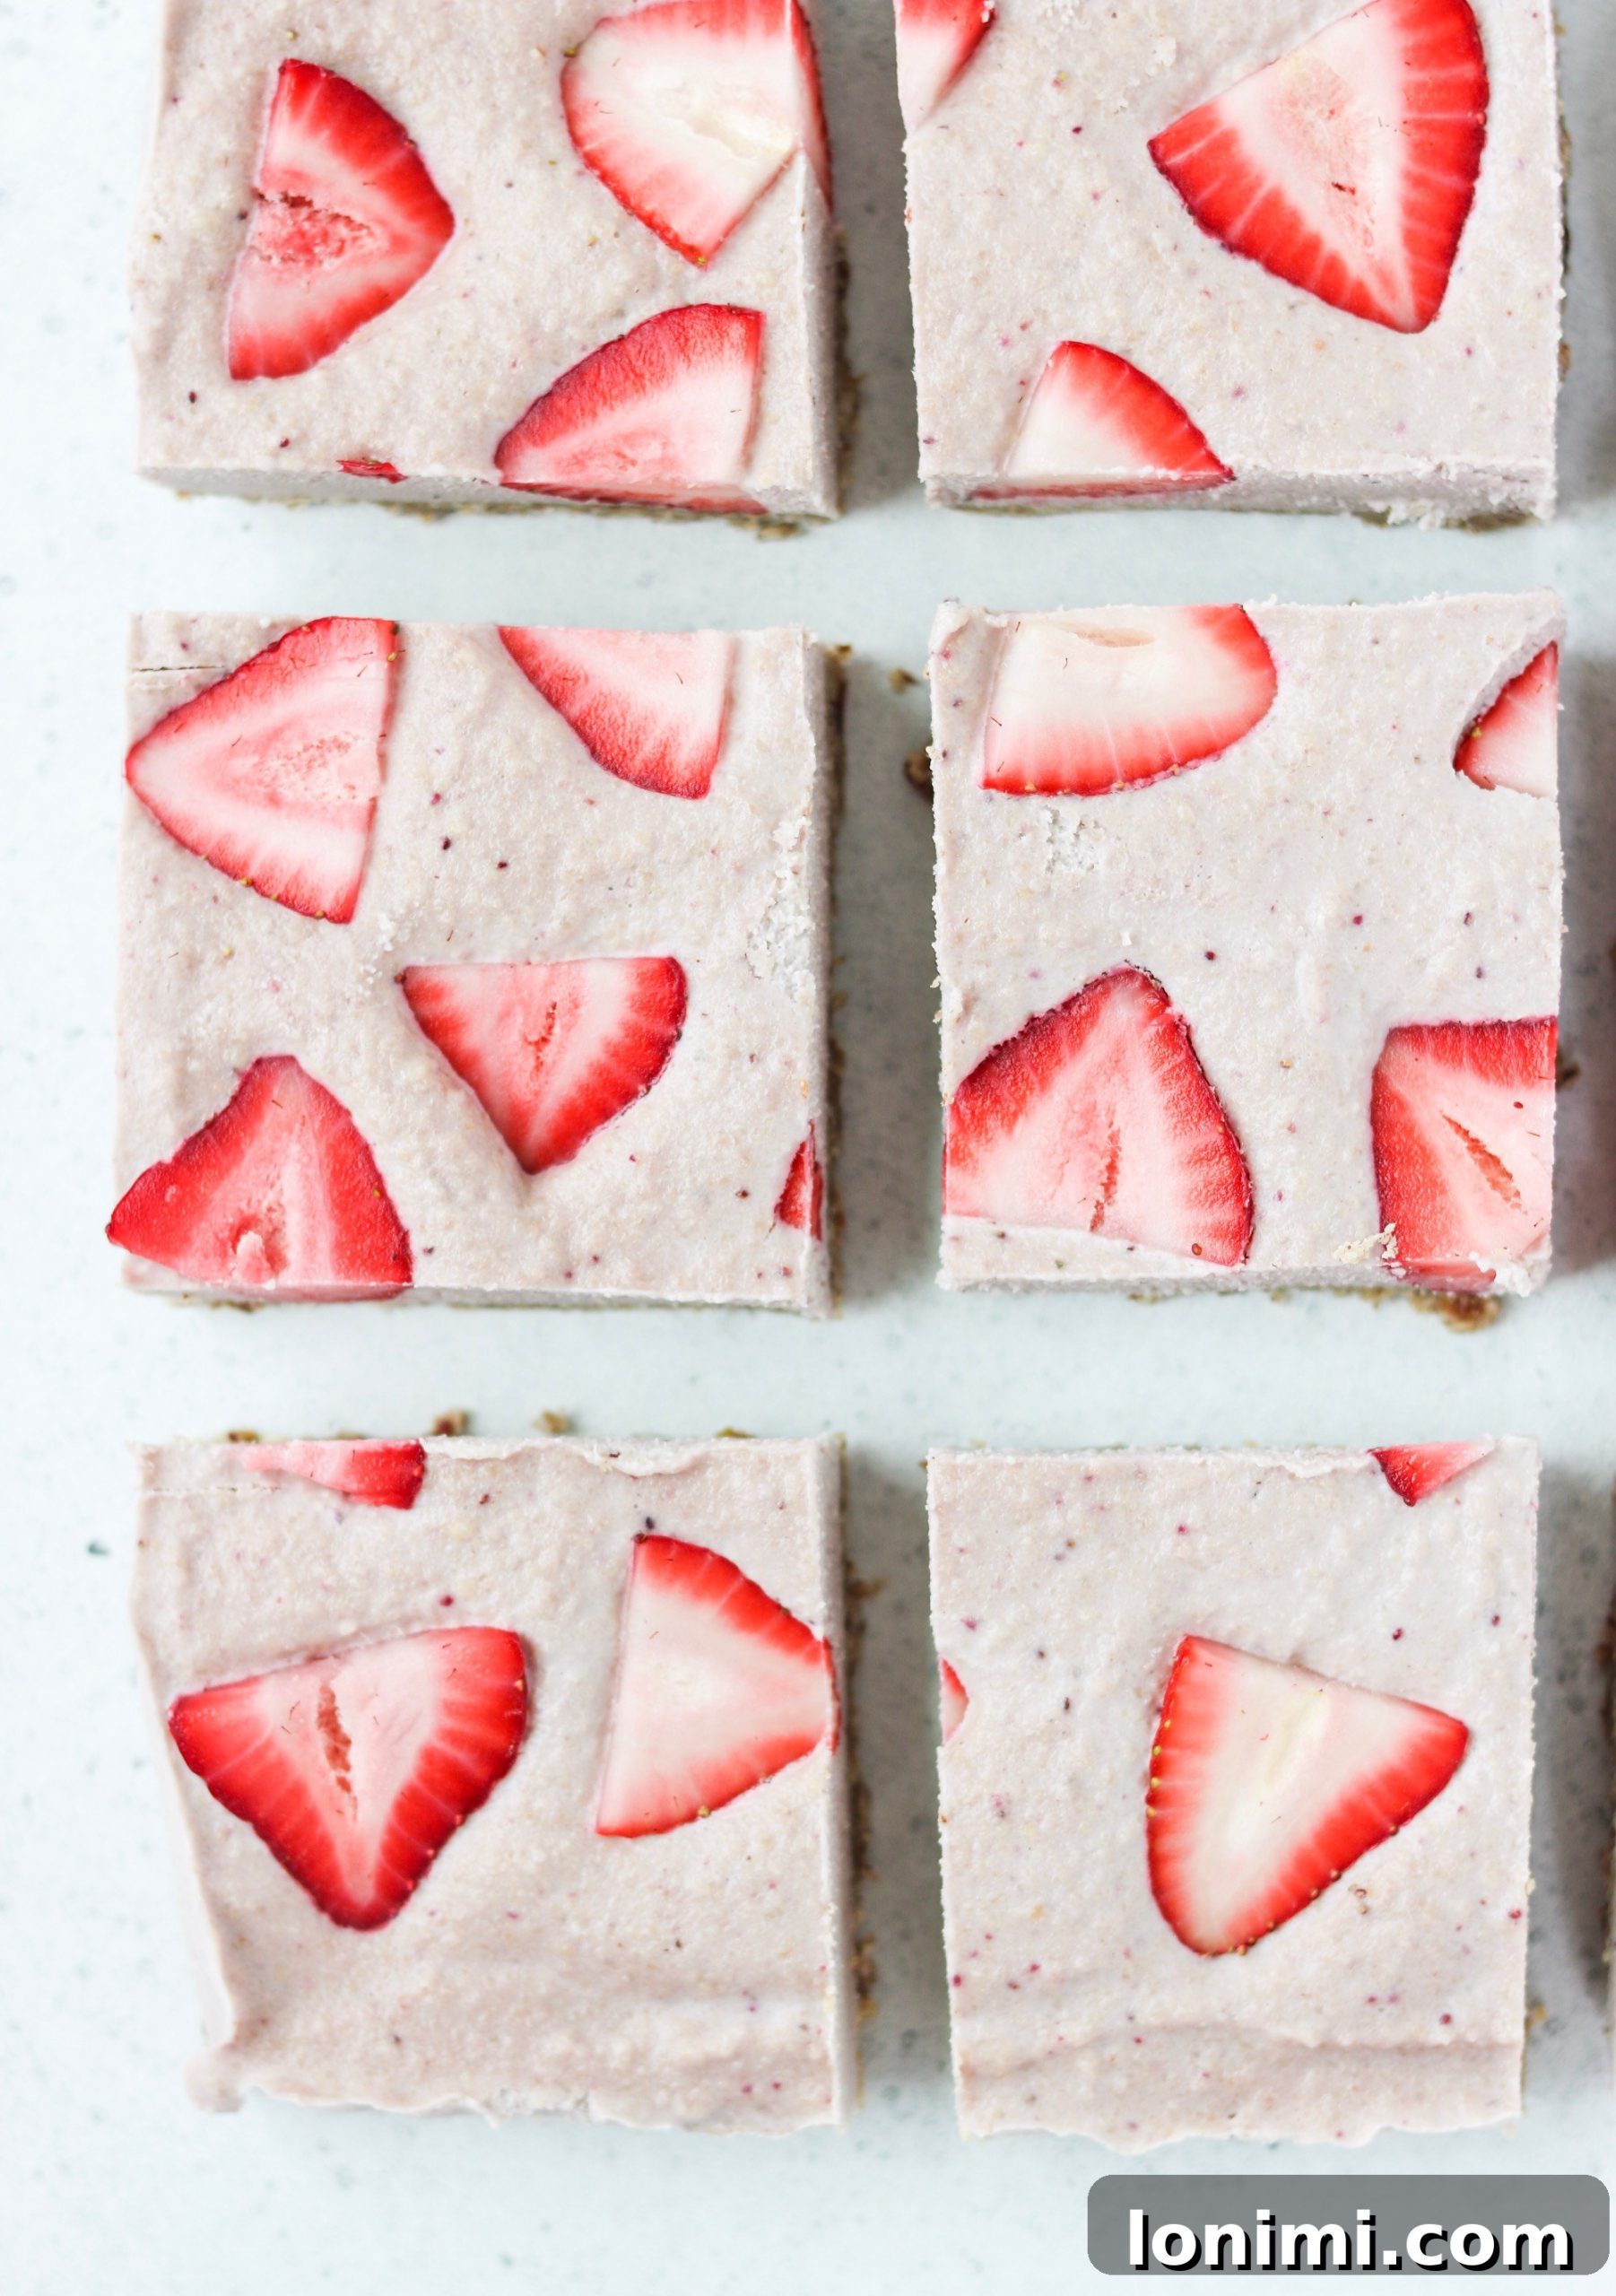
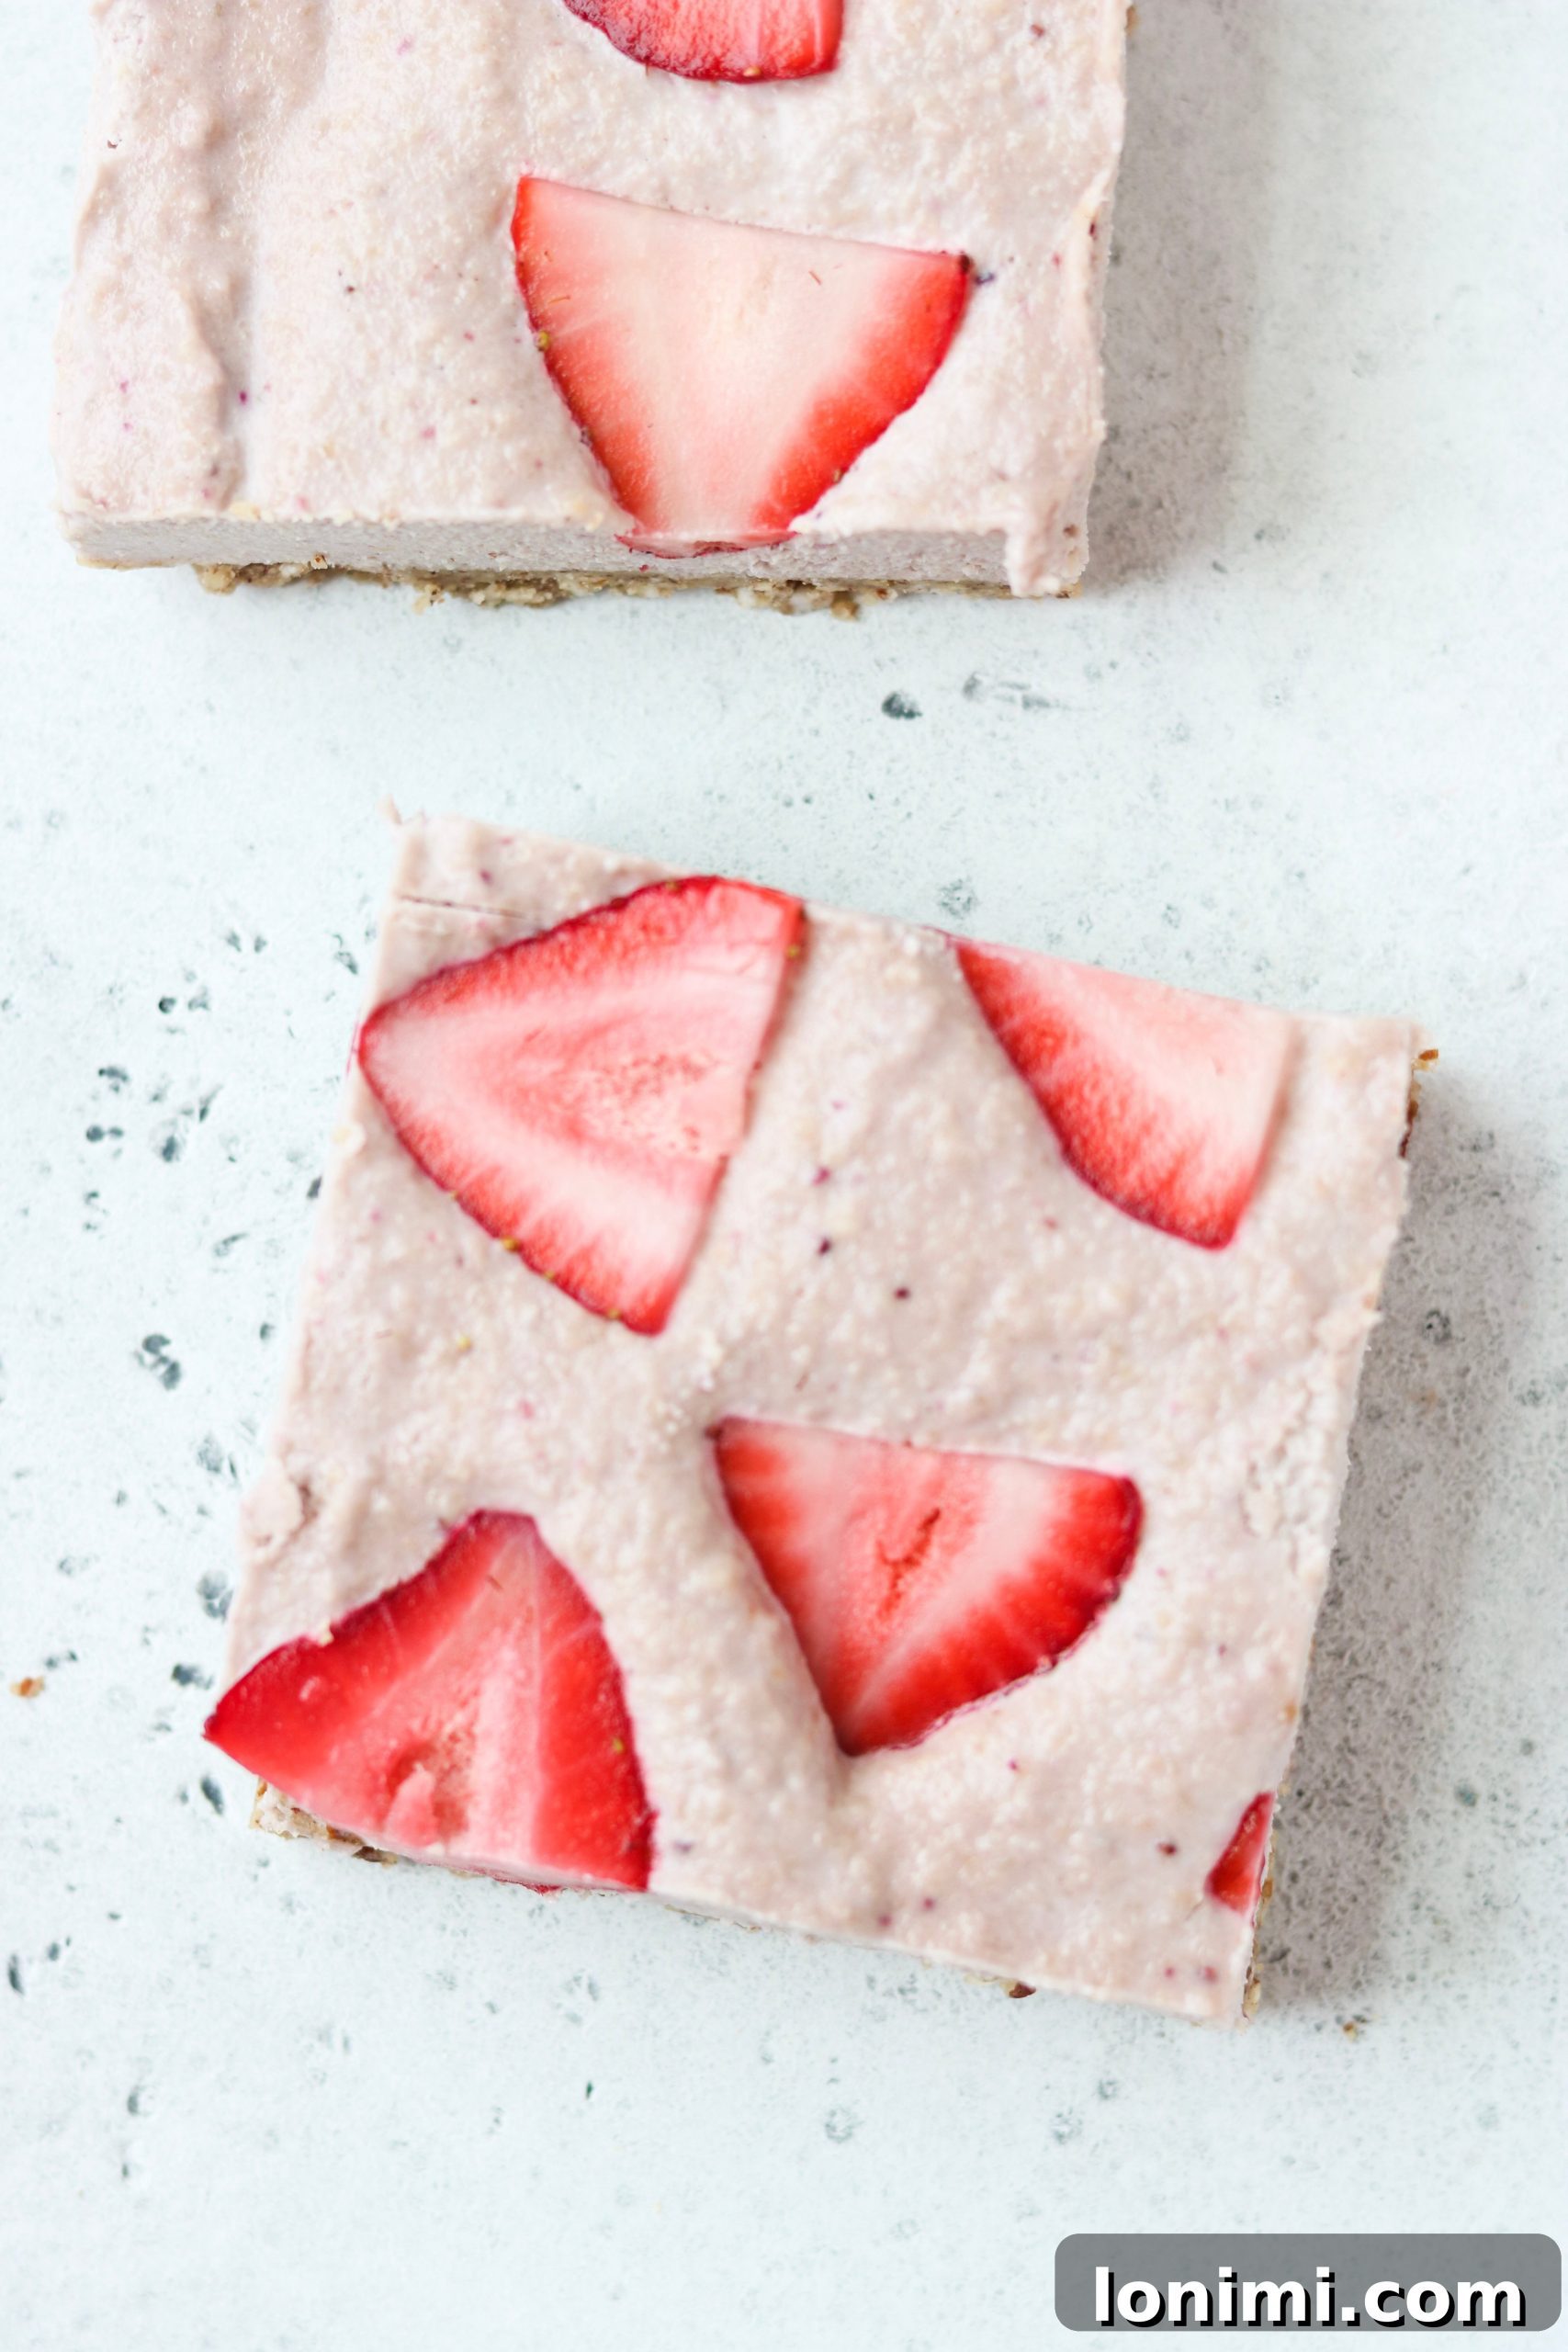
- **Top with Strawberries:** Arrange the remaining halved strawberries on top of the filling. For a beautiful presentation, place them with the cut side facing up, as shown in the pictures.
- **Freeze to Set:** Carefully place the pan back into the freezer for a minimum of 1 hour to allow the bars to fully set. The longer they freeze, the firmer they will be.
- **Serve and Enjoy:** Once set, remove the pan from the freezer. Using the parchment paper overhang, lift the entire block of cheesecake out of the pan. Place it on a cutting board and slice into 9 (or more, depending on your preferred size) even bars. Serve immediately and savor every bite!
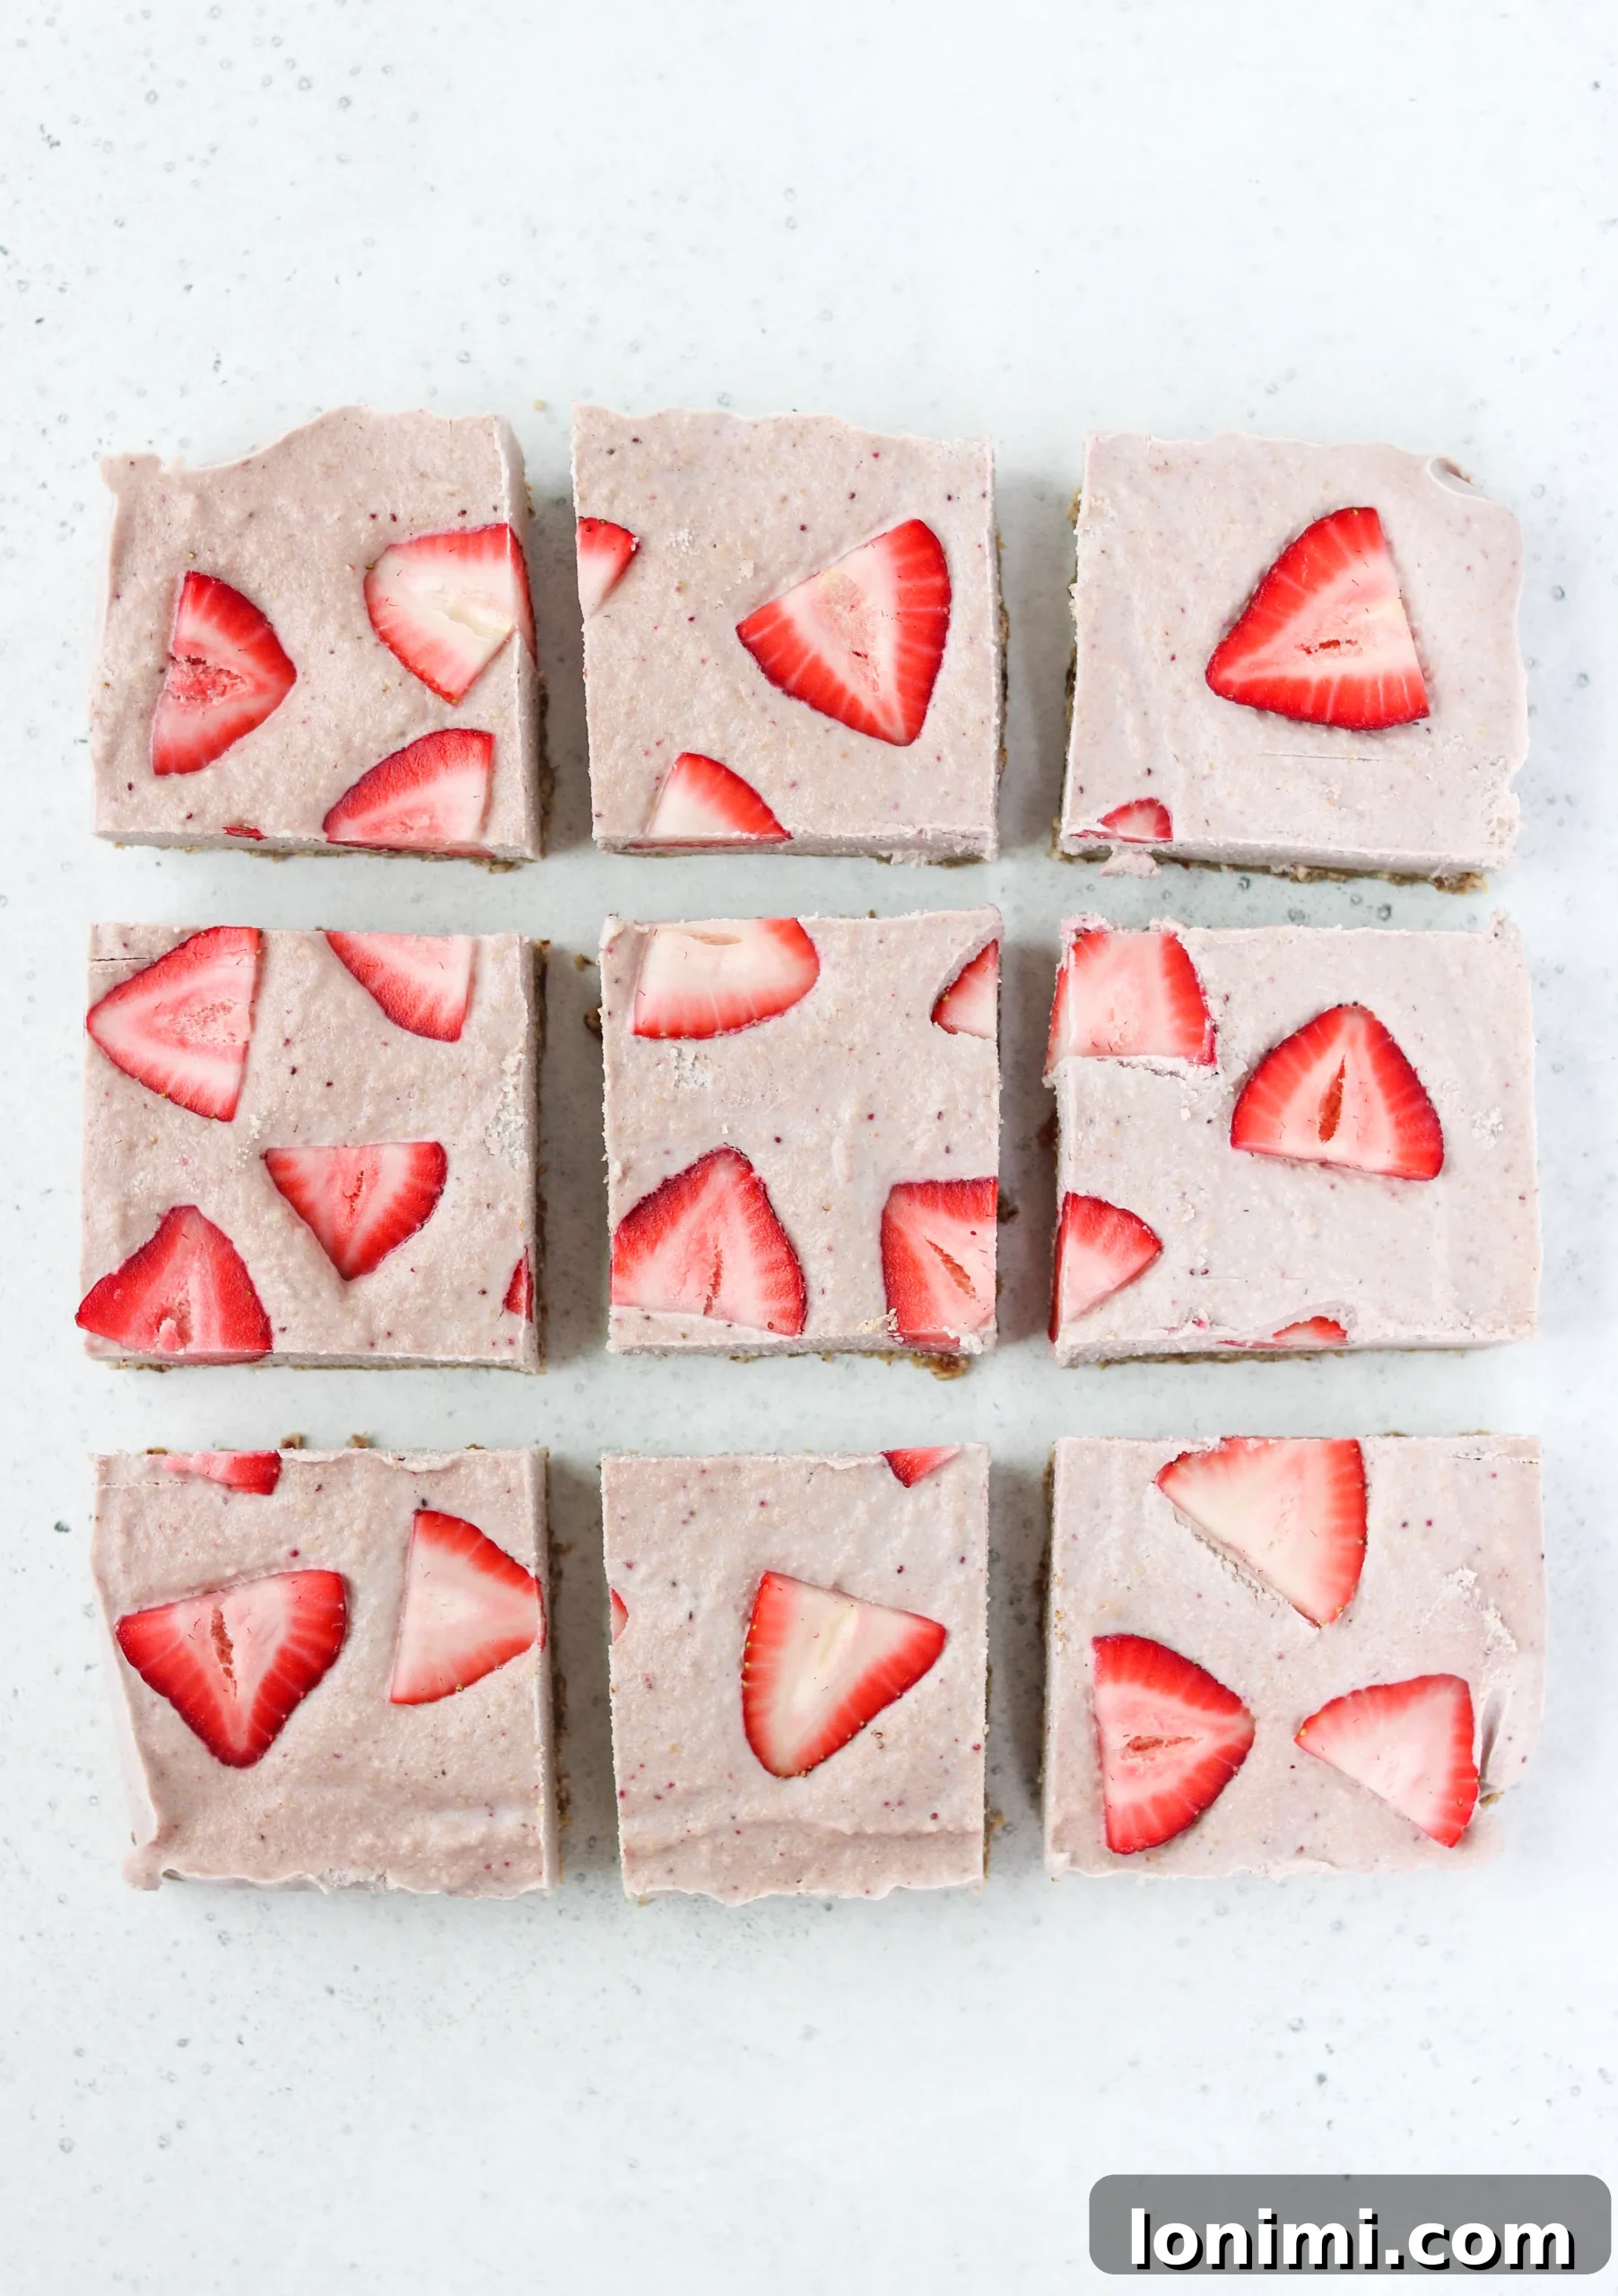
Pro Tips for Flawless Cheesecake Bars
Achieving perfection with these no-bake bars is simple with a few insider tips:
- Perfect Cashew Soaking: While 30 minutes in boiling water works, for an extra-smooth filling, consider soaking your cashews overnight in cold water. This ensures they are fully softened and will blend into the silkiest cream.
- Coconut Cream Matters: The quality and consistency of your coconut cream are crucial. As mentioned, the Native Forest brand is excellent because it reliably yields a thick, hardened cream. If your coconut milk brand tends to be watery, a great trick is to flip a can of full-fat coconut milk upside down and refrigerate it overnight. This allows the fatty cream to separate and solidify at the top, making it easy to scoop out.
- Firmly Press the Crust: Don’t be shy when pressing the crust into the pan. A well-compacted crust will hold together beautifully when sliced.
- Patience for Setting: The freezer time is essential. Rushing this step can lead to a softer, less stable bar. Give it the full hour, or even longer, for optimal firmness.
- Storage: These bars store beautifully! Keep them in an airtight container in the refrigerator for up to 4 days. For longer storage, you can freeze them for up to a month. Just let them thaw slightly before serving if frozen.
- Ingredient Temperature: For the filling, using room temperature ingredients (other than the coconut cream, which should be cold for separation) can sometimes help achieve a smoother blend faster.
Customization Ideas & Variations
While the strawberry version is undeniably delicious, don’t hesitate to get creative and customize these bars to your taste:
- Berry Swap: Not a fan of strawberries, or just want to try something new? Raspberries, blueberries, or mixed berries would be equally delightful. You could even swirl different berry purees into the filling.
- Citrus Zest: Enhance the fresh lemon flavor with a teaspoon of lemon zest in the filling, or try orange zest for a different bright note.
- Chocolate Drizzle: For chocolate lovers, a drizzle of melted dairy-free dark chocolate over the top once the bars are set would be a fantastic addition.
- Different Crust Nuts: Experiment with other nuts for the crust, such as walnuts or almonds, for a slightly different flavor profile.
- Spice It Up: A tiny pinch of cardamom in the crust or filling could add an exotic touch.
- Coconut Topping: Sprinkle extra shredded coconut on top of the bars for added texture and tropical flavor.
Frequently Asked Questions (FAQ)
Q: Can I use frozen strawberries?
A: Yes, you can use frozen strawberries for the filling, but make sure they are thawed and drained of any excess liquid before blending to avoid a watery consistency. Fresh strawberries are recommended for the topping for the best appearance and texture.
Q: How long do these bars last?
A: These no-bake cheesecake bars will last up to 4 days in an airtight container in the refrigerator. They can also be frozen for up to a month, making them great for meal prep or future cravings!
Q: Do I need a high-speed blender, or will a regular blender work?
A: A high-speed blender or a food processor is highly recommended for achieving the silky-smooth consistency in the filling. A regular blender might struggle to get the cashews completely smooth, potentially leaving a slightly gritty texture.
Q: Can I substitute the maple syrup with another sweetener?
A: Yes, you can use honey in place of maple syrup for the filling if you prefer. For a truly refined sugar-free option, stick to natural liquid sweeteners like maple syrup or honey.
Q: What if my coconut cream isn’t thick enough?
A: This is a common issue with some brands. If your coconut cream isn’t thick, try refrigerating a can of full-fat coconut milk upside down overnight. The hardened cream will gather at the top, making it easy to scoop out. Avoid shaking the can!
More Delicious Paleo & Vegan Desserts
If you’re a fan of wholesome, indulgent desserts like these no-bake bars, then you absolutely must try my Paleo Molten Chocolate Lava Cakes! They are another fantastic option for a dairy-free, gluten-free, and refined sugar-free treat that’s sure to satisfy any chocolate craving. Explore more recipes for a whole life of delicious, healthy eating!
Ready to Indulge?
These Paleo & Vegan No-Bake Strawberry Cheesecake Bars are more than just a recipe; they’re an invitation to enjoy summer’s bounty in the most delicious and wholesome way possible. They prove that you don’t need dairy or refined sugar to create a truly decadent dessert. So go ahead, whip up a batch, and experience the joy of a guilt-free, refreshing treat that everyone will love. Happy cooking!
Mary
*This page contains affiliate links. Thank you for supporting Mary’s Whole Life!
Average Rating: 4.75 from 4 votes
Paleo No Bake Strawberry Cheesecake Bars
By: Mary Smith
Prep: 15 mins
Total: 15 mins
Yield: 9 bars
Paleo and vegan no-bake strawberry cheesecake bars that are dairy free, refined sugar free, and delicious! Perfect for all of your summer BBQs!
Ingredients
For the pecan coconut crust:
- 1.5 cups raw/unsalted chopped pecans
- 8 pitted dates
- ⅓ cup coconut oil, in solid form
- ¼ cup almond flour
- ⅓ cup unsweetened shredded coconut
- ¼ tsp sea salt
- ½ tsp cinnamon
For the filling:
- 2 cups raw unsalted cashews
- ⅓ cup maple syrup (can use honey, too!)
- 1 cup coconut cream*, the hardened thick part from a regular can of coconut milk
- 1.5 cups halved strawberries, divided
- ½ tsp vanilla extract
- 1 tbsp fresh squeezed lemon juice
Instructions
- Boil a pot of water and place the cashews and dates in two separate bowls. Cover the cashews and dates with boiling water and let them soak for a minimum of 30 minutes. Line a 9×9 (or 8×8 for thicker bars) baking pan with parchment paper.
- When the cashews and dates are done soaking, drain them and set aside. Combine all crust ingredients in a food processor and pulse for 30 seconds, making sure to scrape down the sides. Spoon the crust contents into your lined pan and use your hands or a spoon to press down until the bottom of the pan is covered evenly. Pop the pan into the freezer for the crust to set while you make the filling.
- Rinse out your food processor and add in the drained cashews, maple syrup, coconut cream, vanilla, lemon juice, and ¾ cup of the strawberries. Set the remaining strawberries aside. Pulse continuously, making sure to scrape down the sides, for 1 minute until smooth and creamy. Remove the pan from the freezer and add the filling, using a spatula to spread it around evenly.
- Place the remaining strawberries on top of the filling so the cut side is facing up (as shown in my pictures). Place the pan into the freezer for 1 hour to set. Cut, serve, and enjoy! You can store these bars in the fridge for up to 4 days!
Notes
For best results, flip a can of coconut milk upside down and refrigerate overnight before using! This will help the hard part separate and rise to the top, especially if you’re not using Native Forest brand.
Nutrition
Calories: 541kcal | Carbohydrates: 29g | Protein: 9g | Fat: 47g | Saturated Fat: 21g | Polyunsaturated Fat: 6g | Monounsaturated Fat: 15g | Sodium: 72mg | Potassium: 476mg | Fiber: 5g | Sugar: 15g | Vitamin A: 14IU | Vitamin C: 16mg | Calcium: 54mg | Iron: 3mg
All nutrition facts are an estimate and automatically calculated. While I fact check them using My Fitness Pal, please note that they may not always be 100% accurate and depend on ingredients used. Weigh your total and divide by the number of servings for the most accurate grams per serving size.
Did you make this? Rate & comment below, and tag me on Instagram @maryswholelife