
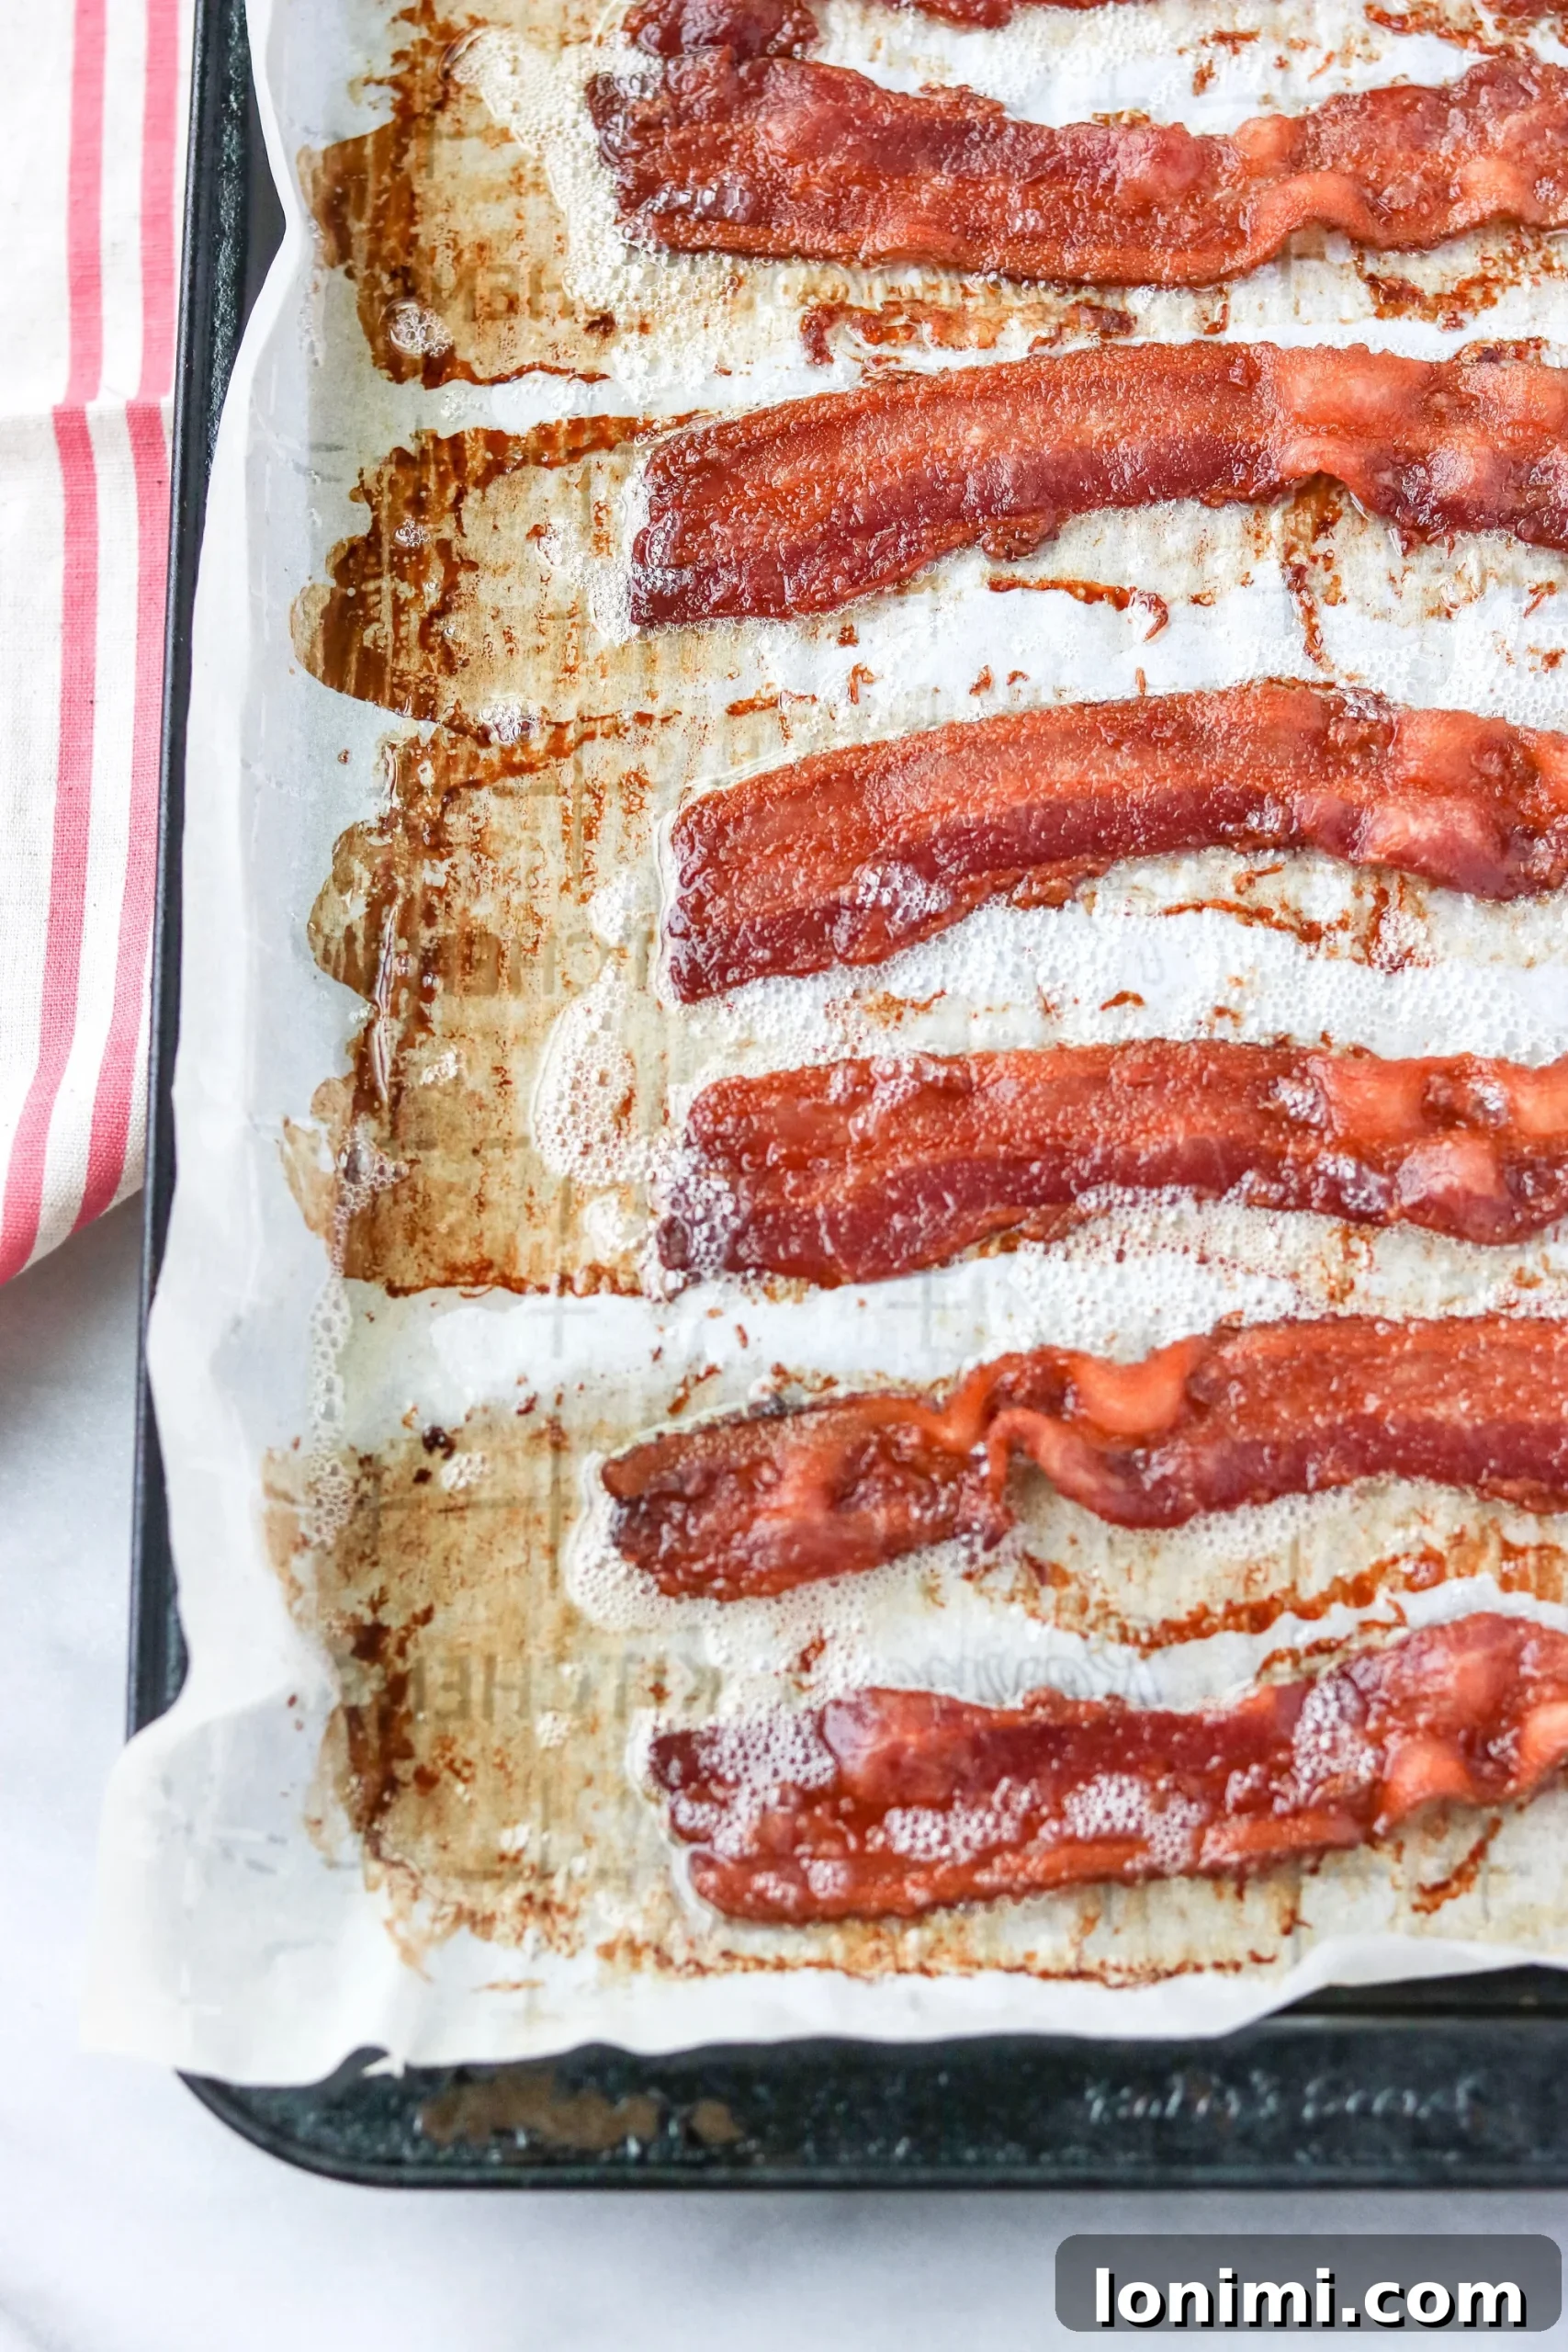
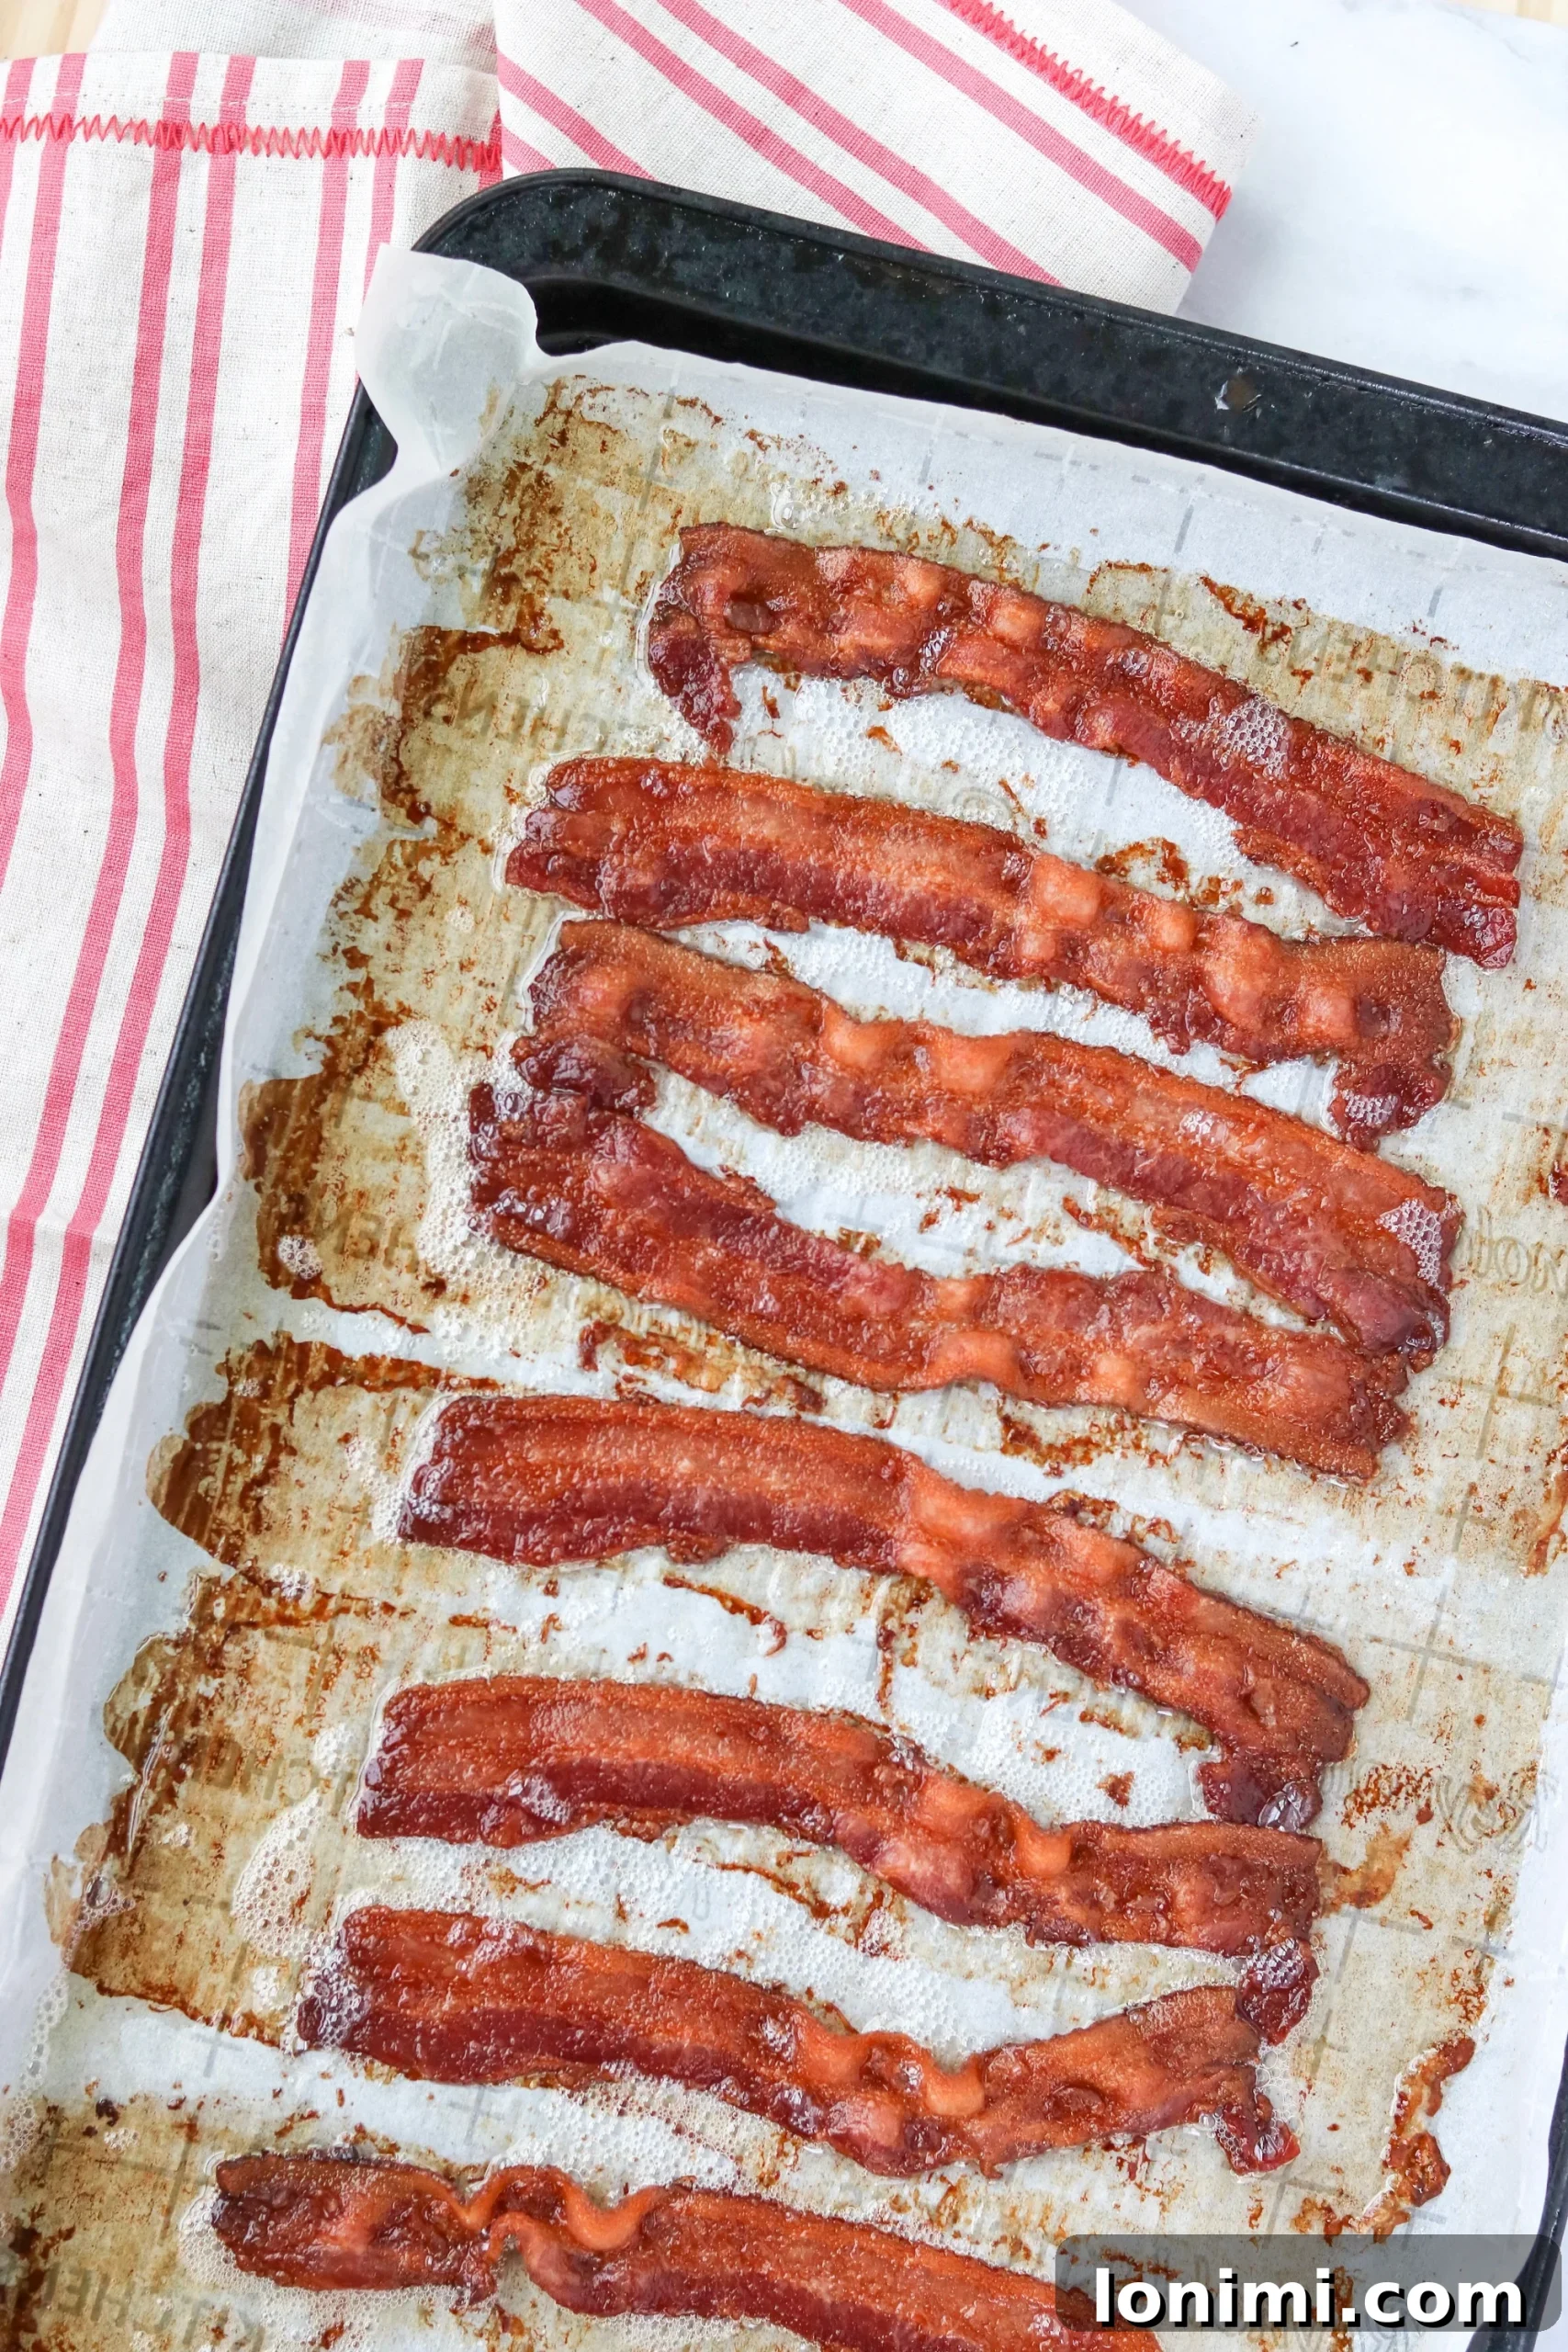
Discover the ultimate kitchen hack: perfectly baked bacon, every single time, without the mess! Simply arrange your bacon strips on a parchment paper-lined baking sheet and let your oven do the work. In just 12-15 minutes, you’ll have crispy, delicious bacon with virtually no cleanup. Say goodbye to grease splatters and hello to effortless perfection!
No-Mess, Perfectly Crispy Baked Bacon: Your Ultimate Guide
For years, I’ve been making bacon the same simple, foolproof way, and I’m honestly bewildered it took me this long to share this culinary game-changer with you all. This isn’t just a recipe; it’s a fundamental shift in how you’ll approach breakfast, brunch, and any meal that benefits from the irresistible crunch of bacon. Forget standing over a hot stove, dodging grease splatters, and facing a greasy cleanup. My method for perfectly baked bacon is an absolute revelation, promising consistent crispness and unparalleled convenience. It’s time to reclaim your mornings and your kitchen from bacon-induced chaos!
Why Baking Bacon is the Only Way to Go
If you’re still pan-frying bacon, prepare for a paradigm shift. Baking bacon isn’t just an alternative; it’s a superior technique that offers a myriad of benefits:
- Effortless Cleanup: This is arguably the biggest selling point. By lining your baking sheet with parchment paper or foil, all the rendered grease is contained. Once the bacon is cooked and cooled, you simply discard the lining, leaving your pan almost pristine. No scrubbing, no scraping, just pure convenience.
- Consistent Crispness: The even heat distribution of an oven ensures that every strip of bacon cooks uniformly. You avoid the common pitfalls of pan-frying, like burnt edges and limp centers. Each piece emerges beautifully browned and satisfyingly crispy.
- Hands-Free Cooking: Once the bacon is in the oven, your work is done until the timer dings. This frees you up to prepare other components of your meal, enjoy a cup of coffee, or simply relax. No constant flipping or monitoring required.
- Less Mess, More Flavor: Without the violent splattering that often accompanies stovetop cooking, your kitchen stays cleaner. Plus, the slow, even rendering of fat in the oven can actually enhance the bacon’s inherent flavors, creating a richer, more delectable result.
- Easier Batch Cooking: Need to feed a crowd? Baking allows you to cook a large quantity of bacon all at once, making it ideal for family breakfasts, meal prepping, or entertaining.
Choosing the Right Bacon for Baking
The quality of your bacon makes a noticeable difference in the final product. While any bacon can be baked, opting for higher quality ingredients elevates the experience. We almost exclusively use sugar-free, nitrate-free bacon, often from brands like Pederson’s Farms, which we source through a meat delivery service like ButcherBox.
- Sugar-Free Bacon: Many conventional bacons contain added sugars which can cause them to caramelize and burn more quickly in the oven. Sugar-free varieties tend to cook more evenly and crisp up beautifully without turning overly dark.
- Nitrate-Free: For those conscious about what they consume, nitrate-free bacon is a fantastic choice. It offers peace of mind without compromising on flavor or texture.
- Thickness Matters:
- Regular Cut: This is generally what I use. It cooks quickly and crisps up perfectly in about 12-15 minutes.
- Thick Cut: If you prefer a meatier, chewier bacon, thick-cut is excellent for baking. Just be aware it will require a slightly longer cooking time, typically 18-25 minutes, and may not get as shatteringly crisp as regular cut bacon unless cooked longer. Adjust your cooking time accordingly, watching carefully after the 15-minute mark.
- Sourcing High-Quality Meat: Services like ButcherBox deliver grass-fed beef, organic chicken, and heritage breed pork directly to your door. This not only ensures access to high-quality, ethically raised meats but also saves you the hassle of searching through local grocery store selections. Knowing where your meat comes from adds an extra layer of enjoyment to your meals.
Essential Equipment for Perfect Oven Bacon
Achieving bacon perfection with minimal fuss requires just a few basic kitchen tools:
- Rimmed Baking Sheet: This is non-negotiable! A baking sheet with raised edges is crucial for containing the rendering bacon fat. Without rims, the grease would spill over into your oven, creating a smoky mess and a fire hazard. Any standard half-sheet pan will work wonders.
- Parchment Paper or Aluminum Foil: This is your secret weapon for easy cleanup.
- Parchment Paper: My personal preference. I’m actively trying to reduce my use of aluminum foil due to potential metal exposure concerns with certain foods. Parchment paper works beautifully, preventing sticking and making cleanup a breeze.
- Aluminum Foil: A perfectly acceptable alternative. It’s durable and excellent at containing grease. If you’re using foil, consider using the heavier duty variety for extra protection against tearing.
- Optional: Wire Rack: While I never use one and still achieve crispy bacon every time, some people prefer placing their bacon on a wire rack set inside the rimmed baking sheet. This elevates the bacon, allowing air to circulate all around it and letting the fat drip away more freely. If you desire an even crispier result, especially with thick-cut bacon, a rack can be a great addition. Just be mindful that it adds an extra item to wash.
The Simple Steps to Unbeatable Baked Bacon
This method is so straightforward, you’ll wonder why you ever cooked bacon any other way. Here’s how to do it:
- Preheat (or Don’t!): Preheat your oven to 400°F (200°C). While some recipes insist on a fully preheated oven, I often place my bacon in as the oven heats up, and it still turns out perfectly. This can slightly extend the total cooking time, but it works without issue.
- Prepare Your Pan: Line a large, rimmed baking sheet with parchment paper or aluminum foil. Ensure the lining extends up the sides of the pan to catch all the rendered fat.
- Arrange the Bacon: Lay the bacon strips in a single layer on the prepared baking sheet. Make sure they are about ½ inch apart. Overlapping will lead to uneven cooking and less crisp results. Don’t worry if the strips shrink a bit during cooking; just ensure good spacing initially.
- Bake to Perfection: Place the baking sheet in the preheating (or preheated) oven. The cooking time will vary depending on the thickness and brand of your bacon, as well as your oven’s calibration.
- For regular-cut bacon, start checking around the 10-minute mark. My bacon is usually perfectly crispy between 12-15 minutes.
- For thick-cut bacon, you might need 18-25 minutes.
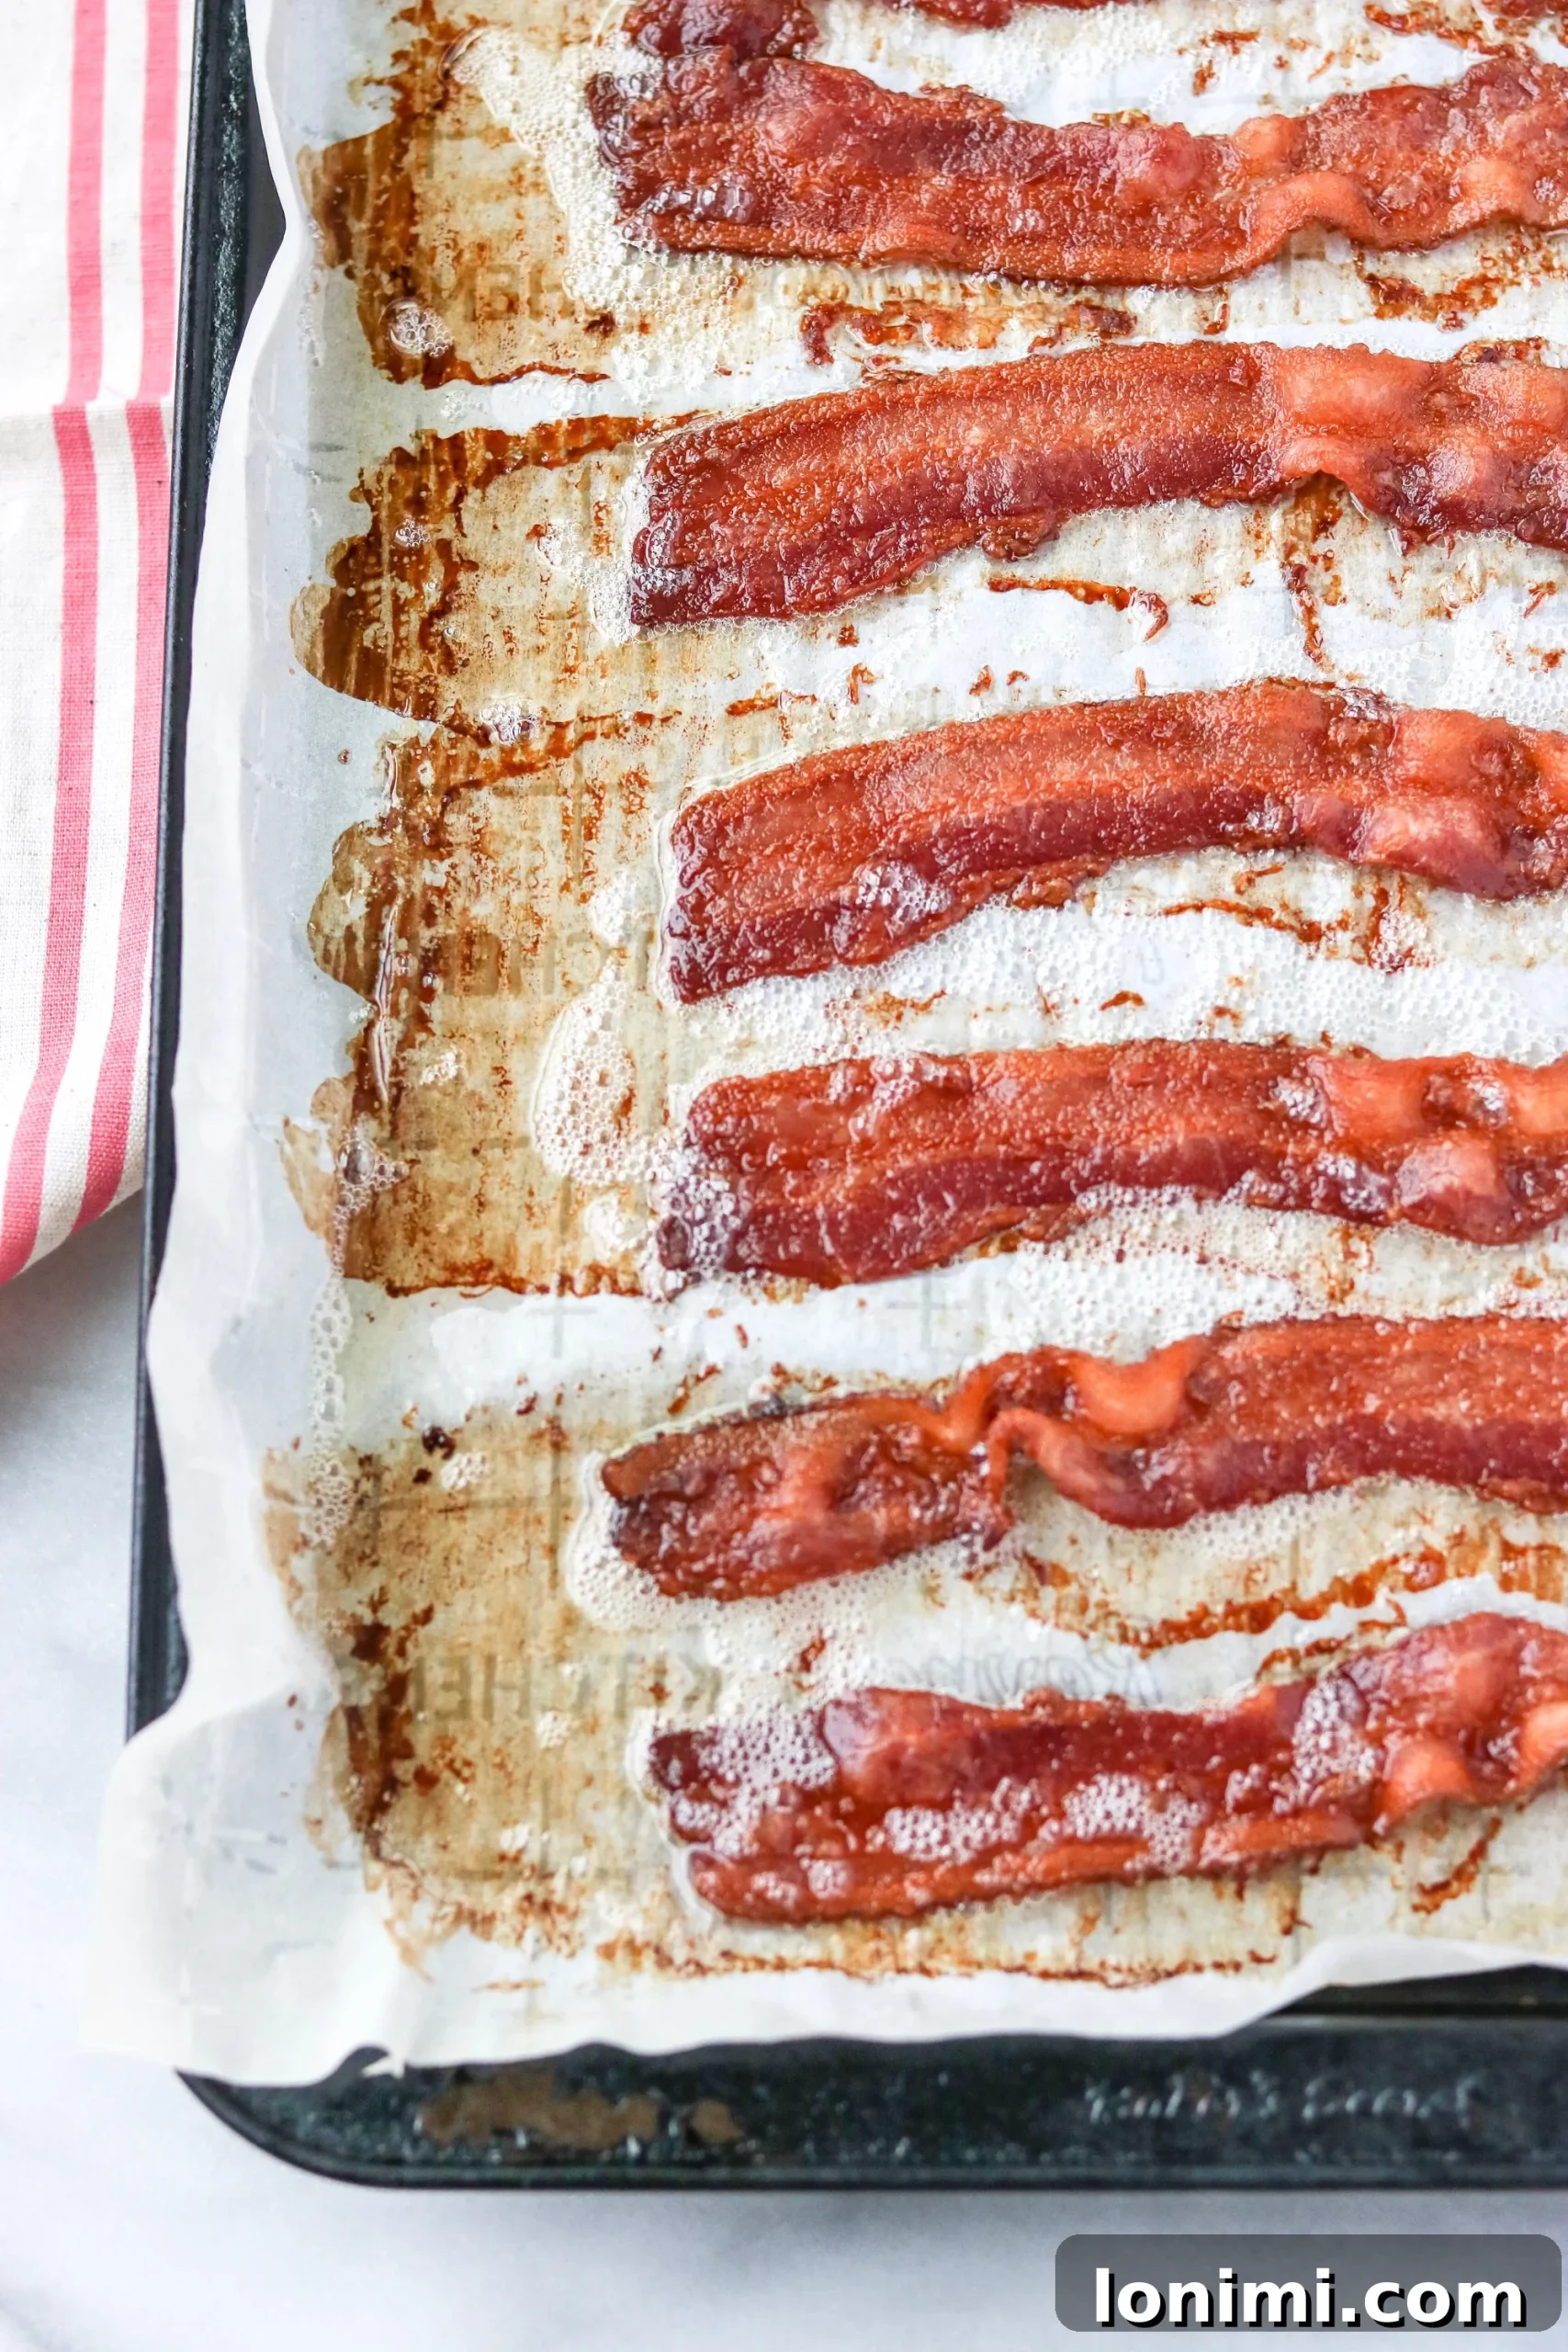
Keep a close eye on it, especially towards the end, as bacon can go from perfectly crispy to burnt very quickly. Look for a deep golden-brown color and firm texture.
- Drain and Enjoy: Carefully remove the baking sheet from the oven. Using tongs, transfer each crispy bacon strip to a plate lined with paper towels to drain any excess grease. Let it cool and drain for 2-3 minutes. This final step helps achieve maximum crispness.
And just like that, you have incredible bacon with next to no cleanup. Simply ball up the parchment paper or foil with the congealed grease and toss it away. Voila!
Beyond Breakfast: Versatile Uses for Baked Bacon
While a classic breakfast side is always a winner, perfectly baked bacon is incredibly versatile and can elevate countless dishes. Here are a few ideas:
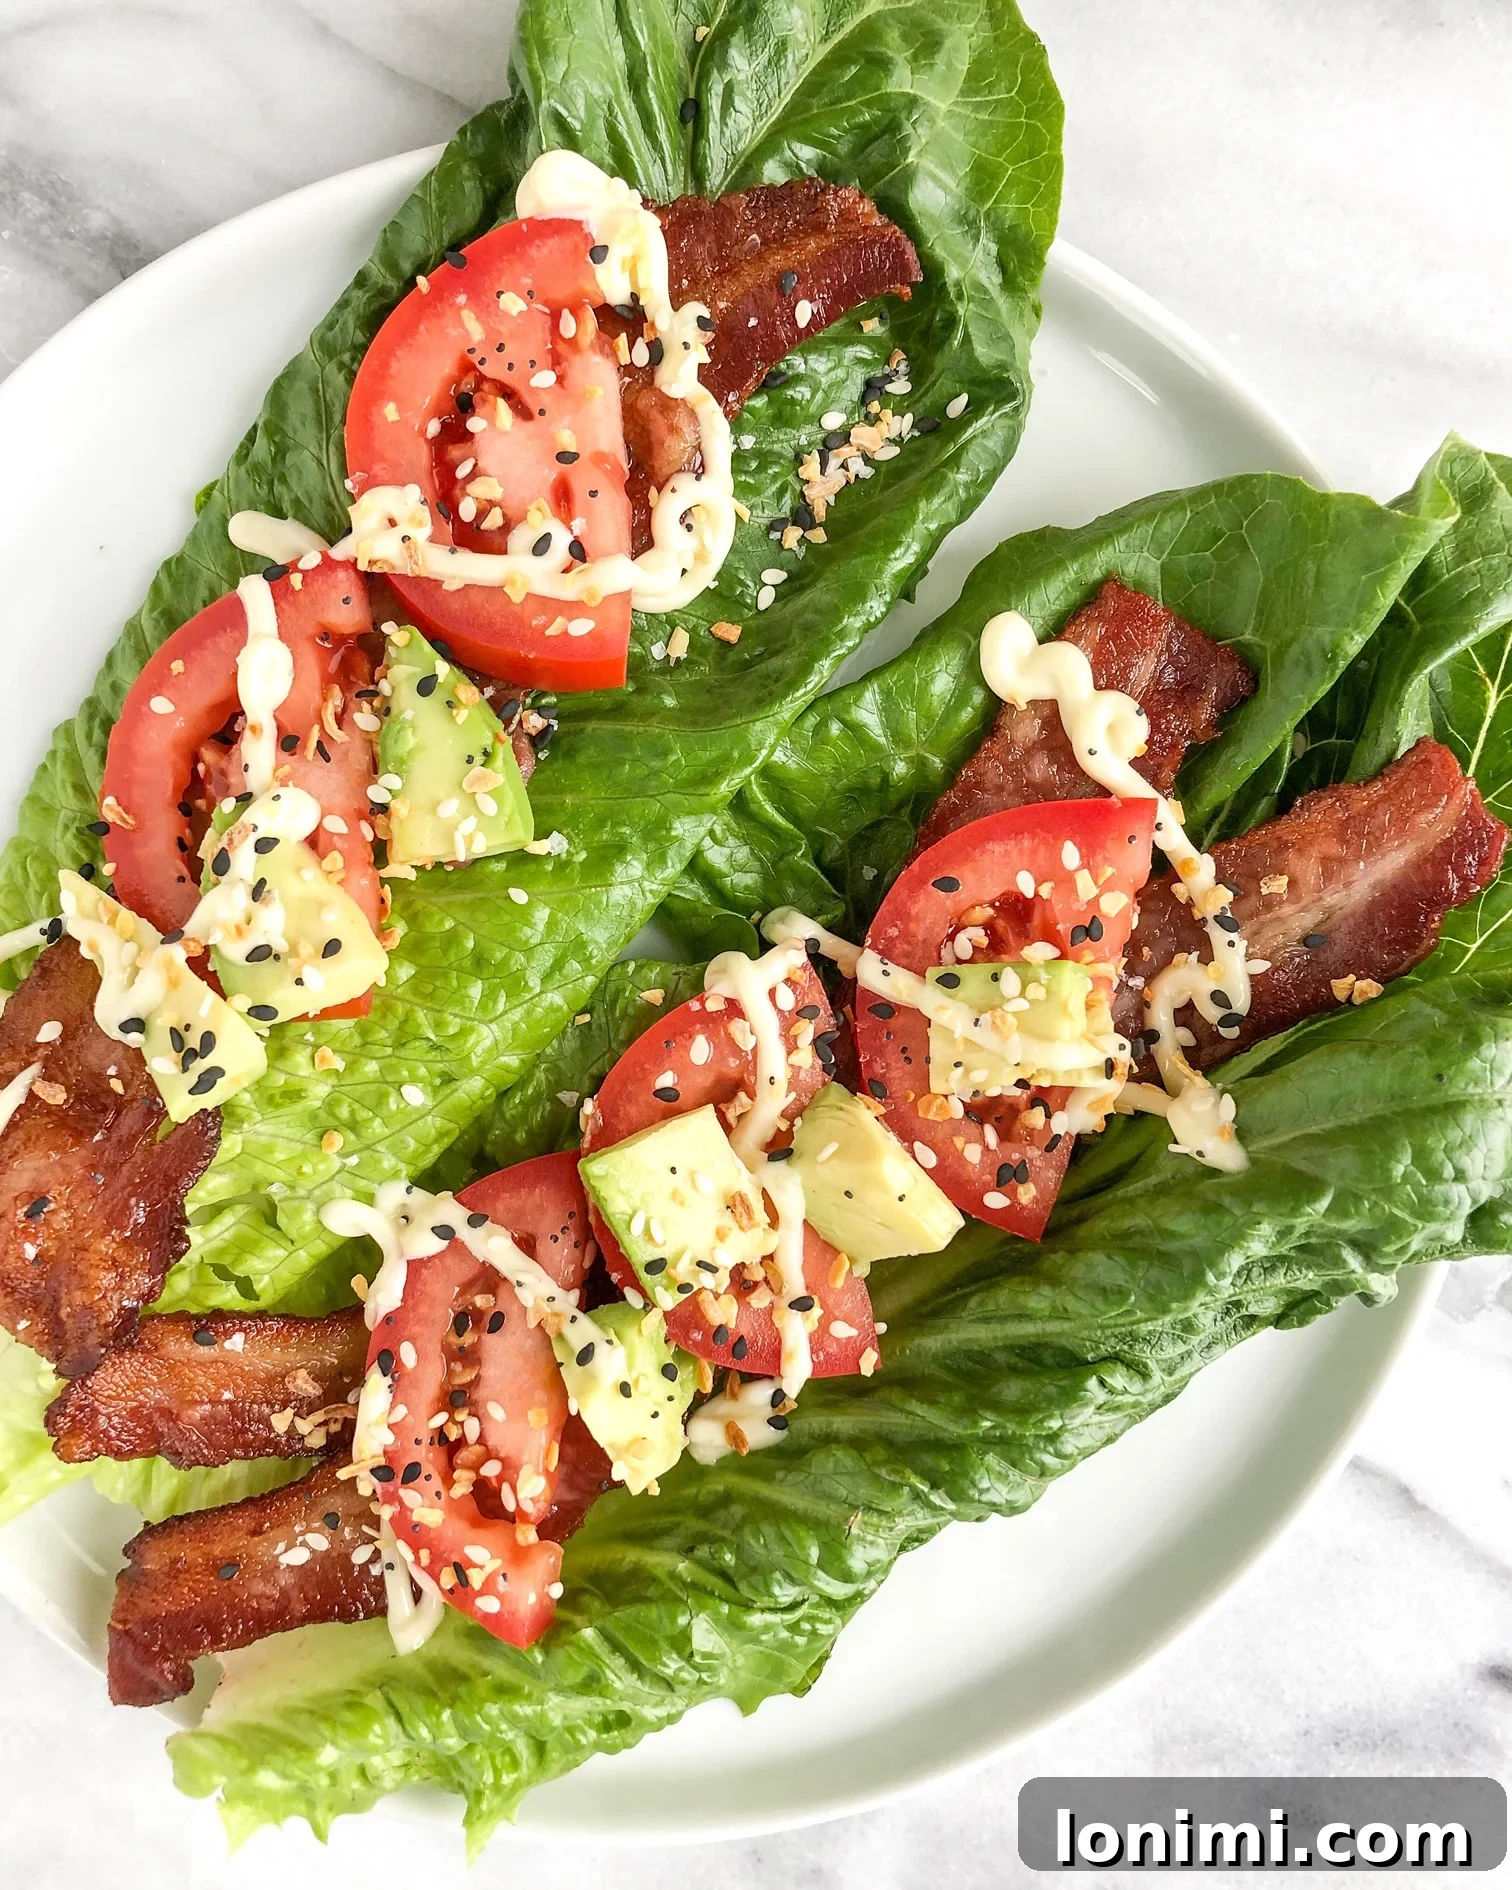
- Whole30 BLT Wraps: One of my absolute favorites! Combine crispy baked bacon with fresh romaine lettuce, juicy tomato slices, and a dollop of Whole30-compliant mayo. Add some sliced turkey for an extra layer of flavor and protein.
- Salad Topper: Crumble crispy bacon over salads for a burst of salty, savory goodness. It pairs wonderfully with everything from a simple garden salad to a robust cobb salad.
- Soup Garnish: Add a sprinkle of bacon bits to creamy soups like Whole30 Zuppa Toscana or Whole30 Cheeseburger Soup for an irresistible texture and flavor contrast.
- Casseroles and Bakes: Incorporate chopped baked bacon into your favorite casseroles, like a Whole30 Jalapeno Popper Casserole, for an added layer of smoky depth.
- Sandwiches and Burgers: Stack a few strips of baked bacon on your burgers, chicken sandwiches, or even a grilled cheese for an extra special touch.
- Egg Dishes: Whether it’s scrambled eggs, omelets, or a quiche, bacon is the perfect companion.
- Meal Prep Hero: Bake a large batch at the beginning of the week and store it in an airtight container in the fridge. Reheat briefly in the microwave or oven for quick additions to meals.
Troubleshooting Common Baked Bacon Issues
While baking bacon is generally foolproof, here are answers to some common questions and potential issues:
- Why isn’t my bacon crispy?
- Not enough cooking time: Bacon needs enough time for the fat to fully render and the meat to crisp. Don’t be afraid to add a few more minutes.
- Oven temperature too low: Ensure your oven is accurately heated to 400°F (200°C). An oven thermometer can help verify this.
- Overcrowding the pan: If bacon strips are too close or overlapping, they will steam rather than crisp. Give them space!
- Too thick: Thick-cut bacon naturally takes longer to crisp. Be patient and add extra cooking time as needed.
- My bacon is burning!
- Oven temperature too high: Again, check your oven calibration.
- Cooking too long: Bacon cooks quickly once it starts to brown. Stay nearby and watch it closely after the initial 10-minute mark.
- Sugary bacon: If your bacon has added sugars, it will caramelize faster and can burn. Consider switching to a sugar-free variety.
- Can I reuse the bacon grease? Absolutely! Once the grease has cooled and solidified, you can carefully pour it into a heat-proof container (like a glass jar) and store it in the refrigerator. It’s excellent for cooking eggs, sautéing vegetables, or adding flavor to other dishes.
- What about storing leftover baked bacon? Allow the bacon to cool completely, then store it in an airtight container in the refrigerator for up to 5 days. You can reheat it in the microwave for 30 seconds or in a toaster oven until warmed through.
Embrace the simplicity and superiority of oven-baked bacon. It’s a small change that yields huge rewards in your kitchen – perfectly cooked, crispy bacon with minimal effort and absolutely no mess. Once you try it this way, you’ll never go back!
Enjoy!!
*This post contains affiliate links. Thank you for supporting Mary’s Whole Life!
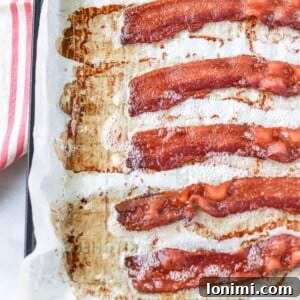
No Mess, Perfectly Baked Bacon
Mary Smith
2 minutes
13 minutes
15 minutes
16 pieces of bacon
Ingredients
- 1 pack sugar free bacon, I like Pederson’s Farms
- parchment paper
Instructions
-
Preheat oven to 400°F (200°C). Line a rimmed baking sheet with parchment paper or foil. Place bacon strips about ½ inch apart in a single layer on the baking sheet. You don’t need to wait for the oven to fully pre-heat before putting the pan in. The cooking time will depend on the brand and thickness of your bacon; set a timer for 10 minutes, then watch it closely. Mine is usually perfectly crispy around the 12-13 minute mark.
-
Remove the bacon from the oven and transfer each piece to a paper towel-lined plate to drain. Let it cool/drain for 2-3 minutes, then enjoy! The best part is that cleanup is as simple as throwing away the parchment paper – VOILA!
Nutrition
All nutrition facts are an estimate and automatically calculated. While I fact check them using My Fitness Pal, please note that they may not always be 100% accurate and depend on ingredients used. Weigh your total and divide by the number of servings for the most accurate grams per serving size.