
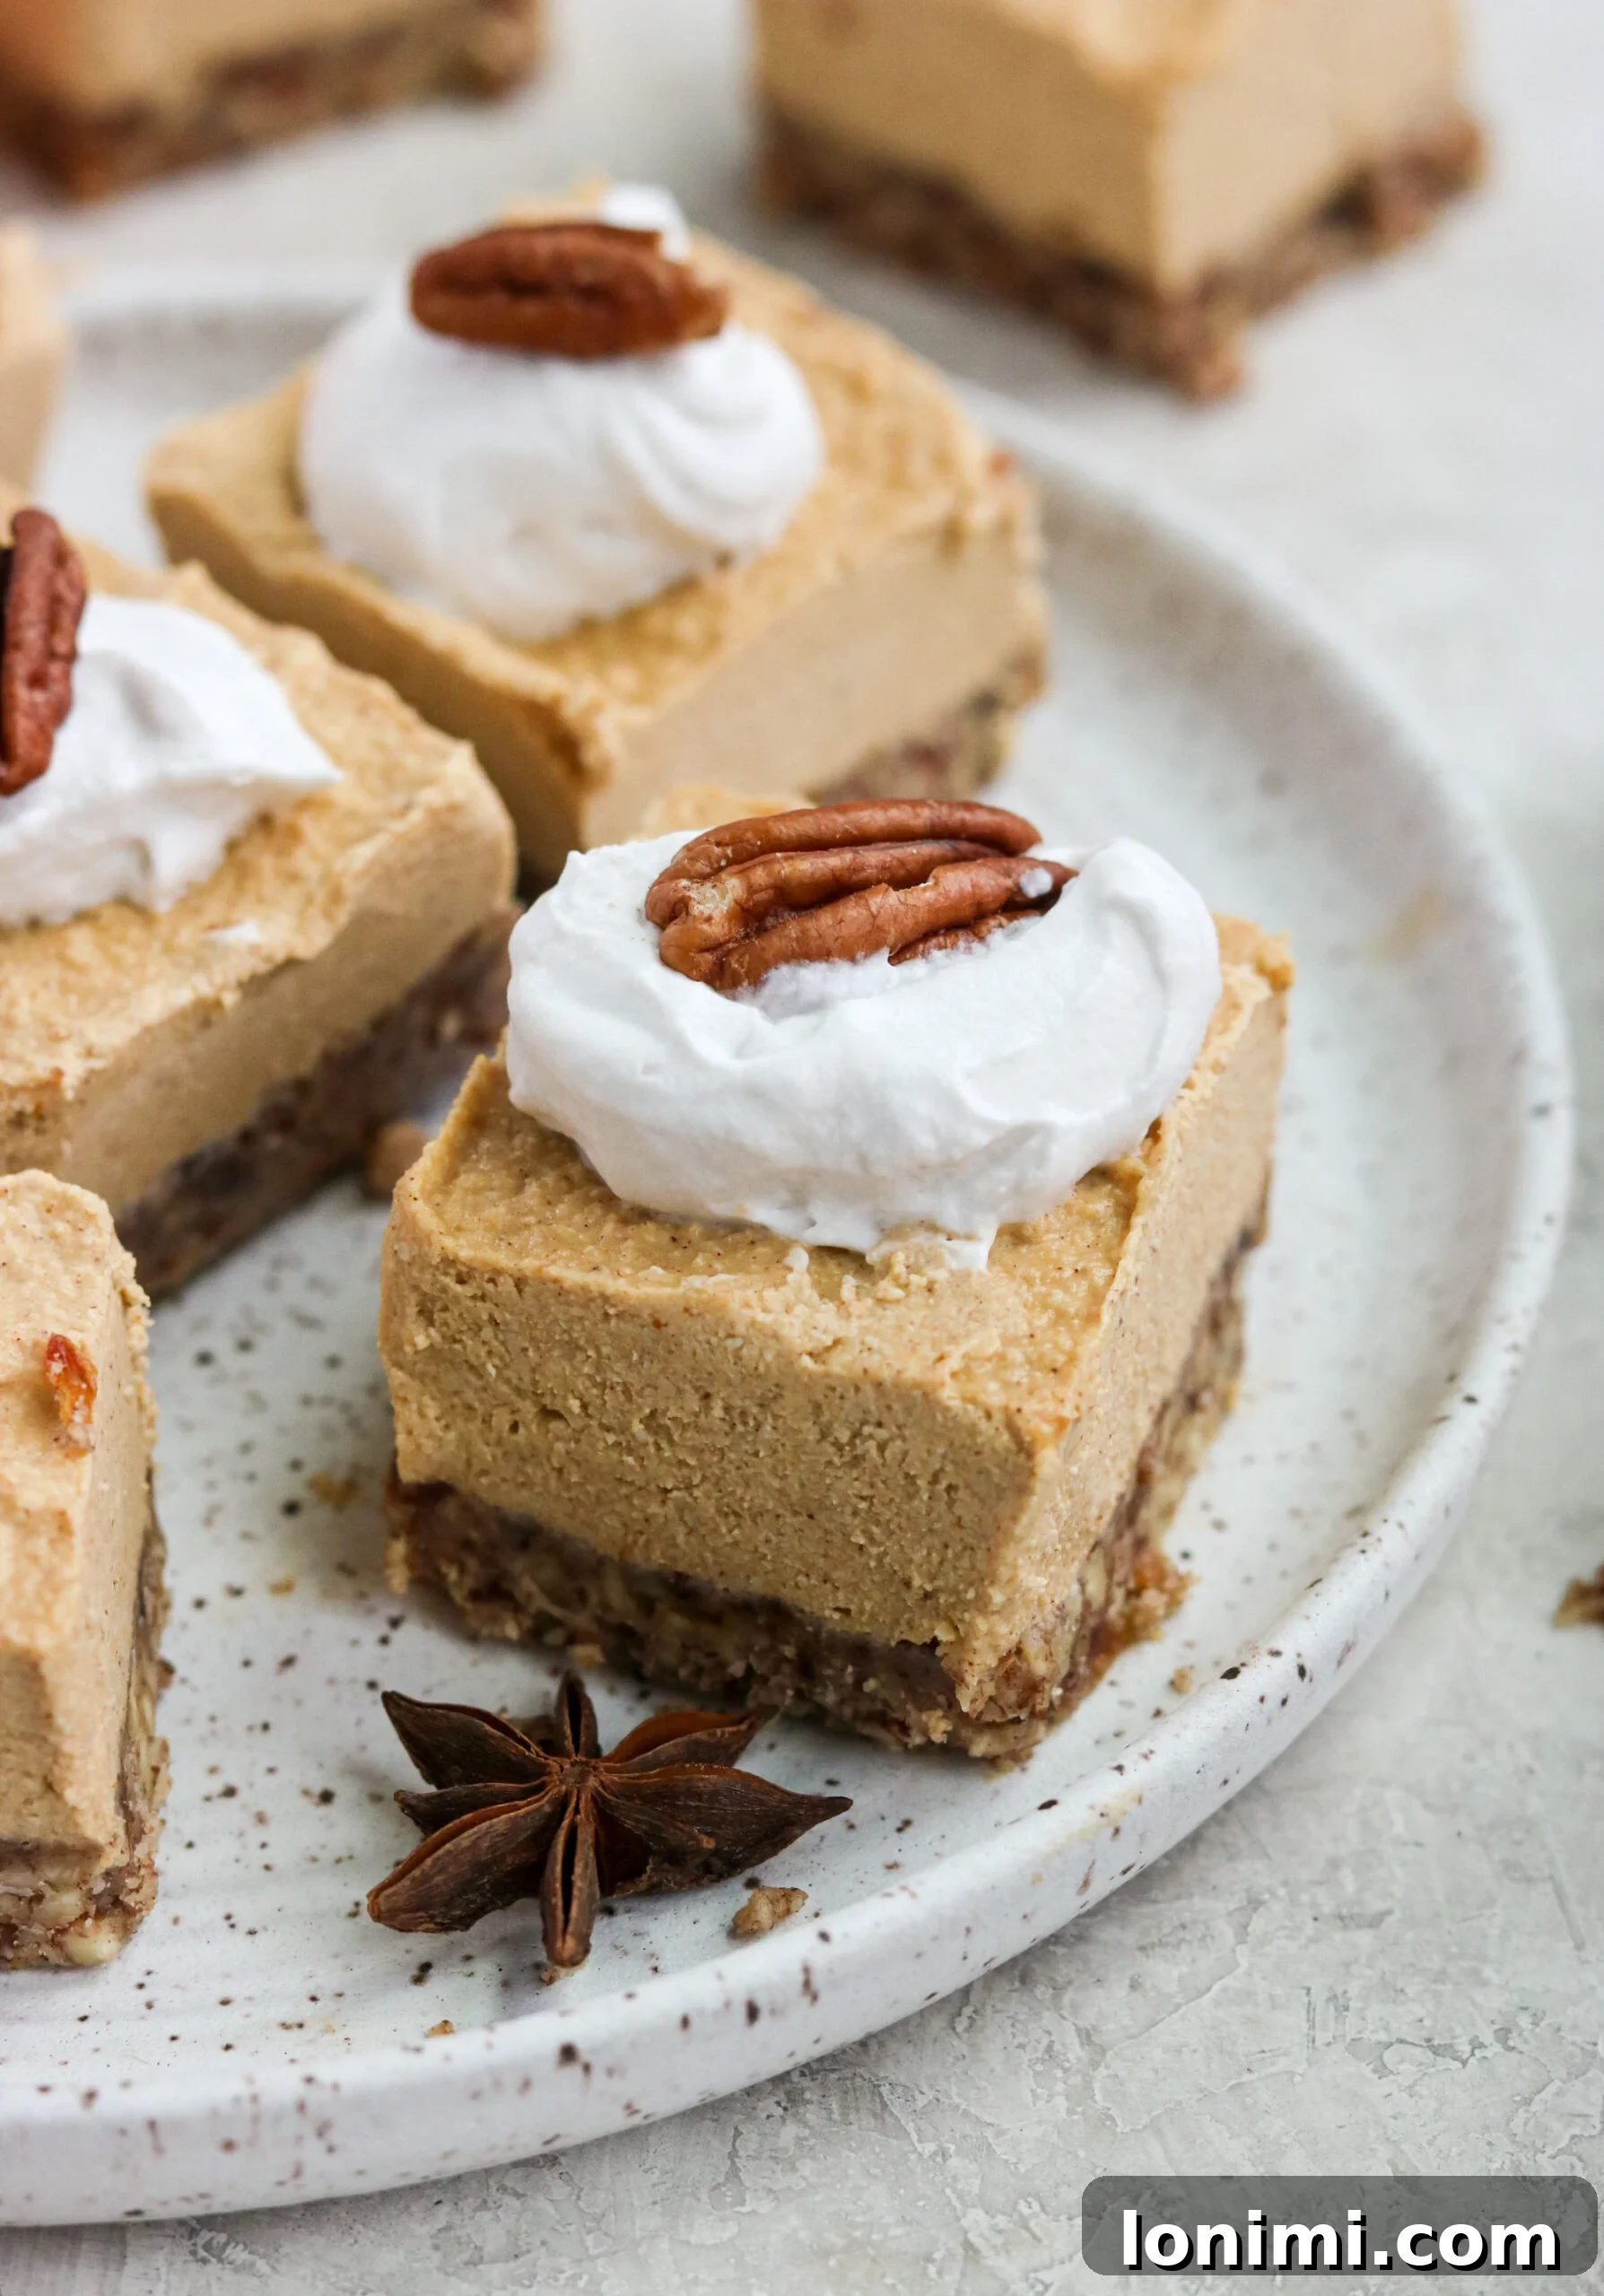
Prepare to indulge in the ultimate seasonal delight with these incredible No-Bake Pumpkin Cheesecake Bars! Featuring a rich, creamy pumpkin puree cheesecake filling layered atop a perfectly spiced pecan crumble crust, this dessert is a true masterpiece of flavor and texture. What makes it even better? It’s entirely dairy-free, gluten-free, and vegan, catering to a wide range of dietary preferences without sacrificing an ounce of deliciousness. Whether you’re planning for a festive holiday gathering, a cozy autumn evening, or simply craving a guilt-free treat, these bars offer a delightful solution that is both easy to prepare and profoundly satisfying. Get ready to impress your family and friends with a dessert that embodies the warmth and comfort of the season, all without ever turning on your oven.
Why You’ll Love These No-Bake Pumpkin Cheesecake Bars
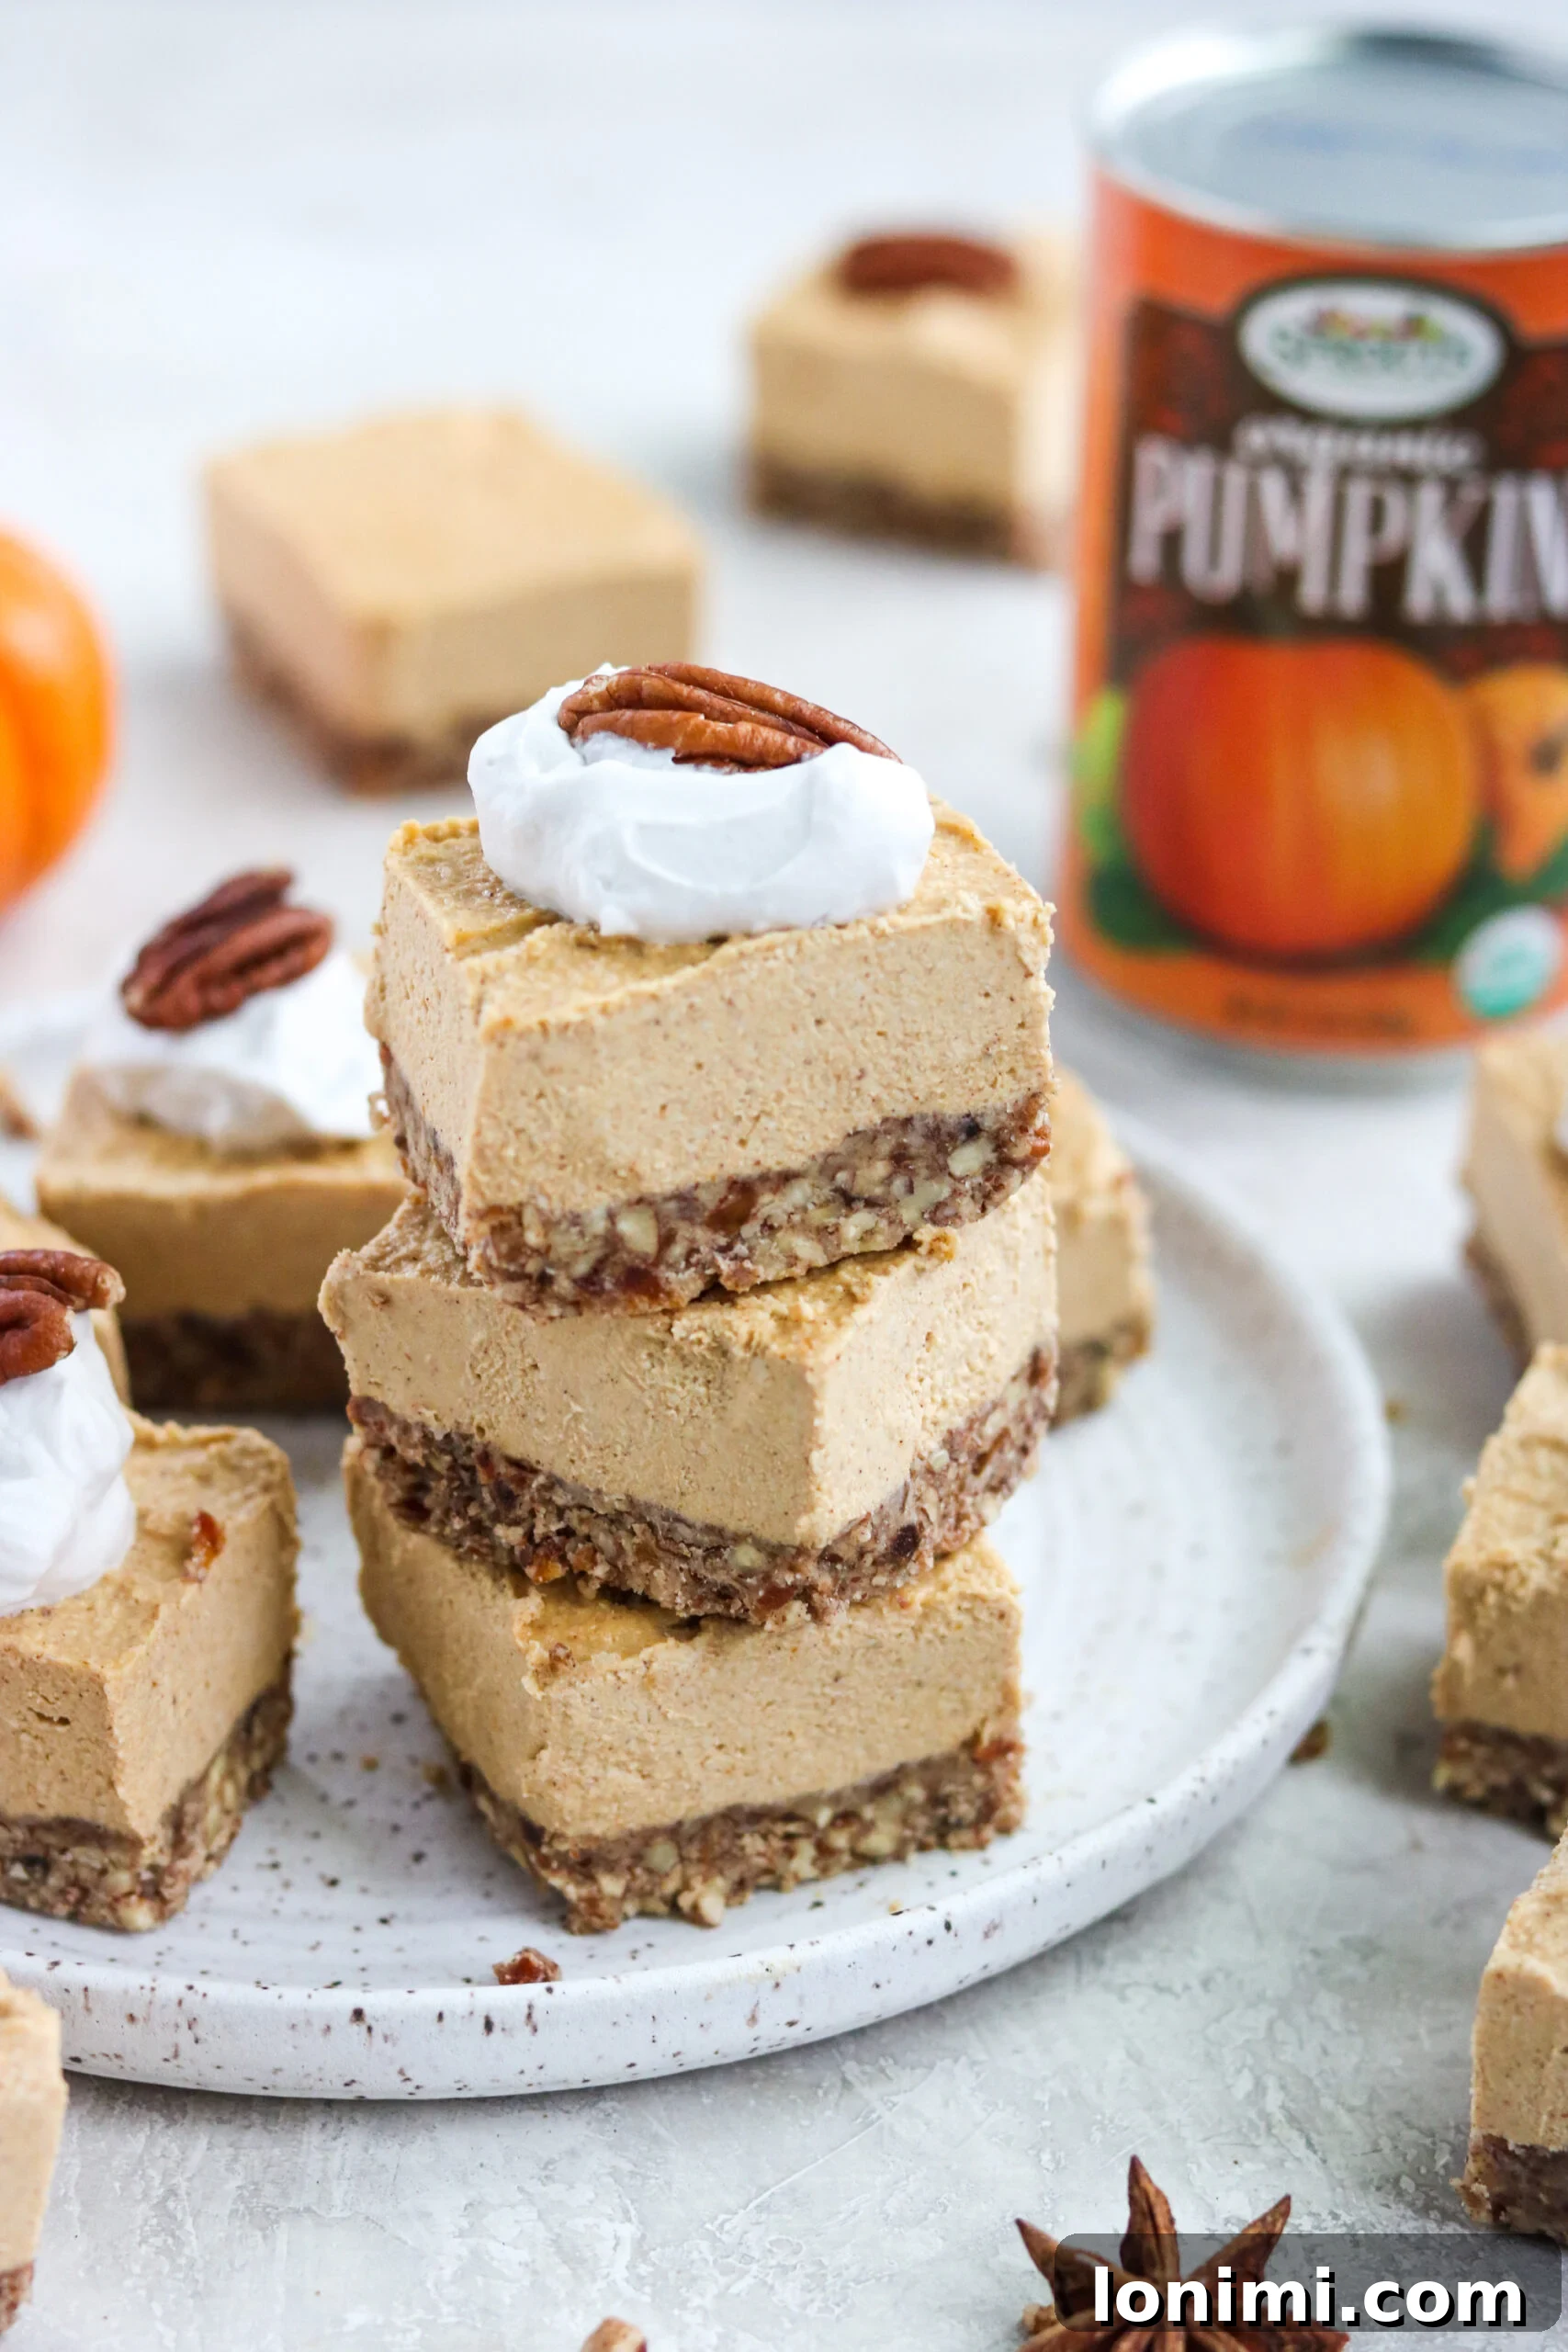
These no-bake pumpkin cheesecake bars are more than just a dessert; they are a celebration of flavor, convenience, and health-conscious choices. Imagine a dessert that offers the familiar comfort of a classic pumpkin pie combined with the luxurious texture of cheesecake, all while being remarkably easy to make. The secret lies in the harmonious blend of a crunchy, naturally sweetened pecan crust and a velvety smooth, subtly spiced pumpkin cheesecake filling. Each bite delivers a delightful contrast, making these bars truly irresistible.
Beyond their captivating taste, these bars shine in their ability to accommodate various dietary needs. They are dairy-free, gluten-free, and vegan, making them an inclusive option for almost any guest at your holiday table or family gathering. We achieve this by thoughtfully replacing traditional ingredients with healthier, plant-based alternatives. Instead of melted butter, eggs, or cream cheese, which are staples in conventional cheesecake recipes, we opt for simple, wholesome ingredients that deliver exceptional flavor and texture without the common allergens. This commitment to healthy swaps ensures that you can enjoy a decadent dessert without any guilt or compromise on taste.
Another major advantage of this recipe is its incredible simplicity and speed. With just about 15 minutes of active preparation time, you can assemble these beautiful pumpkin bars. The “no-bake” aspect means you won’t need to hog oven space, which is especially beneficial during busy holiday seasons when your oven might be occupied with other dishes. The ingredients are also readily available at most local grocery stores, like Sprouts, ensuring that you can whip up this treat whenever a craving strikes. These pumpkin cheesecake bars are not just a delicious dessert; they are a smart and convenient choice for modern, health-conscious kitchens. If you’re looking for a traditional dairy-filled cheesecake, you might enjoy this classic Pumpkin Cheesecake recipe.
Key Ingredients for Perfect Pumpkin Cheesecake Bars
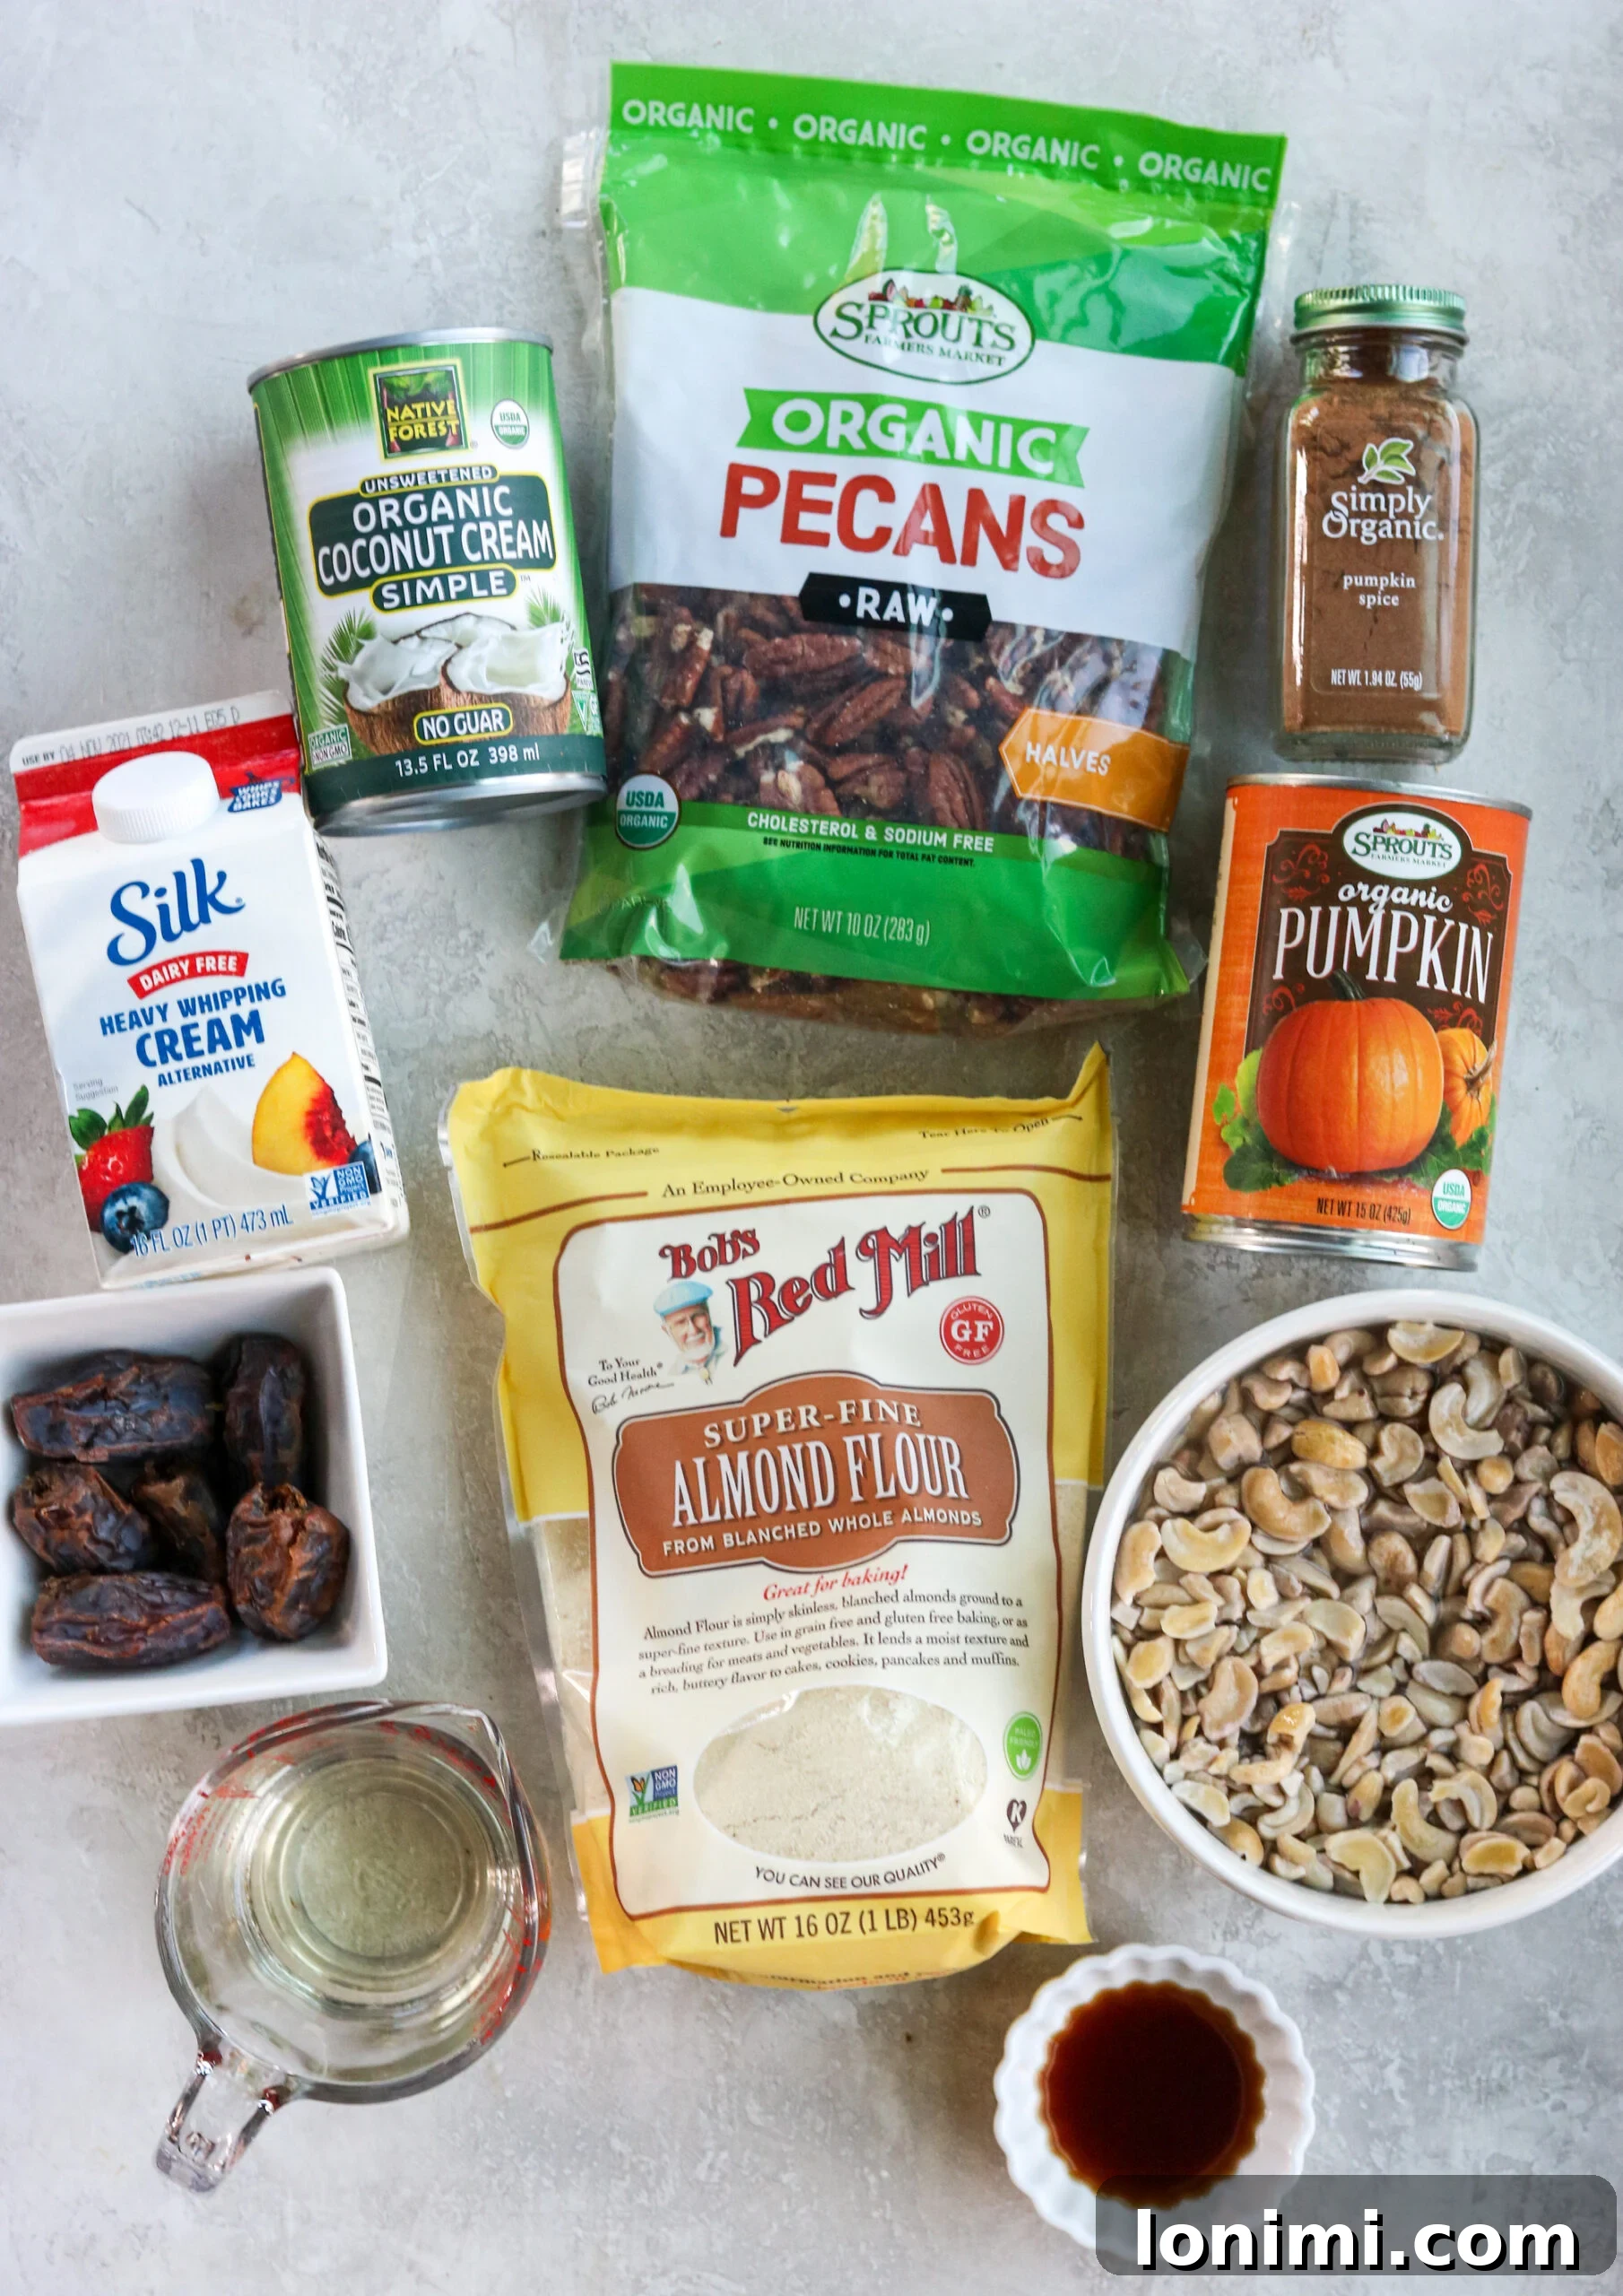
Crafting these exceptional no-bake pumpkin cheesecake bars requires a selection of quality ingredients that work synergistically to create their signature taste and texture. Below is a closer look at the stars of this recipe, highlighting their unique contributions:
- Raw Pecans: Forget the traditional graham cracker crust! For a gluten-free and flavor-packed alternative, raw pecans are an absolute game-changer. When processed, they create a wonderfully rich and crumbly base that perfectly complements the creamy pumpkin filling. Their natural buttery notes are further enhanced by the warming spices, making them an ideal foundation for a fall-themed dessert. Ensure they are unsalted for best results.
- Dairy-Free Heavy Whipping Cream: The availability of dairy-free heavy cream has revolutionized plant-based desserts. This ingredient is crucial for creating the light, airy, and utterly delicious whipped topping that crowns these cheesecake bars. Unlike canned whipped creams or other alternatives, a quality dairy-free whipping cream (like the Silk brand recommended in the recipe) whips up beautifully to form stiff peaks, providing that luxurious finish without any dairy.
- Canned Pumpkin Puree: The heart of this dessert, pumpkin puree, offers convenience and a concentrated burst of fall flavor. It’s incredibly versatile and forms the luscious, vibrant base for our cheesecake filling. When combined with pumpkin pie spice and other ingredients, it effortlessly transforms into a creamy, spiced pie-like experience that defines this treat. Always opt for 100% pure pumpkin puree, not pumpkin pie filling, which often contains added sugars and spices.
- Almond Flour: Working in tandem with the ground pecans, almond flour contributes to the perfect texture of the crust. It helps bind the ingredients together while adding a subtle nutty flavor and a delicate crispness that is essential for a no-bake crust. This combination, along with coconut oil, forms a sturdy yet tender foundation for your bars.
- Raw Cashews: The secret to the unbelievably creamy, dairy-free cheesecake filling lies in soaked raw cashews. When blended, these humble nuts create a smooth, rich, and velvety texture that flawlessly mimics traditional cream cheese. Soaking the cashews beforehand is a critical step, as it softens them, allowing for a perfectly smooth consistency without any gritty bits. This ingenious swap ensures a decadent filling that everyone will adore.
- Pitted Dates: To naturally sweeten the crust and eliminate the need for refined sugars like granulated or brown sugar, pitted dates are used. Dates provide a caramel-like sweetness and a sticky texture that helps hold the crust together. They are a fantastic whole-food sweetener, packed with fiber and nutrients, making these bars a healthier option without compromising on that essential sweet note.
- Coconut Oil: Both the crust and the filling utilize melted coconut oil. In the crust, it acts as a binder, helping the pecan and almond flour mixture come together and set firm when chilled. In the filling, it helps achieve the creamy consistency and ensures the cheesecake sets properly, contributing to its stable, sliceable texture.
- Pumpkin Pie Spice: This blend of warm spices, typically including cinnamon, nutmeg, ginger, and cloves, is what gives both the crust and the filling their signature autumnal aroma and taste. It’s essential for that classic pumpkin pie flavor.
- Vanilla Extract: A touch of vanilla extract in both the filling and the whipped topping enhances all the other flavors, adding a layer of aromatic sweetness and depth.
- Maple Syrup: Used as a natural sweetener in the filling, maple syrup adds a lovely, rich sweetness that pairs beautifully with pumpkin.
- Sea Salt & Lemon Juice: A pinch of sea salt balances the sweetness and enhances all the flavors, while a squeeze of lemon juice in the filling adds a bright, slightly tart note, cutting through the richness and making the flavors pop.
Easy Recipe Steps for No-Bake Pumpkin Cheesecake Bars
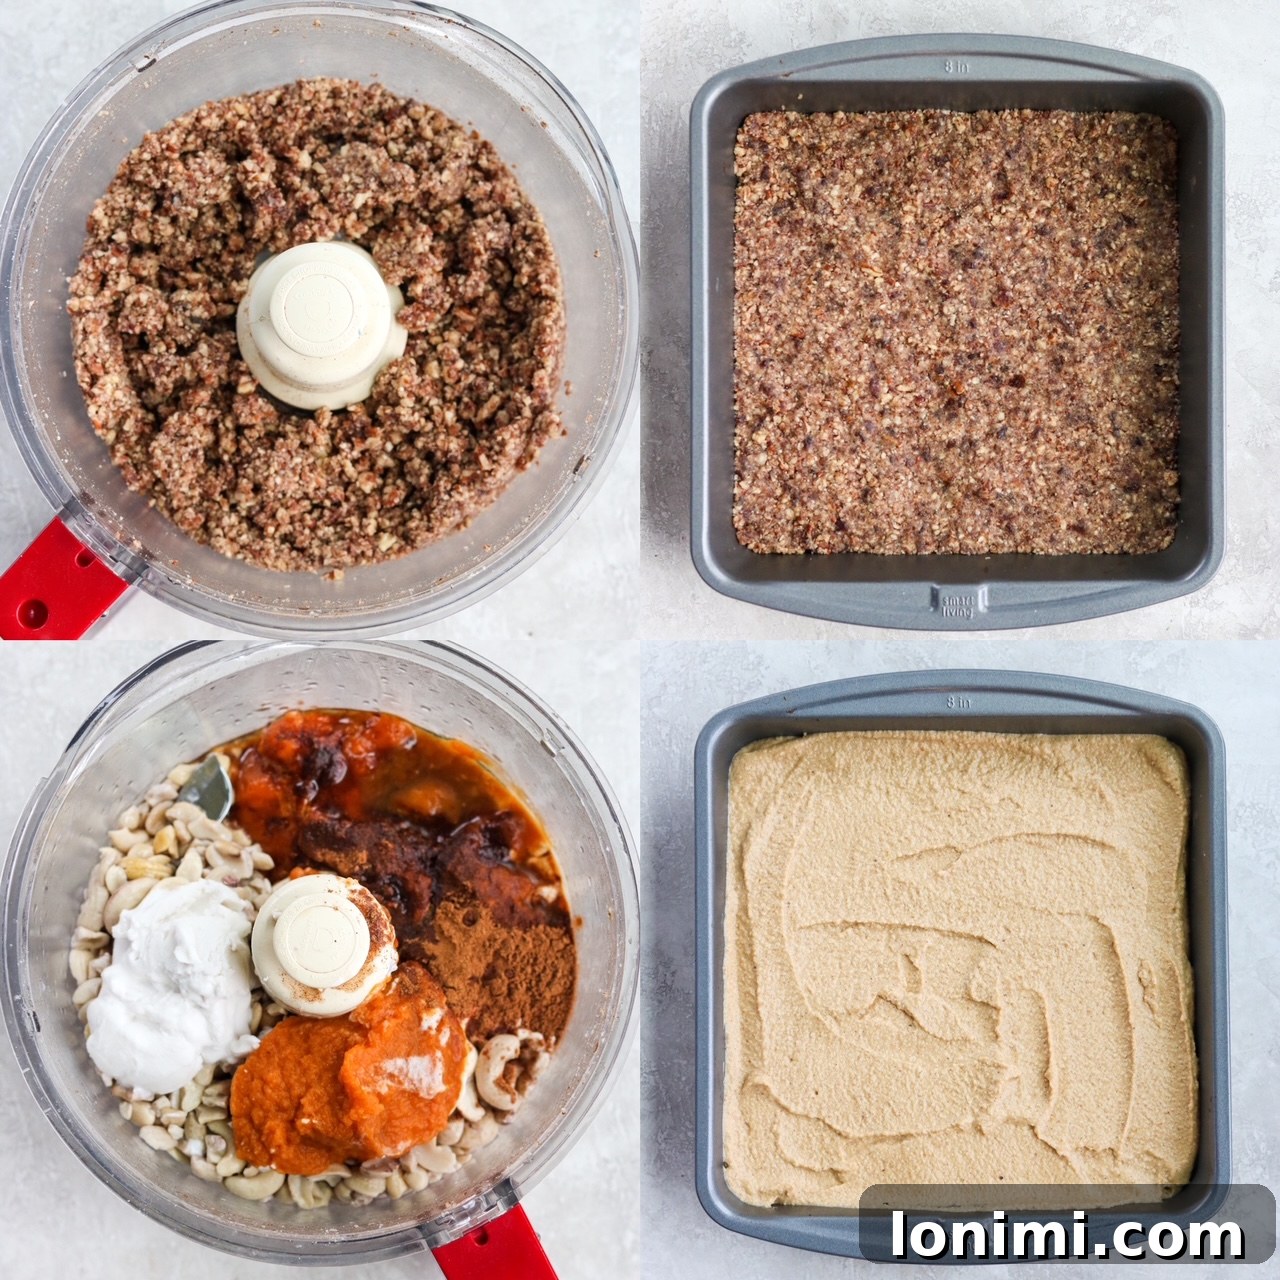
Creating these delicious no-bake pumpkin cheesecake bars is straightforward and enjoyable. Follow these step-by-step instructions for a perfect dessert every time.
Preparing the Crust
- Begin by lightly spraying an 8×8 inch baking pan with cooking oil or lining it with parchment paper. Parchment paper is highly recommended as it makes for exceptionally easy removal and clean-up after the bars have set.
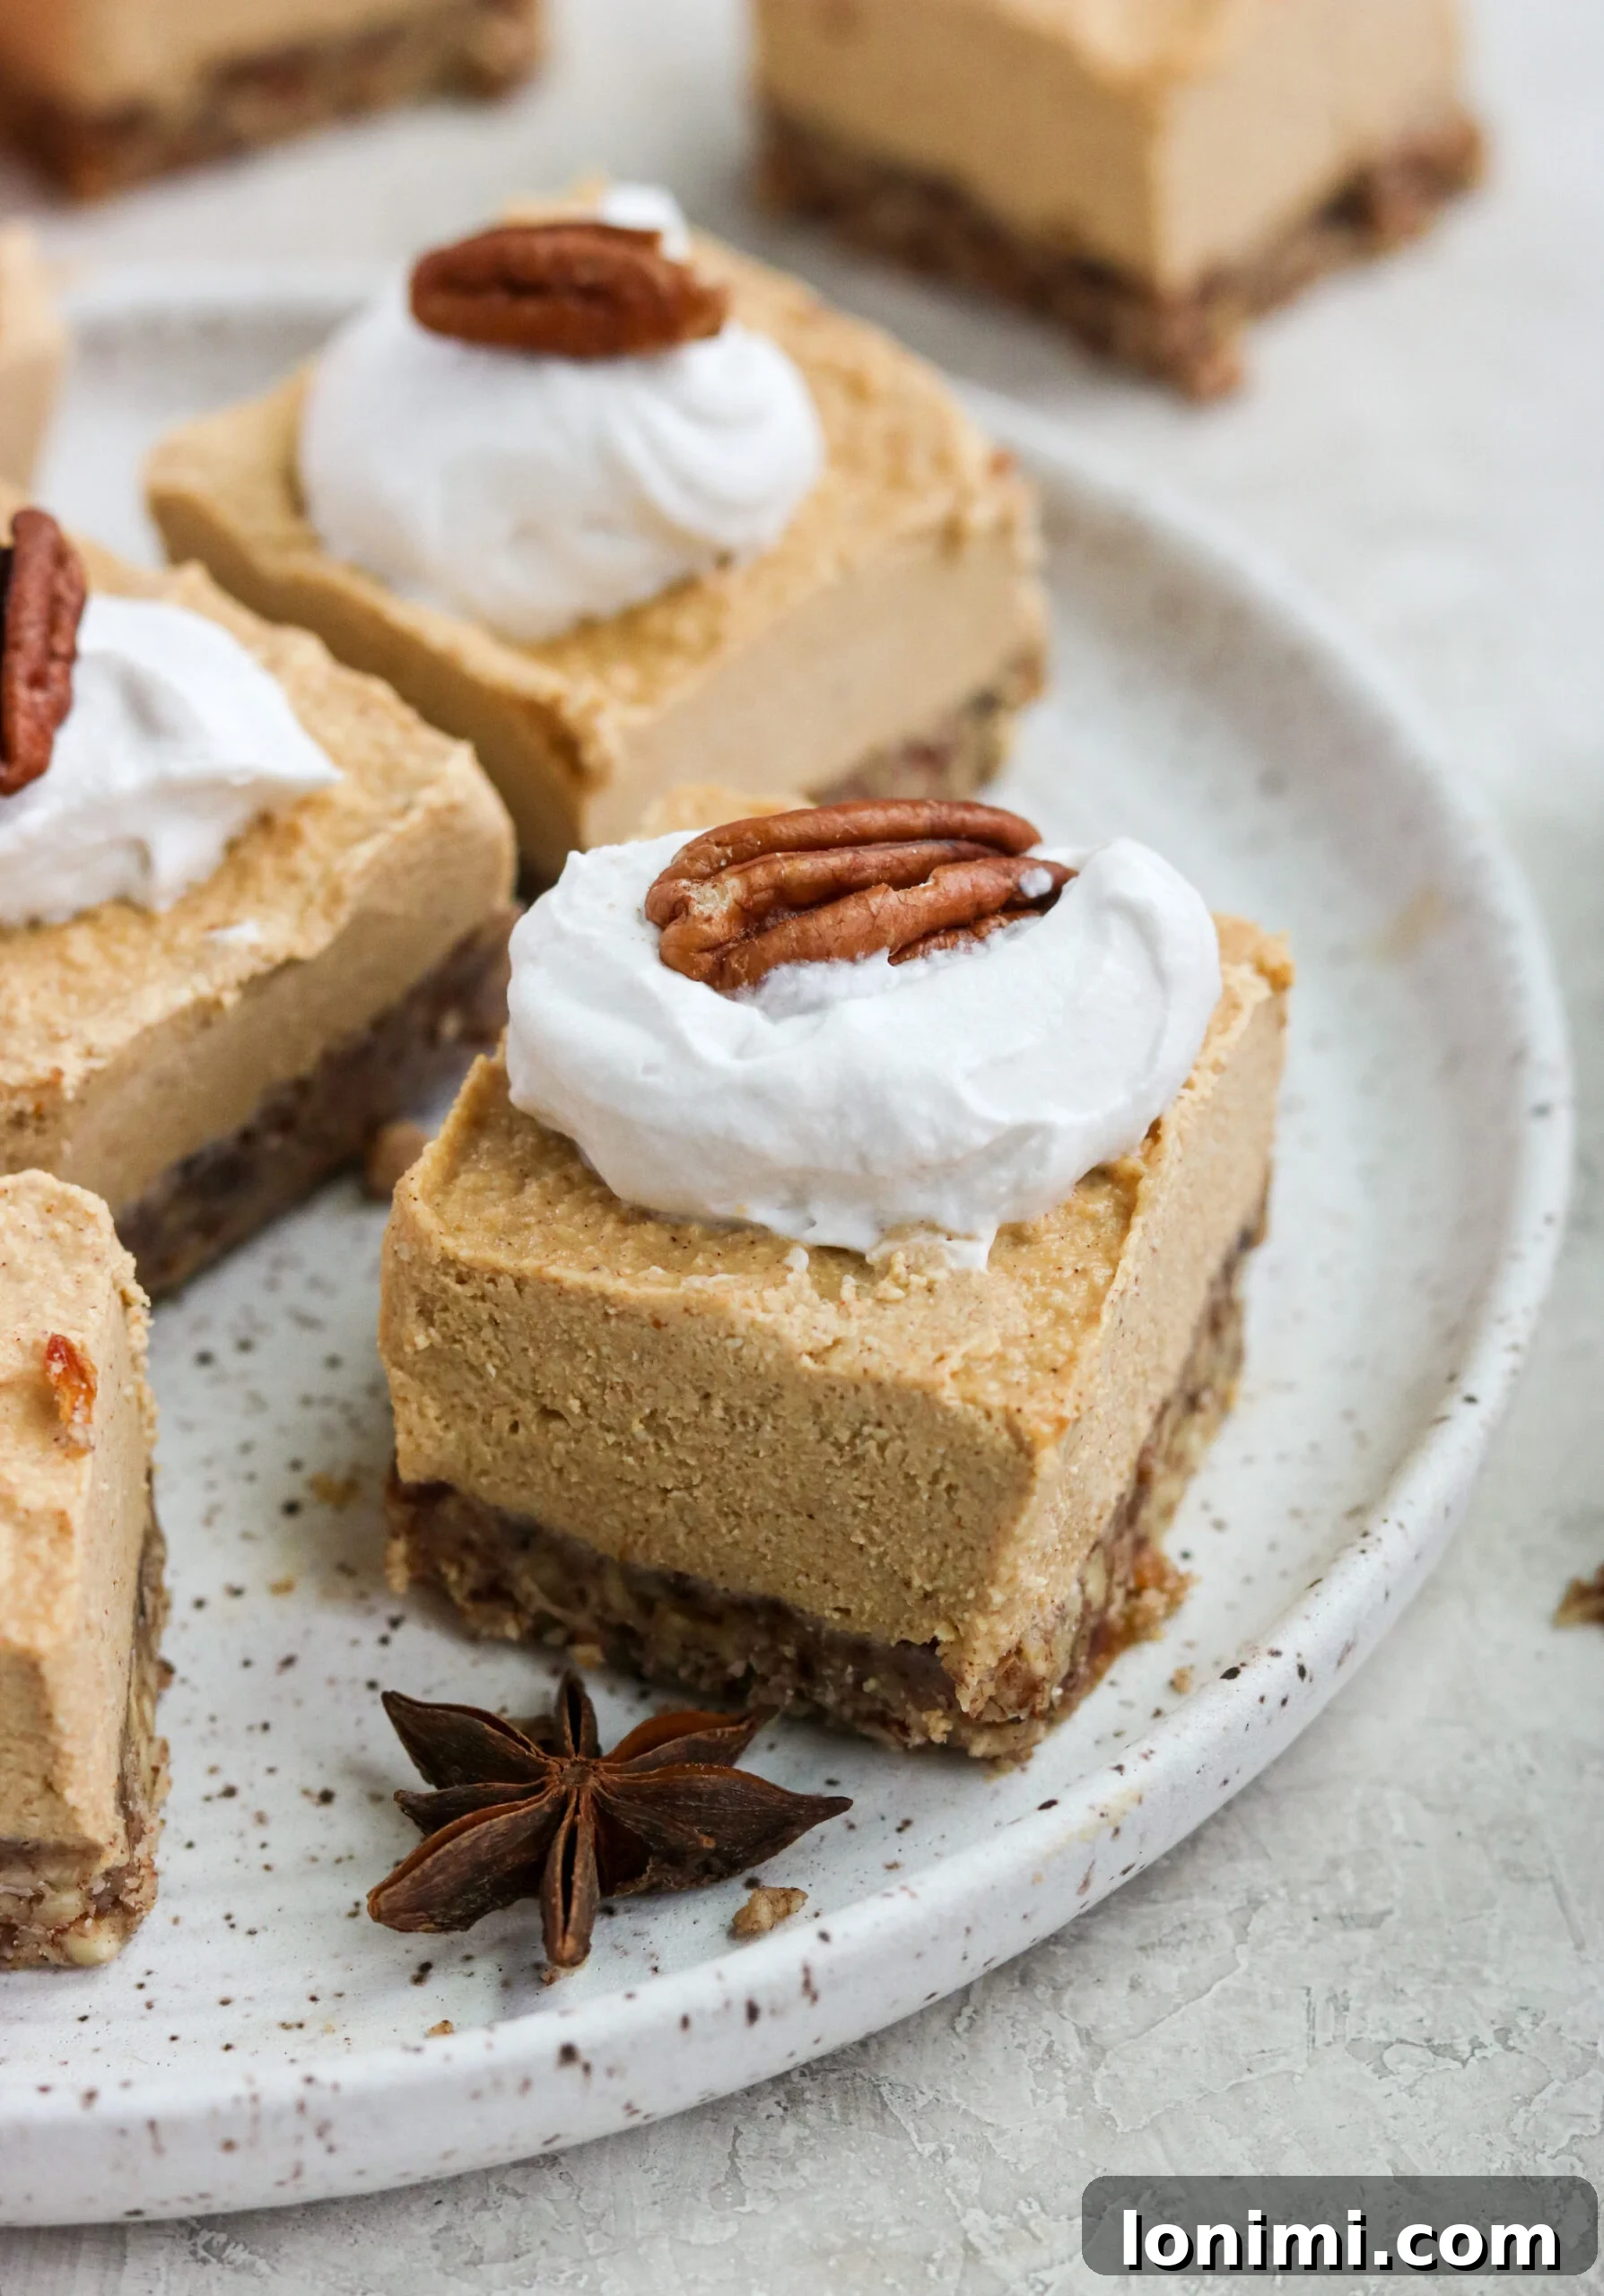
- In a food processor, combine all the ingredients for the crust: raw pecans, melted and cooled coconut oil, pitted dates, almond flour, sea salt, and pumpkin pie spice. Pulse the mixture several times. The goal is a texture that is crumbly yet sticky enough to hold together when pressed. You want to avoid over-processing it into a smooth paste; a slightly semi-chunky consistency adds a wonderful texture to the base.
- Transfer the crust mixture to your prepared baking pan. Use your fingers or the back of a spoon to firmly press the mixture down into an even layer across the bottom of the pan. Make sure it’s compact and uniform. Once pressed, set the pan aside while you prepare the filling.
Crafting the Filling
- Before proceeding, thoroughly wash and dry your food processor to ensure no crust remnants mix with the filling.
- Add all the filling ingredients into the clean food processor: soaked raw cashews (make sure they are well-drained), coconut cream, canned pumpkin puree, melted and cooled coconut oil, maple syrup, vanilla extract, pumpkin pie spice, sea salt, and a squeeze of fresh lemon juice.
- Turn on the food processor and blend the mixture for approximately 2 minutes. It’s crucial to blend until the mixture is exceptionally smooth and creamy, with no cashew chunks visible. The longer blending time helps achieve that luxurious, velvety cheesecake texture. Scrape down the sides of the bowl as needed to ensure everything is fully incorporated.
- Carefully transfer the smooth cheesecake filling directly onto the prepared pecan crust in the baking pan. Use an offset spatula or the back of a spoon to gently spread the filling out evenly, creating a consistent layer over the entire crust.
- Place the baking pan in the freezer and allow the no-bake pumpkin cheesecake bars to freeze for a minimum of 2 hours. For the best, most firm results and cleanest slices, freezing them overnight is highly recommended.
Expert Tips and Tricks for Success
Achieving perfect no-bake pumpkin cheesecake bars is easy with a few insider tips. From serving suggestions to smart storage, these recommendations will elevate your dessert experience.
Serving Suggestions
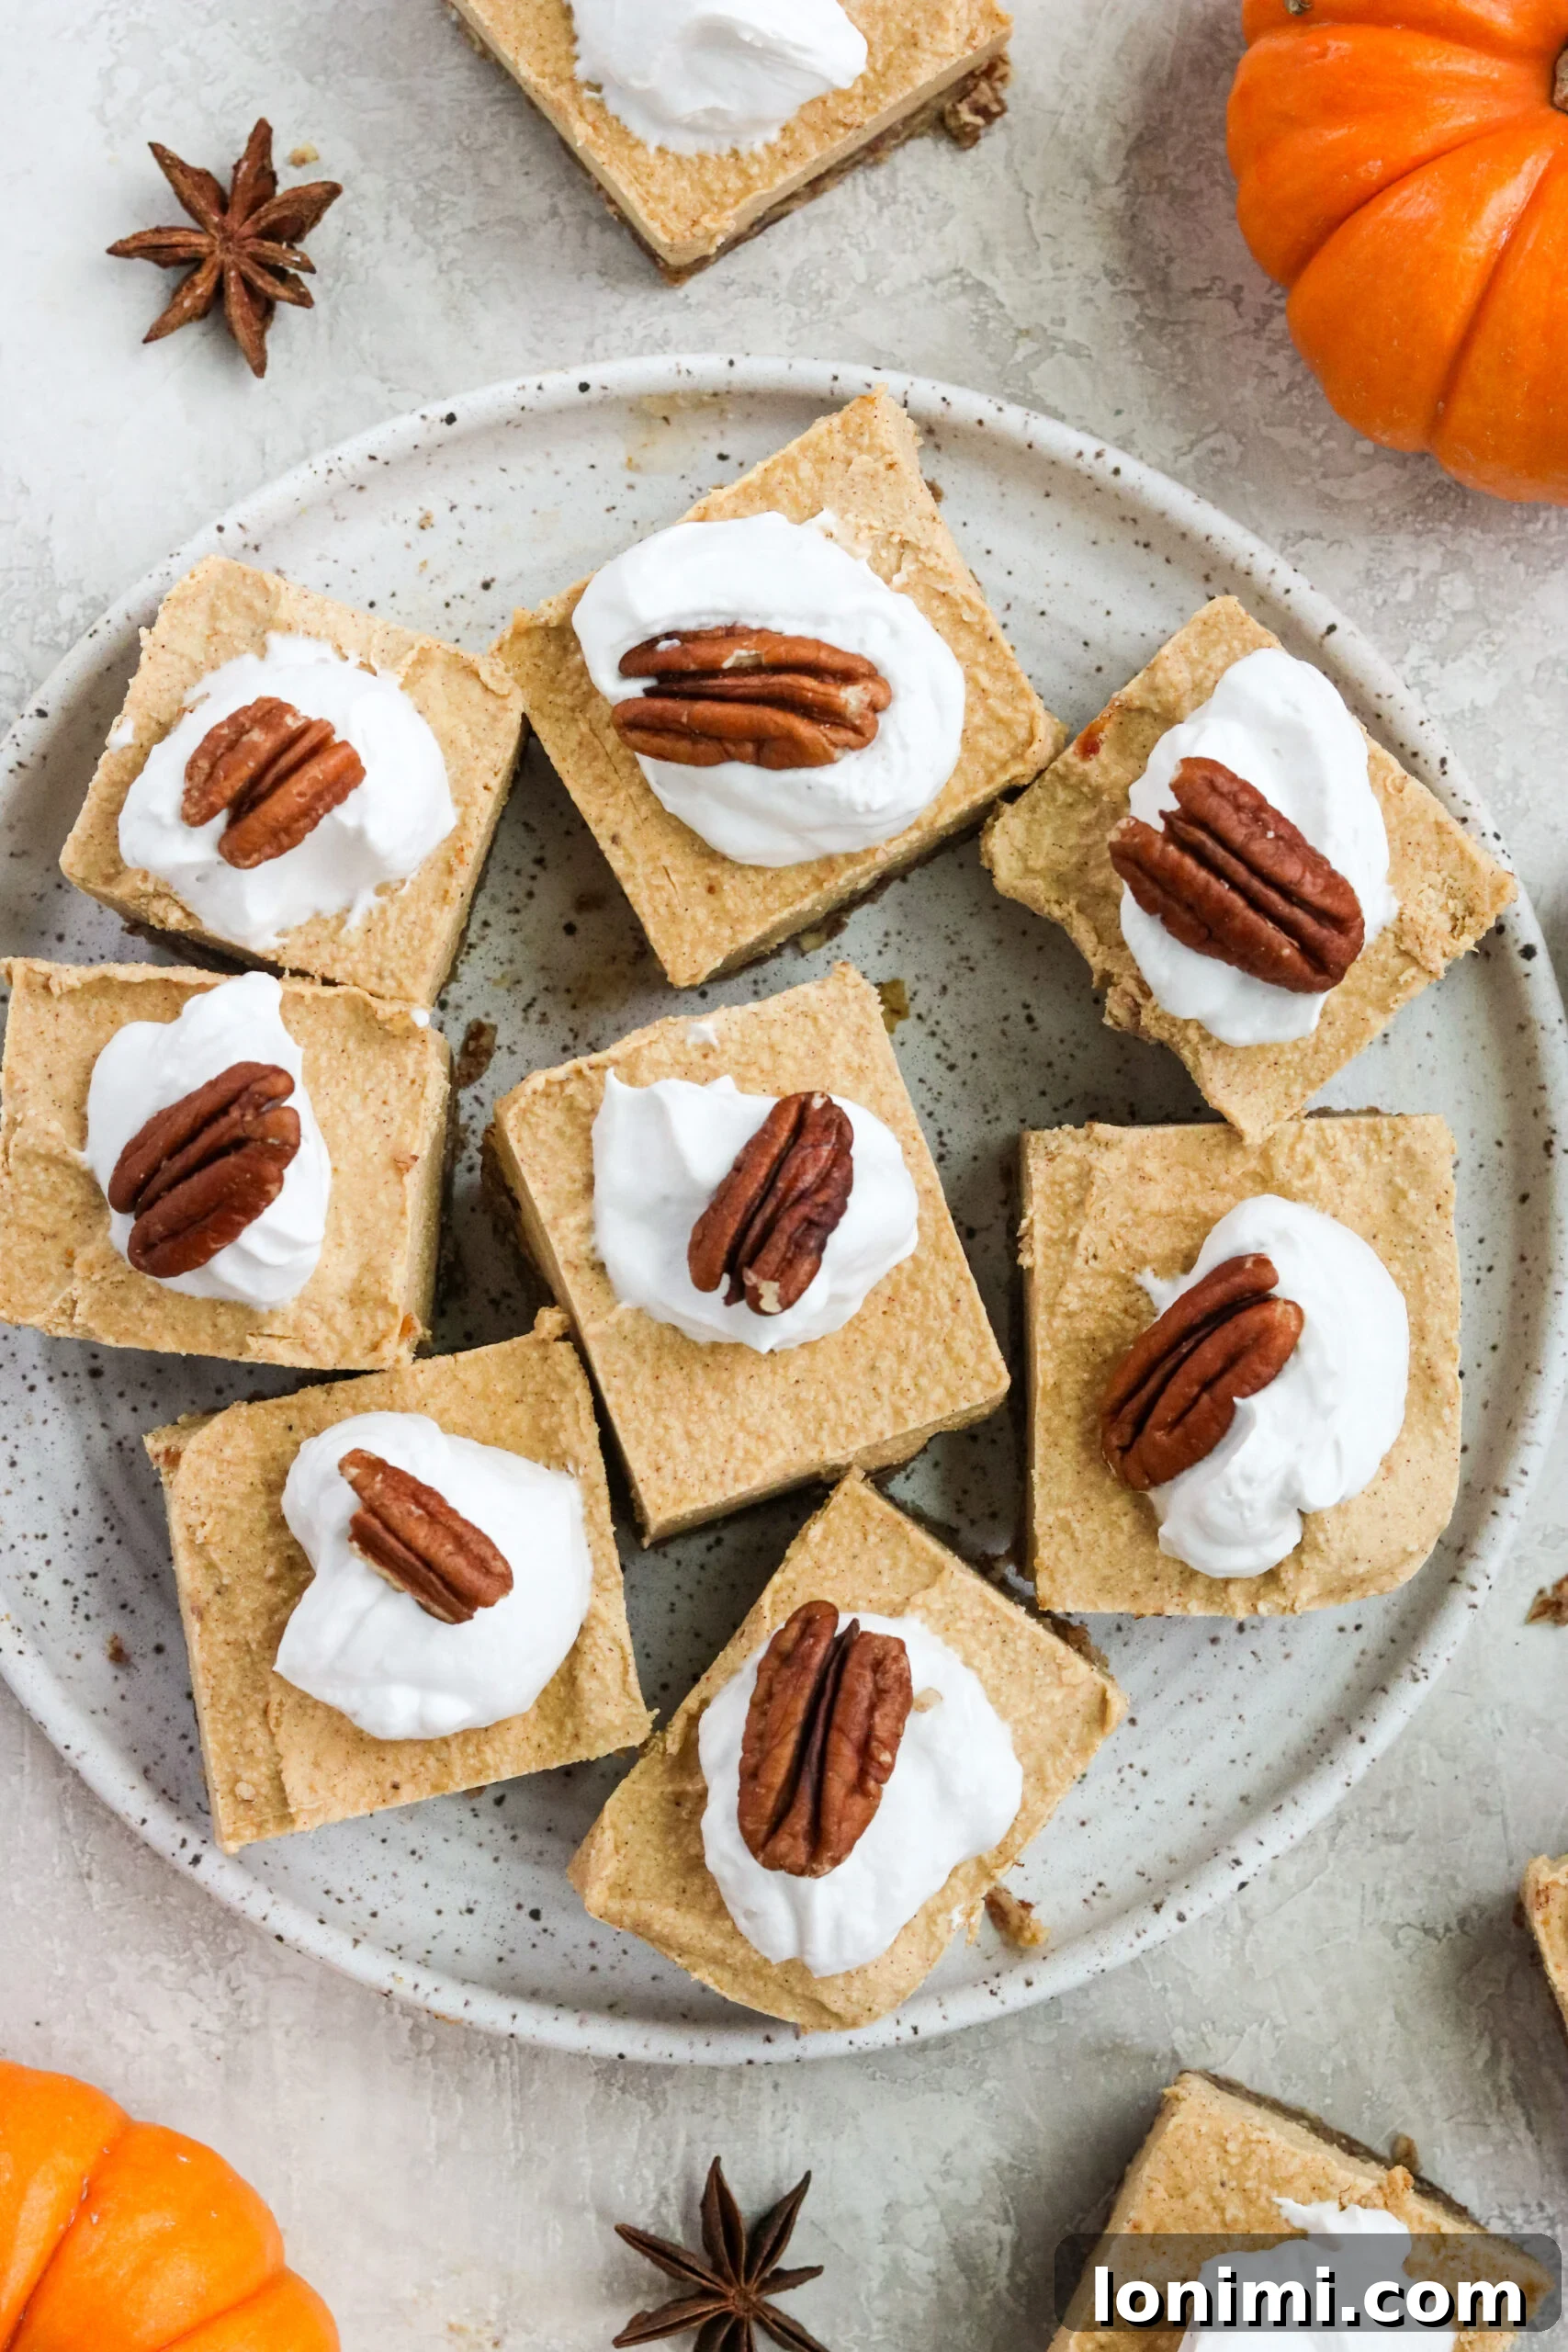
For the ultimate presentation and flavor, prepare the whipped topping just before you’re ready to serve. In a mixing bowl, combine the dairy-free whipping cream, vanilla extract, and your chosen sweetener (powdered sugar or monk fruit). Using a hand-held electric mixer, beat the mixture on high speed until soft or stiff peaks form, depending on your preference. Spoon a generous dollop of this freshly whipped cream onto each individual cheesecake bar. For an extra touch of elegance and crunch, garnish each bar with a raw pecan half, a sprinkle of cinnamon, or a dusting of pumpkin pie spice. These bars are best served chilled, offering a refreshing contrast to the warm spices.
Storing Your Cheesecake Bars
These no-bake pumpkin cheesecake bars are wonderfully versatile when it comes to storage. Once set, they can be kept in an airtight container in the refrigerator for up to 7 days. For longer storage, you can freeze them for up to 2 months. When freezing, it’s best to cut the bars into individual portions first, then place them on a baking sheet lined with parchment paper to freeze solid. Once frozen, transfer them to a freezer-safe airtight container or wrap them individually in plastic wrap, then place them in a freezer bag. This prevents freezer burn and makes it easy to grab a single serving whenever a craving strikes. They are delightful enjoyed straight from the freezer for a frozen treat!
Customization and Variations
Feel free to get creative with your no-bake pumpkin cheesecake bars!
- Spice It Up: Enhance the spice profile by adding a pinch of ground ginger, cloves, or allspice to the filling.
- Chocolate Swirl: For chocolate lovers, melt some dairy-free chocolate chips and drizzle a swirl into the pumpkin filling before freezing.
- Nutty Alternatives: While pecans are excellent, you can experiment with other nuts for the crust, such as walnuts or a mix of nuts. Ensure they are raw and unsalted.
- Individual Portions: Instead of a large pan, you can press the crust into the bottoms of muffin tins lined with paper liners for mini cheesecake bites. This is perfect for portion control and easy serving at parties.
Frequently Asked Questions (FAQs)
Here are some common questions about making and enjoying these no-bake pumpkin cheesecake bars:
Yes! Although these bars are dairy-free and made with plant-based ingredients, they still contain components like coconut cream and cashews that require refrigeration to maintain freshness and prevent spoilage. Always store them in an airtight container in the fridge. They will stay fresh for up to 7 days, and serving them cold enhances their delicious taste and firm texture.
Absolutely! These pumpkin bars freeze exceptionally well. For long-term storage, place them in an airtight container in the freezer, where they will remain delicious for up to 2 months. Many people find they are incredibly yummy enjoyed directly from the freezer, offering a delightful frosty treat, especially on a warm day or when you’re looking for a quick, cool dessert.
Yes, soaking the cashews is a crucial step for achieving the perfectly smooth and creamy texture of the cheesecake filling. Soaking softens the cashews, making them easier to blend into a velvety consistency that mimics traditional cream cheese. For best results, soak raw, unsalted cashews in hot water for at least 30 minutes, or in cold water for 2-4 hours (or even overnight). Be sure to drain and rinse them thoroughly before blending.
For the crust, dates are recommended for their natural sweetness and binding properties. If you wish to substitute, you could try an equal amount of maple syrup, but you might need to adjust the almond flour slightly to maintain the right consistency. For the filling, maple syrup provides excellent flavor. You could experiment with agave nectar or date syrup as alternatives, adjusting to taste. For a sugar-free option, a liquid sugar substitute like stevia or monk fruit drops could be used, but always adjust to your preferred level of sweetness as concentrations vary.
If your crust mixture feels too dry and isn’t holding together, add coconut oil, one teaspoon at a time, until it reaches a crumbly but sticky consistency. If it’s too wet or oily, add a tablespoon of extra almond flour or ground pecans until it’s just right. The consistency should allow you to press it firmly into the pan to form a cohesive layer.
Explore More No-Bake Cheesecake Delights
If you loved these pumpkin cheesecake bars, be sure to explore more of our fantastic no-bake cheesecake recipes. They offer all the creamy indulgence with none of the baking hassle!
Key Lime No Bake Cheesecake Bars
Strawberry No-Bake Cheesecake Bars
No Bake Mini Cheesecake Jars
Love this recipe? Please leave a 5-star 🌟🌟🌟🌟🌟 rating in the recipe card below & a review in the comment section. Or, follow me on Facebook, Pinterest or Instagram today!
Vegan No Bake Pumpkin Cheesecake Bars
By: Mary Smith
With a pecan crumble crust and pumpkin puree cheesecake batter, you just can’t beat these delicious no-bake pumpkin cheesecake bars! The perfect holiday dessert that’s vegan, paleo, and gluten-free.
Equipment
- Food processor or blender
- 8×8 inch baking pan
- Hand-held electric mixer (for whipped topping)
Ingredients
Crust
- 2 cups raw, unsalted pecans
- ⅓ cup coconut oil, melted and cooled
- 6 pitted dates
- ⅓ cup almond flour
- ¼ tsp sea salt
- 1 tsp pumpkin pie spice
Filling
- 2 cups raw, unsalted cashews, soaked for 2+ hours (then drained and rinsed)
- ¾ cup coconut cream, or the thick part of a can of full-fat coconut milk
- ½ cup canned pumpkin puree
- ¼ cup coconut oil, melted and cooled
- ½ cup maple syrup
- 2 tsp vanilla extract
- 2 tsp pumpkin pie spice
- ¼ tsp sea salt
- Squeeze of lemon juice
Whipped Topping
- 1 cup dairy-free whipping cream (e.g., Silk brand)
- ½ tsp vanilla extract
- 1 tbsp organic powdered sugar, or monk fruit, or blended coconut sugar for a paleo-friendly option!
Instructions
- Spray an 8×8 inch baking pan with cooking oil, or line with parchment paper for easy removal.
- For the crust: Combine all of the crust ingredients (raw pecans, ⅓ cup coconut oil, pitted dates, almond flour, ¼ tsp sea salt, 1 tsp pumpkin pie spice) in a food processor. Pulse a few times until the mixture is crumbly and sticky. It should still be semi-chunky, not completely pureed.
- Add the crust mixture to the prepared baking pan and use your fingers or the back of a spoon to press it down firmly into an even layer. Set aside.
- Wash out your food processor thoroughly before preparing the filling.
- Make the filling: Combine all the filling ingredients (soaked cashews, coconut cream, canned pumpkin puree, ¼ cup coconut oil, maple syrup, vanilla extract, 2 tsp pumpkin pie spice, ¼ tsp sea salt, squeeze of lemon juice) in the food processor. Turn it on and blend for at least 2 minutes until the mixture is very smooth and creamy.
- Transfer the creamy filling to the baking pan and spread it out evenly on top of the crust.
- Freeze the cheesecake bars for a minimum of 2 hours, or ideally overnight, before slicing them into bars.
- For the whipped topping: Right before you’re ready to serve, add the dairy-free whipping cream, vanilla, and your chosen sweetener (powdered sugar, monk fruit, or blended coconut sugar) to a mixing bowl. Mix using a hand-held electric mixer until soft or stiff peaks form. Add a dollop to each square of cheesecake before serving. Enjoy immediately!
Notes
Serving
Right before you’re ready to serve, make the whipped topping. Add the whipping cream, vanilla, and sugar to a mixing bowl and mix using a hand-held electric mixer until peaks form. Add a dollop to each cheesecake bar and serve! Enjoy!
Storing
Store these bars in the freezer or refrigerator and serve cold. They can be kept in the fridge for up to 7 days in an airtight container or frozen for up to 2 months.
Nutrition
Calories: 360kcal |
Carbohydrates: 12g |
Protein: 5g |
Fat: 35g |
Saturated Fat: 16g |
Polyunsaturated Fat: 4g |
Monounsaturated Fat: 11g |
Cholesterol: 20mg |
Sodium: 81mg |
Potassium: 241mg |
Fiber: 3g |
Sugar: 4g |
Vitamin A: 1418IU |
Vitamin C: 1mg |
Calcium: 36mg |
Iron: 2mg
All nutrition facts are an estimate and automatically calculated. While I fact check them using My Fitness Pal, please note that they may not always be 100% accurate and depend on ingredients used. Weigh your total and divide by the number of servings for the most accurate grams per serving size.
Did you make this? Rate & comment below, and tag me on Instagram @maryswholelife