
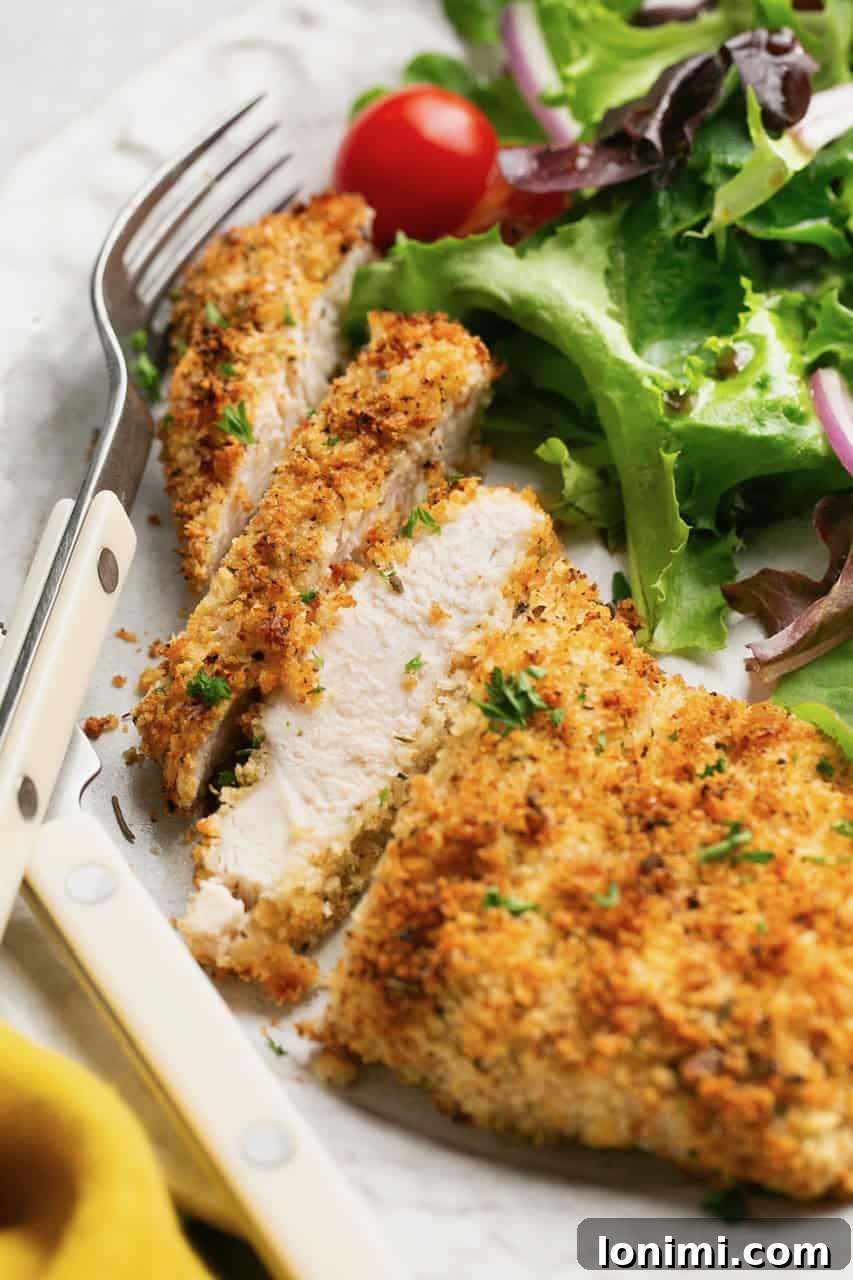
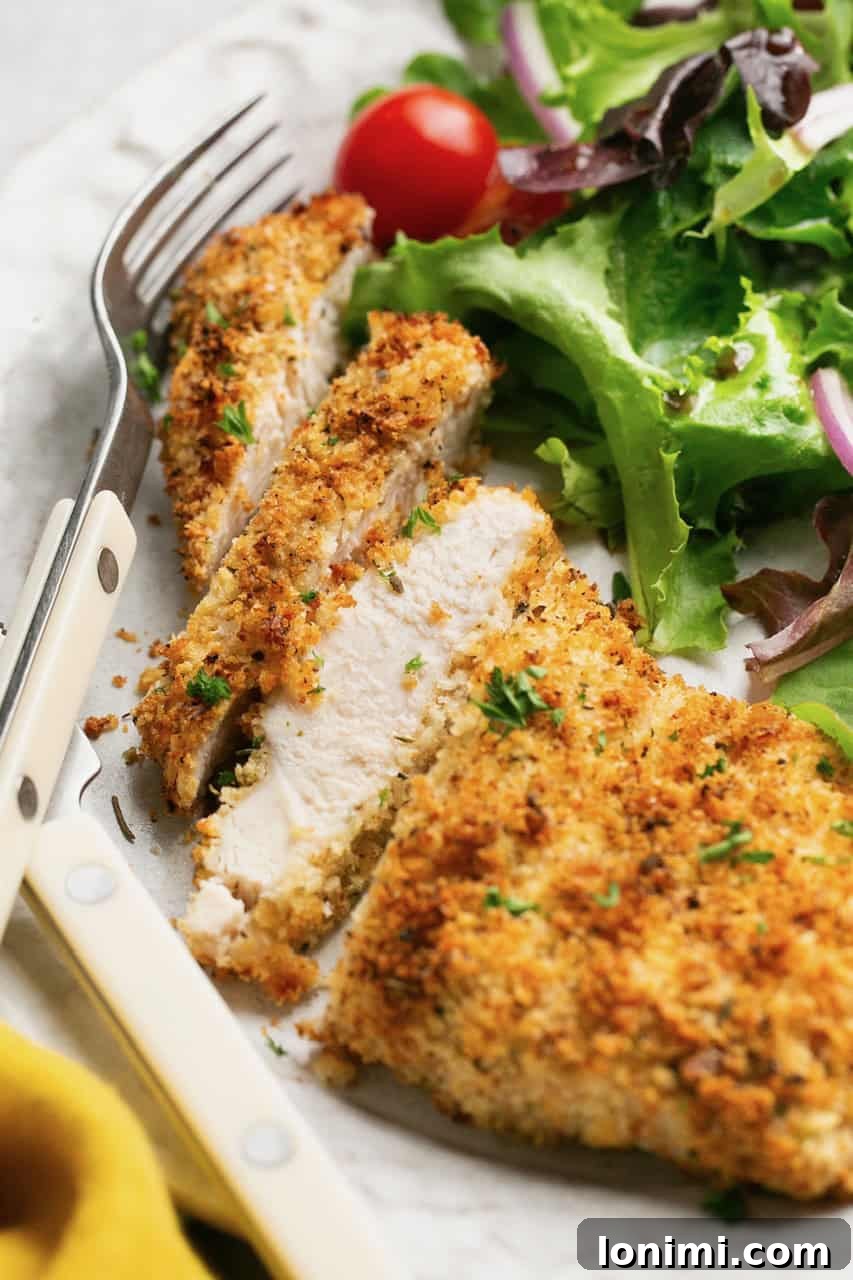
Crispy Gluten-Free Air Fryer Chicken Cutlets: Your New Weeknight Favorite
Are you searching for a quick, healthy, and incredibly delicious chicken recipe that the whole family will love? Look no further! These Air Fryer Chicken Cutlets are a game-changer, delivering perfectly crispy, tender, and juicy chicken every single time. Prepared in your air fryer in less than 15 minutes, this recipe is a lifesaver for busy weeknights. What makes it even better? It’s made with gluten-free panko breadcrumbs, ensuring that satisfying crunch without any gluten. Whether you’re pairing them with a fresh salad, creamy mashed potatoes, or your favorite roasted vegetables, these versatile cutlets are guaranteed to become a staple in your meal rotation.
Why You’ll Love This Air Fryer Chicken Cutlet Recipe
There’s a reason why air fryers have taken kitchens by storm, and this chicken cutlet recipe showcases exactly why. Cooking chicken in the air fryer isn’t just a trend; it’s a superior method for achieving unparalleled crispiness with minimal oil. Unlike traditional frying, which can be messy and heavy, the air fryer circulates hot air, creating a golden-brown, crunchy exterior that rivals deep-fried chicken, all while keeping the inside incredibly moist and flavorful. This method is not only healthier but also remarkably convenient.
Many people associate gluten-free chicken recipes with being dry or lacking in flavor, but these air fryer chicken cutlets break that stereotype completely. They are bursting with savory seasonings and encased in a delightful gluten-free panko crust that guarantees a satisfying crunch in every bite. This recipe is designed to be effortlessly simple, making it ideal for those hectic evenings when you need a wholesome meal on the table fast. Imagine, from prep to plate, a gourmet-quality chicken dinner ready in under 15 minutes! It’s truly my personal favorite way to cook chicken, transforming a simple protein into a culinary delight. Plus, these cutlets aren’t just a standalone meal; they also serve as an excellent base for other dishes, like the best gluten-free chicken parmesan, adding even more versatility to your cooking.
Recipe Highlights: Quick, Healthy & Delicious
- Lightning Fast & Effortless: Ready in under 15 minutes, perfect for your busiest evenings.
- Superior Texture: Experience chicken cutlets that are exceptionally crunchy, remarkably tender, and wonderfully juicy.
- Diet-Friendly: Naturally gluten-free and dairy-free, catering to various dietary needs without compromising on taste.
- Nutrient-Packed: A fantastic source of lean protein, supporting a healthy lifestyle.
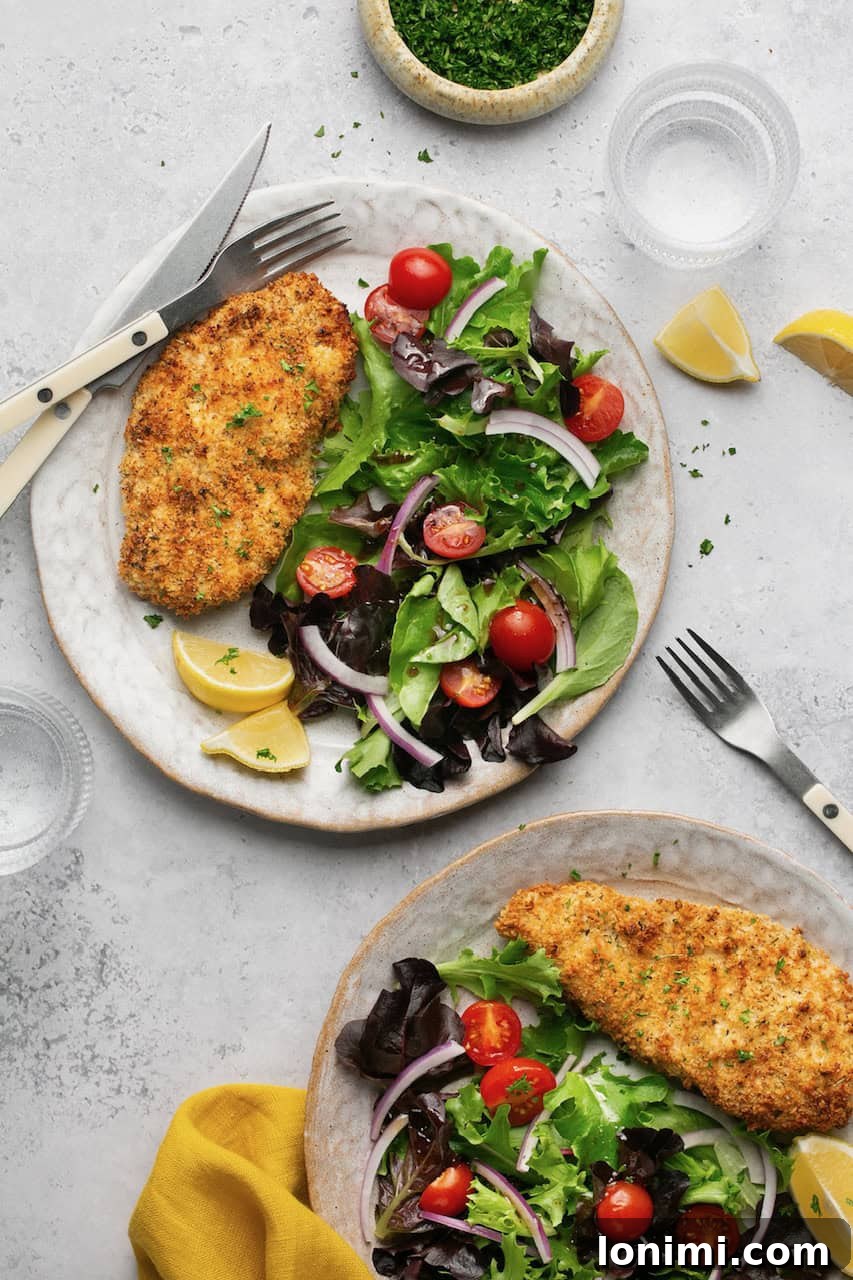
- Incredibly Versatile: Pairs beautifully with an array of side dishes, from fresh salads to comforting mashed potatoes or vibrant roasted vegetables.
- Excellent for Meal Prep: Cook a batch ahead of time for healthy lunches or quick dinners throughout the week.
- Family-Friendly: A universally appealing dish that even picky eaters will love.
Essential Ingredients for Perfect Air Fryer Chicken Cutlets
Crafting these delectable chicken cutlets requires just a few simple, high-quality ingredients. Each component plays a crucial role in achieving the desired texture and flavor. Here’s a detailed look at what you’ll need:
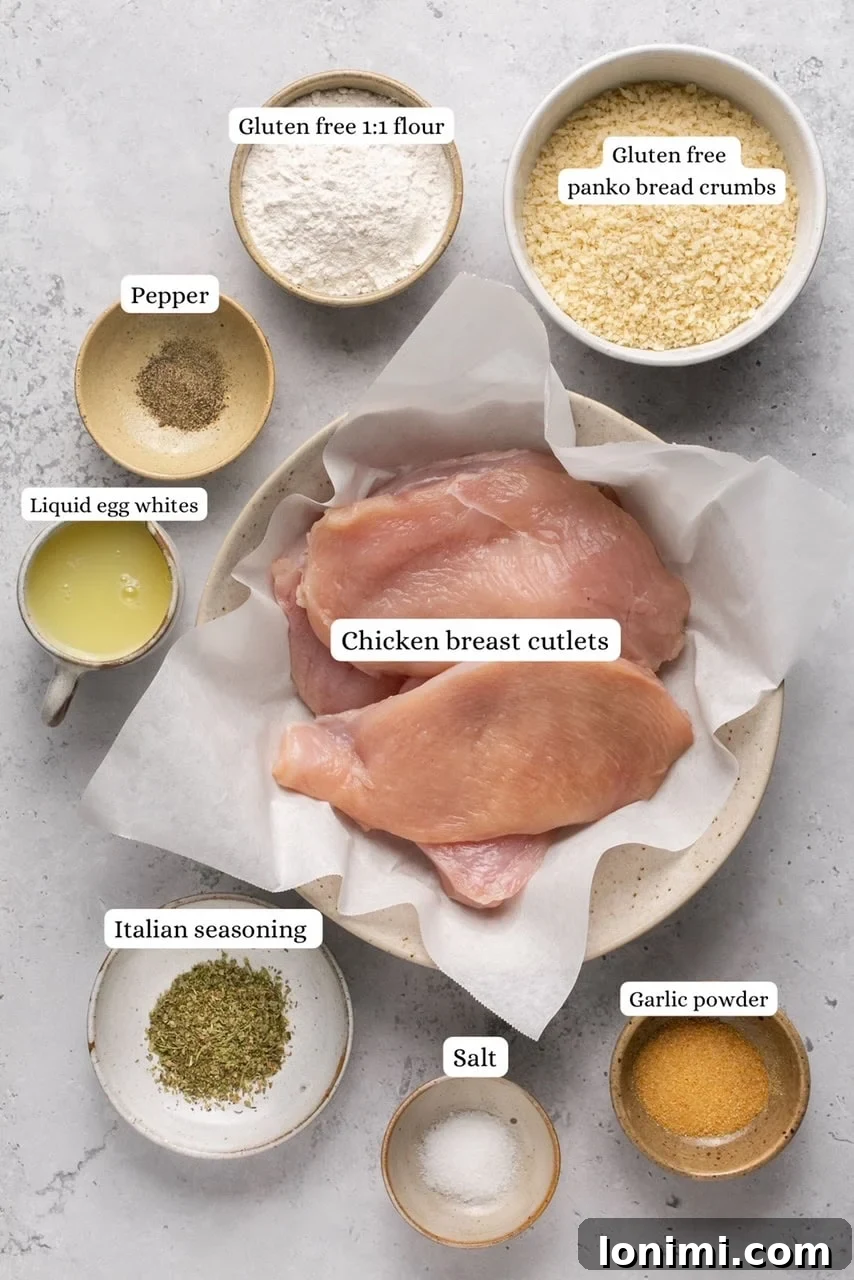
Chicken Cutlets: The foundation of our dish. For best results, I start with larger boneless, skinless chicken breasts. To create uniformly thin cutlets, I slice each breast horizontally, yielding two thinner pieces. Then, using a meat mallet or tenderizer, I gently pound them to an even ½-inch thickness. This ensures consistent cooking and maximum tenderness. Opting for organic chicken whenever possible can enhance the flavor and quality. Alternatively, many grocery stores offer pre-sliced thin chicken breasts, saving you a step.
Gluten-Free Panko Crumbs: The secret to that irresistible crunch! This particular brand works wonderfully, but many excellent gluten-free panko options are now widely available in the breadcrumb aisle of most local grocery stores. They mimic the texture and crispiness of traditional panko perfectly, ensuring your cutlets are crispy, never soggy. Made from ingredients like rice flour and pea protein, they are a fantastic gluten-free alternative.
Liquid Egg Whites: Essential for helping the gluten-free panko adhere beautifully to the chicken. I prefer using liquid egg whites over whole eggs as they provide added protein and create a lighter, crispier coating. This also makes the breading process cleaner and more efficient.
Gluten-Free Measure for Measure Flour: A crucial first step in the breading process, creating a thin layer that helps the egg whites stick better. My go-to is King Arthur Baking’s 1:1 gluten-free flour blend, which performs identically to all-purpose flour in this recipe. Its reliable texture is key to a consistent coating.
Flavorful Seasonings: A simple yet powerful blend of Italian seasoning, garlic powder, salt, and black pepper infuses the cutlets with incredible taste. This combination is universally appealing and complements the chicken perfectly. For a slight variation, onion powder can be used interchangeably with garlic powder, or you can even add a pinch of smoked paprika for extra depth.
Cooking Oil Spray: Essential for achieving that golden, crispy exterior in the air fryer. I highly recommend avocado oil spray due to its high smoke point, which is ideal for air frying and prevents burning. Olive oil spray is another excellent alternative if avocado oil is not available. A light, even coating ensures maximum crispiness without excess fat.
Step-by-Step Guide: How To Make Air Fryer Chicken Cutlets
Making crispy, juicy chicken cutlets in your air fryer is incredibly straightforward. Follow these simple steps for a perfect result every time:
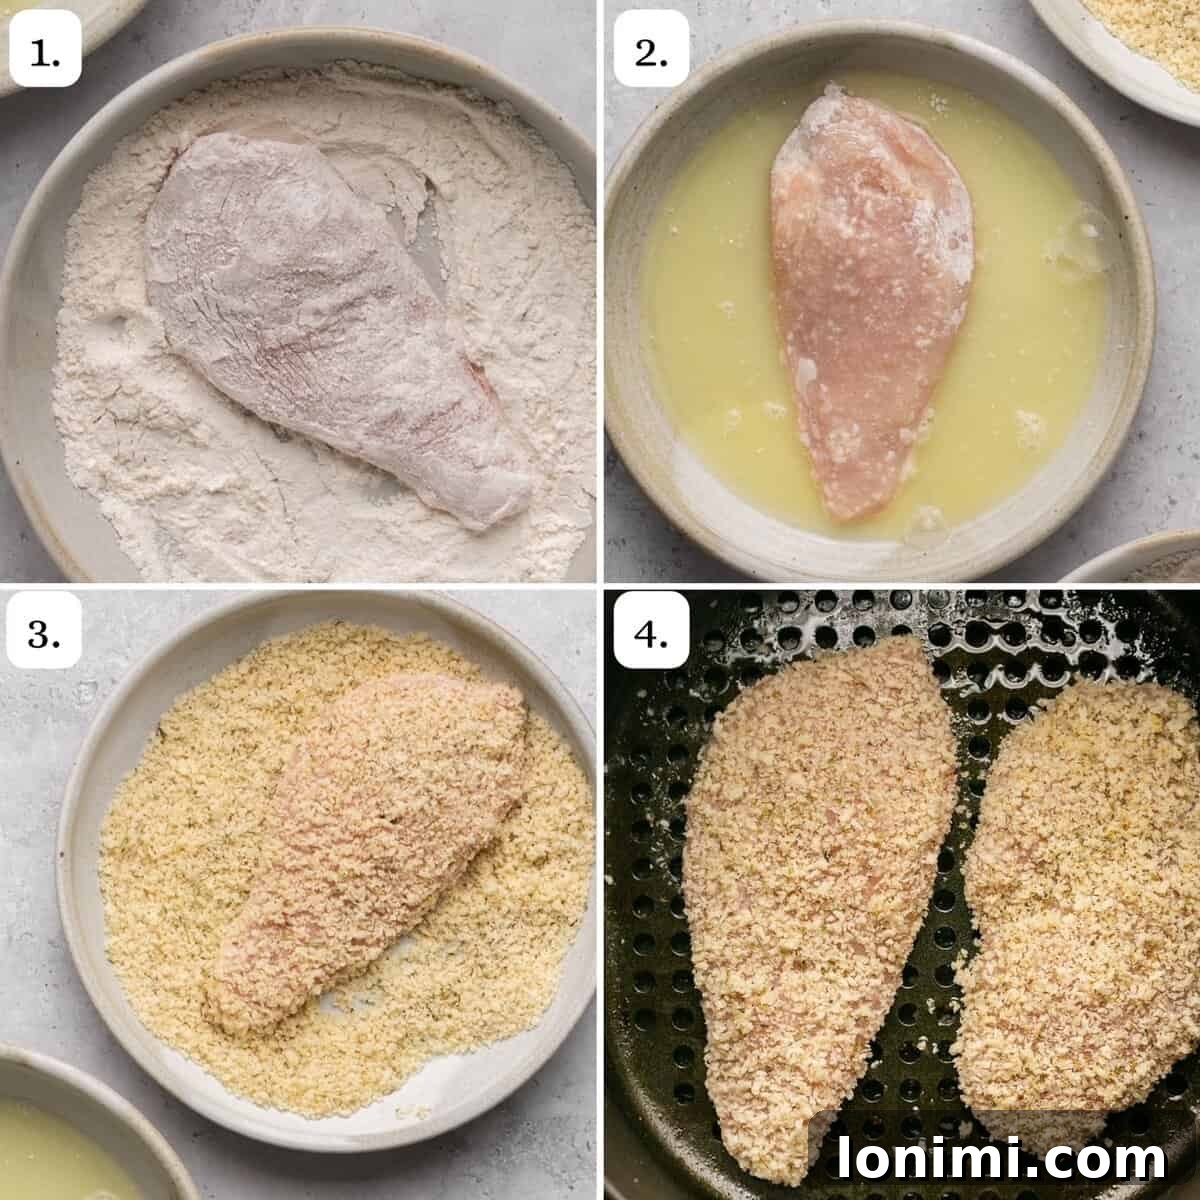
- Prepare the Chicken: Begin by preparing your chicken breast cutlets. If starting with larger chicken breasts, slice them horizontally to create thinner cutlets. Then, place each cutlet between two sheets of plastic wrap or in a large zip-top bag and pound them with a meat tenderizer or mallet until they are uniformly about ½ inch thick. This ensures even cooking. Once pounded, gently blot them dry with a paper towel to remove any excess moisture; this helps the breading adhere better.
- Set Up Your Breading Station: Create an efficient assembly line. In your first shallow bowl, add the gluten-free 1:1 flour. In the second shallow bowl, pour in the liquid egg whites. In the third shallow bowl, combine the gluten-free panko breadcrumbs, Italian seasoning, garlic powder, salt, and pepper. Use a fork to mix the dry ingredients thoroughly. For an extra layer of flavor, feel free to stir in some grated dairy-free parmesan cheese at this stage.
- Bread the Chicken: Take one chicken cutlet and dip it entirely into the flour, ensuring it’s lightly coated on all sides. Gently shake off any excess flour. Next, transfer the floured cutlet into the liquid egg whites, allowing any extra to drip off. Finally, place the cutlet into the seasoned gluten-free panko mixture, pressing gently to ensure a complete and even coating. Repeat this process for all four chicken cutlets, creating a beautifully breaded exterior.
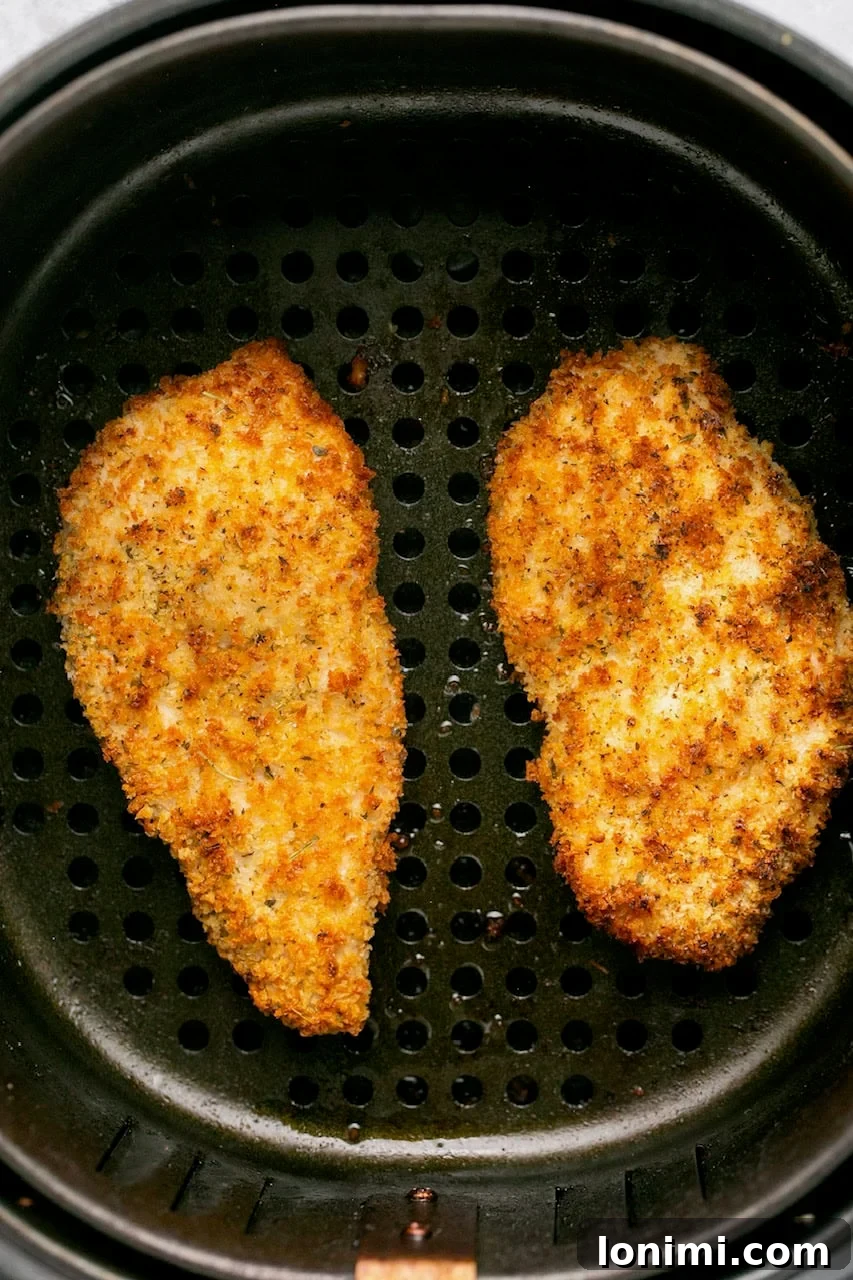
- Air Fry to Perfection: Preheat your air fryer to 390°F (199°C) for 2 minutes. While it preheats, lightly spray the bottom of the air fryer basket with avocado oil spray or your preferred cooking spray. Carefully place two breaded cutlets in the basket, ensuring they are in a single layer without overcrowding (cook in batches if necessary, depending on your air fryer’s size). Spray the tops of the cutlets generously with more oil. Air fry for 6 minutes, then carefully flip the cutlets and spray the other side with more oil. Continue cooking for an additional 4-6 minutes, or until the chicken reaches an internal temperature of 165°F (74°C) when checked with a meat thermometer, and the exterior is golden brown and crispy.
- Rest and Serve: Once cooked, transfer the air fryer chicken cutlets to a plate or cutting board and let them rest for 2 minutes. This crucial step allows the juices to redistribute, ensuring the chicken remains incredibly tender and juicy. Serve immediately with your favorite side dishes and enjoy your homemade crispy masterpiece!
Baked Chicken Cutlets: An Oven Alternative
No air fryer? No problem! You can easily adapt this recipe to bake these crispy chicken cutlets in your oven. The results are still wonderfully delicious, with a golden exterior and tender interior. Here’s how:
- Preheat your oven to 400°F (200°C).
- Line a baking sheet with foil or parchment paper for easy cleanup.
- Follow steps 1-3 from the air fryer instructions above for preparing and dredging the chicken cutlets. Ensure they are fully coated.
- Lightly spray the lined baking sheet with avocado oil or your preferred cooking spray.
- Arrange the breaded chicken cutlets in a single, even layer on the baking sheet, making sure they don’t touch.
- Spray the tops of the cutlets with additional oil to promote browning and crispiness.
- Bake for 18-20 minutes, then carefully flip the cutlets.
- Continue baking for an additional 5-6 minutes, or until the chicken is golden brown and cooked through, reaching an internal temperature of 165°F (74°C).
- Remove from the oven, let them rest for 2 minutes, and serve immediately.
Expert Tips & Tricks for the Best Chicken Cutlets
Achieving perfectly crispy and juicy chicken cutlets is simple when you follow a few key tips:
- Uniform Thickness is Key: To guarantee that all your chicken cutlets cook evenly and are done at the same time, ensure they are all the same size and thickness. Pounding them between two pieces of plastic wrap with a meat mallet works wonders to achieve that consistent ½-inch thickness. This prevents some pieces from drying out while others are still cooking.
- Blotting for Crispiness: Don’t skip the step of blotting your chicken cutlets dry with a paper towel before breading. Excess moisture is the enemy of crispiness! Removing it helps the gluten-free panko adhere better and ensures a truly crunchy crust.
- Avoid Overcooking at All Costs: There’s nothing less appealing than rubbery, dry chicken. Chicken cutlets cook quickly, so it’s essential to monitor them closely. Start checking the internal temperature with a reliable meat thermometer around the 10-minute mark. Continue cooking only until the thickest part reaches 165°F (74°C).
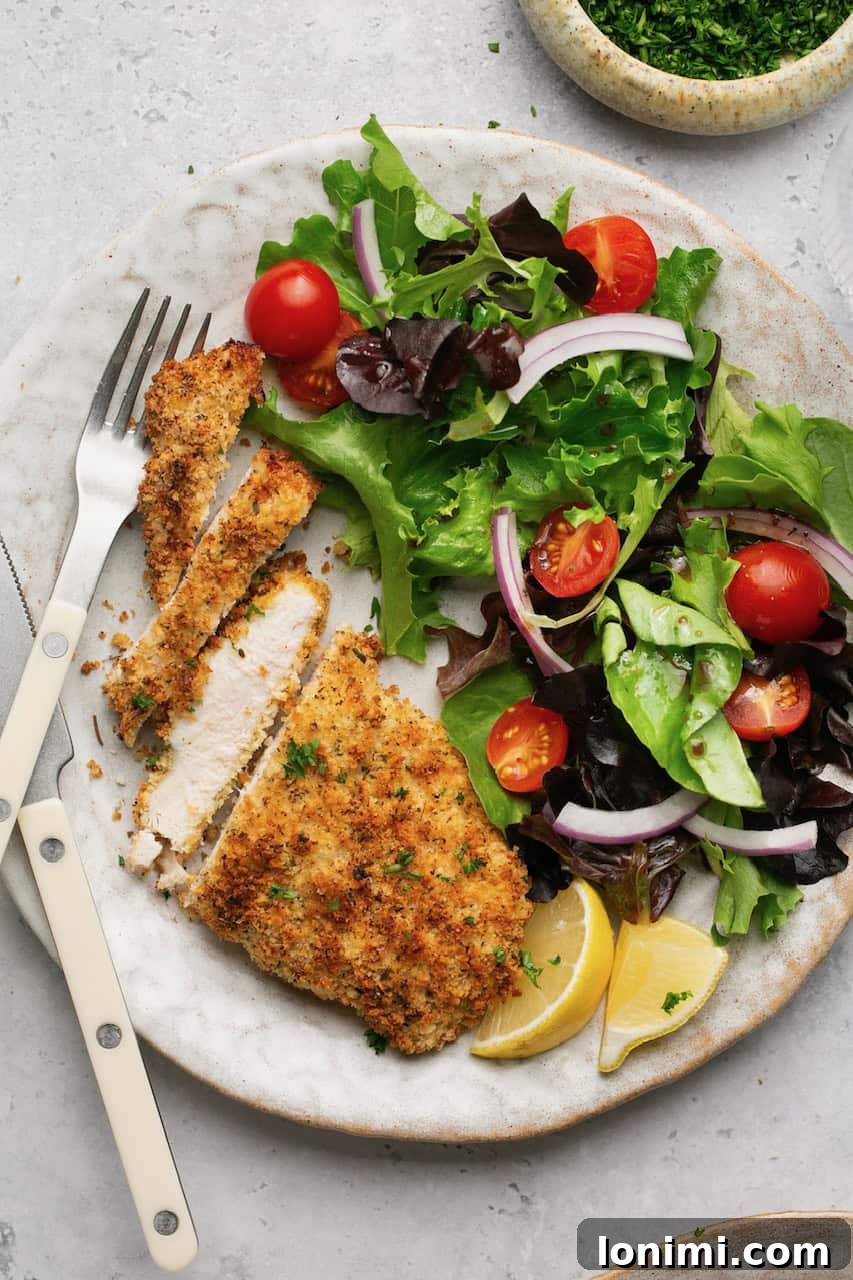
- The Essential Rest Period: Just like with steaks, letting your chicken cutlets rest for 2 minutes after cooking is vital. This brief pause allows the juices within the chicken to redistribute throughout the meat, resulting in a significantly juicier and more tender bite, preventing them from drying out.
- Don’t Overcrowd the Air Fryer: For optimal crispiness, ensure the air circulates freely around each cutlet. Cook in batches if necessary, placing only as many cutlets as will fit in a single layer in the air fryer basket. Overcrowding leads to steaming, not crisping.
- Light Oil Spray: While it might seem counterintuitive for an air fryer, a light spray of oil on both sides of the breaded chicken is crucial. It helps the panko brown beautifully and achieve that desirable golden crisp.
Frequently Asked Questions About Air Fryer Chicken Cutlets
No, traditional panko breadcrumbs are not gluten-free as they are made from wheat bread. However, I am delighted to confirm that many brands now offer excellent gluten-free panko breadcrumbs, readily available in most grocery stores. These alternatives, often made from rice flour or pea protein, taste remarkably similar to the real thing and provide the same satisfying crispness.
Yes, if you want to achieve a robust and evenly coated crust that truly sticks, flour is an essential first step. In this recipe, we use gluten-free flour, which works just as effectively. The sequence of dipping the chicken first into flour, then egg whites, and finally the panko breadcrumbs creates the perfect foundation for a crispy coating.
Through extensive testing, I’ve found that 390°F (199°C) is the ideal temperature for cooking chicken cutlets in the air fryer. This temperature allows the exterior to become beautifully golden and crispy without drying out the interior, resulting in perfectly cooked chicken every time.
When baking, preheat your oven to 400°F (200°C). Bake the chicken cutlets for an initial 18-20 minutes. Then, flip them over and continue cooking for an additional 5-6 minutes, or until they are golden brown and cooked through to an internal temperature of 165°F (74°C). This method consistently yields perfectly baked results.
To reheat leftover chicken cutlets in the air fryer, simply place them in the air fryer basket (no need to preheat) and cook at 360°F (182°C) for approximately 3 minutes. They will regain their delicious crispiness and be ready to enjoy once again.
Store any cooked and cooled chicken cutlets in an airtight container in the refrigerator. They will remain fresh and delicious for up to 5 days, making them perfect for meal prep throughout the week.
More Delicious Gluten-Free Air Fryer Recipes
If you loved these crispy chicken cutlets, you’ll be thrilled to explore more gluten-free recipes that harness the magic of the air fryer. Expand your repertoire with these fantastic ideas:
- Air Fryer Turkey Meatballs: Juicy and flavorful, perfect for a lean protein addition to any meal.
- Air Fryer Chicken Tenders: Another quick chicken classic, great for kids and adults alike.
- Frozen Salmon In The Air Fryer: Effortless and healthy, proving that gourmet seafood can be weeknight-friendly.
- Blackened Mahi Mahi: A flavorful, spicy fish dish that cooks up beautifully in minutes.
- Air Fryer Filet Mignon: Indulge in a perfectly cooked steak with minimal fuss.
- Air Fryer Eggs: Discover a surprisingly simple way to cook eggs to your desired doneness.
- The Easiest Boneless Pork Chops: Tender and juicy pork chops without the need for breading.
Love this recipe? Please leave a 5-star 🌟🌟🌟🌟🌟 rating in the recipe card below & a review in the comment section. Or, follow me on Facebook, Pinterest or Instagram today!
Air Fryer Chicken Cutlets (Gluten-Free)
Equipment
-
Air Fryer
Ingredients
- 4 chicken breast cutlets, I cut 2 larger breasts in half vertically to create 2 thinner breasts
- ⅓ cup gluten free measure for measure flour, I like King Arthur Baking brand
- ⅓ cup liquid egg whites
- ¾ cup gluten free panko breadcrumbs
- 1 tsp Italian seasoning
- 1 tsp garlic powder
- ¾ tsp salt
- ¼ tsp pepper
- Avocado oil spray, or cooking spray of choice
Instructions
-
Pound your chicken breast halves so they are all of even thickness (about ½ inch thick). Blot them dry with a paper towel.
-
Add the gluten free 1:1 flour to one shallow bowl. Add the liquid egg whites to another shallow bowl. Add the gluten free panko, Italian seasoning, garlic powder, salt, and pepper to a 3rd shallow bowl and mix with a fork to combine.
-
Dip each chicken cutlet first into the flour, then the egg whites, then the gluten free panko bread crumbs mixture to coat completely. Repeat with all 4 cutlets.
-
Set your air fryer to 390 and preheat for 2 minutes. Spray the bottom of the air fryer with avocado oil. Lay 2 chicken cutlets (or as many as will fit in an even layer) in the basket). Spray the tops with more oil. Air fry for 6 minutes, then flip and spray with more oil again. Continue cooking for an additional 4-6 minutes, until the internal temperature reaches 165 degrees.
-
Let them rest for 2 minutes then serve with sides of choice. Enjoy!
Notes
Blotting dry: Blot the chicken dry with a paper towel first to remove excess moisture. This will help the gluten-free panko to stick.
Do not overcook! Make sure not to overcook – there is nothing worse than rubbery chicken! Check the temperature of the chicken at the 10 minute cooking time mark and keep going if needed until 165 degrees.
Let it rest: Let the chicken rest for 2 minutes after cooking. This will help ensure the chicken cutlets are juicy and not dry.
Baked Chicken Cutlets: Preheat oven to 400. Line a baking sheet with foil or parchment paper. Follow the instructions above for dredging the chicken. Spray some avocado oil on the baking sheet. Lay the chicken cutlets out in an even row. Spray the tops with more oil. Bake for 18-20 minutes, then flip and cook for an additional 5-6 minutes. Let them rest for 2 minutes, then serve!
Reheating: Add the leftover chicken cutlets to your air fryer and cook for 3 minutes at 360. No need to preheat.
Nutrition
All nutrition facts are an estimate and automatically calculated. While I fact check them using My Fitness Pal, please note that they may not always be 100% accurate and depend on ingredients used. Weigh your total and divide by the number of servings for the most accurate grams per serving size.