
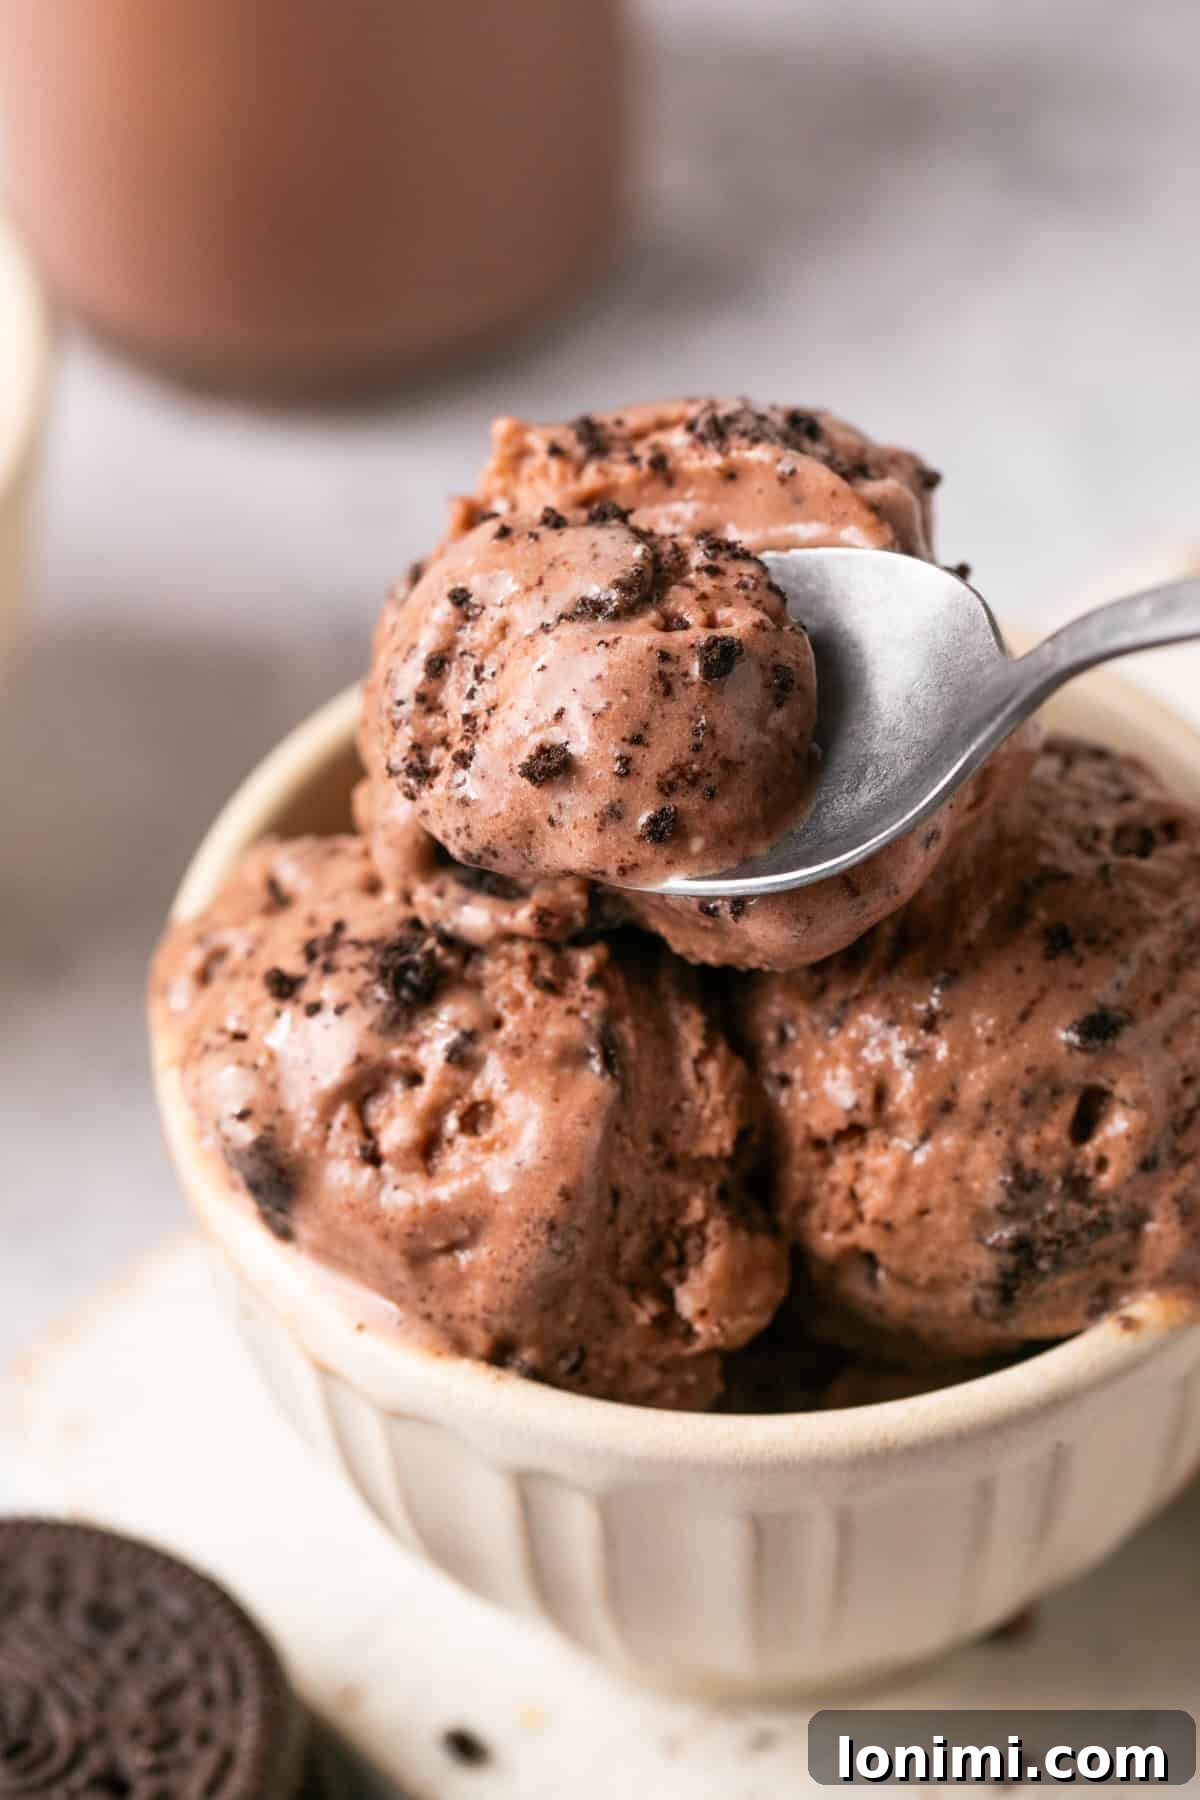
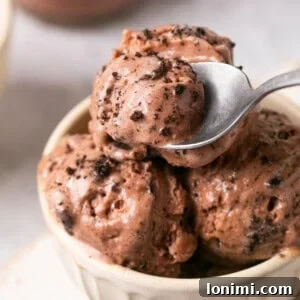
Craving a rich, chocolatey treat that also fuels your body? Look no further than this incredible Ninja Creami chocolate protein ice cream. Designed for those who love indulgence without compromise, this recipe delivers a luxuriously smooth, intensely flavorful frozen dessert packed with a remarkable 24 grams of protein per serving. Forget the heavy, additive-laden store-bought options; with just four simple ingredients and your Ninja Creami, you can effortlessly whip up a homemade sensation that’s both delicious and genuinely nourishing. It’s the perfect solution for a satisfying post-workout reward, a guilt-free summer indulgence, or any moment you desire a treat that supports your health goals.
Why You’ll Fall in Love with This High-Protein Chocolate Ice Cream
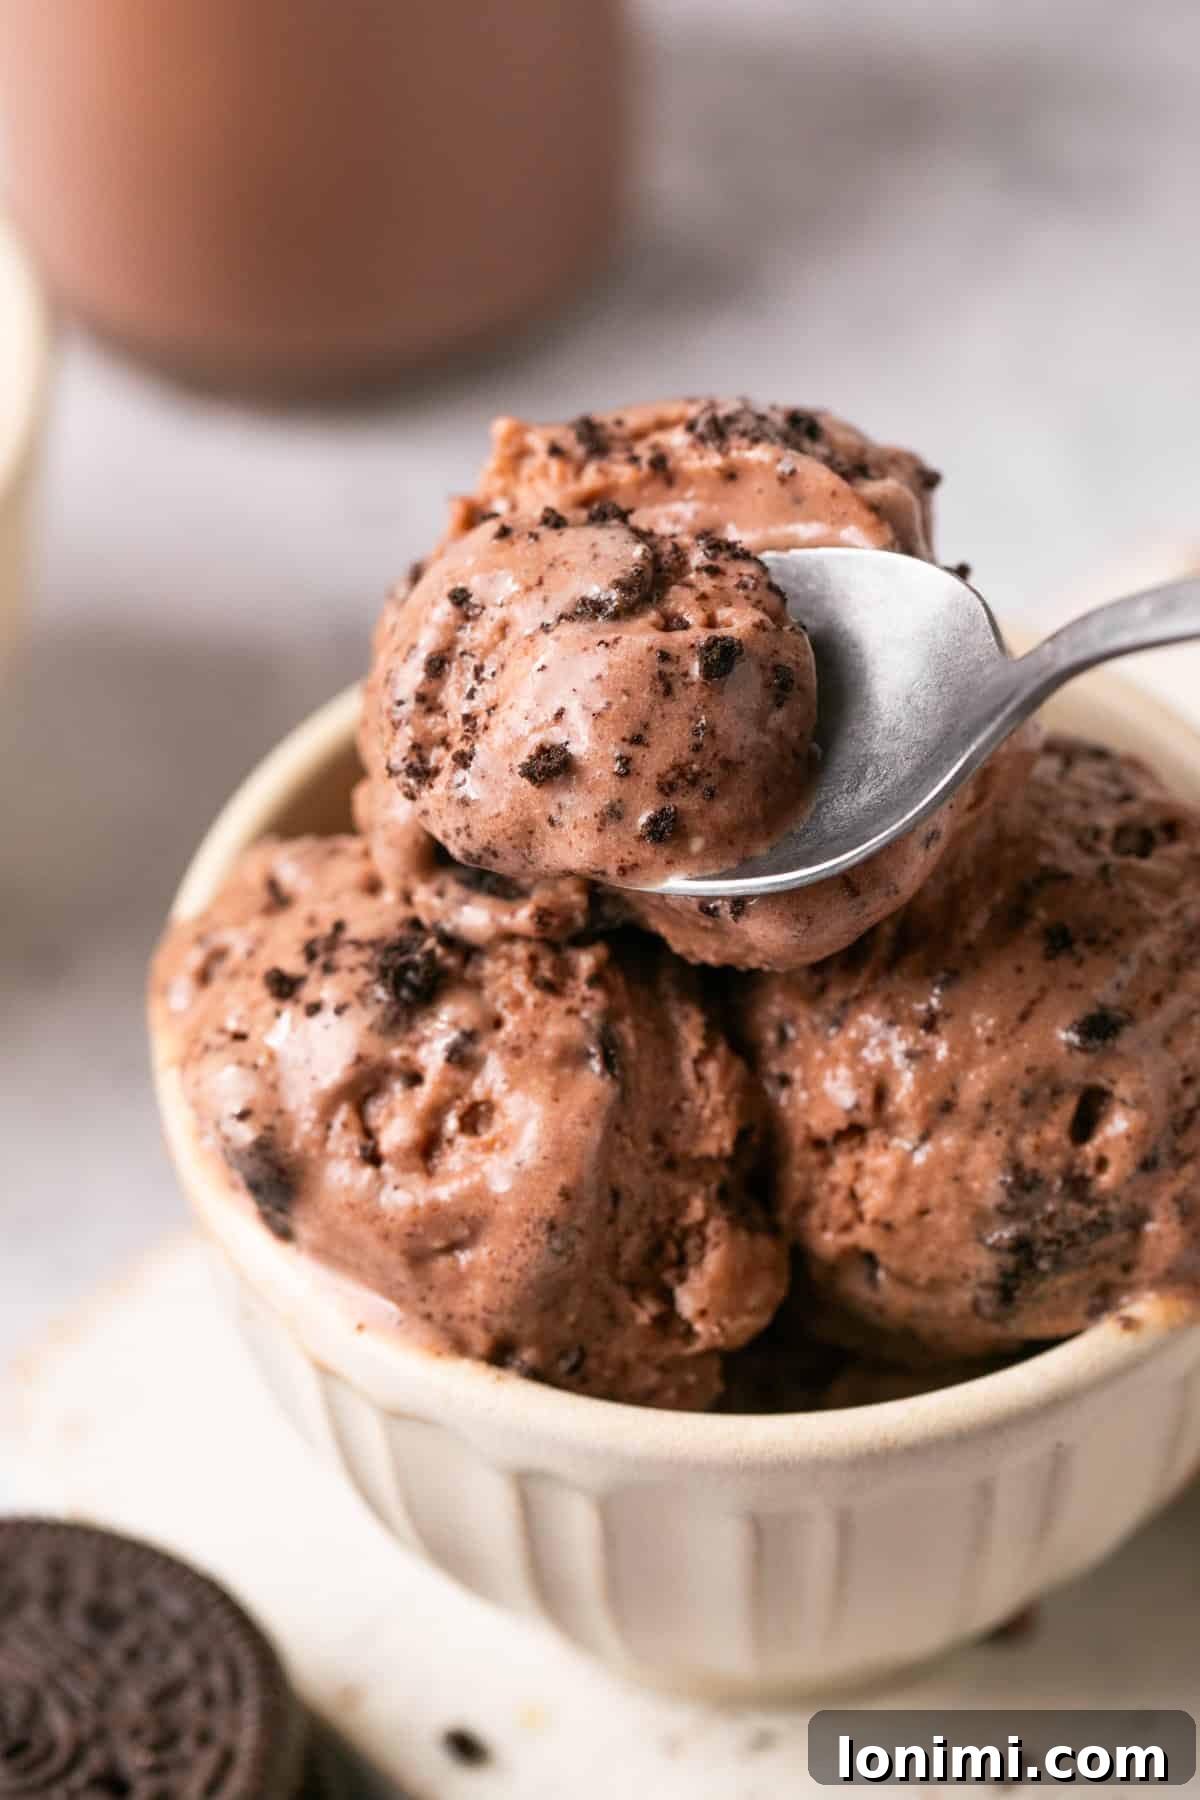
As a passionate advocate for transforming classic desserts into healthier, protein-rich delights, I’ve found that treats can indeed be both utterly delicious and incredibly good for you. My Healthy Chocolate Protein Mug Cake and High Protein Cheesecake Bars are prime examples of this philosophy. This Ninja Creami recipe continues that tradition, offering a creamy, satisfying, high-protein ice cream that perfectly curbs cravings without the usual heaviness or guilt associated with traditional ice cream. It stands out as one of my absolute favorite Ninja Creami protein recipes because it beautifully showcases just how easy, versatile, and transformative this appliance can be for creating wholesome desserts.
The beauty of using the Ninja Creami lies in its simplicity. It transforms a liquid base into a perfectly churned frozen dessert with minimal effort, far surpassing the texture achievable with conventional freezing methods. Unlike many store-bought protein ice creams that often contain a long list of questionable additives, this homemade version stays wonderfully wholesome. We achieve its rich creaminess and substantial protein content by leveraging natural ingredients like cottage cheese, quality protein powder, and your preferred milk, ensuring every scoop is clean and beneficial.
Beyond its incredible taste and nutritional profile, this recipe is designed to be inclusive and adaptable. It is naturally gluten-free, making it suitable for those with dietary restrictions, and is inherently macro-friendly, allowing you to easily fit it into your daily nutritional targets. Customization is at your fingertips – whether you opt for whey protein for the silkiest texture or choose a plant-based protein alternative, you’ll end up with a dessert you can truly feel good about enjoying. This flexibility ensures that everyone can create their perfect pint, tailored to their specific needs and preferences.
If you’re eager for more high-protein recipe inspiration that doesn’t sacrifice flavor, be sure to explore my comprehensive list of Top 10 Gluten-Free High-Protein Recipes. These recipes prove that healthy eating can be exciting and incredibly satisfying.
Essential Ingredients You’ll Need for Your Protein Ice Cream
Crafting this delectable Ninja Creami protein ice cream requires just a handful of simple, wholesome ingredients. Each component plays a vital role in achieving that perfect creamy texture and rich chocolate flavor. Below, we’ll dive into why each ingredient is chosen and discuss potential substitutions to fit your dietary needs and preferences.
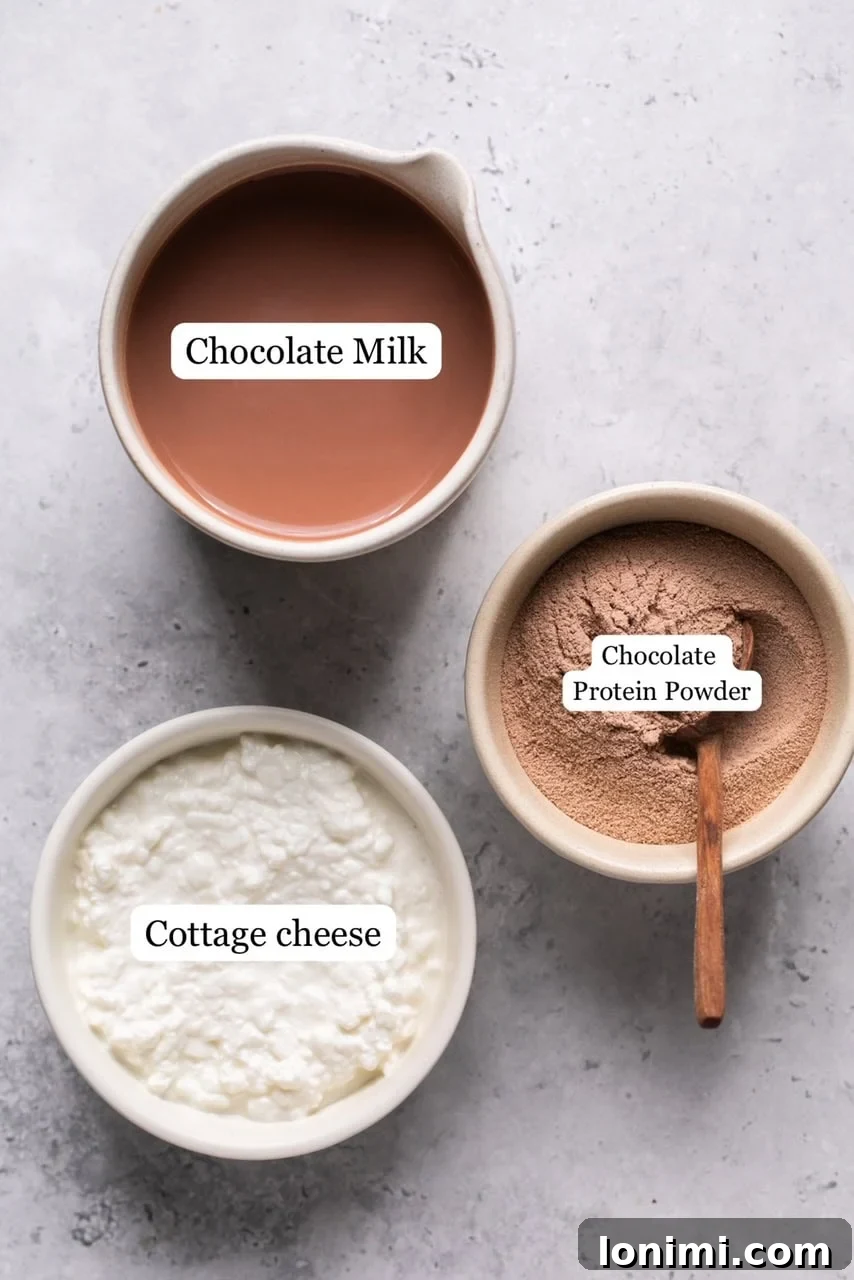
- Chocolate Protein Powder: This is the star ingredient for both protein content and flavor. While chocolate is recommended for a rich, indulgent experience, you can easily swap it for vanilla protein powder if you prefer a different base flavor, or even a mocha or peanut butter protein powder for added complexity. I personally love Flavcity Brownie Batter protein powder or Be Well By Kelly chocolate protein powder for their superior taste and smooth texture. Whey protein blends generally yield the creamiest results, but plant-based alternatives work beautifully too, though they might require an extra “re-spin” cycle to achieve optimal smoothness.
- 2% Cottage Cheese: This might seem like an unconventional ice cream ingredient, but it’s the secret weapon for unparalleled creaminess and an incredible protein boost. I typically use the Good Culture brand for its quality, but any 2% cottage cheese you have on hand will work. Many traditional Ninja Creami recipes use ingredients like bananas or Jello pudding mix for texture, but I discovered that cottage cheese not only provides a phenomenal creamy consistency but also lends a subtle, delightful cheesecake-like tang to the finished product. This makes the ice cream uniquely satisfying. If you’re not a fan of cottage cheese, or if you’re looking for an alternative, Greek yogurt can be substituted, though it will impart a slightly tangier flavor profile to your ice cream.
- Chocolate Milk: To deepen the chocolate flavor and ensure a perfectly balanced base, chocolate milk is essential. Fairlife chocolate milk is my top recommendation due to its higher protein content and reduced sugar compared to many other brands, which aligns perfectly with our healthy dessert goals. However, any chocolate milk will work. For a dairy-free option, substitute with a dairy-free chocolate milk such as almond, oat, or soy milk. If you prefer a less sweet ice cream, opt for unsweetened cocoa mixed into regular or plant-based milk.
- Gluten-Free Chocolate Sandwich Cookies (Optional): These add a wonderful textural contrast and an extra layer of chocolatey goodness, turning your protein ice cream into a “cookies and cream” dream. Be sure to crush them up before adding them as a mix-in. The Goodie Girl Thin Mints also make an amazing addition if you enjoy a hint of mint with your chocolate. This ingredient is entirely optional, so feel free to omit it for a simpler ice cream or swap it out for other favorite mix-ins.
Always check the full recipe card below for exact ingredient amounts and precise measurements to ensure the best results.
Step-by-Step Guide: How to Make Ninja Creami Protein Ice Cream
Making this high-protein chocolate ice cream with your Ninja Creami is incredibly straightforward, transforming simple ingredients into a gourmet dessert. Follow these easy steps to create your perfect pint.
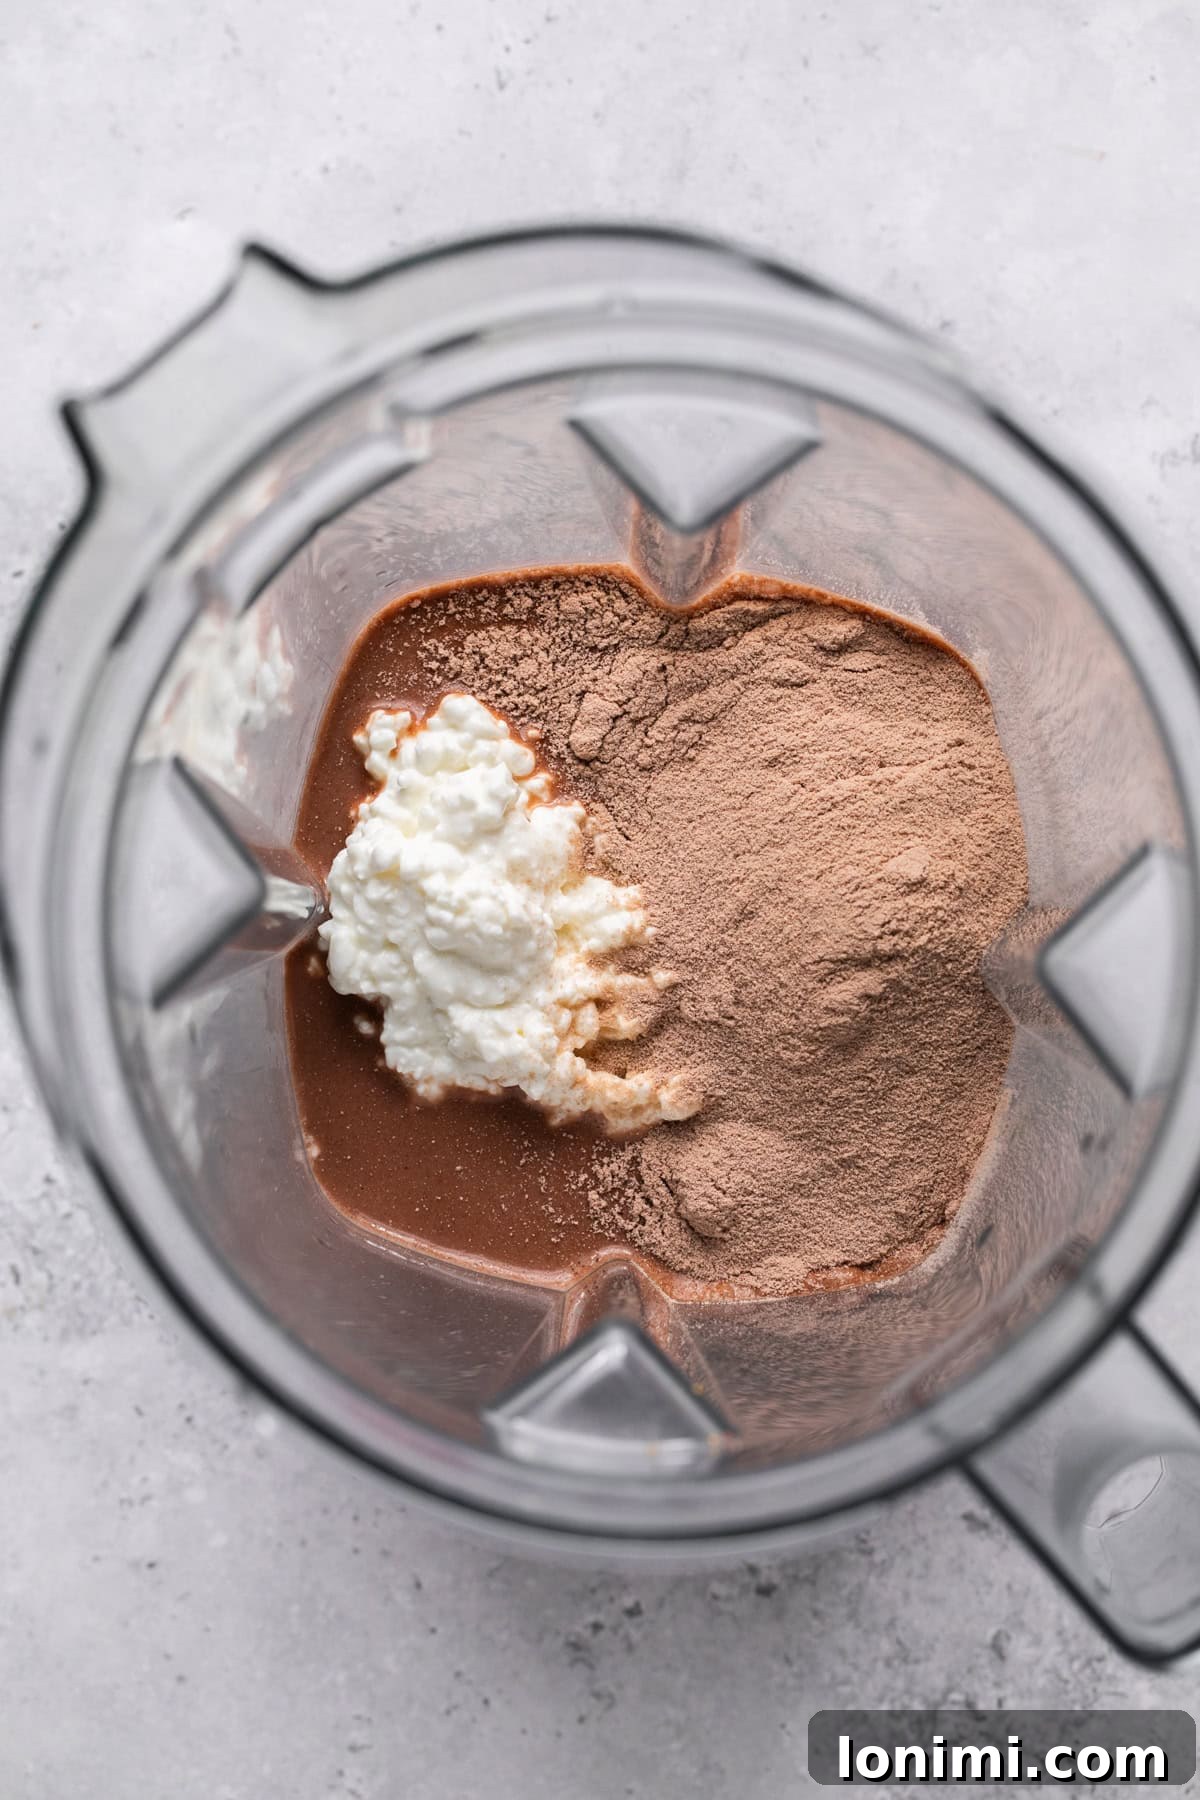
Step 1: Blend the Base. Combine the cottage cheese, chocolate protein powder, and chocolate milk in a high-speed blender. Blend thoroughly until the mixture is completely smooth and free of any lumps. This step is crucial for achieving a silky, uniform ice cream texture, ensuring the cottage cheese is fully incorporated.
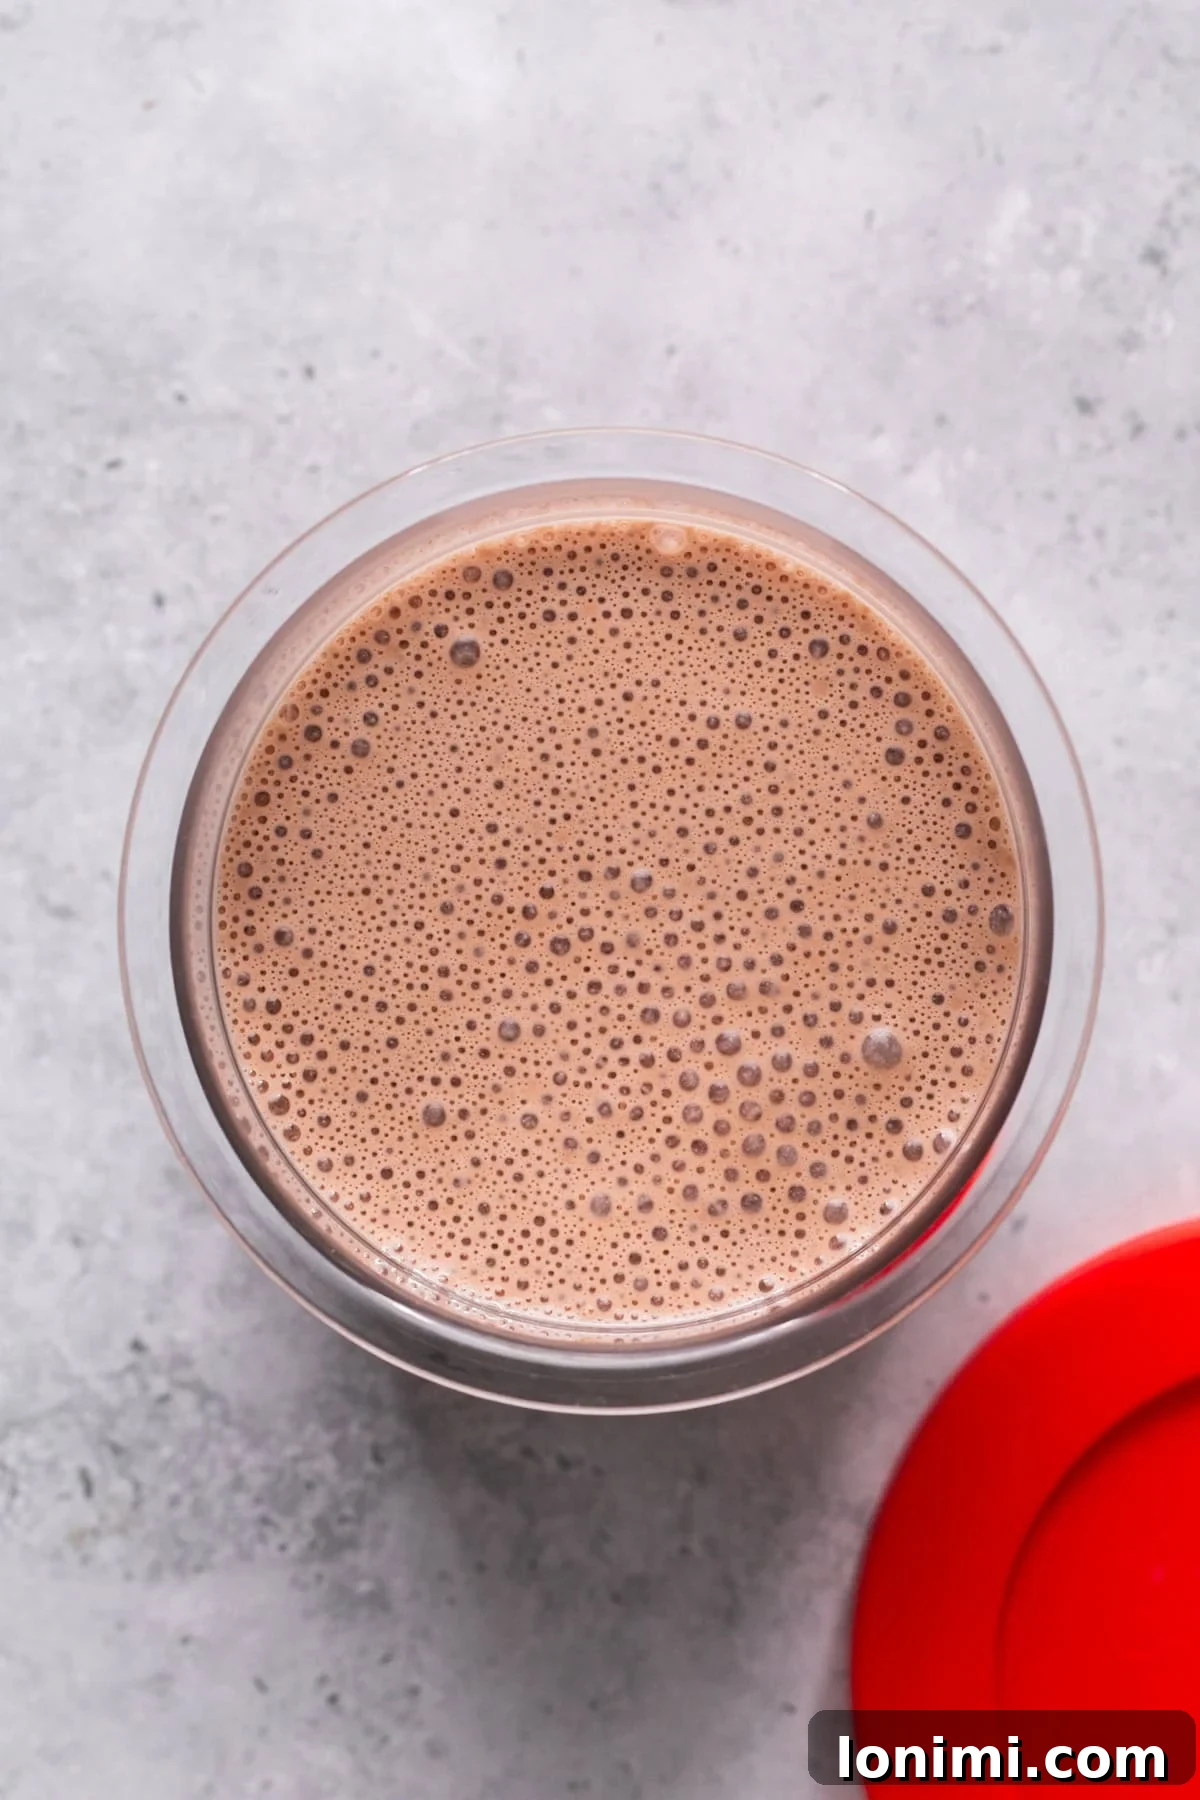
Step 2: Prepare for Freezing. Carefully pour the blended protein mixture into a Ninja Creami pint container. Ensure the liquid does not exceed the MAX fill line to prevent overflow during processing. The consistency should be liquid and smooth at this stage.
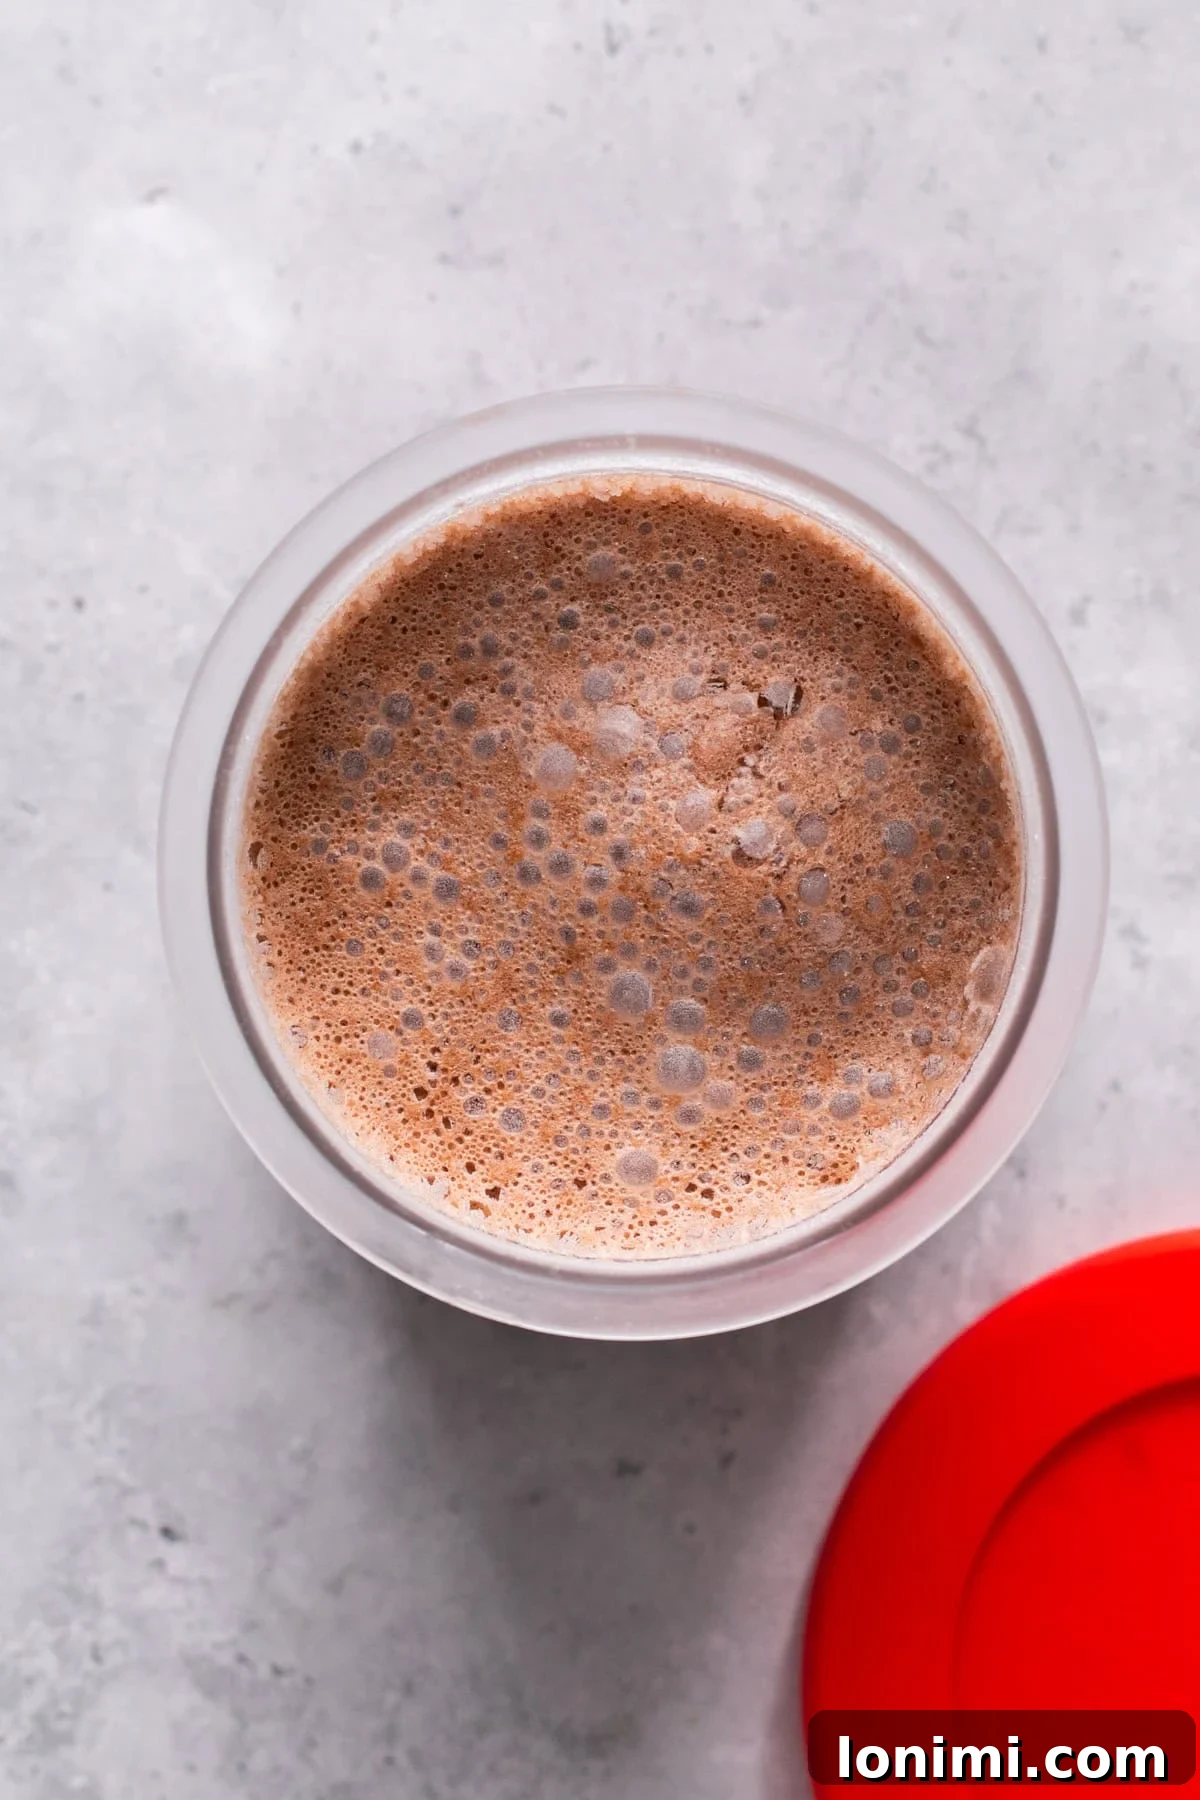
Step 3: Freeze Solid. Secure the lid onto the Ninja Creami pint container. Transfer the pint to your freezer and allow it to freeze solid for at least 18 to 24 hours. For best results, ensure your freezer is set to 0°F (-18°C) or colder, and the pint is placed on a level surface. This extended freezing time is vital for a truly solid block, which the Ninja Creami needs to process properly.
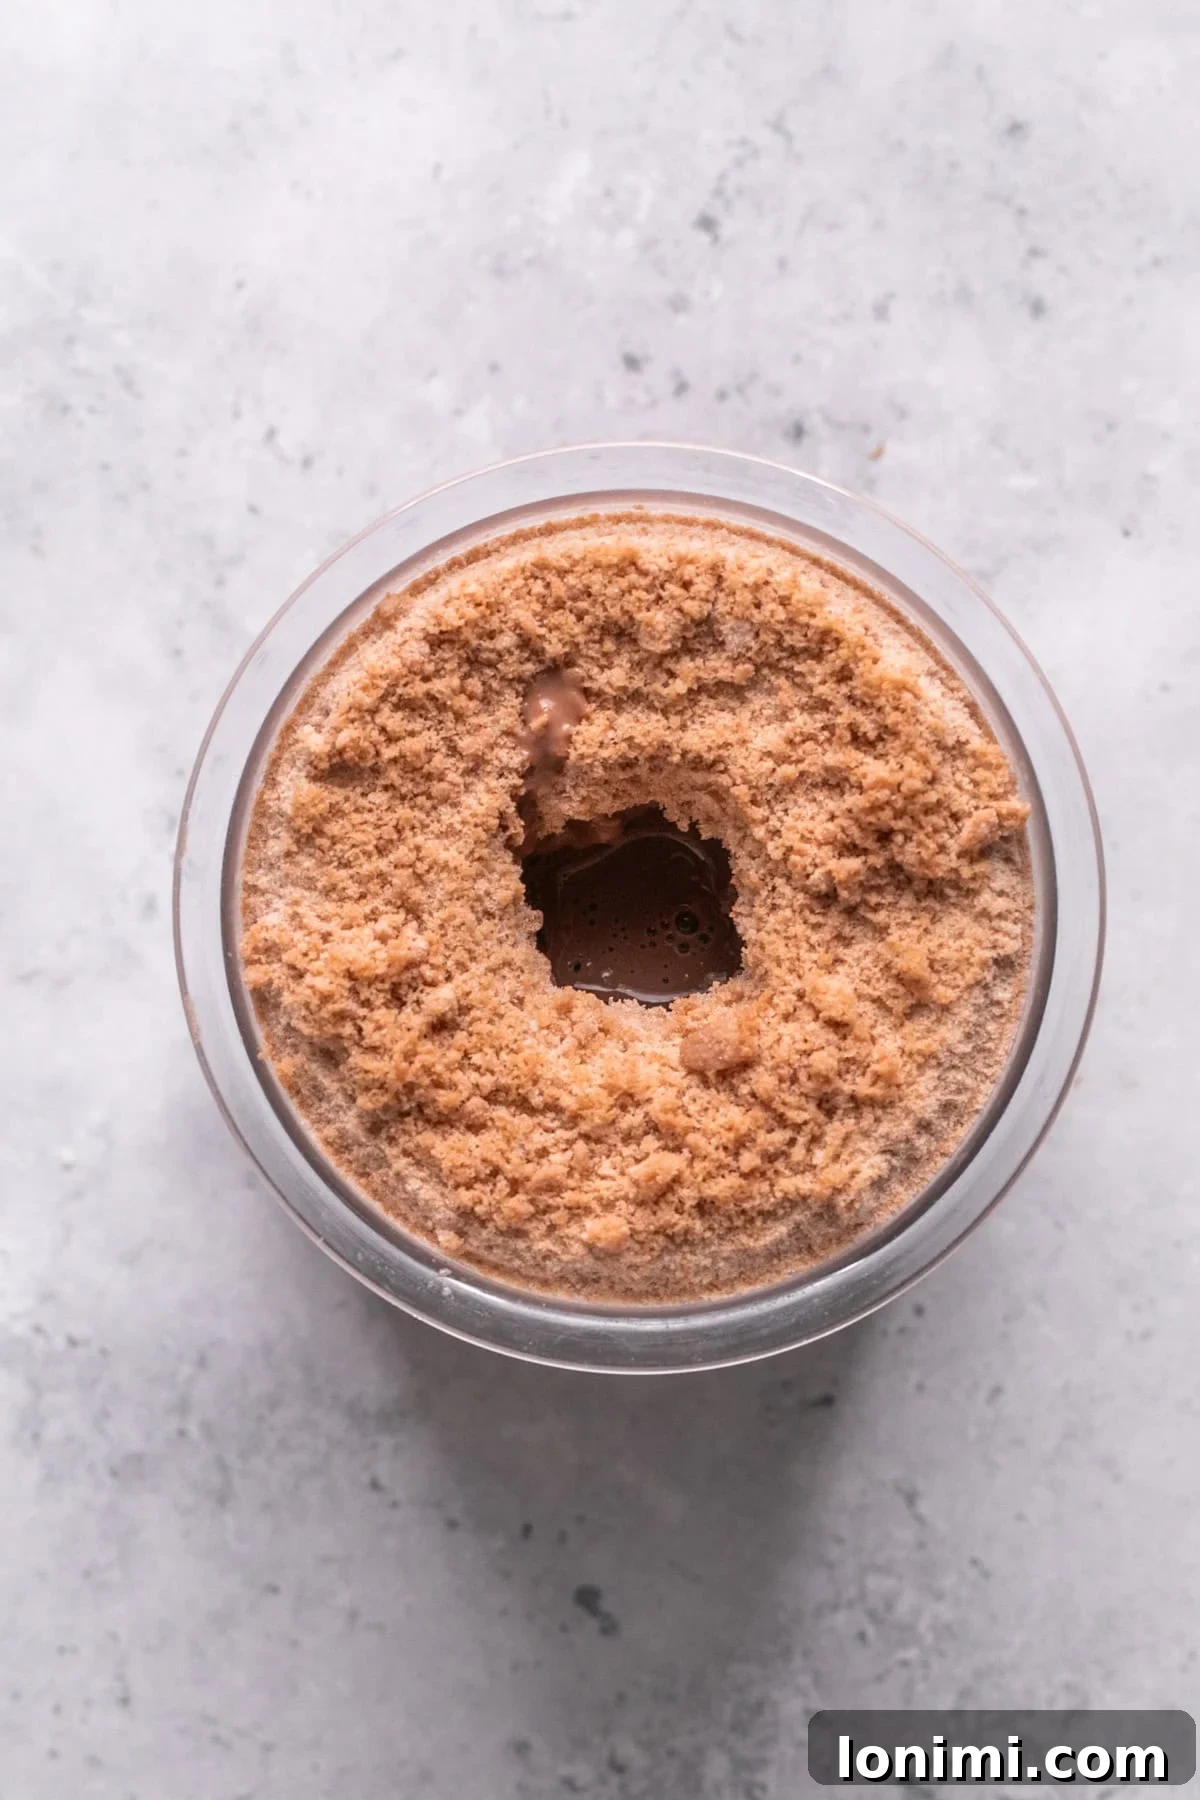
Step 4: Prepare for Processing. Once the mixture is completely frozen solid, remove the pint from the freezer. Take off the lid and place the pint into the Ninja Creami outer bowl, then attach the paddle and secure the outer bowl lid onto the machine base. Ensure everything is locked into place correctly.
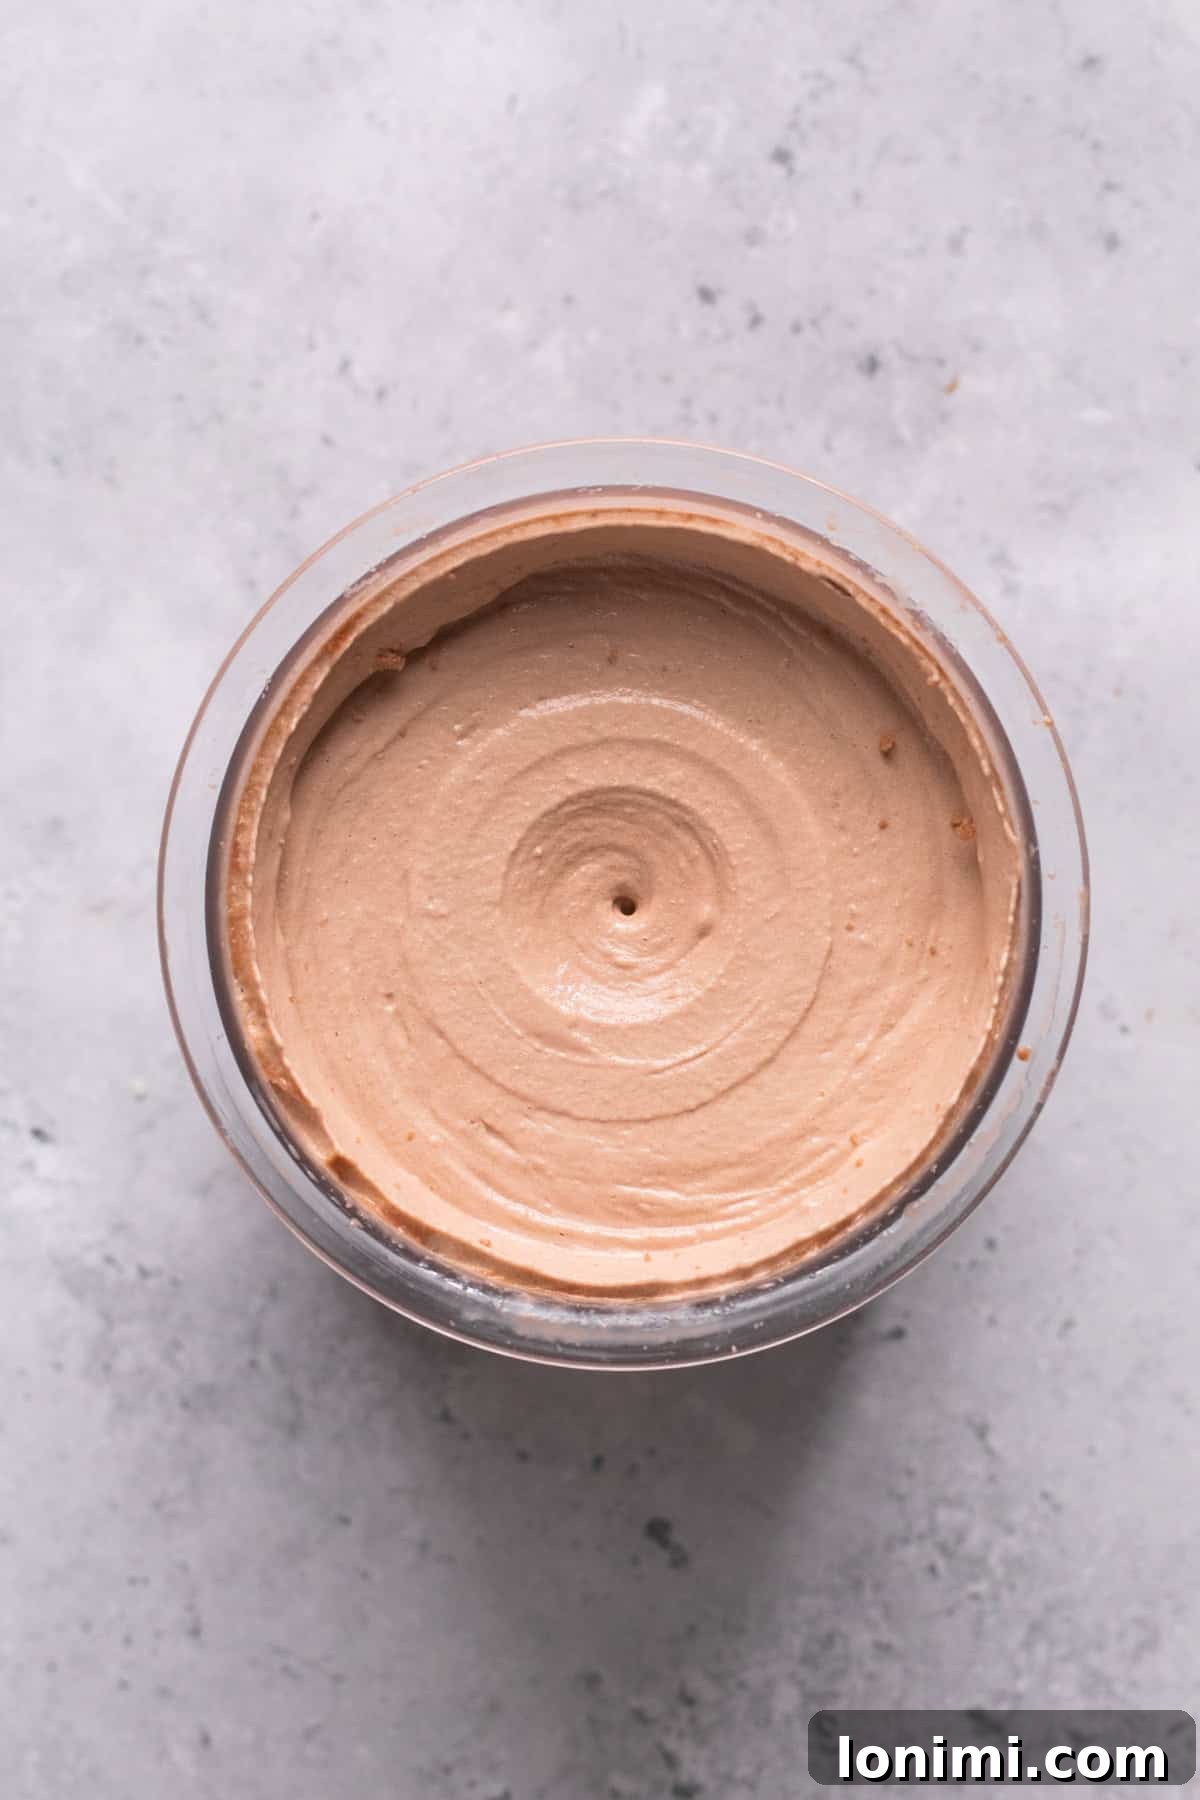
Step 5: First Spin & Re-Spin. Select the “Ice Cream” function on your Ninja Creami. The machine will process the frozen block into a delightful, fluffy consistency. After the first cycle, the texture might appear a bit crumbly; this is normal for protein ice cream. Add 1 tablespoon of additional chocolate milk (or any milk of choice) into the pint. Re-attach to the machine and press “Re-Spin.” This second cycle, with the added liquid, is key to achieving that incredibly smooth, creamy, and irresistible ice cream texture.
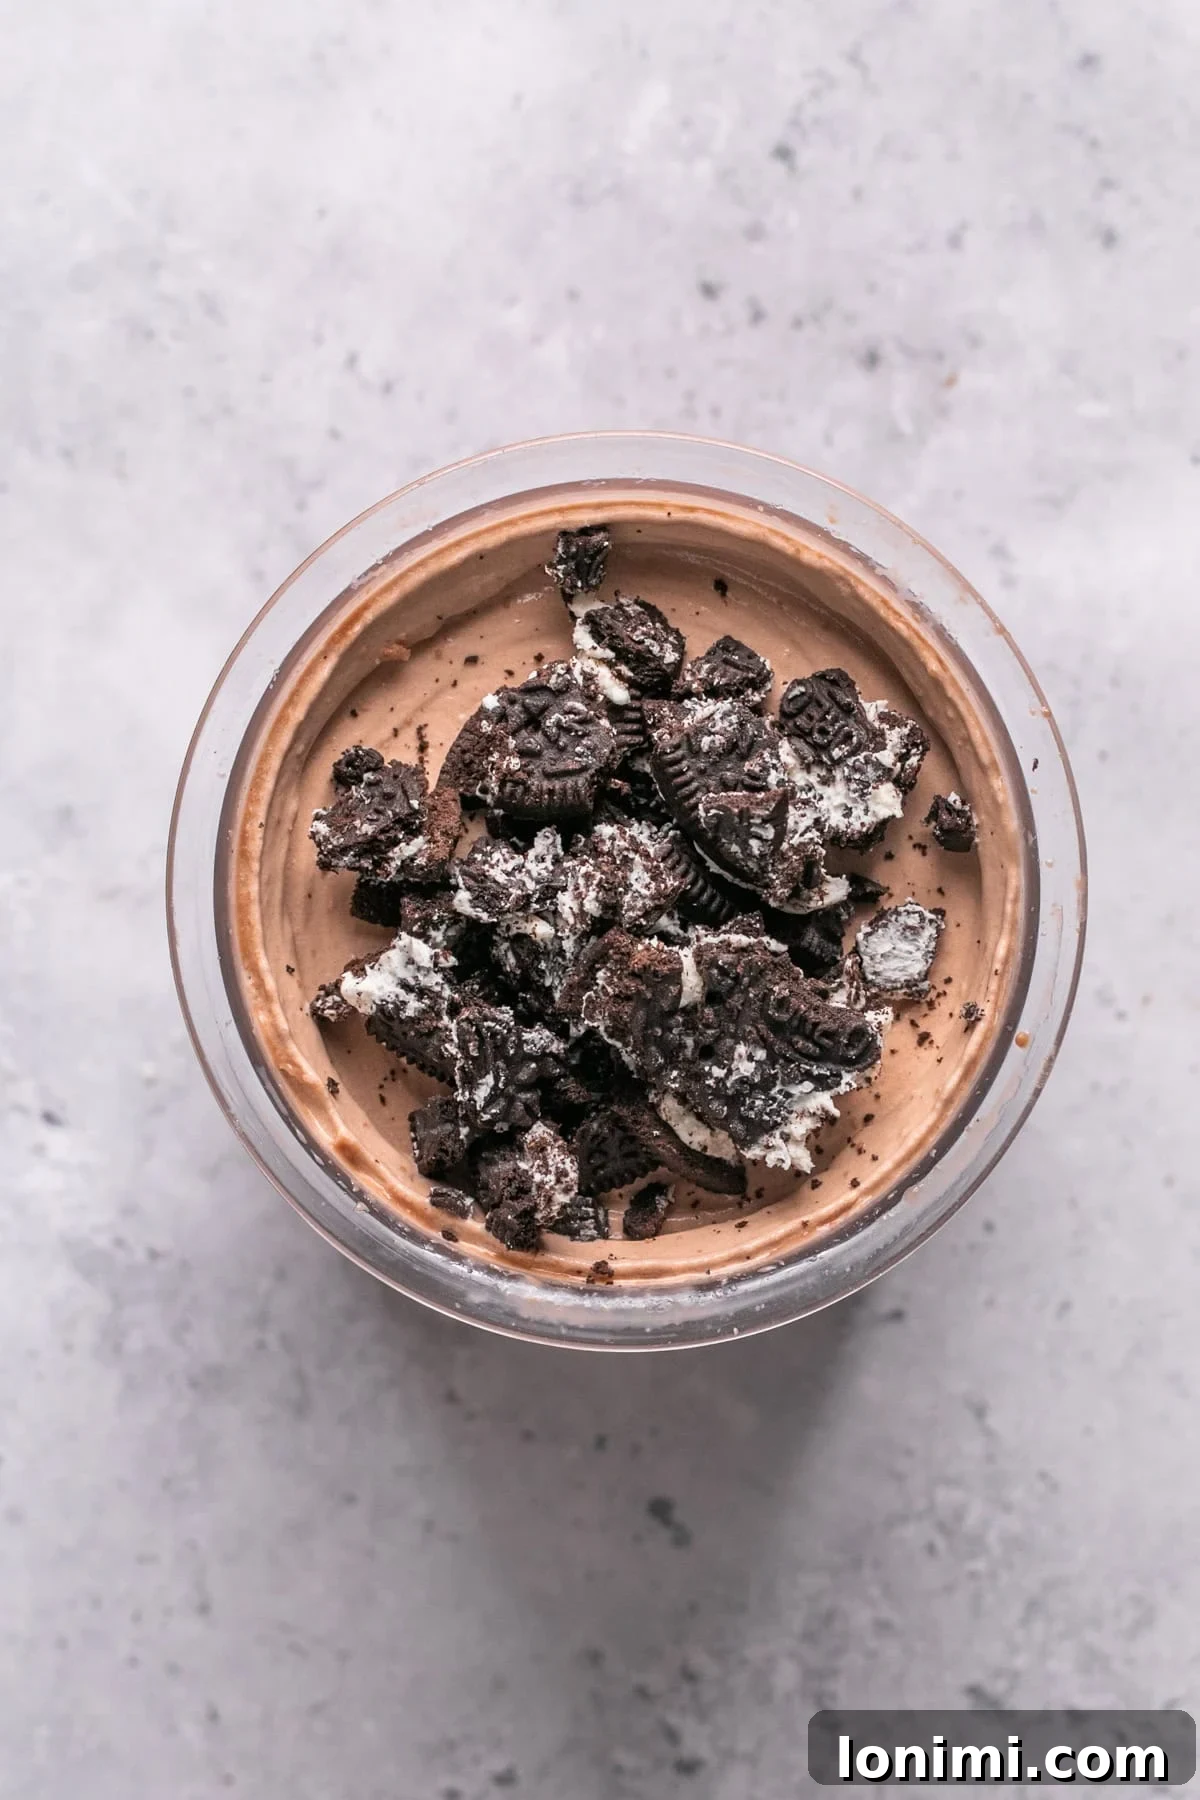
Step 6 (Optional): Add Mix-Ins. If you desire to incorporate additional ingredients like crushed gluten-free cookies, chocolate chips, nuts, or a swirl of peanut butter, create a small well in the center of your ice cream with a spoon. Add your chosen mix-ins into this well. This ensures they are evenly distributed.
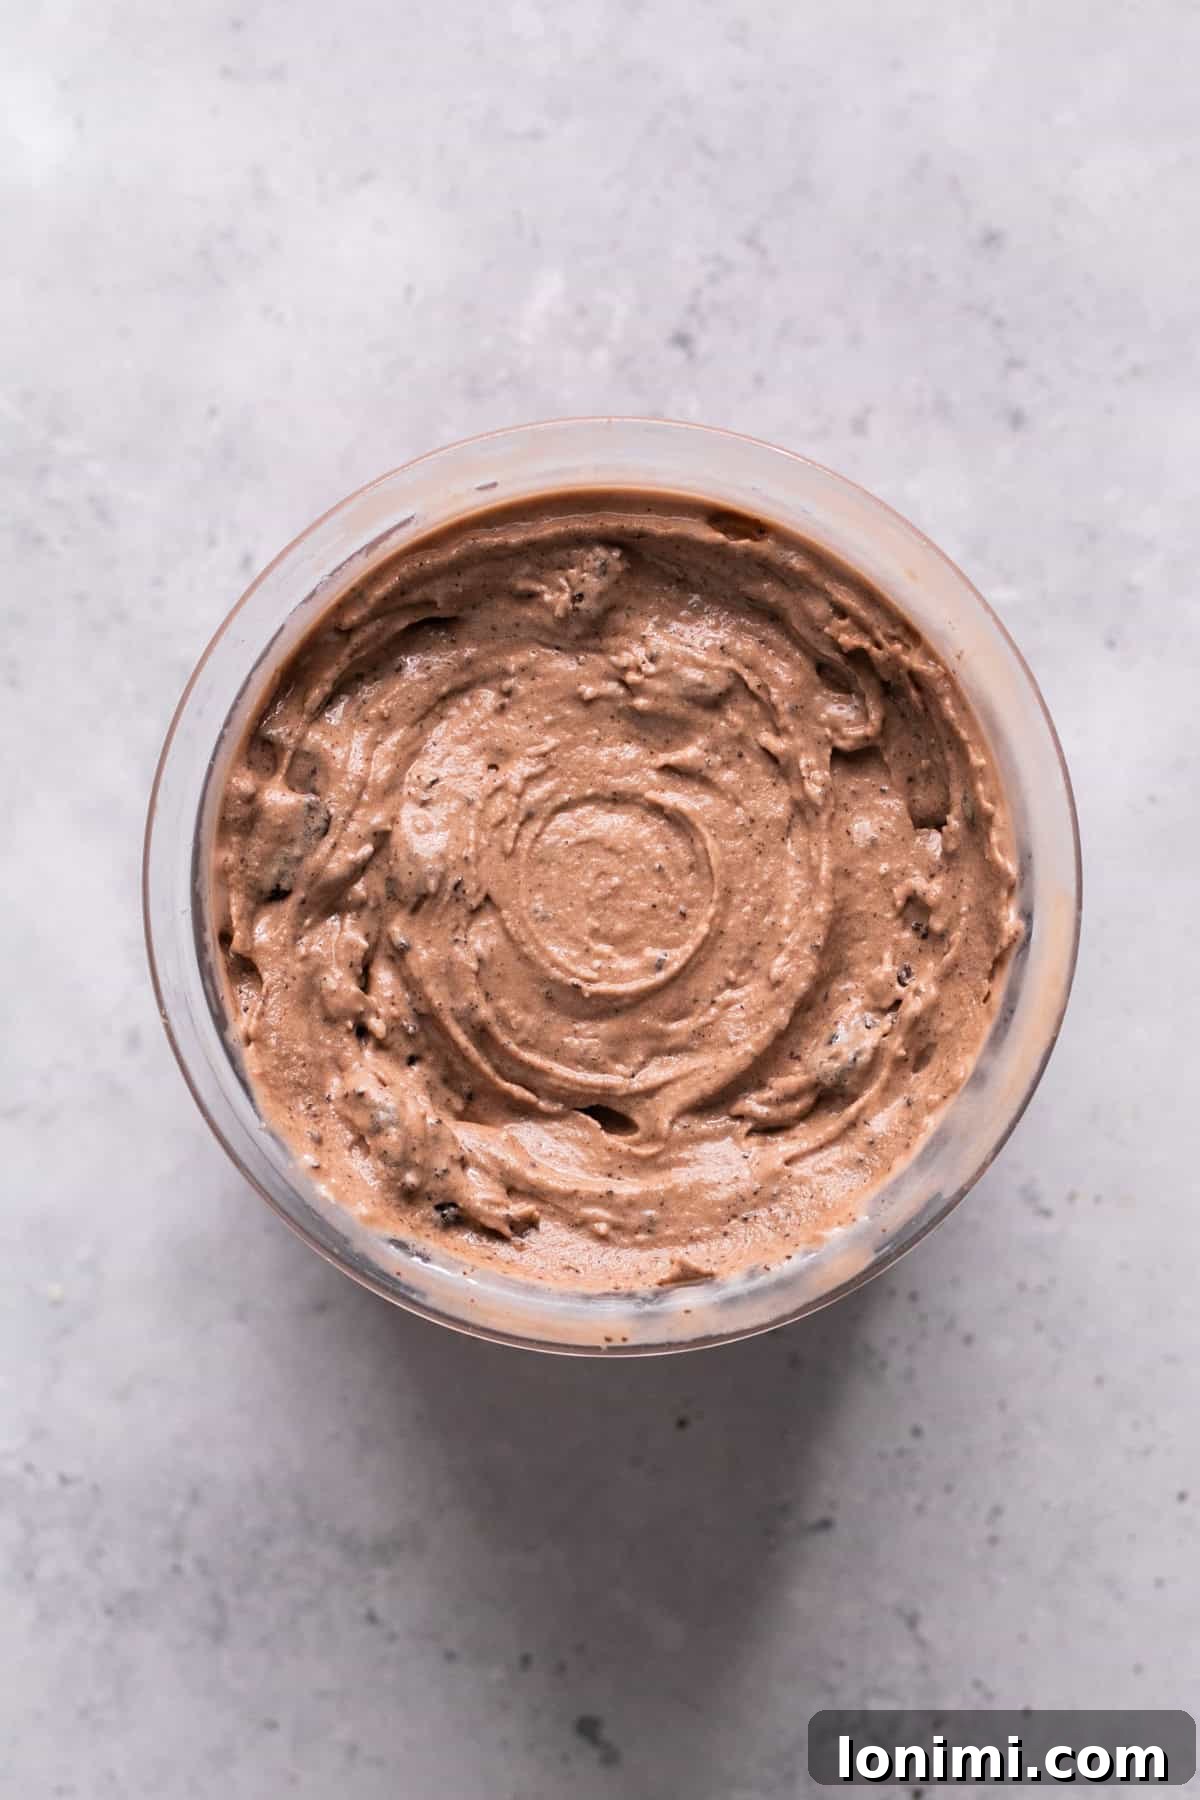
Step 7: Final Mix-In Cycle & Serve. Place the pint back into the Ninja Creami and select the “Mix-In” function. This special cycle will perfectly integrate your additions throughout the ice cream without over-processing. Once complete, your delicious, high-protein chocolate ice cream is ready to be scooped and enjoyed immediately! For the ultimate experience, serve fresh.
Endless Possibilities: Variations & Mix-In Ideas
This Ninja Creami protein ice cream recipe serves as a fantastic foundation, a blank canvas for your culinary creativity. While delicious on its own, it truly shines when you start experimenting with various flavor combinations and mix-ins. Here are some inspiring ideas to take your high-protein ice cream to the next level, ensuring every pint is a unique and exciting treat:
- Seasonal Delights: Embrace the flavors of the season! During winter, swirl in peppermint extract and crushed candy canes for a festive treat. In fall, a dash of pumpkin spice mix or a spoonful of pumpkin puree can transform it into a cozy dessert.
- Baked Goods Fusion: Elevate your ice cream by incorporating crumbled pieces of your favorite healthy baked goods. Bits of Fudgy Protein Brownies create an incredibly rich and satisfying brownie batter experience. Crushed gluten-free cookies (beyond just chocolate sandwich cookies) or a spoonful of edible cookie dough can also be fantastic.
- Classic Chocolate & Sweet Additions: Mini chocolate chips (dark, milk, or white), cocoa nibs for a subtle crunch and bitter note, or even a drizzle of homemade chocolate fudge sauce can amplify the chocolate experience. For extra sweetness, consider adding a touch of honey, maple syrup, or a sugar-free syrup during the initial blending stage.
- Nutty Indulgence: A generous swirl of peanut butter, almond butter, cashew butter, or even a spoonful of peanut butter powder blended in will create a rich, nutty profile. For texture, sprinkle in chopped roasted nuts like almonds, walnuts, or pecans after the first spin and use the “Mix-In” function.
- Fruity Freshness: Incorporate fresh or frozen berries (strawberries, raspberries, blueberries) for a bright, tangy contrast. Slices of frozen banana can add natural sweetness and a creamier texture when blended into the base.
- Coffee Kick: For coffee lovers, a teaspoon of instant espresso powder or finely ground coffee added to the base mixture before freezing will create a delicious mocha protein ice cream.
- Extract Excitement: Don’t underestimate the power of extracts! Beyond peppermint, consider adding a few drops of almond extract, coconut extract, or even a little rum extract for a sophisticated twist.
- Dairy-Free & Vegan Adaptations: As mentioned in the FAQ, you can easily make this dairy-free. Use a plant-based protein powder, dairy-free milk (almond, oat, soy, coconut), and a dairy-free yogurt alternative (like coconut or almond yogurt) instead of cottage cheese. Ensure any mix-ins are also dairy-free.
Remember, the “Mix-In” function on your Ninja Creami is designed specifically for this purpose, ensuring your additions are perfectly dispersed without over-processing the ice cream. Don’t be afraid to get creative and discover your new favorite combination!
Storage & Make-Ahead Tips for Your Protein Ice Cream
While this Ninja Creami protein ice cream is undeniably at its peak when enjoyed fresh right after its final spin, sometimes you’ll have leftovers, or you might want to prepare it in advance. Properly storing your homemade ice cream ensures you can enjoy its deliciousness for days to come.
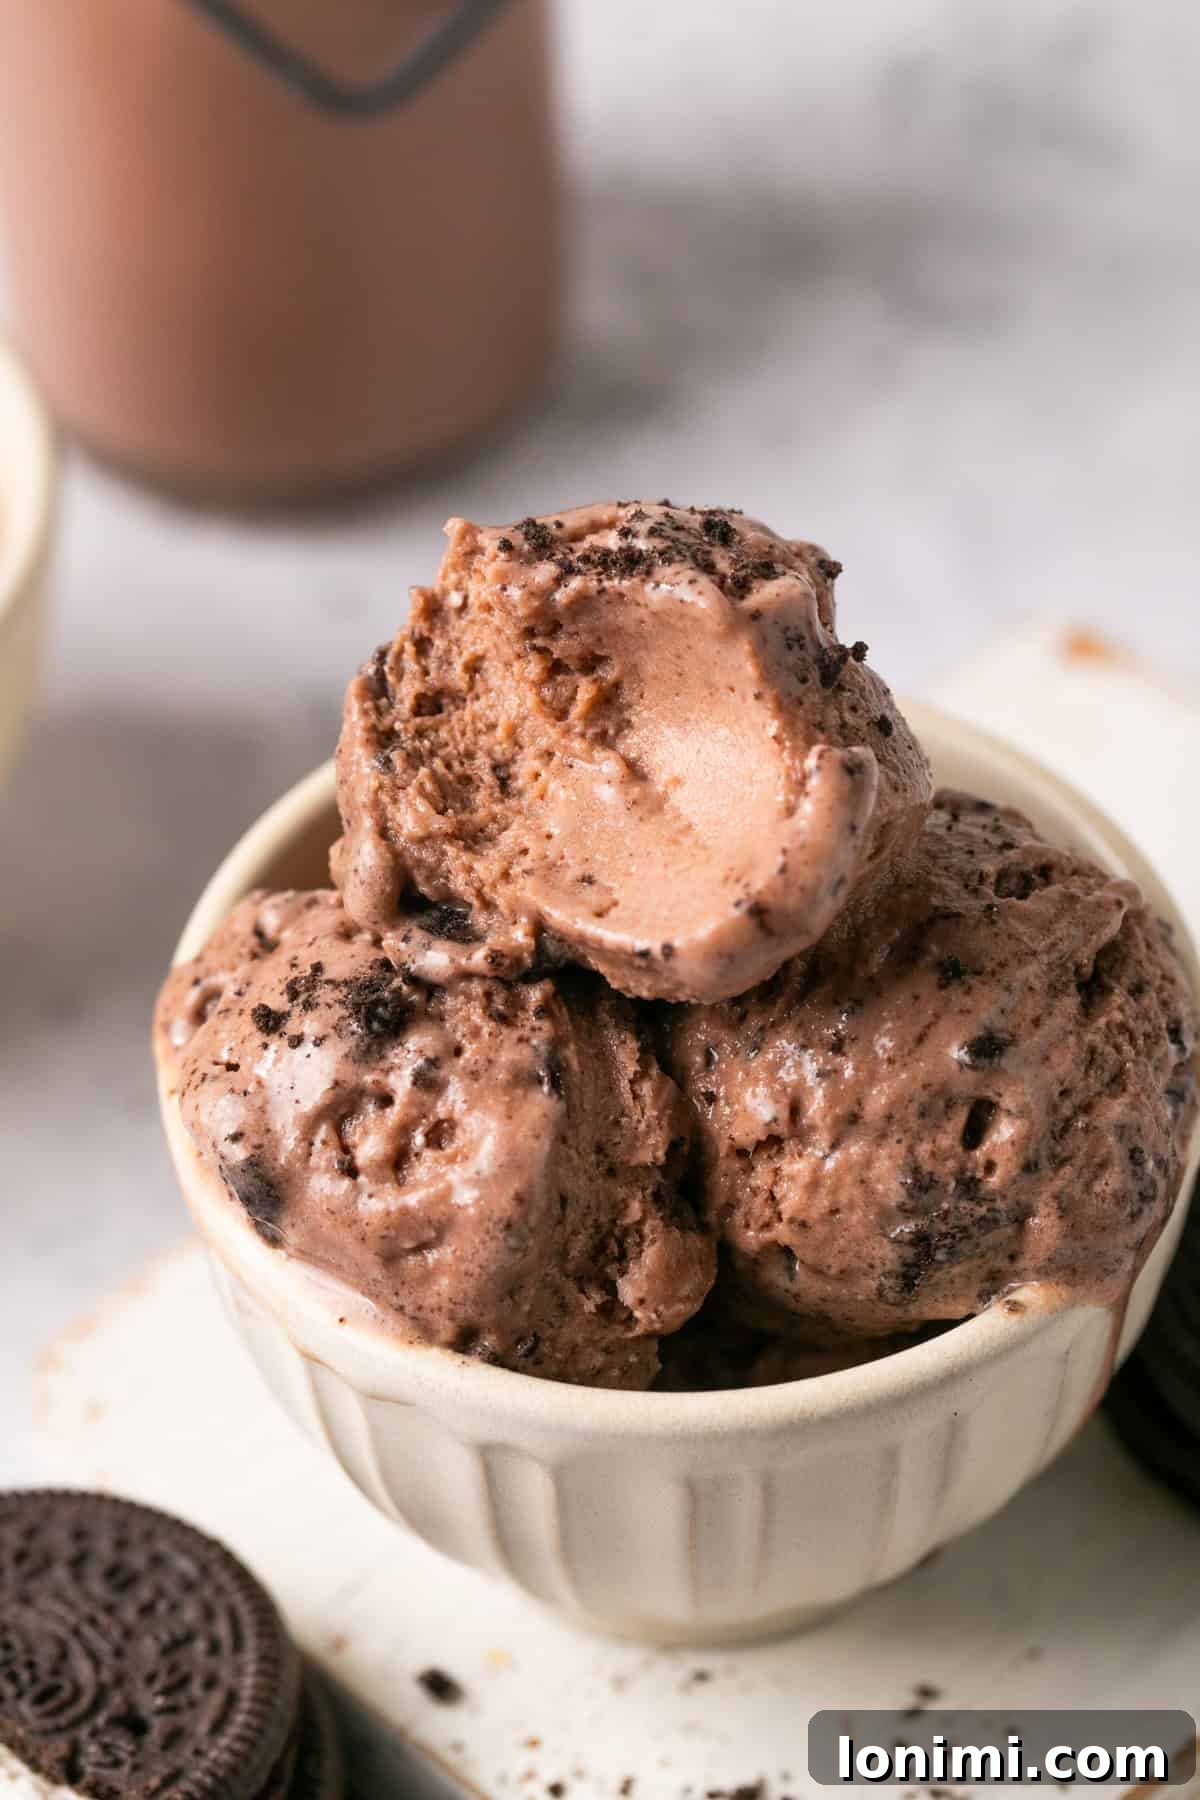
Storage: To store any leftover ice cream, simply smooth the top of the ice cream in the pint container and replace the lid tightly. Place it back into your freezer. It will remain delicious for up to 4 days. Beyond that, the texture might begin to change slightly, though it will still be edible.
Re-softening Leftovers: When you’re ready to enjoy your stored protein ice cream, you’ll notice it has frozen solid again, much like a traditional block of ice. Do not try to scoop it directly. Instead, remove the pint from the freezer and let it sit on the counter for 5-10 minutes to slightly temper. Then, add 1 tablespoon of chocolate milk (or any milk of choice, such as almond milk or water) to the pint. Place the pint back into the Ninja Creami machine, attach the lid, and use the “Re-Spin” function. This will re-churn the ice cream, incorporating the added liquid, and return it to its wonderfully creamy, scoopable consistency, just like when it was freshly made.
Make-Ahead Convenience: This recipe is fantastic for meal prepping or simply ensuring you always have a healthy treat ready. You can blend several pints of the base mixture at once, freeze them, and then process them individually whenever a craving strikes. This makes it incredibly convenient for quick post-workout snacks or last-minute dessert solutions without any extra fuss.
Recipe FAQs: Your Questions Answered
A crumbly texture after the initial spin is very common with protein ice cream, especially when using protein powders or certain dairy alternatives. It typically means the mixture needs a little more liquid to achieve that smooth, creamy consistency. Don’t worry, it’s easily fixed! Simply add 1-2 tablespoons of milk (chocolate milk, regular milk, or even water) to the pint after the first cycle, create a small well in the center, and then run the “Re-Spin” function on your Ninja Creami. This usually transforms it into a perfectly creamy dessert.
Absolutely! This recipe is highly adaptable for dairy-free diets. To make it dairy-free, swap the 2% cottage cheese for a high-quality dairy-free yogurt alternative (such as coconut, almond, or cashew-based yogurt). For the chocolate milk, use your favorite dairy-free chocolate milk such as almond milk, oat milk, or coconut milk. Ensure your chosen protein powder is also plant-based (soy, pea, rice, or a blended plant protein). This recipe can also be easily adapted into a sugar-free ice cream by using unsweetened milk and opting for sugar-free mix-ins if desired.
For the smoothest and creamiest ice cream texture, whey protein (especially a blend or isolate) is often recommended, as it tends to integrate very well and contributes to a rich mouthfeel. However, plant-based protein powders also work exceptionally well! When using plant-based proteins, you might find the texture slightly less smooth or a little “grittier” initially. If this happens, simply add an extra tablespoon of liquid and perform an additional “Re-Spin” cycle until you achieve your desired creaminess. Experiment with different brands to find your favorite.
Yes, you absolutely can! With approximately 24-26 grams of protein per serving (and this recipe makes two servings per pint, leading to about 48-52g protein for the whole pint, depending on ingredients), and balanced macros, this is designed to be a guilt-free, high-protein dessert. It’s an excellent choice for supporting weight loss goals, fueling your body after a workout, or simply enjoying a substantial, satisfying treat without the typical sugar crash. Enjoying the whole pint can be a perfectly healthy way to boost your protein intake and satisfy your sweet tooth.
To make this ice cream even lower in sugar, start by using unsweetened chocolate protein powder and unsweetened dairy or dairy-free milk. You can add a tablespoon or two of unsweetened cocoa powder for more chocolate flavor. For sweetness, consider using a natural, calorie-free sweetener like stevia, erythritol, or monk fruit extract to taste. Be mindful of your mix-ins; opt for unsweetened options like cocoa nibs or nuts instead of sugary cookies or candies.
While a blender is highly recommended to ensure the cottage cheese and protein powder are perfectly smooth, you can try mixing the ingredients by hand with a whisk or an immersion blender. Ensure you vigorously whisk until there are no visible lumps of cottage cheese or undissolved protein powder. The smoother your base is, the creamier your final ice cream will be.
This easy Ninja Creami recipe is undoubtedly one you’ll find yourself returning to again and again. Its simplicity, adaptability, and impressive nutritional profile make it a standout choice for anyone seeking a healthier way to satisfy their sweet cravings. Whether you prefer to keep it delightfully simple or load it up with your favorite mix-ins, this high-protein chocolate ice cream is bound to become a cherished family favorite and a staple in your healthy dessert repertoire.
More Healthy & Satisfying Gluten-Free Desserts
If you loved this protein-packed ice cream, you’re in for a treat! Discover more healthy, gluten-free dessert recipes that prove wholesome can be absolutely delicious and incredibly satisfying.
Healthy Chocolate Protein Mug Cake
Healthy Apple Crumble
Protein Chia Seed Pudding (32g Protein Per Serving)
Easy Chocolate Protein Cheesecake Recipe
Love this recipe? Please leave a 5-star rating in the comment section below & a review. Or, follow me on Facebook, Pinterest or Instagram today!
Pin
Ninja Creami Chocolate Protein Ice Cream (24g Protein, 4 Ingredients)
Equipment
- Ninja Creami
Ingredients
Instructions
- Add all ingredients into a blender and blend until smooth.
- Pour the mixture into your Creami container, cover, and freeze for 18-24 hours.
- Remove the lid and attach the container to the machine. Hit “ice cream,” then add 1 additional tbsp chocolate milk and hit “re-spin”. Enjoy!
- Optional Mix-ins: 4 gluten-free Oreos – to add these, crush up the Oreos first and add them to the Creami cup after the ice cream is done. Hit “mix-in,” and you’re done!
Notes
- Makes 2 servings – Nutrition info is for one serving not including mix-ins (so half of the total ice cream). This is assuming you use Good Culture 2% cottage cheese, Fairlife chocolate milk, and a protein powder with 25g per scoop.
- Feel free to add M&M’s, chocolate chips, peanut butter, or any other gluten-free or regular mix-ins of choice.
- Many protein ice cream recipes out there call for sugar-free jello mix. I chose not to include that in this recipe. If you want, you can use 10 grams of collagen powder, which has a similar powdered texture but without any added sugars, whether real or artificial. This won’t affect the macros of the recipe by much!
- If you want to sweeten this homemade ice cream up even more, add honey or maple syrup to the mixture.
- Add 1-2 tsp cacao powder for more chocolate flavor before blending.
- Try adding a scoop of peanut butter powder to make a delicious chocolate PB ice cream.
- You can also use coconut milk, almond milk, or your favorite dairy-free milk as your ice cream base.
- Serve protein ice cream immediately for the tastiest results. Top this ice cream with any of your favorite gluten-free candies, cookies, or sauces.
- You may need to use the “re-spin” option on your Ninja Creami a couple of times to get the texture you desire.
- This delicious ice cream is best enjoyed fresh, but you can store any leftovers in the freezer, covered, for up to 4 days.
- When you’re ready to eat it, take it out of the freezer and place it in your Ninja Creami machine. Add 1 tablespoon of Fairlife chocolate milk (or liquid of choice) and press the “re-spin” button to achieve that creamy texture.
Nutrition Facts (per serving)
- Calories: 171 kcal
- Carbohydrates: 17 g
- Protein: 26 g
- Fat: 3 g
- Saturated Fat: 2 g
- Polyunsaturated Fat: 0.1 g
- Monounsaturated Fat: 1 g
- Cholesterol: 24 mg
- Sodium: 366 mg
- Potassium: 367 mg
- Fiber: 2 g
- Sugar: 14 g
- Vitamin A: 268 IU
- Vitamin C: 1 mg
- Calcium: 287 mg
- Iron: 0.4 mg
All nutrition facts are an estimate and automatically calculated. While I fact-check them using My Fitness Pal, please note that they may not always be 100% accurate and depend on ingredients used. Weigh your total and divide by the number of servings for the most accurate grams per serving size.
Did you make this?
Rate & comment below, and tag me on Instagram @maryswholelife
This post may contain affiliate links