
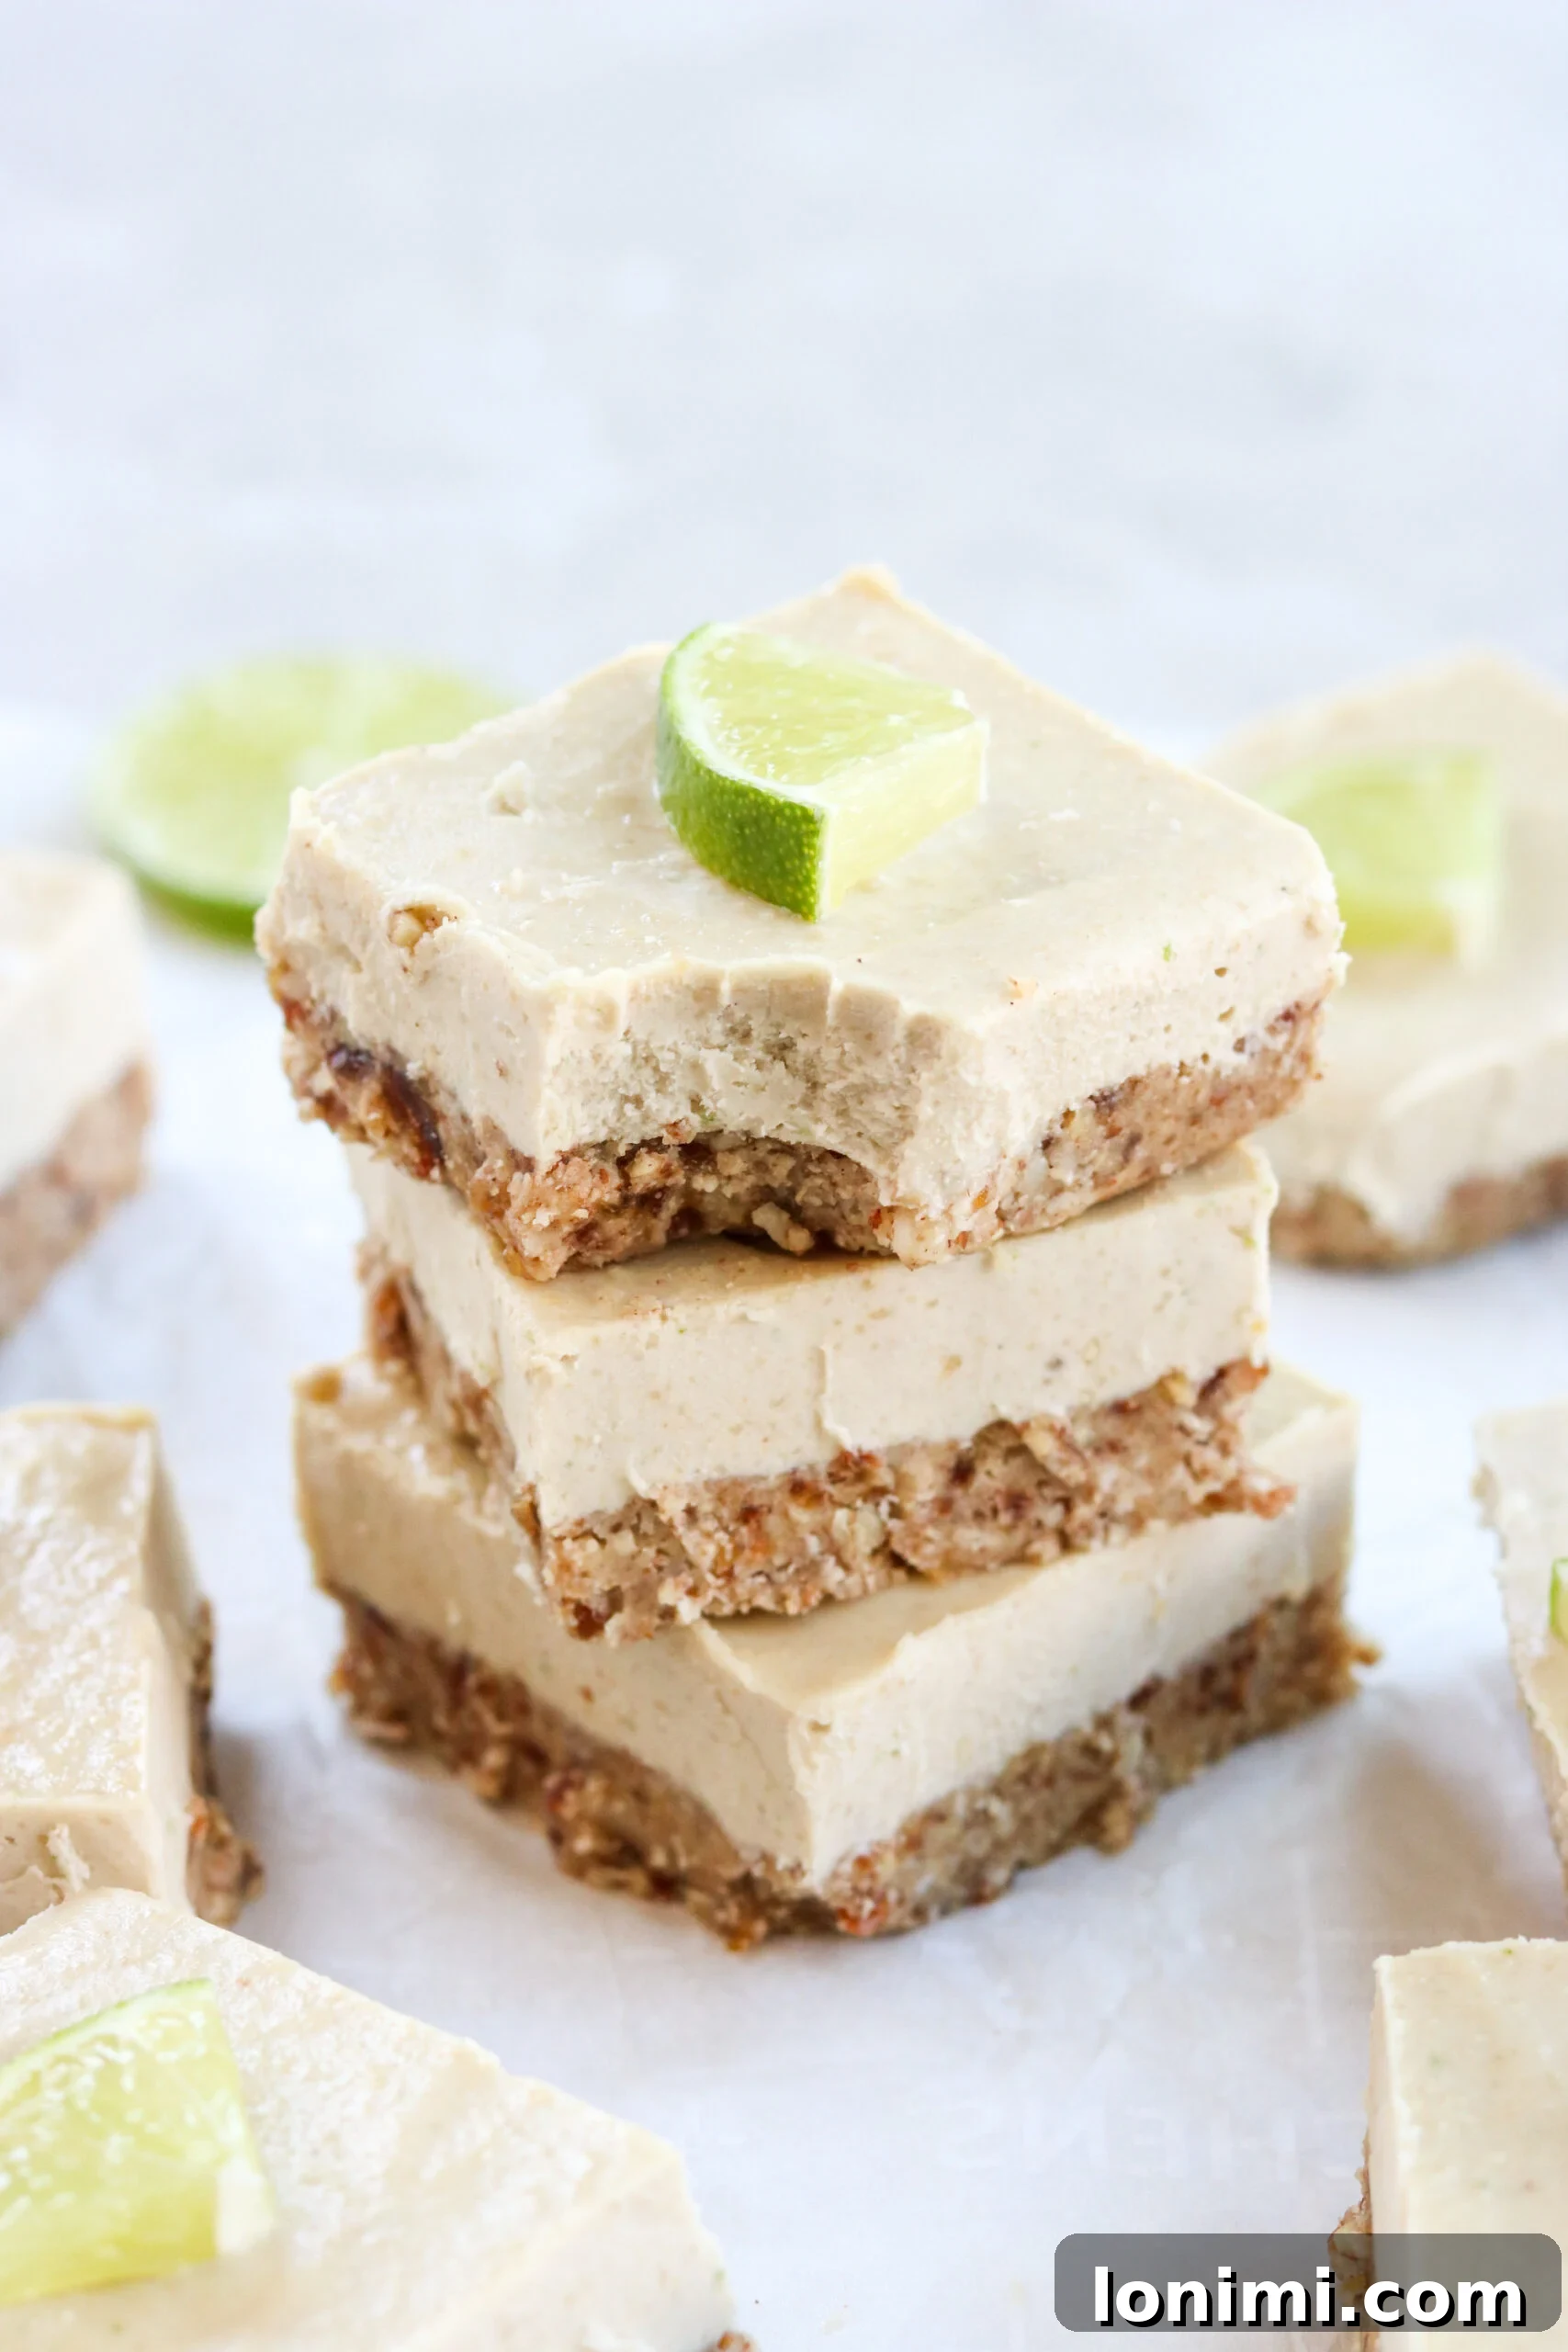
Indulge in the vibrant flavors of spring with these irresistible Dairy-Free Key Lime Pie Bars! Boasting all the zesty charm of a classic key lime cheesecake, these delightful treats are entirely gluten-free and dairy-free. Featuring a rich, easy-to-make vegan gluten-free pie crust and a creamy, tangy filling, these no-bake cheesecake bars are the perfect light and refreshing dessert for any occasion.
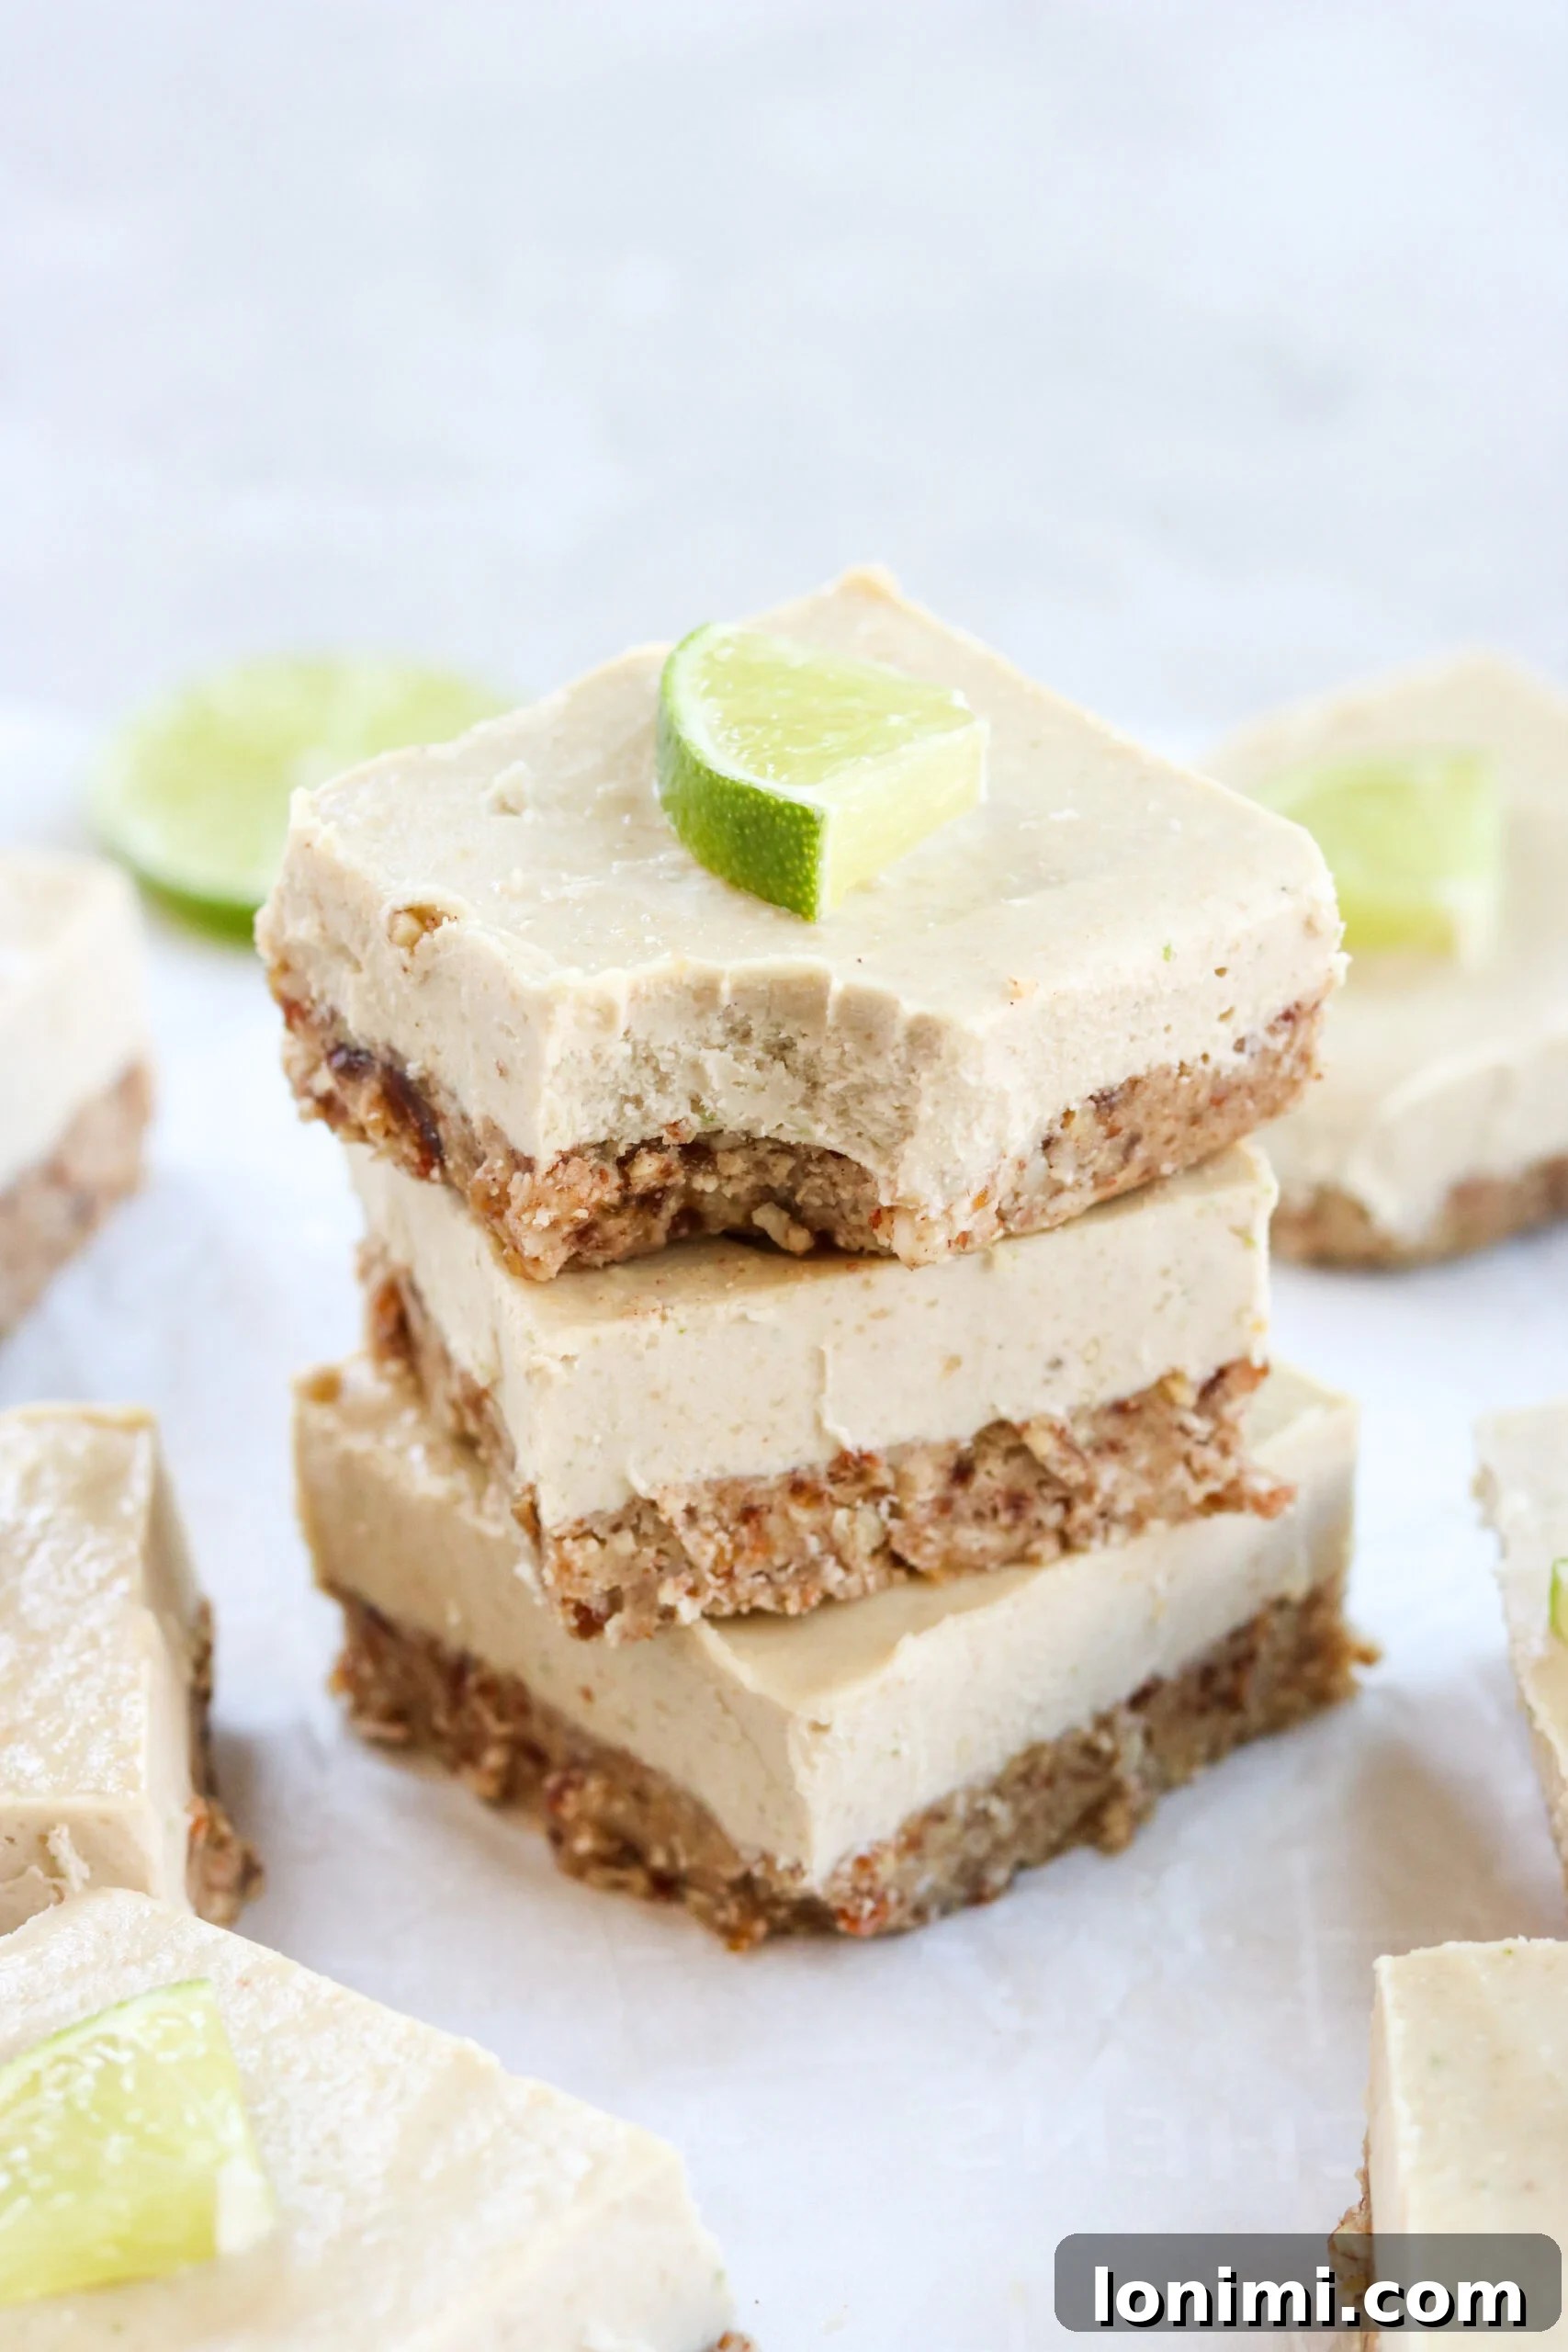
Why You’ll Love These Dairy-Free Key Lime Pie Bars
As the days grow longer and the weather warms, there’s nothing quite like a refreshing, no-bake dessert to brighten your spirits. Key Lime Pie, with its iconic balance of sweet and tart, has always been a beloved classic. However, finding a version that caters to dietary needs like dairy-free and gluten-free can be a challenge. That’s precisely why these **dairy-free key lime pie bars** are a game-changer! They capture the quintessential taste and creamy texture of traditional key lime pie cheesecake, all without any gluten or dairy, making them accessible and enjoyable for everyone.
This recipe is designed for maximum ease and minimal fuss. You won’t need to turn on your oven, making it ideal for warmer months or when you simply crave a quick, satisfying treat. With just a food processor (or a sturdy blender) and a handful of common pantry ingredients, you can whip up these decadent bars in no time. The magic lies in the plant-based ingredients: creamy cashews and rich coconut milk transform into a “cheesecake” filling so luscious, you’ll swear it’s the real deal. The combination of a crunchy, flavorful vegan gluten-free pie crust and the bright, zesty filling creates a harmonious dessert that will impress even the most discerning palates. Whether you’re hosting a spring gathering, looking for a lighter summer treat, or simply indulging your sweet tooth, these no-bake cheesecake bites are the perfect solution!
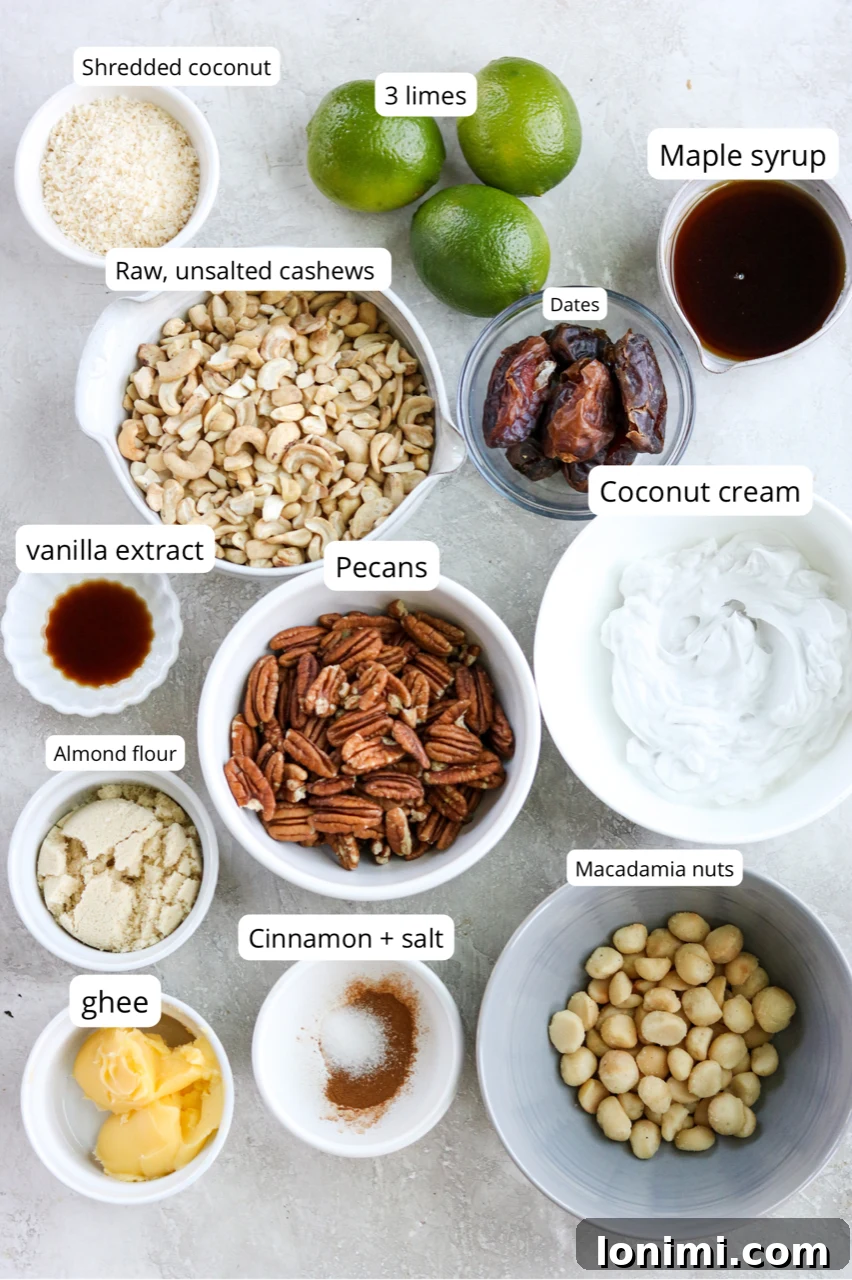
Essential Ingredients for Your Vegan Key Lime Pie Bars
Crafting the Perfect Vegan Gluten-Free Pie Crust
The foundation of these delicious key lime pie bars is a simple yet incredibly flavorful crust. Made without gluten or dairy, it’s a wholesome base that perfectly complements the creamy filling.
- Pecans & Macadamia Nuts: These nuts are chosen for their rich, buttery flavor and excellent texture when processed. They create a firm yet crumbly crust. For the best results, always opt for raw nuts. If you only have pecans on hand, feel free to use 2 cups of pecans in total. Sourcing from stores like Trader Joe’s can offer great quality at reasonable prices.
- Coconut Oil or Ghee: Essential for binding the crust ingredients and adding a subtle richness. If you have a dairy allergy or are strictly vegan, ensure you use coconut oil. For those who prefer a neutral flavor, refined coconut oil is an excellent choice as it lacks the distinct coconut taste. Always use it in its solid form for proper binding.
- Pitted Dates: These natural sweeteners also act as a fantastic binder, helping the crust hold its shape without any refined sugars. Medjool dates are particularly good for their soft, caramel-like texture.
- Almond Flour: This low-carb alternative to traditional gluten-free flours contributes to the delicate texture of the crust while keeping it grain-free. It adds a subtle nutty flavor that blends beautifully with the other ingredients.
- Unsweetened Shredded Coconut: Adds a delightful chewiness and tropical hint to the crust. Make sure to choose unsweetened coconut to control the overall sweetness of the bars.
- Sea Salt: A pinch of sea salt enhances all the flavors in the crust, balancing the sweetness and bringing out the nutty notes.
- Cinnamon: A touch of cinnamon adds a warm, inviting spice, complementing the nutty base and the zesty lime filling.
The Irresistible Key Lime Pie Filling
The heart of these bars is the incredibly creamy, tangy, and refreshing key lime filling. It’s shockingly similar to a traditional cheesecake filling, but entirely plant-based.
- Raw Cashews: These are the star ingredient for creating the rich, creamy “cheesecake” texture without dairy. When blended, soaked cashews become incredibly smooth and mimic the mouthfeel of cream cheese. Refer to the “Tips & Tricks” section for optimal cashew preparation.
- Pure Maple Syrup: Our preferred natural sweetener for the filling, maple syrup provides a subtle depth of flavor. A little goes a long way, offering just the right amount of sweetness to balance the tart lime. Honey can be used as a substitute if you’re not strictly vegan.
- Full-Fat Coconut Milk (or Coconut Cream): This is crucial for achieving a thick, luxurious consistency. You’ll only use the hardened, thick white cream from a can of full-fat coconut milk that has been refrigerated. The liquid can be reserved for other uses. Coconut cream is also an excellent option.
- Fresh Key Limes: The hero flavor! You’ll utilize both the zest and the juice from key limes. The zest provides an intense aromatic lime punch, while the fresh juice delivers that signature tartness that defines key lime pie. Key limes are smaller and more aromatic than regular limes, offering a distinct, slightly floral tang.
- Vanilla Extract: A splash of pure vanilla extract enhances the overall flavor profile, adding warmth and depth to the bright lime.
Easy Step-by-Step Recipe Guide
Creating these dairy-free key lime pie bars is straightforward and requires minimal effort. Follow these simple steps for a perfect no-bake dessert every time.
Preparation is Key: Setting Up for Success
- Prepare your cashews: For the creamiest filling, soak your raw cashews in hot water for at least 30 minutes. This softens them considerably, allowing for a super smooth blend. If you’re short on time, don’t worry – the recipe still works, but you might need to blend the filling for a minute or two longer.
- Chill your coconut milk: Place a can of full-fat coconut milk in the refrigerator overnight (or for at least 4-6 hours) to allow the thick cream to separate and solidify at the top. This cream is essential for the rich texture of the filling.
- Line your pan: For easy removal, line an 8×8 inch pan with parchment paper, leaving an overhang on two sides. This creates “handles” to lift the bars out once they’re set.
Making the Bars:
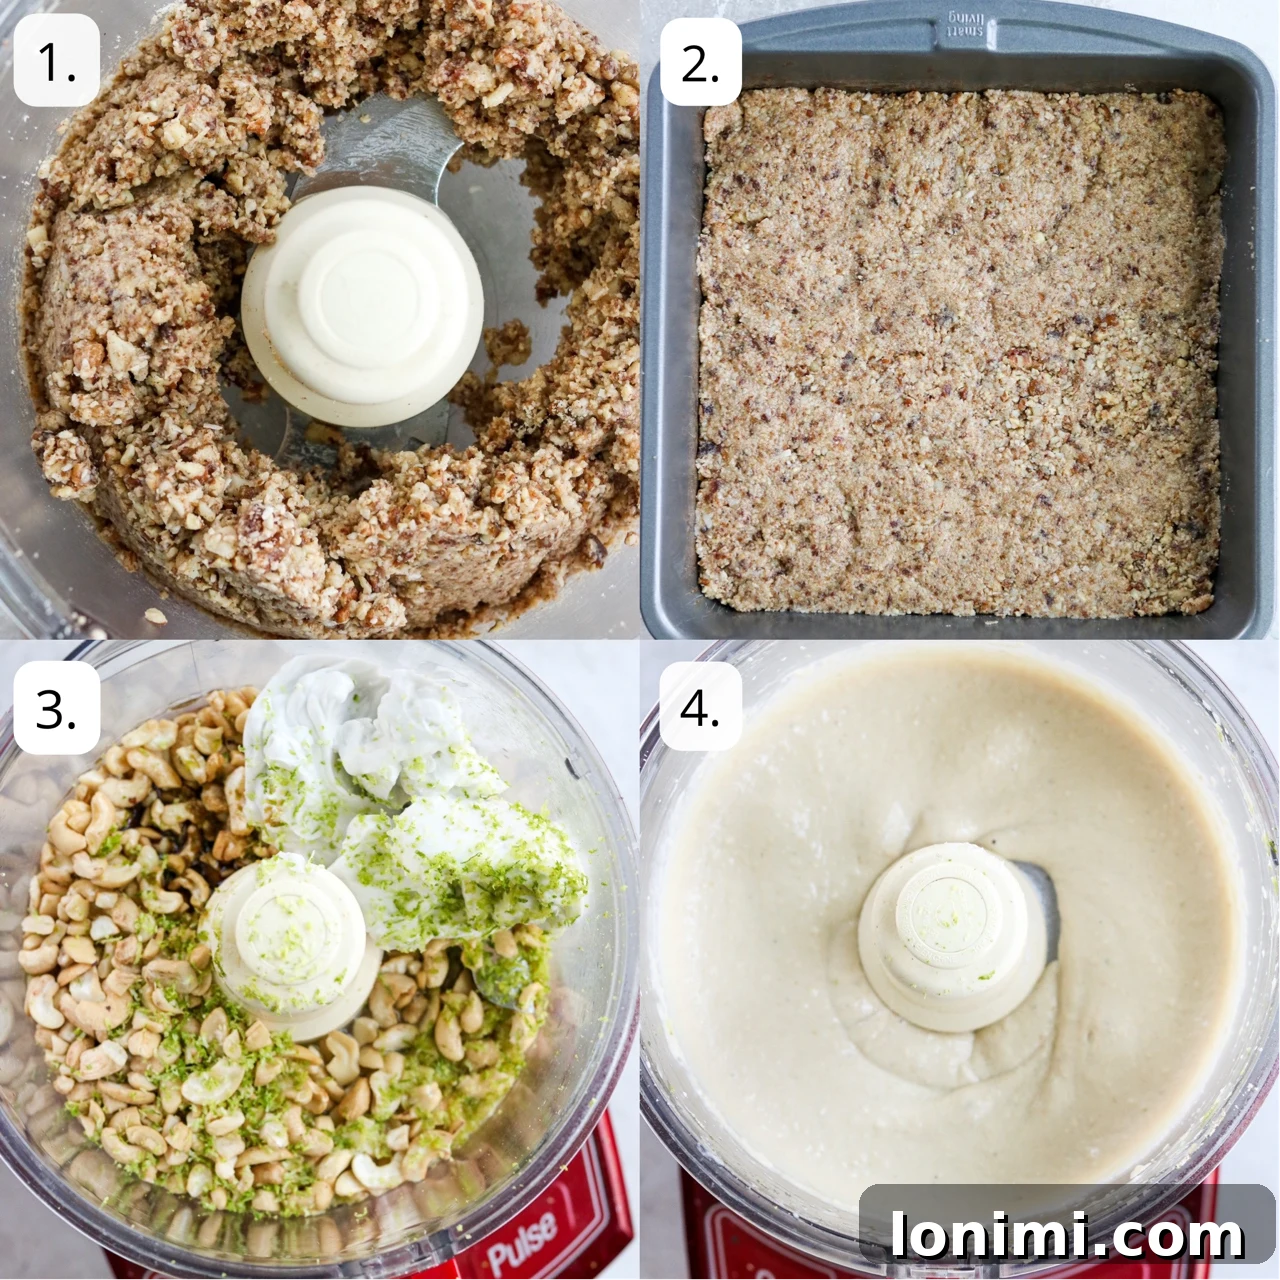
- Prepare the Flavorful Crust: In your food processor, combine all the crust ingredients: pecans, macadamia nuts (or extra pecans), solid coconut oil or ghee, pitted dates, almond flour, shredded unsweetened coconut, sea salt, and cinnamon. Pulse until the mixture transforms into a slightly chunky, sticky consistency that holds together when pressed. Transfer this mixture to your prepared 8×8 inch pan. Using your fingers or the back of a spoon, press the crust down firmly and evenly into the bottom of the pan. Ensure it’s compact to prevent crumbling. Place the pan into the freezer while you proceed to make the filling.
- Craft the Creamy Key Lime Filling: Rinse out your food processor thoroughly to remove any crust residue. Drain your soaked cashews (if applicable) and add them to the clean food processor along with the chilled coconut cream (the thick part only), maple syrup, key lime zest, fresh key lime juice, and vanilla extract. Blend on high speed for approximately 1.5 to 2 minutes, or until the mixture is incredibly smooth and velvety, with absolutely no cashew lumps remaining. Scrape down the sides of the processor bowl as needed to ensure everything is fully incorporated.
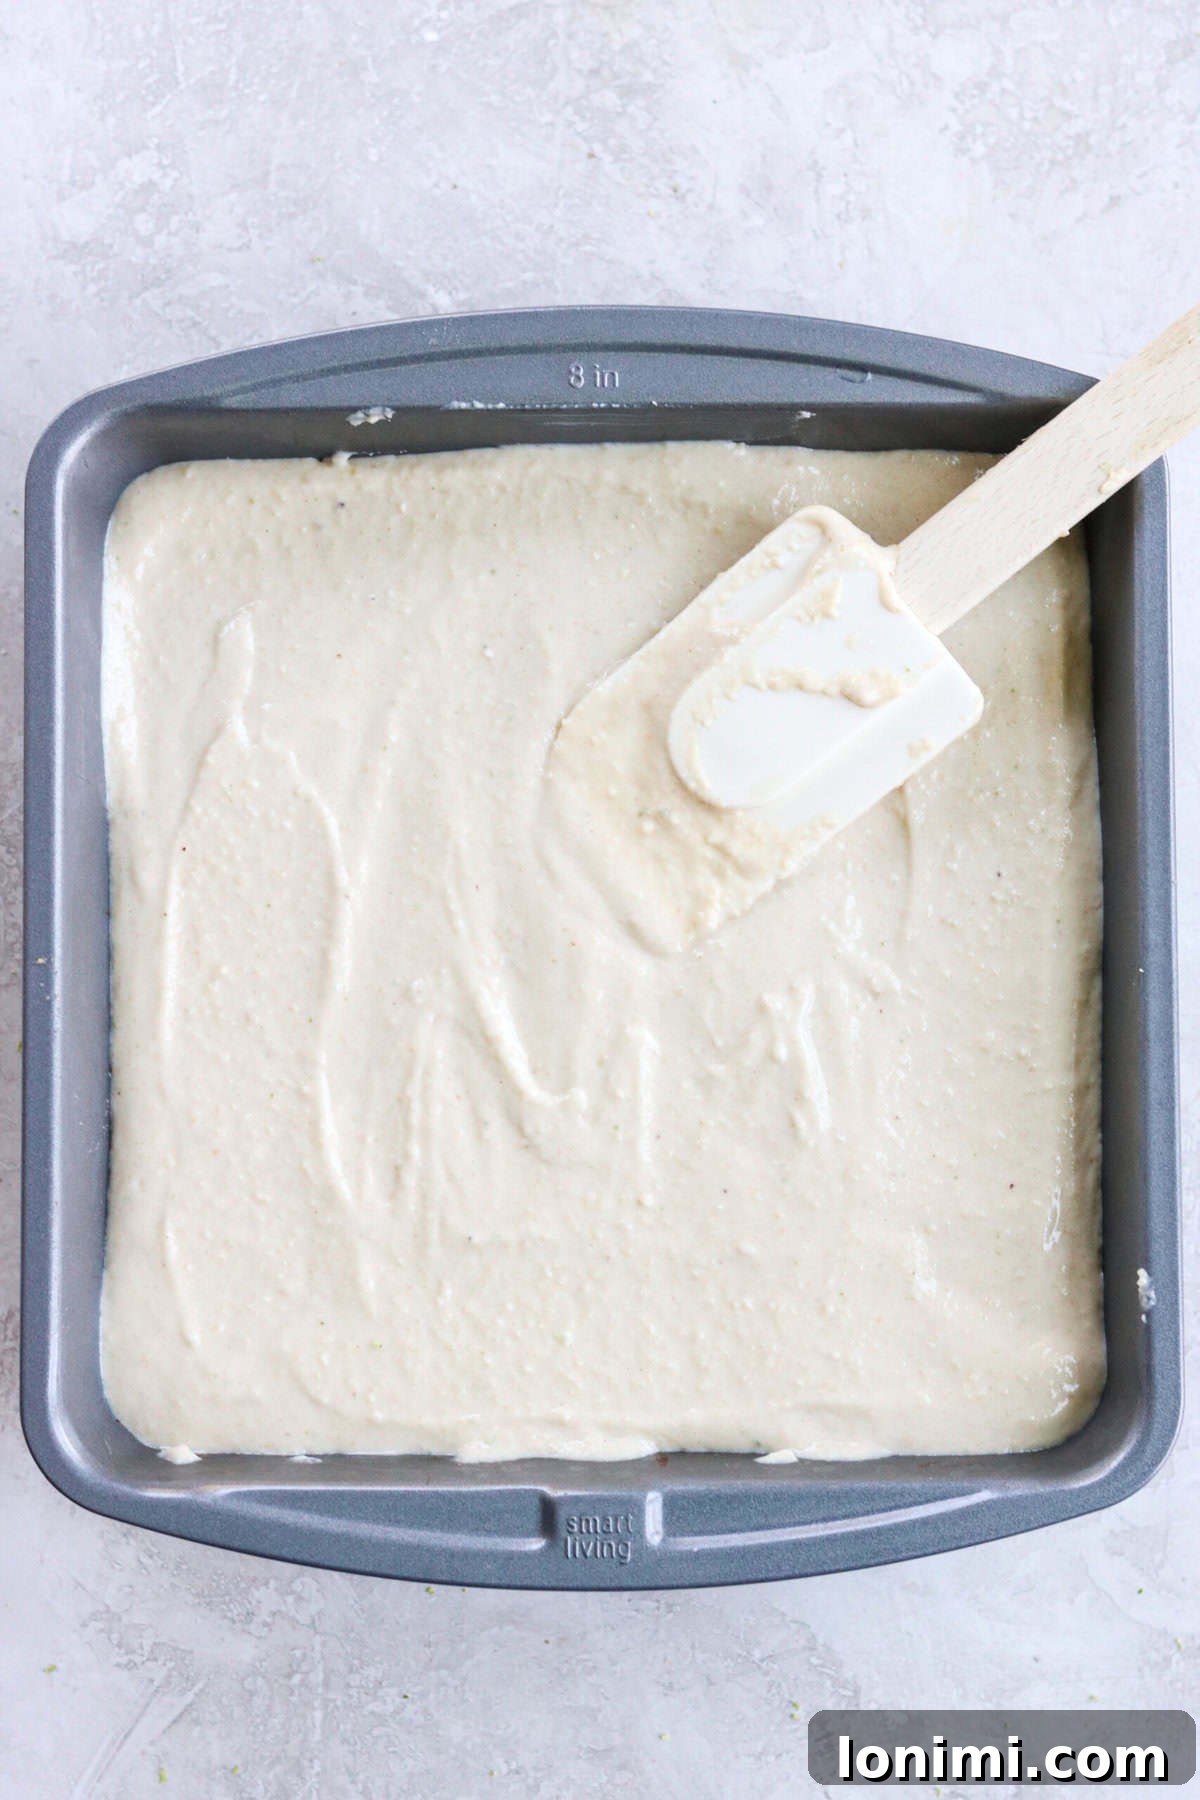
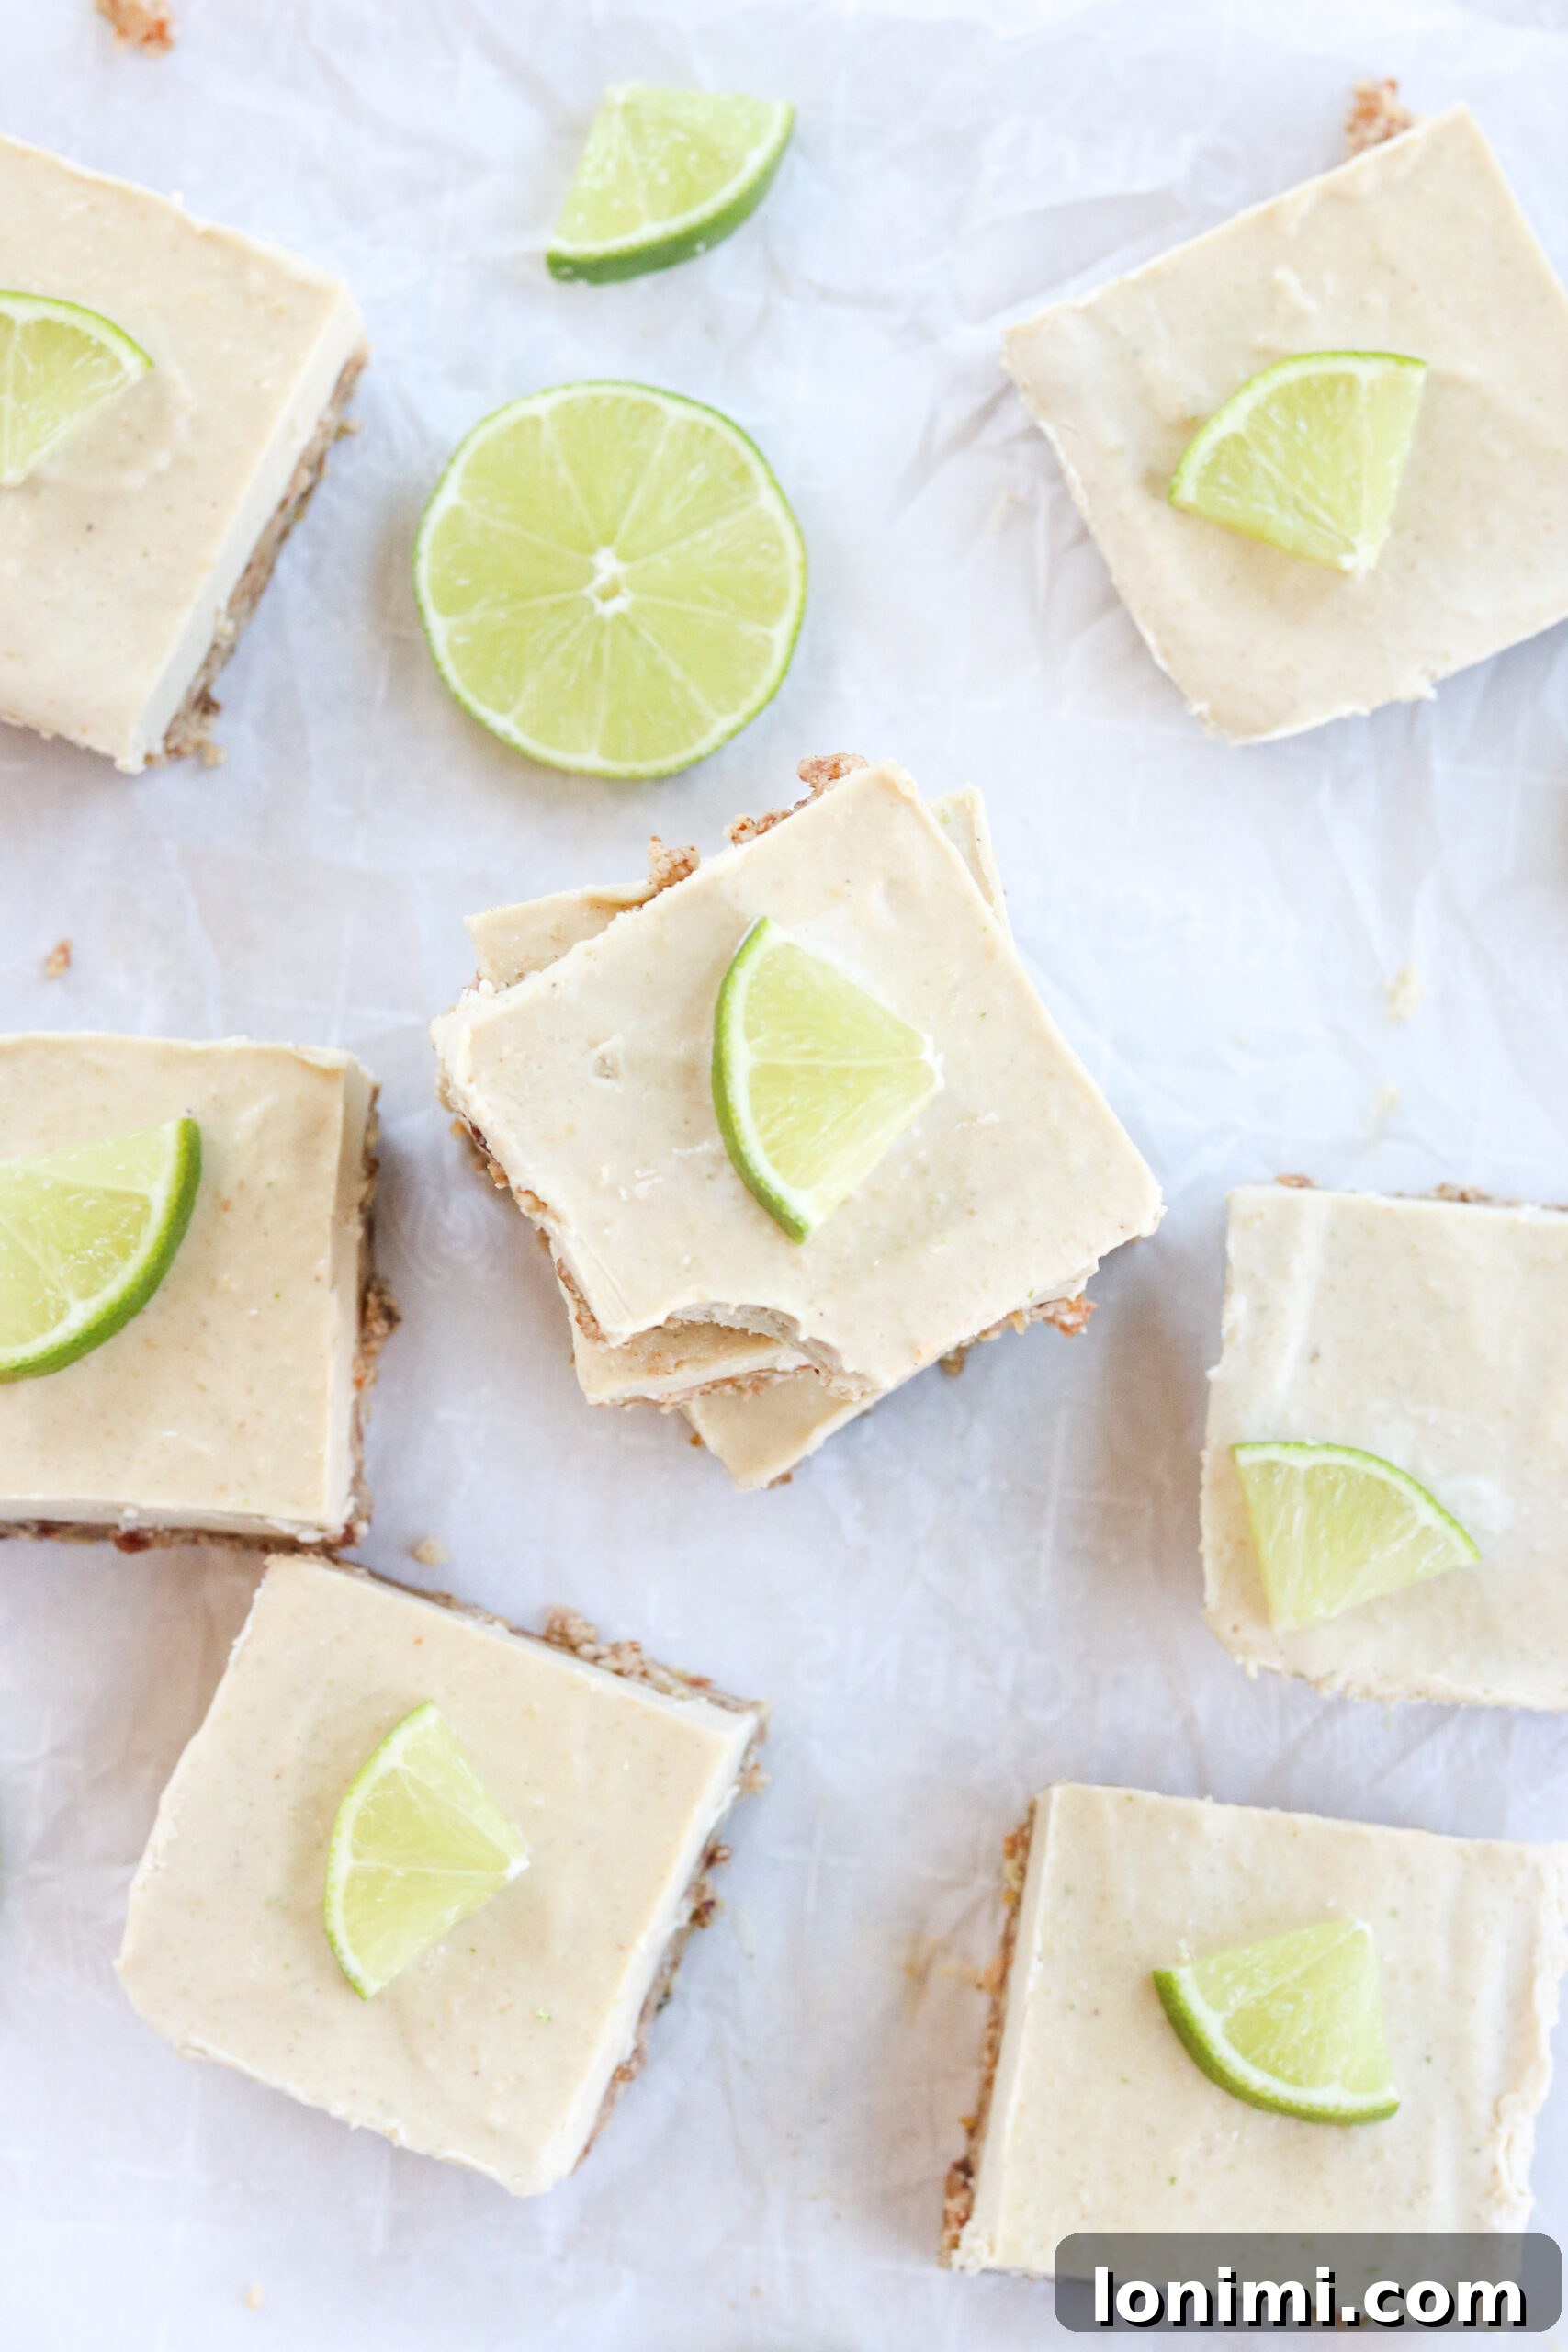
- Assemble and Chill the Bars: Carefully pour the beautifully creamy key lime filling over the chilled crust in the pan. Use a spatula to gently spread the filling out evenly, creating a smooth top layer. Place the pan back into the freezer for a minimum of 2 hours, or until the bars are completely hardened and firm to the touch. Once set, use the parchment paper overhang to lift the entire slab of key lime bars out of the pan. Place them on a cutting board and slice into 9 even 3×3 inch bars. For smaller servings, you can cut them into 12 or 16 pieces. Garnish with additional lime zest or slices if desired. Enjoy your refreshing, homemade dairy-free key lime pie bars!
Expert Tips & Tricks for Perfect Bars
Achieving the perfect texture and flavor for your dairy-free key lime pie bars is easy with a few insider tips:
- The Art of Soaking Cashews: This is arguably the most crucial step for a silky-smooth filling. Soaking raw cashews in hot water for at least 30 minutes (or overnight in cold water) significantly softens them, allowing them to blend into an incredibly creamy consistency much faster. While it’s still possible to make the filling without soaking, you’ll need to run your food processor for an extra minute or two to ensure all lumps are gone, resulting in a slightly less smooth texture.
- Choosing Your Pan Wisely: This recipe is designed for an 8×8 inch metal pan. The crust, being naturally oily, usually pops out easily without needing to spray the bottom. However, for guaranteed effortless removal and clean slices, I highly recommend lining your pan with parchment paper, leaving some overhang on the sides. If you opt for a 9×9 inch pan, your bars will simply be a little thinner, but just as delicious!
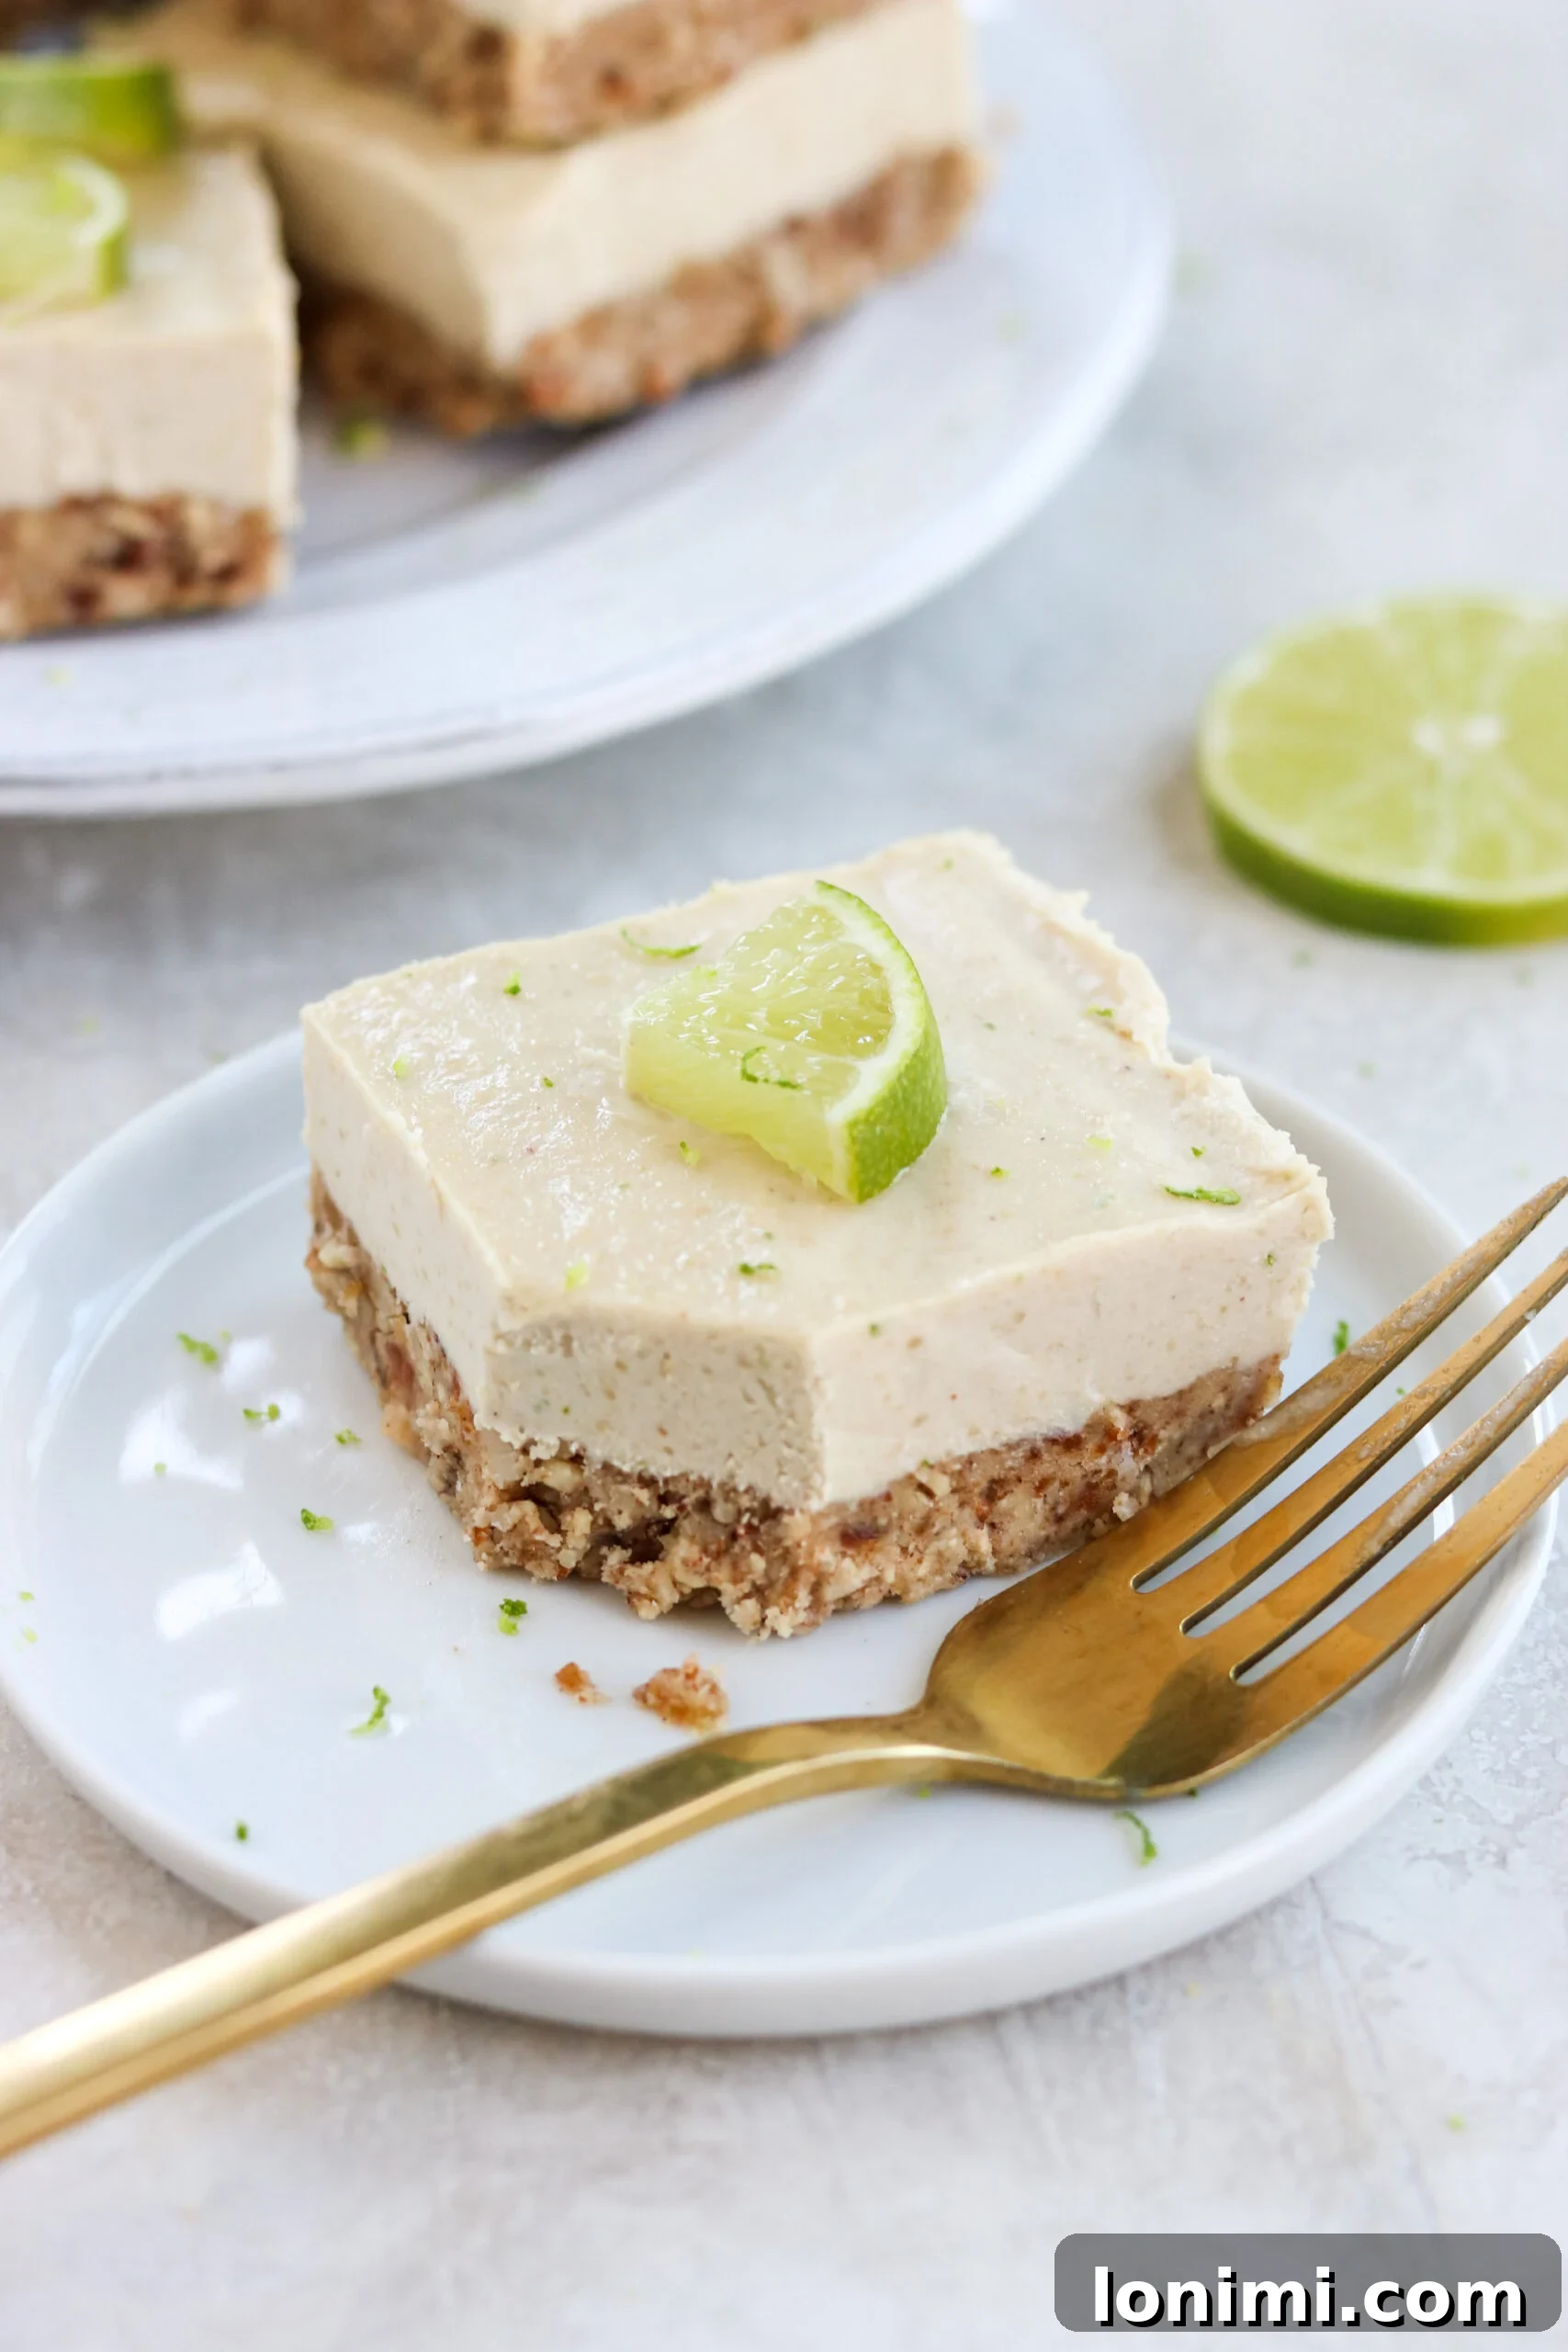
- The Sweet Spot for Serving: For the best eating experience, remove these no-bake cheesecake bites from the freezer about 10-15 minutes before you plan to serve them. This allows them to soften slightly, achieving that ideal creamy-yet-firm cheesecake texture. If they’re too hard straight from the freezer, they can be difficult to cut and enjoy.
- Storing Your Delicious Bars: Keep any leftover key lime pie bars in an airtight container. They will stay fresh and delightful in the refrigerator for up to 5 days. For longer storage, see the FAQ section on freezing.
- Zesting Limes Like a Pro: When zesting your key limes, use a microplane grater and only remove the vibrant green outer layer, avoiding the white pith underneath. The pith can be bitter and will affect the flavor of your filling. The zest holds most of the lime’s essential oils, providing intense aromatic flavor.
- Customizing Sweetness: While the recipe provides a balanced sweetness, feel free to adjust the amount of maple syrup to your preference. Start with the recommended amount and taste the filling before freezing, adding more if you desire a sweeter bar.
Frequently Asked Questions (FAQs)
Absolutely! These key lime pie bars freeze beautifully. Once fully set, you can transfer them to an airtight freezer-safe container or wrap individual bars tightly in plastic wrap and then foil. They will keep well in the freezer for up to 3 months. When you’re ready to enjoy, simply remove them from the freezer and let them thaw at room temperature for 10-15 minutes before serving for optimal texture.
Yes, this versatile crust is fantastic for many other no-bake desserts! Made with wholesome almond flour, pecans, and macadamia nuts, it forms a delicious, sturdy, and flavorful base. Feel free to use it for other cheesecake bars, fruit tarts, or any other no-bake creations where a rich, nutty, and subtly sweet crust is desired. It’s truly a reliable and delicious option.
These dairy-free key lime pie bars are made with real, whole, and natural ingredients, which is a big plus! While they are undoubtedly a treat and are higher in calories due to the healthy fats from nuts and coconut, they offer a much better nutritional profile compared to many standard desserts loaded with refined sugars and unhealthy fats. The sugar content is significantly lower than traditional recipes, deriving sweetness primarily from dates and maple syrup. To manage calorie intake, you can easily cut the bars into 12 or 16 smaller pieces instead of 9 larger ones, making them a perfect portion-controlled indulgence.
While the current recipe heavily relies on cashews for creaminess and pecans/macadamias for the crust, making it entirely nut-free can be challenging to achieve the exact same texture. For a nut-free crust, you could experiment with a base of sunflower seeds and oats. For the filling, soaked and blended sunflower seeds or cooked and chilled sweet potato purée combined with coconut cream can sometimes mimic a creamy texture, but the flavor profile will change. Always consult with a doctor or nutritionist for severe nut allergies when making substitutions.
Key limes are smaller, more acidic, and have a more aromatic, floral, and slightly sweeter flavor profile compared to larger Persian limes. They also tend to have more seeds and a thinner rind. The distinct flavor of key limes is what gives traditional Key Lime Pie its unique zing. While you can use regular limes in a pinch, be aware that the flavor will be slightly less intense and aromatic, and you might need to adjust the amount of juice to achieve the desired tartness.
Explore More Gluten-Free Pies & Bars
If you loved these dairy-free key lime pie bars, you’ll be thrilled to discover more delicious and wholesome dessert options from our collection. From fruity delights to comforting classics, these recipes are perfect for anyone seeking gluten-free and often vegan-friendly treats.
- Paleo Vegan Strawberry Cheesecake Bars
- Healthy Lemon Bars
- No Bake Pumpkin Cheesecake Bars
- Blueberry Crumb Bars
- Paleo Taco Pie
- Keto Shepherd’s Pie
We hope you enjoy making and savoring these delightful dairy-free key lime pie bars. If you try this recipe and absolutely love it, please consider leaving a 5-star rating and a review below – your feedback means the world! And don’t forget to connect with us and share your creations on social media. Follow us on Instagram, Facebook, and Pinterest!
Dairy-Free Key Lime Pie Bars (No-Bake)
By: Mary Smith
Average Rating: 5 out of 5 stars from 13 votes
Prep Time: 10 mins
Total Time: 2 hrs 10 mins
Yield: 9 (3 inch) bars
These dairy-free key lime pie bars are a delicious springtime recipe! They have all of the flavors of traditional key lime pie cheesecake without all the gluten or dairy! Complete with a vegan gluten free pie crust, these no bake cheesecake bites are the perfect treat!
Equipment
- Food processor
- 8×8 inch metal baking pan
Ingredients
Vegan Gluten-Free Pie Crust
- 1.5 cups raw pecans
- ½ cup macadamia nuts (can substitute another ½ cup pecans)
- ⅓ cup coconut oil or ghee, in solid form
- 6 pitted dates
- ⅓ cup almond flour
- ⅓ cup shredded unsweetened coconut
- ¼ tsp sea salt
- ½ tsp cinnamon
Filling
- 2 cups raw unsalted cashews (ideally soaked in hot water for at least 30 minutes)
- 1 cup coconut cream (or the thick part of a can of full-fat coconut milk)
- ⅓ cup maple syrup (can substitute honey)
- Zest from 3 key limes
- Juice from 3 key limes
- ½ tsp vanilla extract
Instructions
- Prepare the Crust: Combine all crust ingredients (pecans, macadamia nuts, coconut oil/ghee, dates, almond flour, shredded coconut, sea salt, cinnamon) in a food processor. Pulse until a slightly chunky, sticky mixture forms. Press this mixture evenly into the bottom of a parchment-lined 8×8 inch pan. Place the pan into the freezer while you prepare the filling.
- Make the Filling: Wash out the food processor. Drain the soaked cashews (if applicable) and add all filling ingredients (cashews, coconut cream, maple syrup, lime zest, lime juice, vanilla extract). Blend on high speed for 1.5-2 minutes until the mixture is very creamy and completely smooth, with no lumps.
- Assemble and Freeze: Pour the creamy filling over the chilled crust in the pan. Use a spatula to spread it out evenly. Freeze for a minimum of 2 hours, or until fully hardened. Once set, lift the bars out of the pan using the parchment paper overhang and slice into 9 (3×3 inch) bars. Serve and enjoy!
Notes
- Soaking Cashews: Soaking raw cashews in hot water for at least 30 minutes (or longer) will yield an incredibly creamy filling. If you skip soaking, blend for an extra minute or two to ensure smoothness.
- Bar Size: The recipe is portioned for 9 generous bars. For smaller servings or to reduce calories per bar, feel free to cut them into 12 or 16 pieces.
- Pan Size: An 8×8 metal pan works best. Lining with parchment paper is recommended for easy removal. Using a 9×9 pan will result in slightly thinner bars.
- Serving Suggestion: For optimal texture, remove bars from the freezer 10-15 minutes before serving to allow them to soften slightly.
- Storage: Store leftover bars in an airtight container in the refrigerator for up to 5 days. They can also be frozen for up to 3 months (see FAQ).
Nutrition
Serving: 1 bar | Calories: 565kcal | Carbohydrates: 27g | Protein: 10g | Fat: 50g | Saturated Fat: 19g | Polyunsaturated Fat: 6g | Monounsaturated Fat: 20g | Cholesterol: 17mg | Sodium: 72mg | Potassium: 448mg | Fiber: 5g | Sugar: 13g | Vitamin A: 10IU | Vitamin C: 1mg | Calcium: 57mg | Iron: 4mg
All nutrition facts are an estimate and automatically calculated. While I fact check them using My Fitness Pal, please note that they may not always be 100% accurate and depend on ingredients used. For the most accurate grams per serving size, weigh your total and divide by the number of servings.
Did you make this?
Rate & comment below, and tag me on Instagram @maryswholelife