
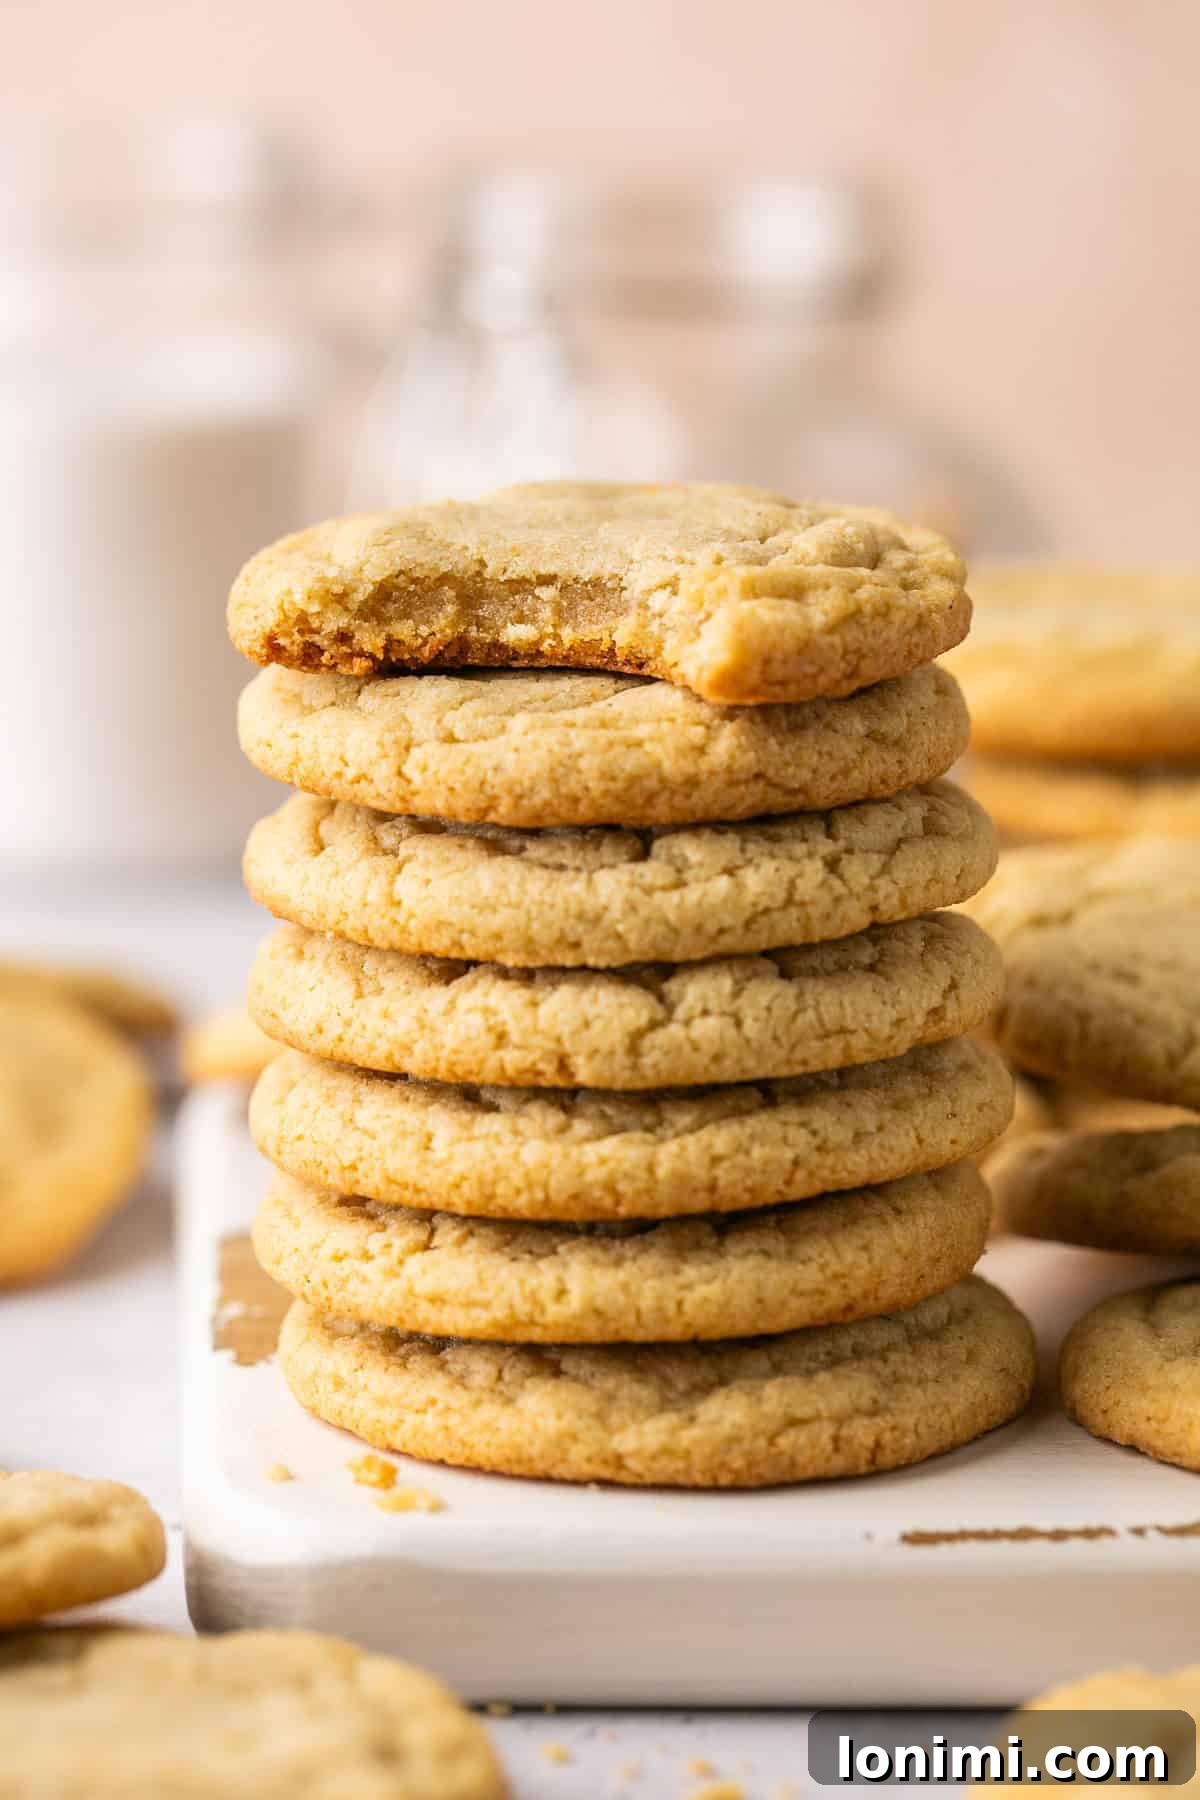
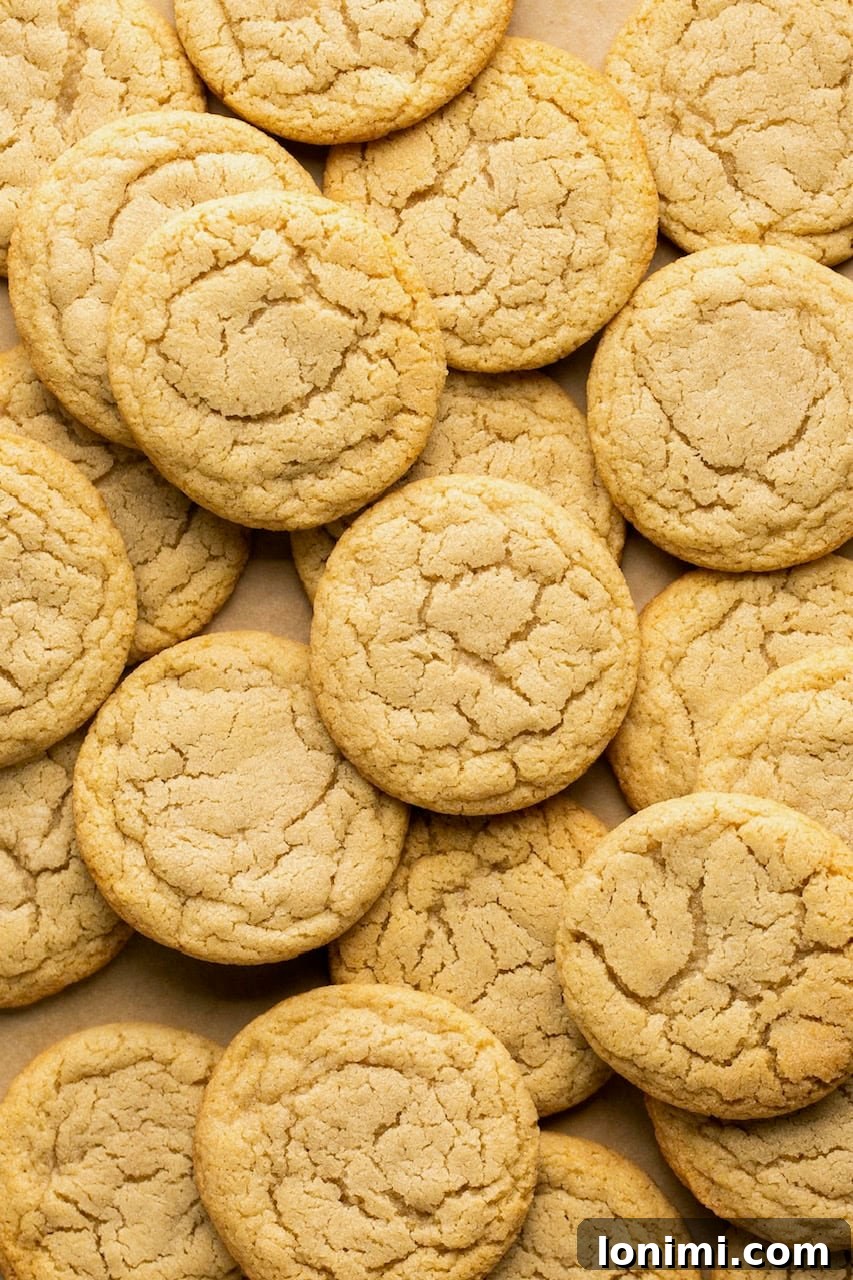
Welcome to the world of pure cookie bliss! These chocolate chipless cookies are a true celebration of classic dough, crafted for those who appreciate the simple yet profound flavors of a perfectly baked cookie. Imagine soft, delightfully chewy centers, surrounded by golden-brown edges, all infused with a rich, buttery vanilla essence. There’s no distracting chocolate chip here – just the unadulterated goodness of the cookie base itself. Whether you’re a purist, have dietary considerations, or simply ran out of chocolate, this recipe for the ultimate vanilla cookie is about to become your new favorite go-to. Get ready to experience a cookie that truly lets its magnificent base shine.
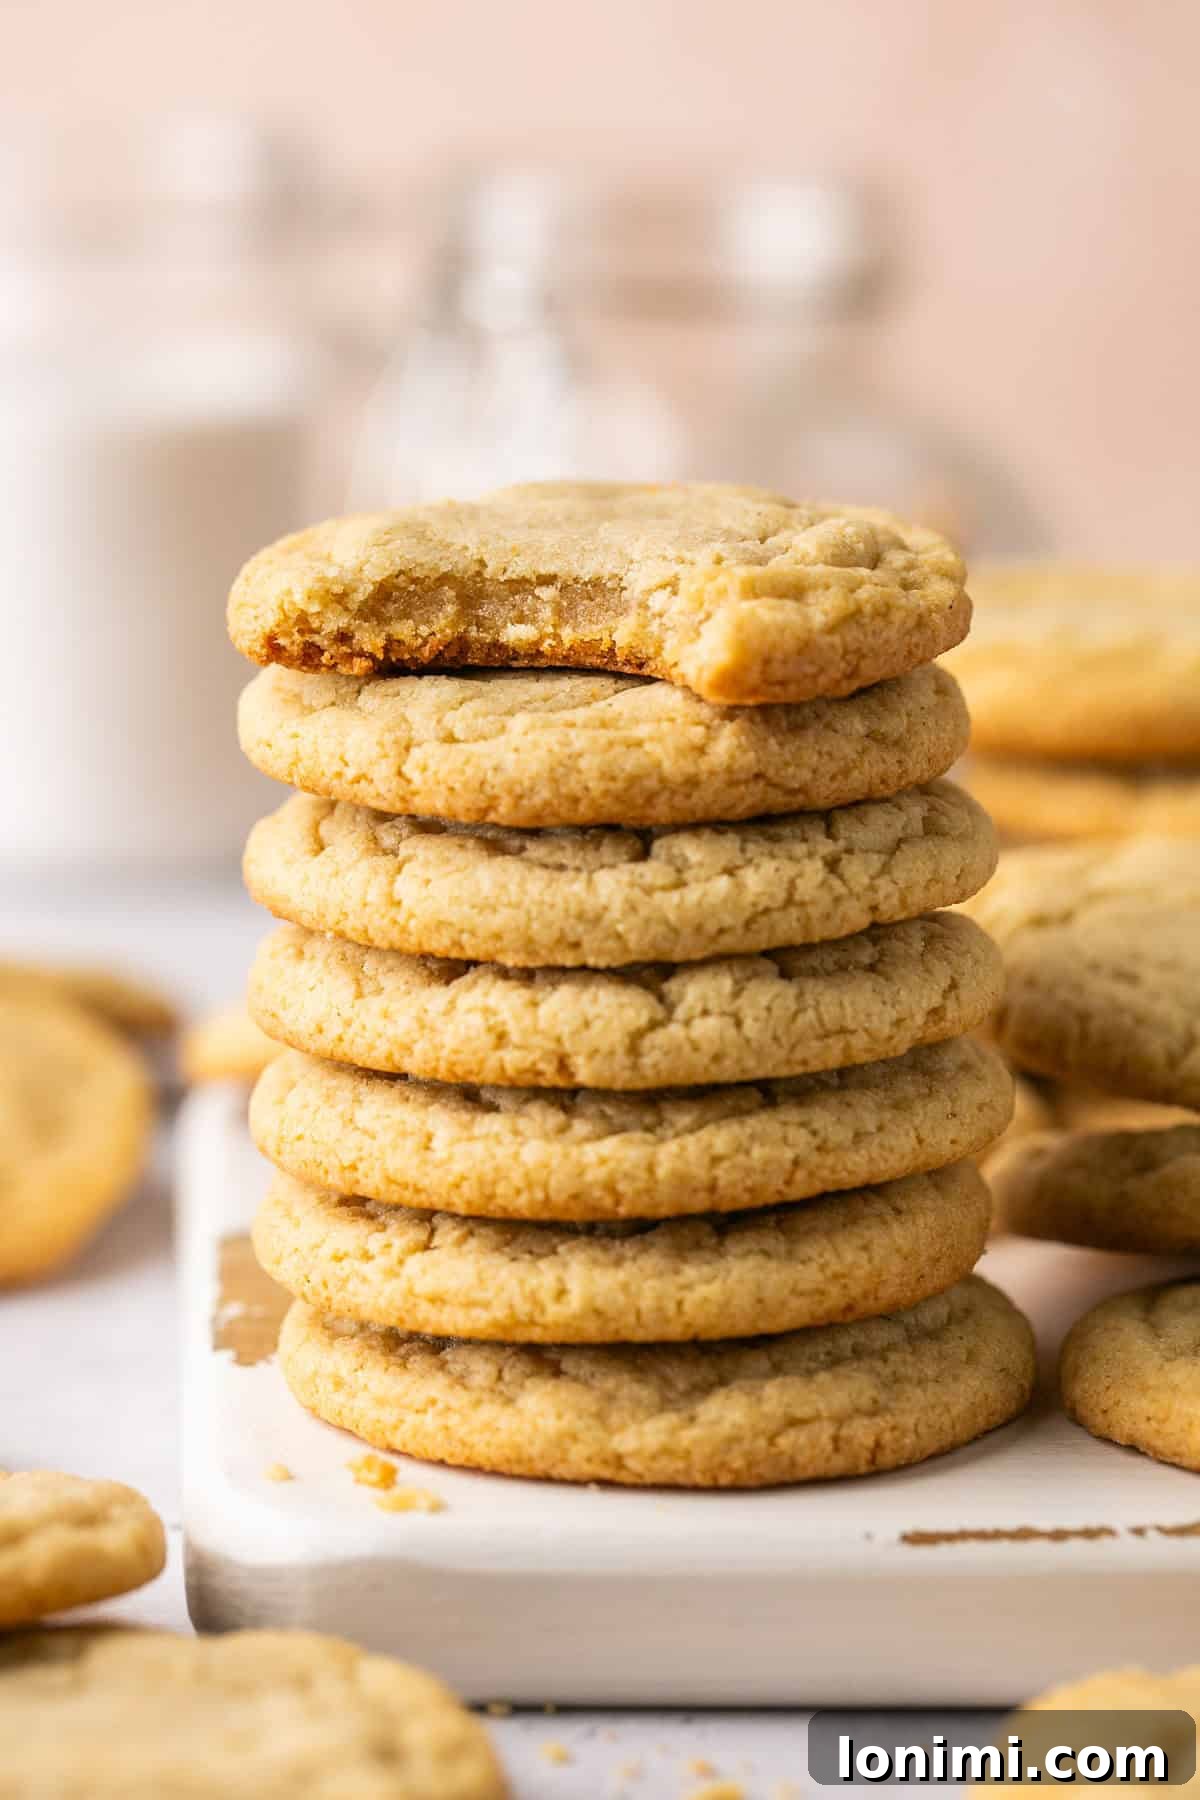
Why You’ll Adore These Pure Vanilla Bean Cookies
There’s an undeniable charm and deep nostalgia wrapped within the foundation of a classic chocolate chip cookie – that sweet, buttery, and wonderfully chewy dough. This unique recipe for chocolate chipless cookies elevates that beloved base, allowing its inherent deliciousness to take center stage without any competition. Each bite offers crisp, slightly caramelized edges, a beautifully golden-brown middle, and a luxuriously soft interior that practically melts in your mouth. It’s an experience designed to highlight the rich, comforting essence of vanilla and butter.
These cookies are incredibly versatile and cater to a wide range of needs. If you or a loved one has a chocolate allergy, this recipe provides a safe and equally satisfying alternative. They’re also perfect as a school-safe treat for kids, eliminating common allergens often found in chocolate. For those who, like us, simply adore the pure flavor of cookie dough more than the chips, this recipe is a dream come true. Beyond their irresistible taste, these cookies are naturally gluten-free and can be easily adapted to be dairy-free, making them an inclusive option for any gathering, bake sale, or a quiet, cozy evening at home.
I personally find immense joy in having a batch of this versatile dough readily available for those spontaneous cookie cravings, especially when the holidays roll around. The aroma alone is enough to fill your home with warmth! If you’re eager to explore more classic cookie bases with delightful twists, be sure to explore my Gluten-Free Monster Cookies or these delightful Soft Baked Pumpkin Cheesecake Cookies for even more culinary adventures.
Essential Ingredients for Your Chipless Masterpiece
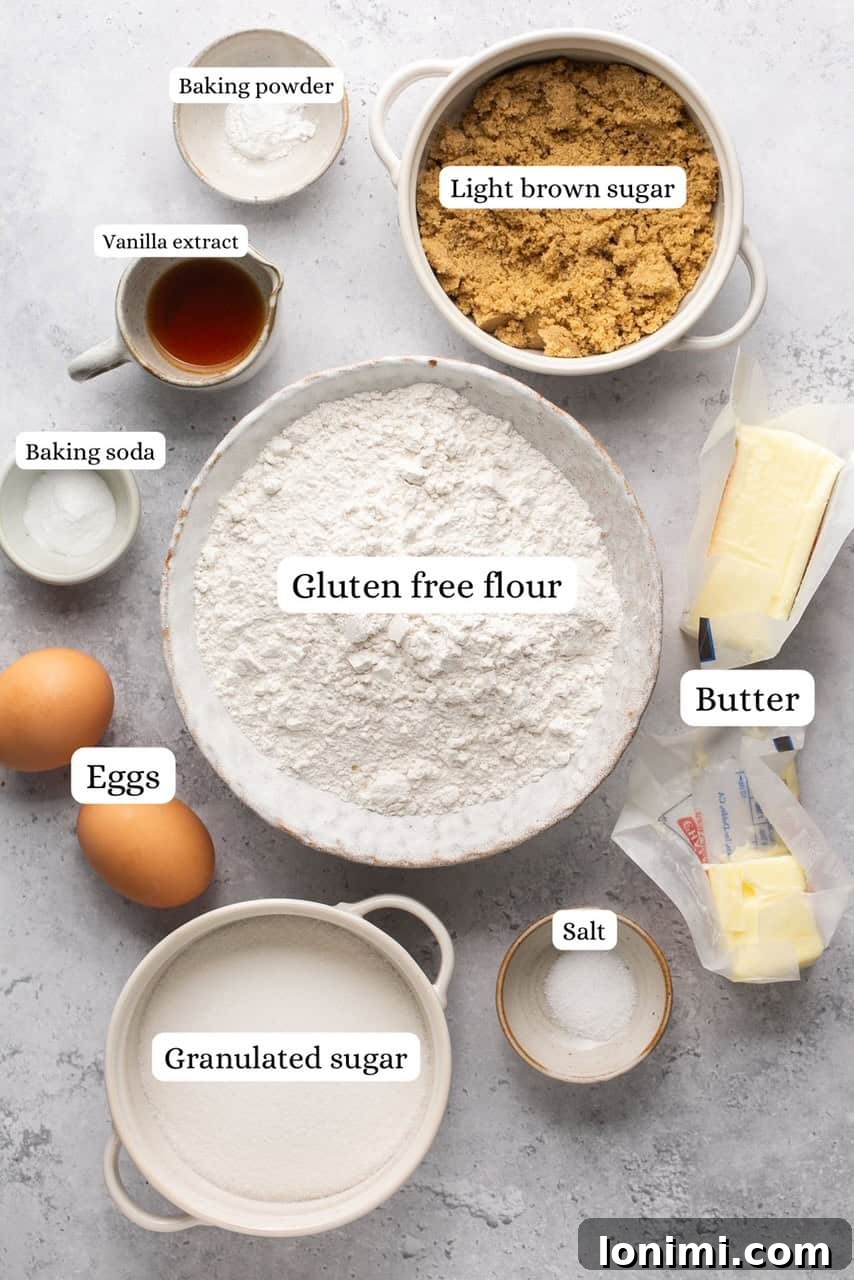
Crafting the perfect chipless cookie starts with selecting the right ingredients. Each component plays a vital role in achieving that signature buttery, chewy, and vanilla-rich flavor and texture. Here’s a closer look at what you’ll need and why:
- Salted Butter: This is the heart of our cookie. Using good quality salted butter not only contributes to the incredibly rich, melt-in-your-mouth flavor but also provides a crucial fat content that ensures a tender crumb. For those on a dairy-free diet, premium vegan butter brands like Miyoko’s Kitchen or Kite Hill work beautifully, maintaining the desired buttery texture and taste. Ensure it’s softened to room temperature for optimal creaming.
- White Granulated Sugar & Light Brown Sugar: This dynamic duo is essential for both sweetness and texture. Granulated sugar promotes those irresistible crisp edges and helps the cookies spread perfectly. Light brown sugar, with its molasses content, adds a deeper, more complex sweetness and contributes significantly to the chewy interior and golden hue of the cookies. The combination prevents the cookies from being overly sweet while offering a balanced flavor profile.
- Pure Vanilla Extract: As these are “chipless” cookies, vanilla is the star flavor. Don’t skimp on quality here! Pure vanilla extract enhances the dough’s warm, comforting, and deeply nostalgic taste. For an even more aromatic and intense vanilla experience, consider using vanilla bean paste – a little goes a long way in elevating the flavor.
- Egg + Extra Egg Yolk: The whole egg provides structure and binding, while the additional egg yolk is our secret weapon for chewiness and richness. Without chocolate chips to add moisture and fat, this extra yolk is crucial in preventing dryness, ensuring your cookies remain wonderfully soft and chewy. It also contributes to the beautiful golden color.
- Gluten-Free Measure for Measure Flour Blend: For a reliably gluten-free cookie that doesn’t compromise on texture, a high-quality “measure for measure” or “1:1” gluten-free flour blend is key. I highly recommend King Arthur Baking’s Measure for Measure or Bob’s Red Mill 1-to-1 Baking Flour. These blends are formulated to mimic the properties of all-purpose flour, ensuring proper structure, spread, and a tender, non-gritty texture.
- Baking Soda & Baking Powder: These leavening agents work in harmony to give the cookies their perfect rise and desired texture. Baking soda reacts with the brown sugar to create tenderness and spread, while baking powder contributes to a slight lift, resulting in a perfectly soft and chewy cookie.
- Salt: A pinch of salt is vital! It balances the sweetness of the sugars, enhances all the other flavors, and prevents the cookies from tasting flat. It truly brings out the best in the butter and vanilla.
Variations and Substitutions for Your Chipless Cookies
While these chipless cookies are utterly delightful on their own, don’t hesitate to get creative with these simple variations:
- Dairy-Free Option: Easily convert this recipe by using your favorite high-quality vegan butter, such as Kite Hill or Miyoko’s Kitchen. Ensure all other ingredients remain dairy-free if necessary.
- Gluten Option: If gluten is not a concern for you or your guests, you can effortlessly swap the gluten-free flour blend for an equal amount of regular all-purpose flour (1:1 ratio).
- Flavor Boosters: Elevate the classic vanilla profile with additional extracts or spices. A touch of almond extract can add a sophisticated nutty note, while a pinch of cinnamon or nutmeg can introduce a warm, seasonal twist, especially during autumn or winter. Consider a hint of orange or lemon zest for a bright, refreshing flavor.
- Optional Add-ins (If You Choose to Add Chips): If you’re making these for a crowd that craves a little something extra (and you’re moving slightly away from the “chipless” purist path), consider incorporating 1 to 1.5 cups of mix-ins. Great options include peanut butter chips, white chocolate chips, butterscotch chips, or dried cranberries for a chewy, fruity burst. Ensure any chosen add-ins are also gluten-free and/or dairy-free if adhering to those dietary needs.
How To Bake Perfect Gluten-Free Chocolate Chipless Cookies
Creating these delightful chipless cookies is a straightforward process, promising a rewarding baking experience and a batch of incredibly satisfying treats. Follow these steps for golden-brown perfection:
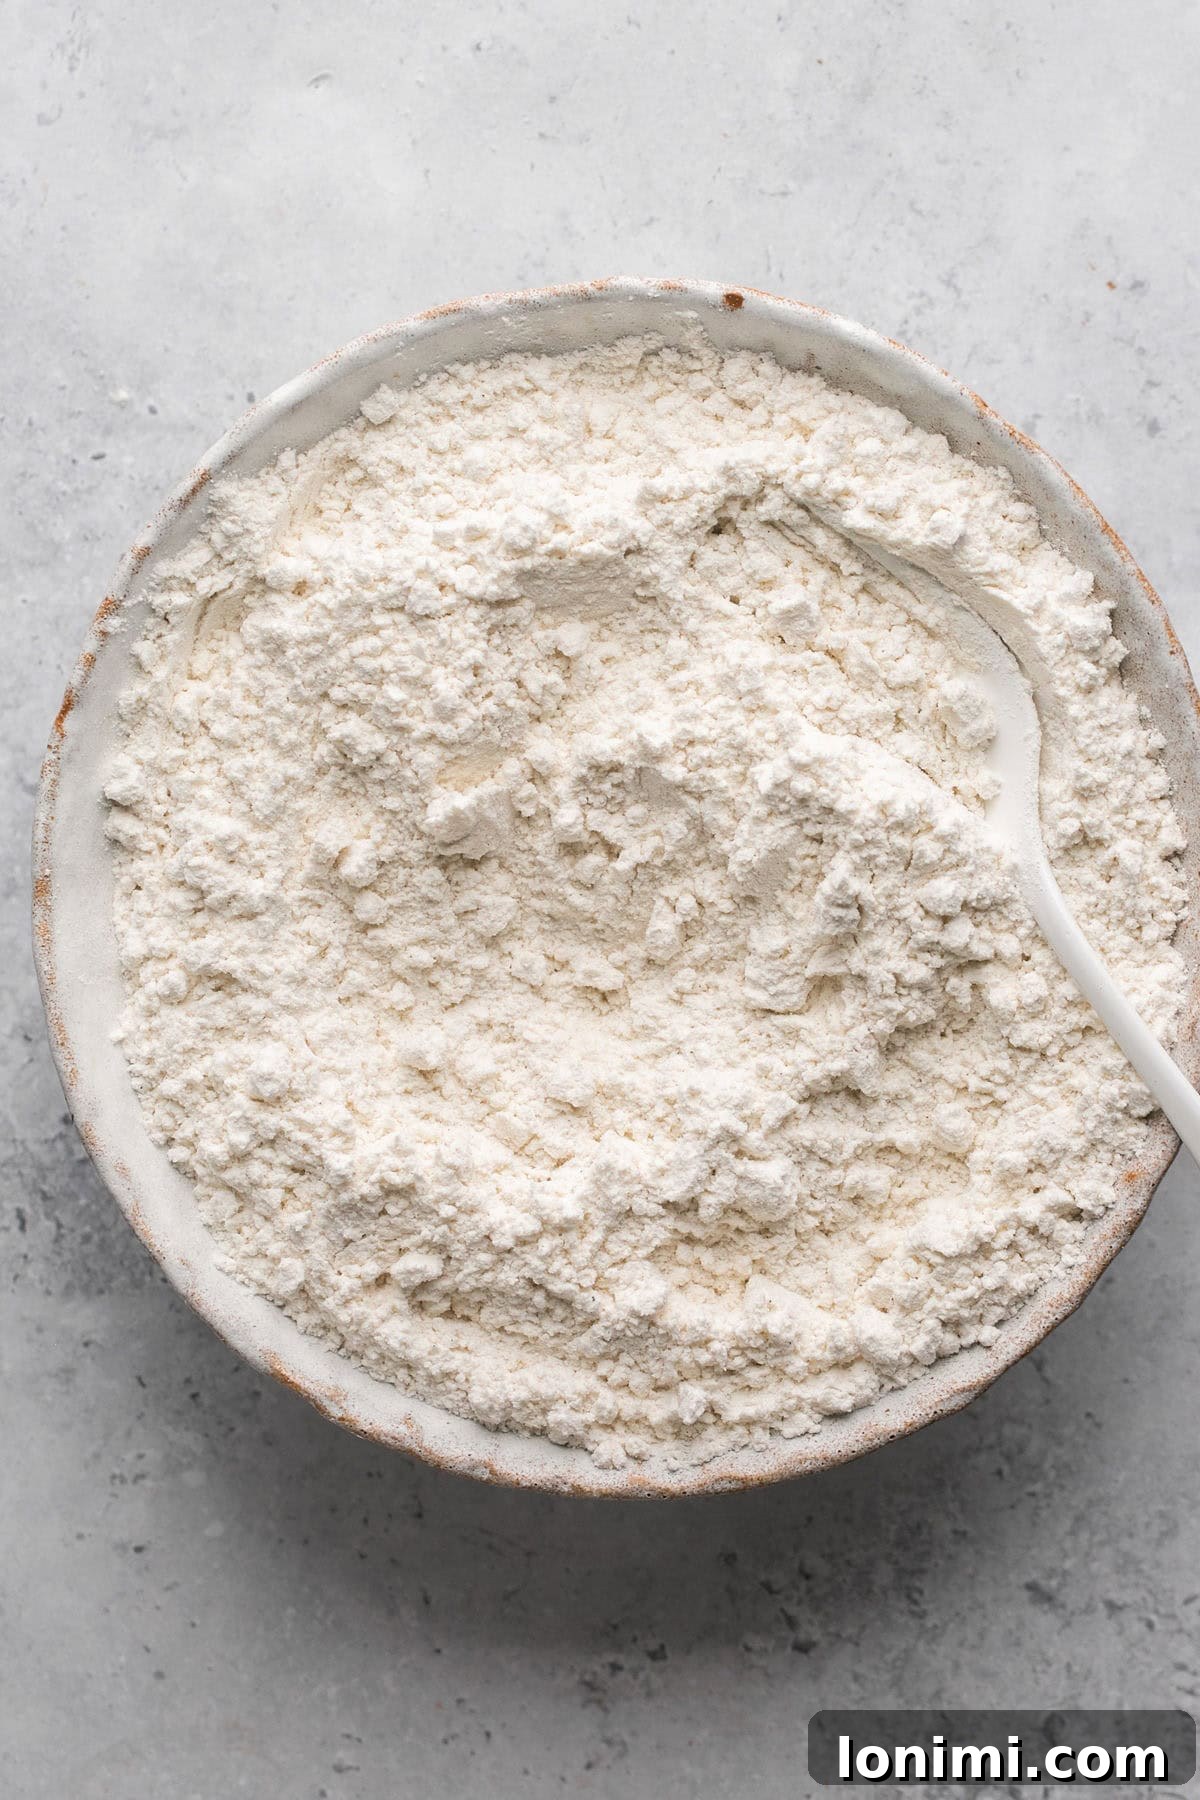
Step 1: Prepare Your Workspace. Preheat your oven to 375°F (190°C). Line one or two baking sheets with parchment paper to prevent sticking and ensure easy cleanup. Set them aside. In a medium bowl, whisk together all your dry ingredients: the gluten-free flour blend, baking soda, baking powder, and salt. Whisking ensures they are evenly distributed, leading to a consistent cookie texture.
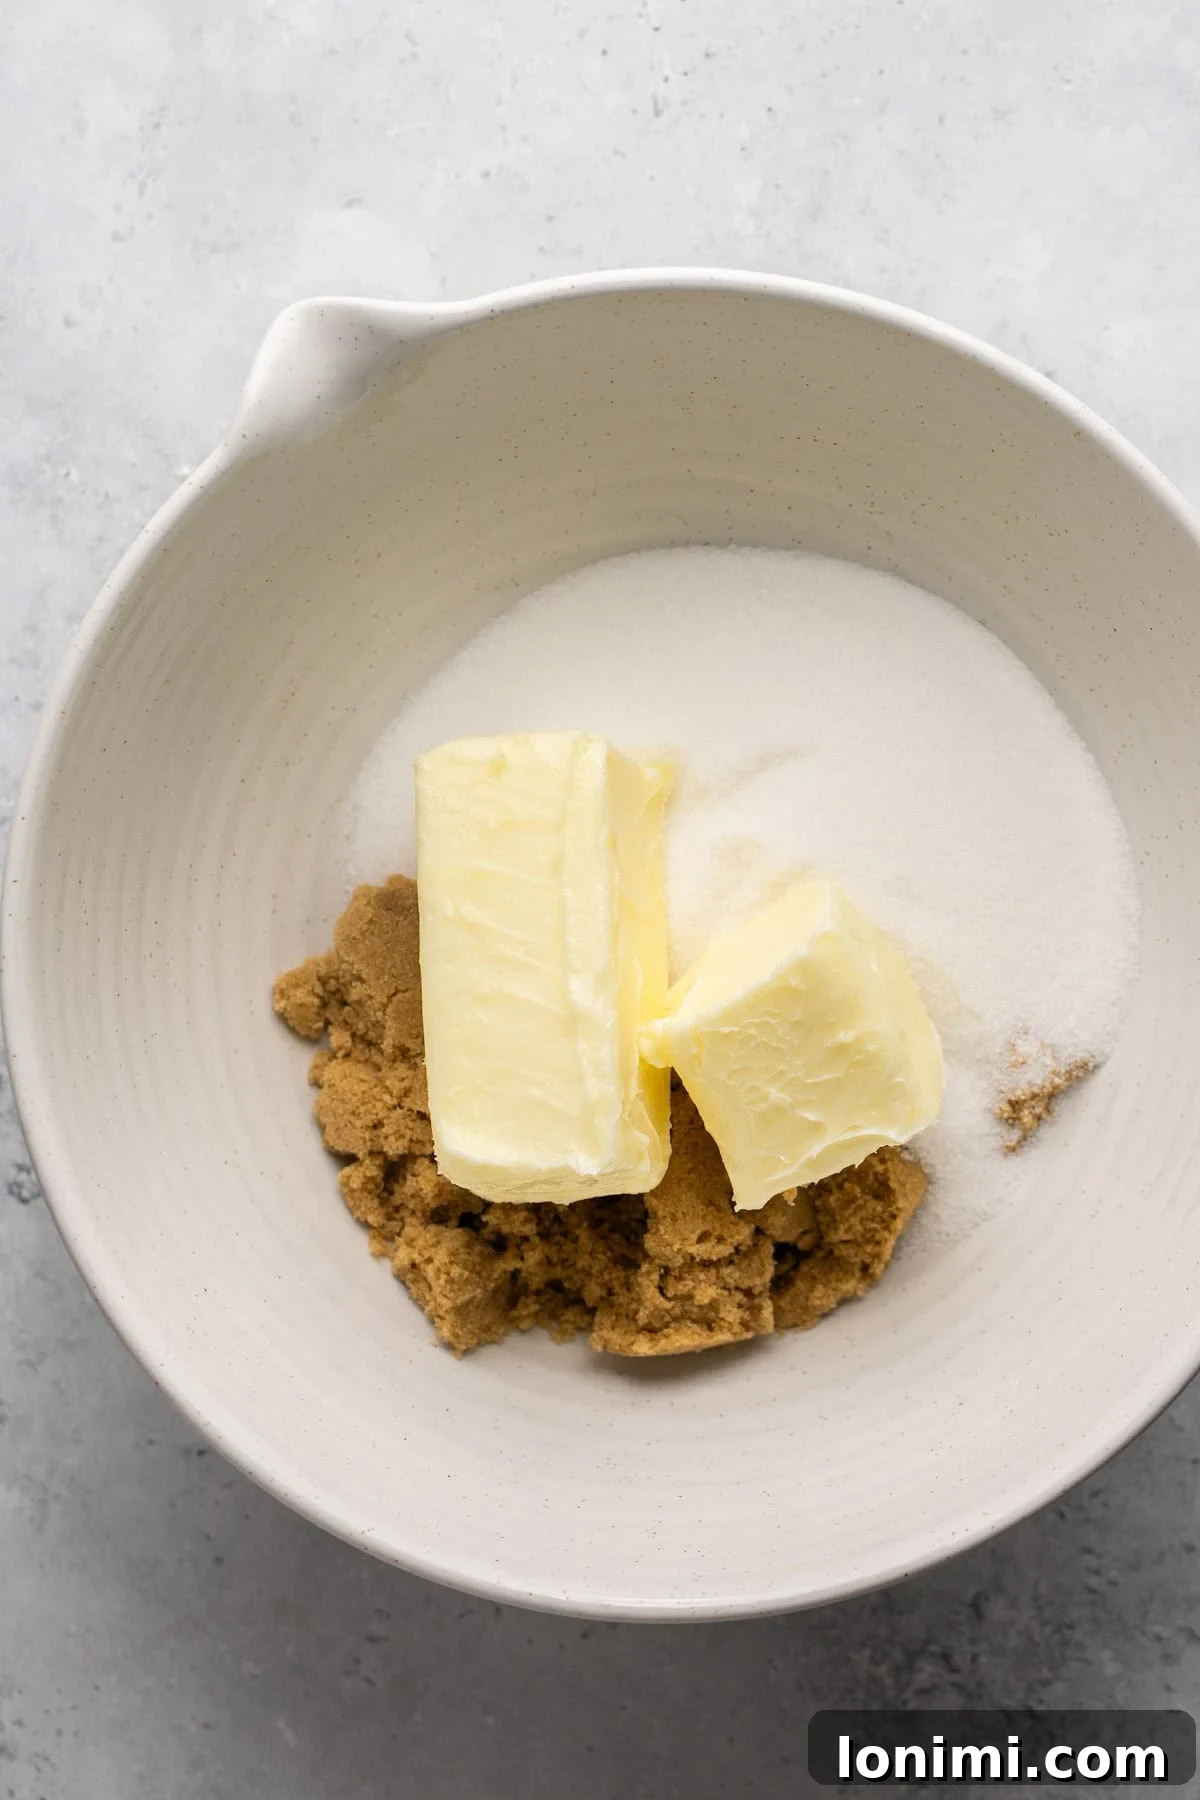
Step 2: Start the Wet Ingredients. In a separate, large mixing bowl (or the bowl of a stand mixer fitted with the paddle attachment), combine the softened butter, granulated white sugar, and light brown sugar.
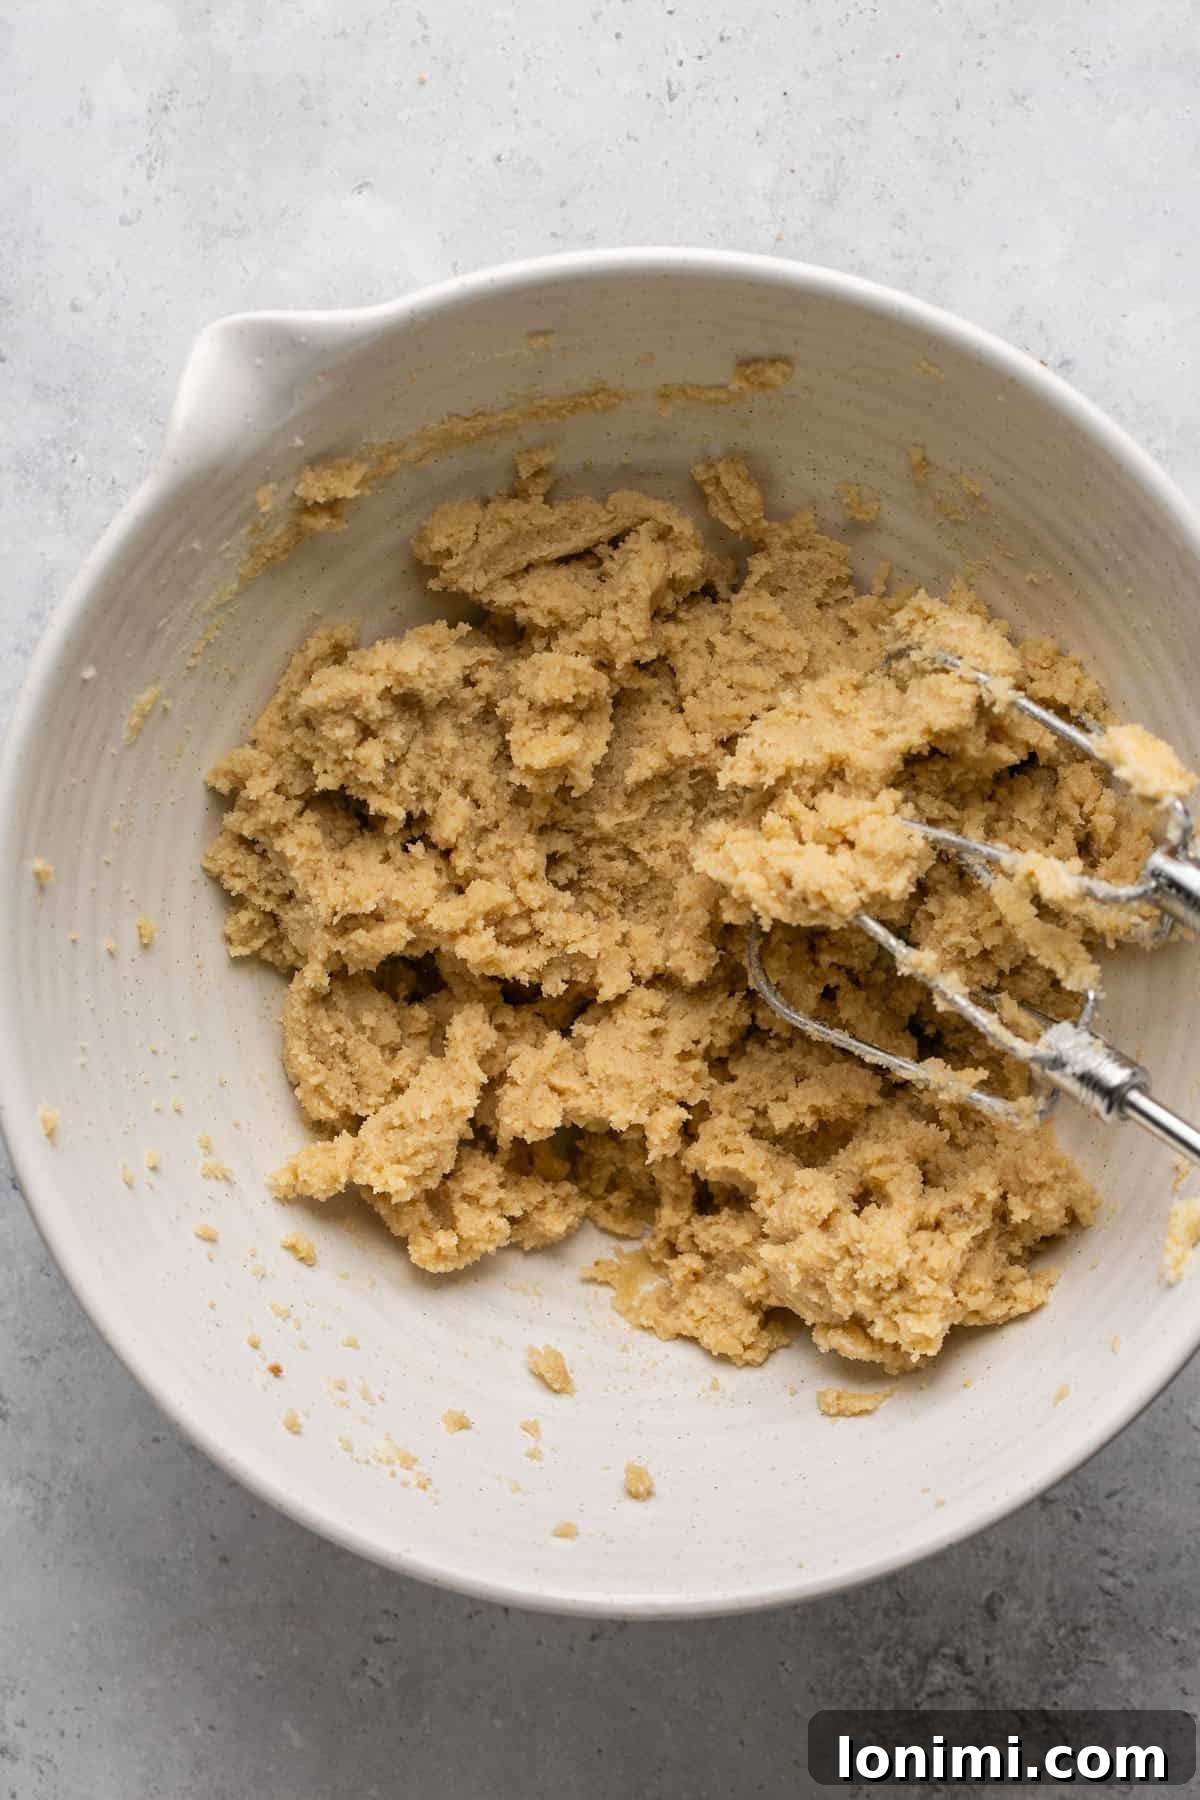
Step 3: Cream Until Fluffy. Beat the butter and sugars together until the mixture is light, fluffy, and pale in color. This process, known as creaming, incorporates air into the mixture, which is crucial for achieving a tender, soft cookie. You can use a sturdy fork, a hand mixer, or a stand mixer for this step. Scrape down the sides of the bowl occasionally to ensure everything is well combined.
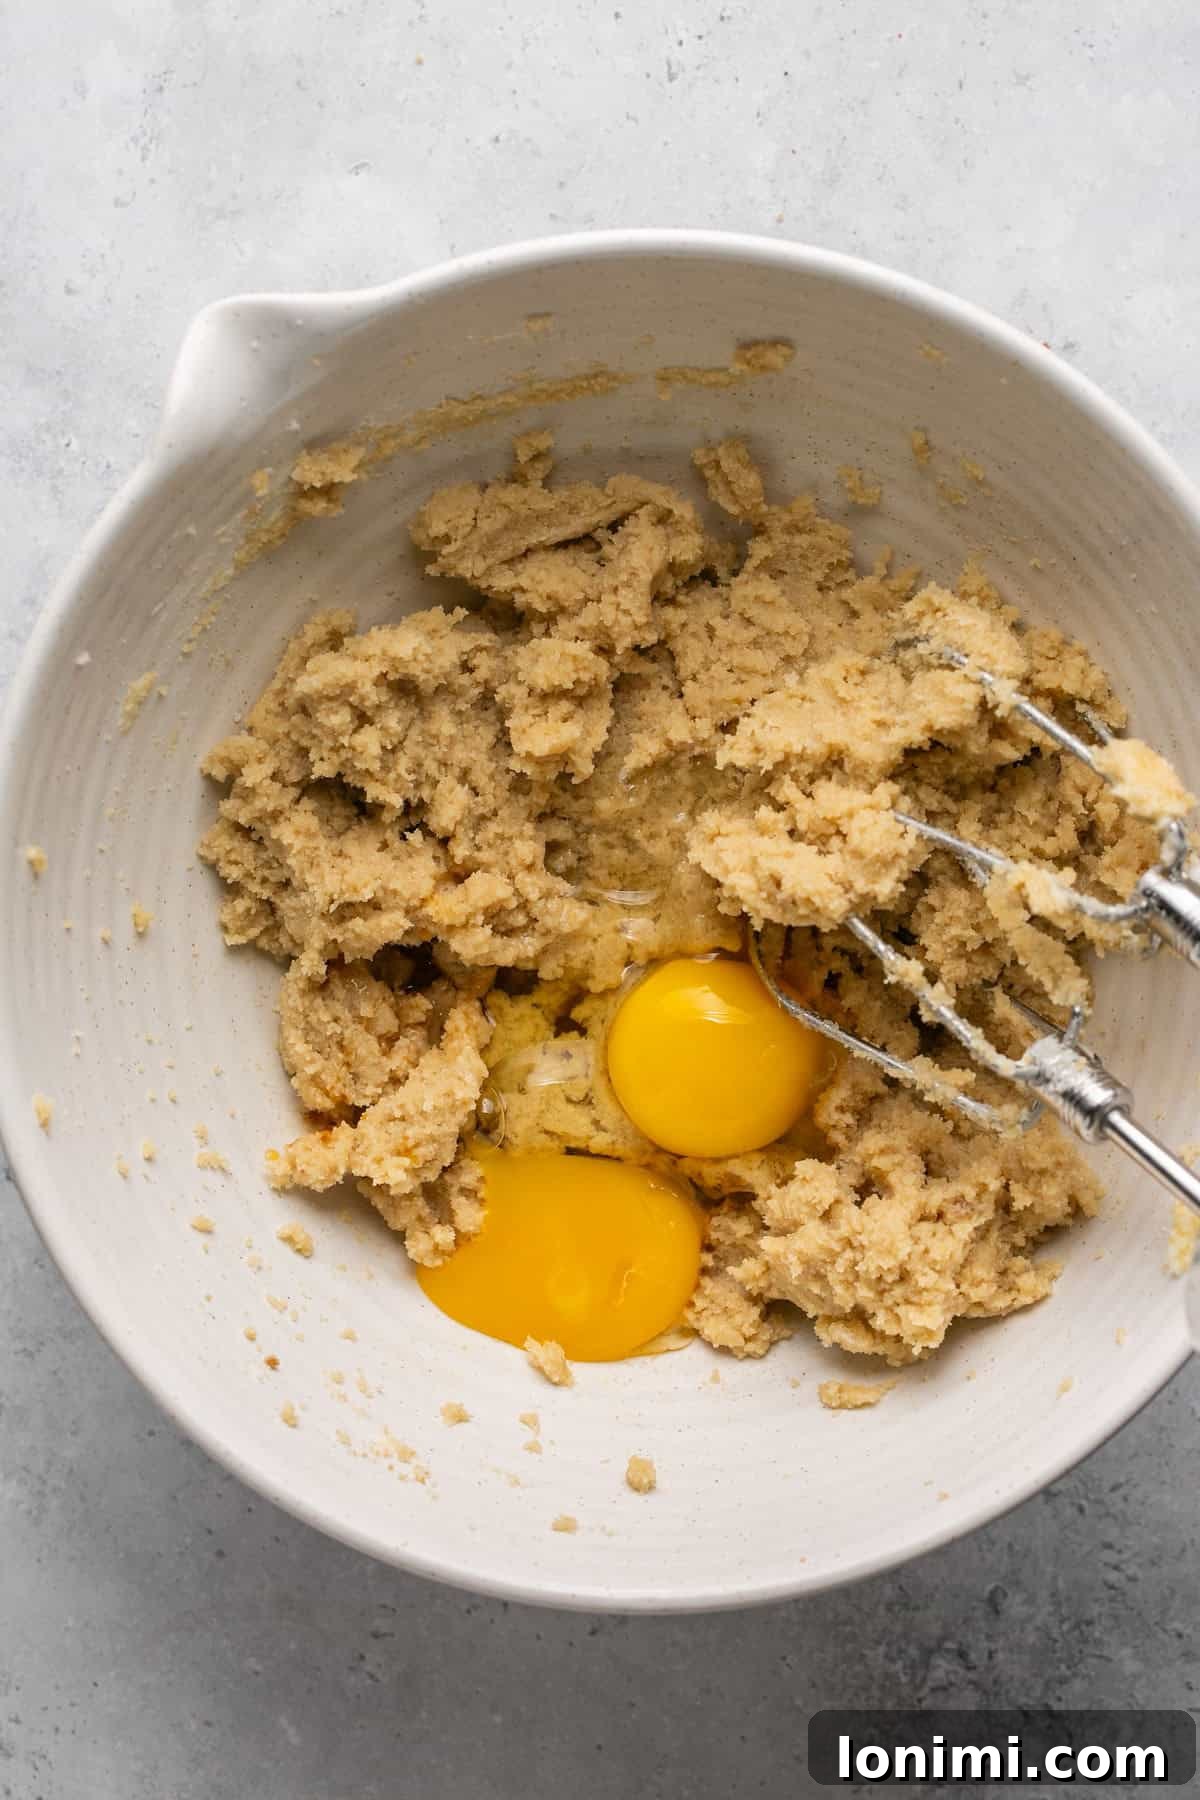
Step 4: Add Eggs and Vanilla. To the creamed butter and sugar mixture, add the whole egg, the extra egg yolk, and the pure vanilla extract. These ingredients contribute to the richness, moisture, and signature vanilla flavor of the cookies.
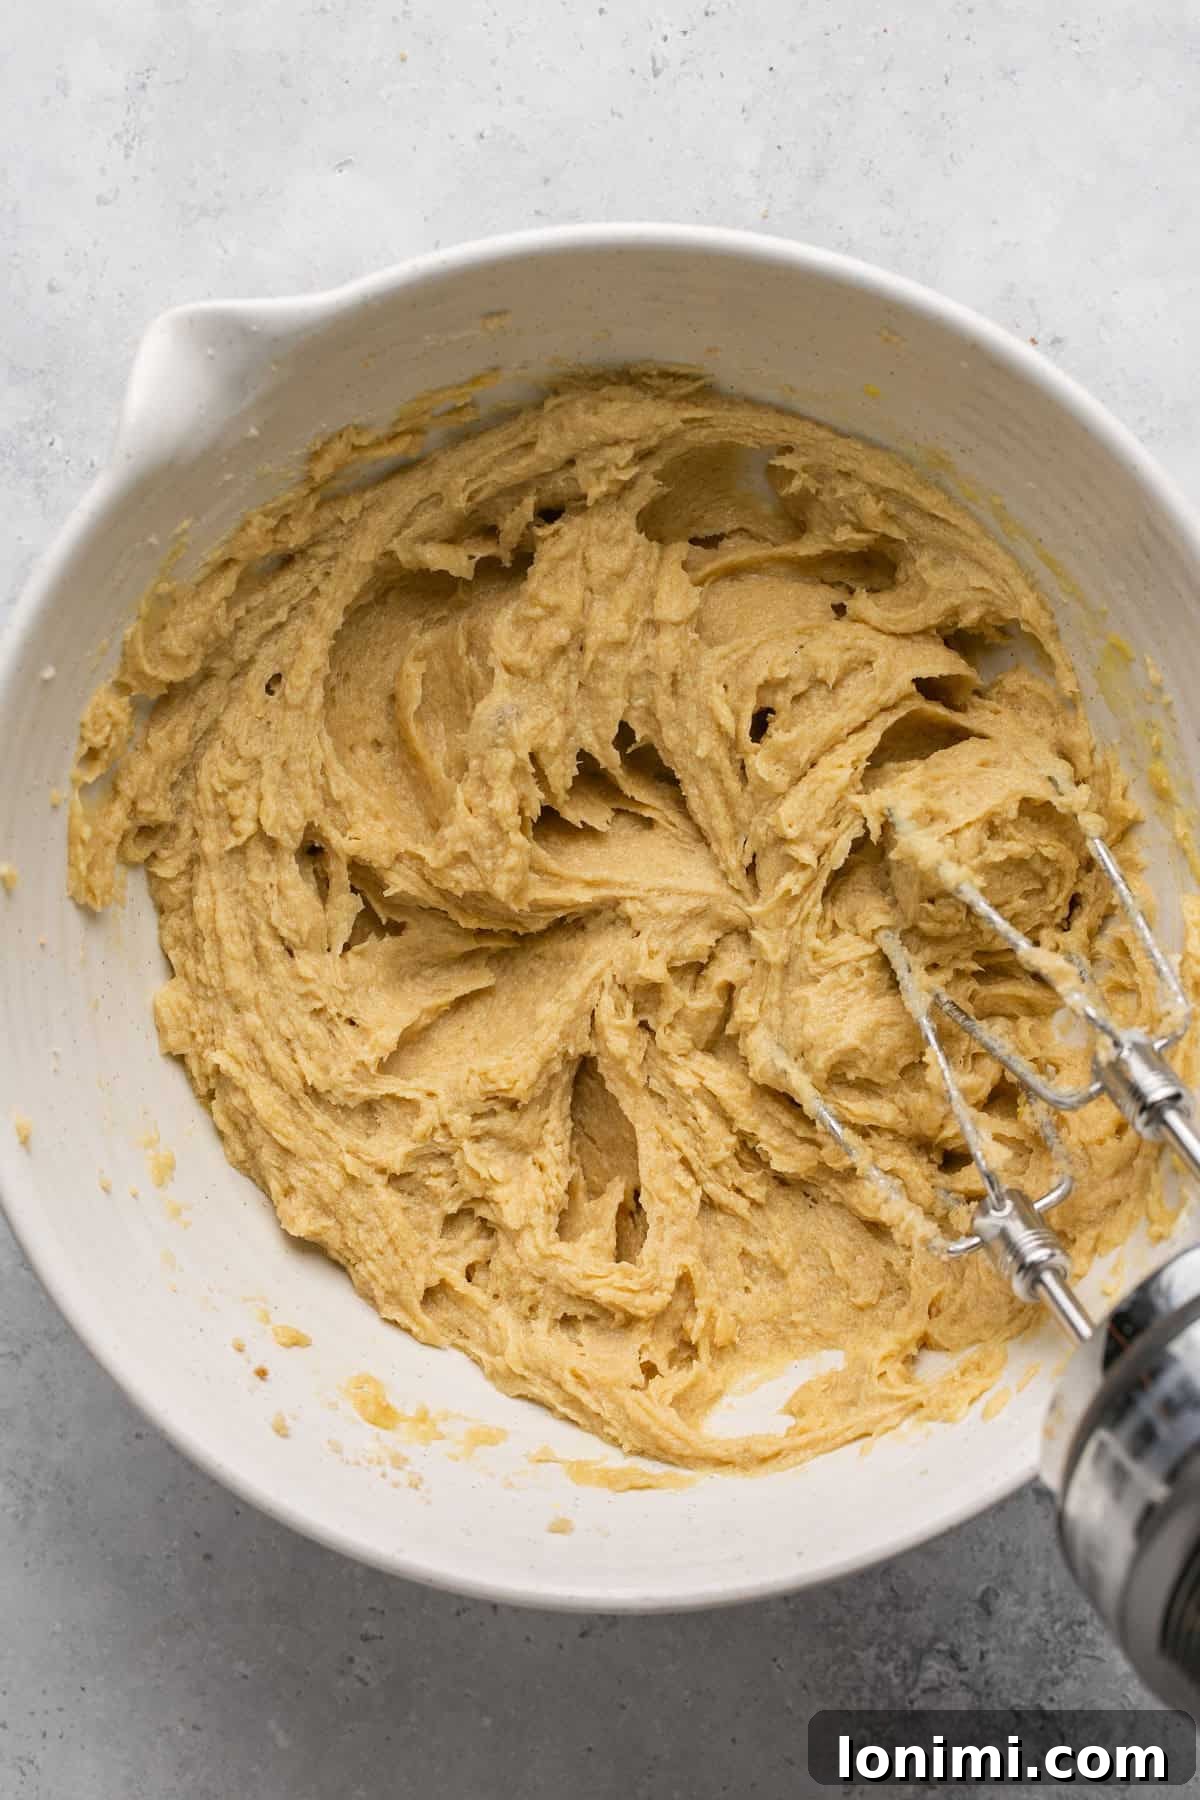
Step 5: Blend Wet Ingredients. Mix these wet ingredients together until they are smooth, creamy, and fully incorporated into the butter-sugar mixture. Ensure there are no streaks of egg or unincorporated butter. Scrape down the sides of the bowl one last time.
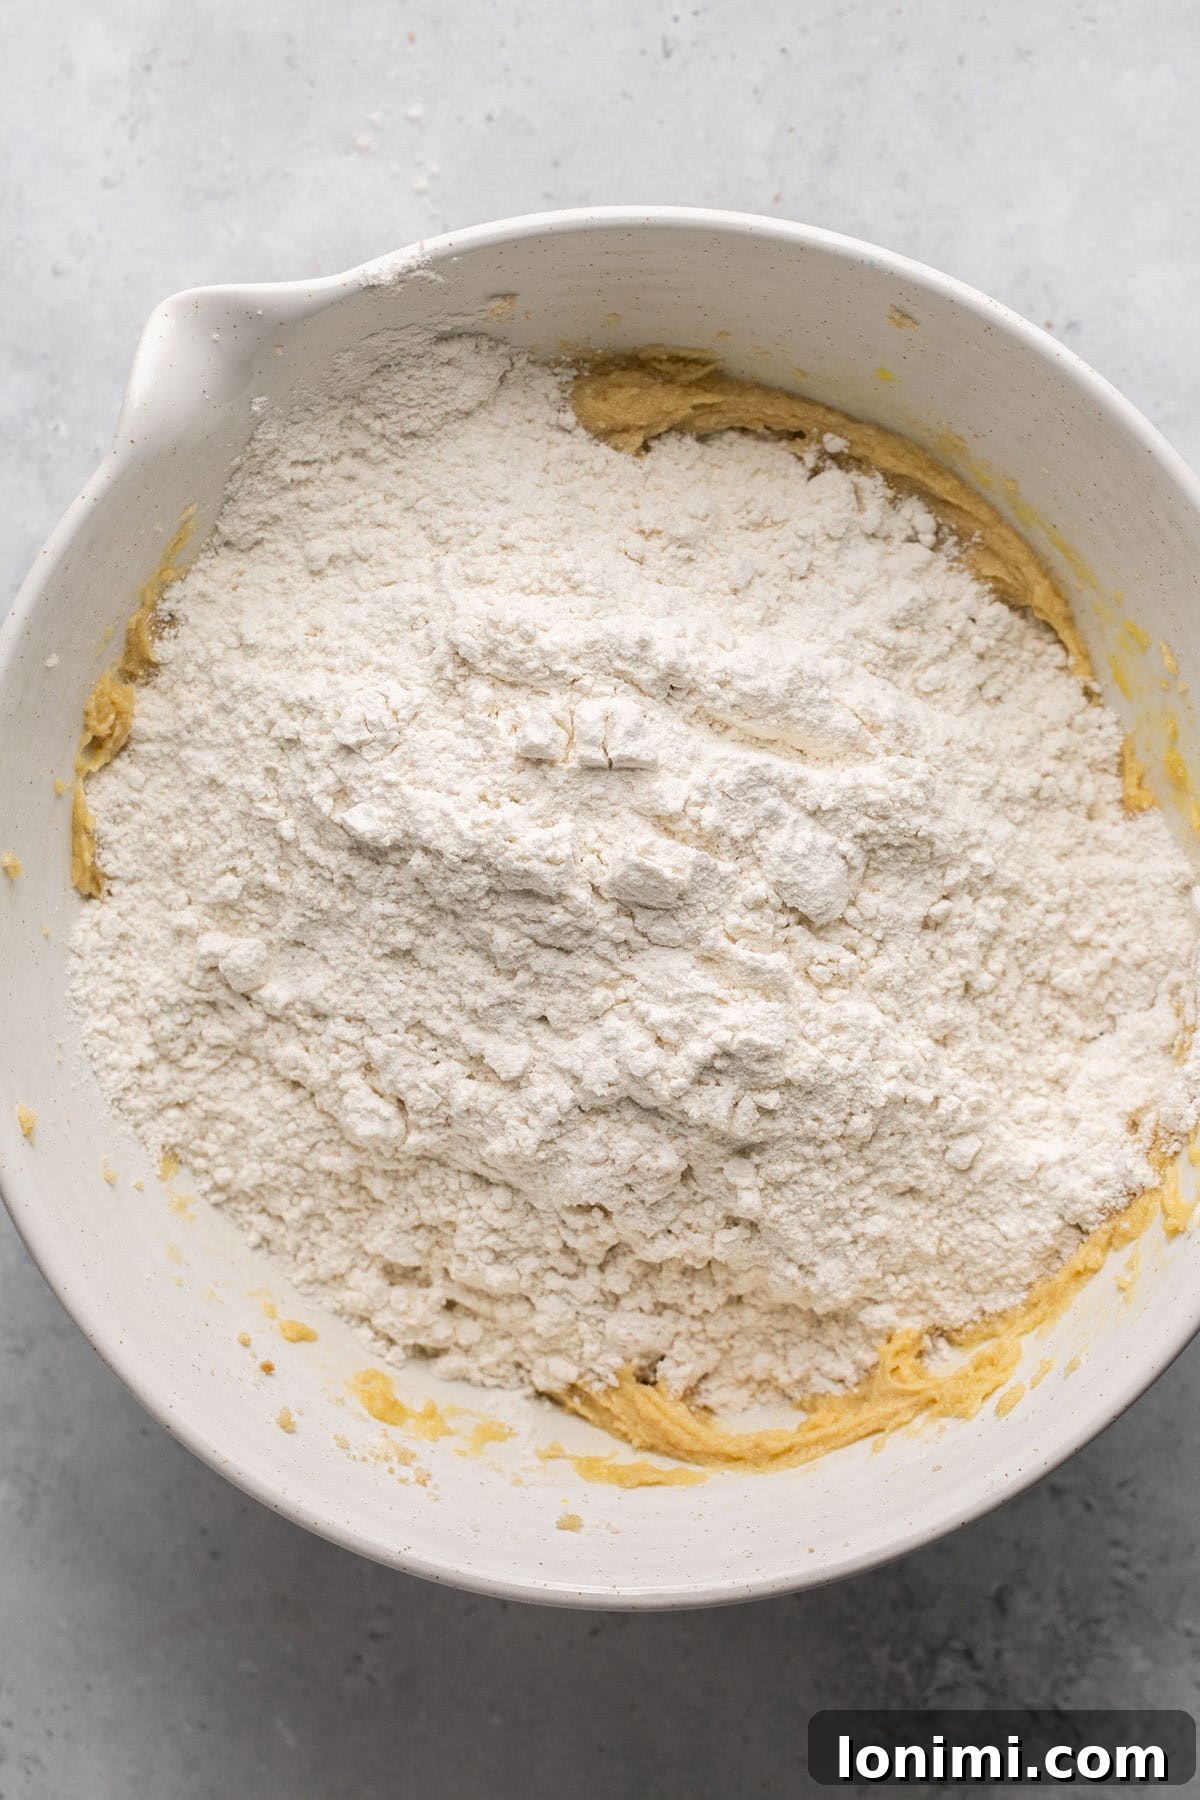
Step 6: Combine Wet and Dry. Gradually add the whisked dry ingredients into the wet mixture. Use a rubber spatula or your mixer on low speed to combine them. Mix just until no streaks of flour remain. Be prepared to use a little “elbow grease” as the dough can be quite thick. Avoid overmixing, as this can develop gluten (even in GF flour blends) and result in tougher cookies.
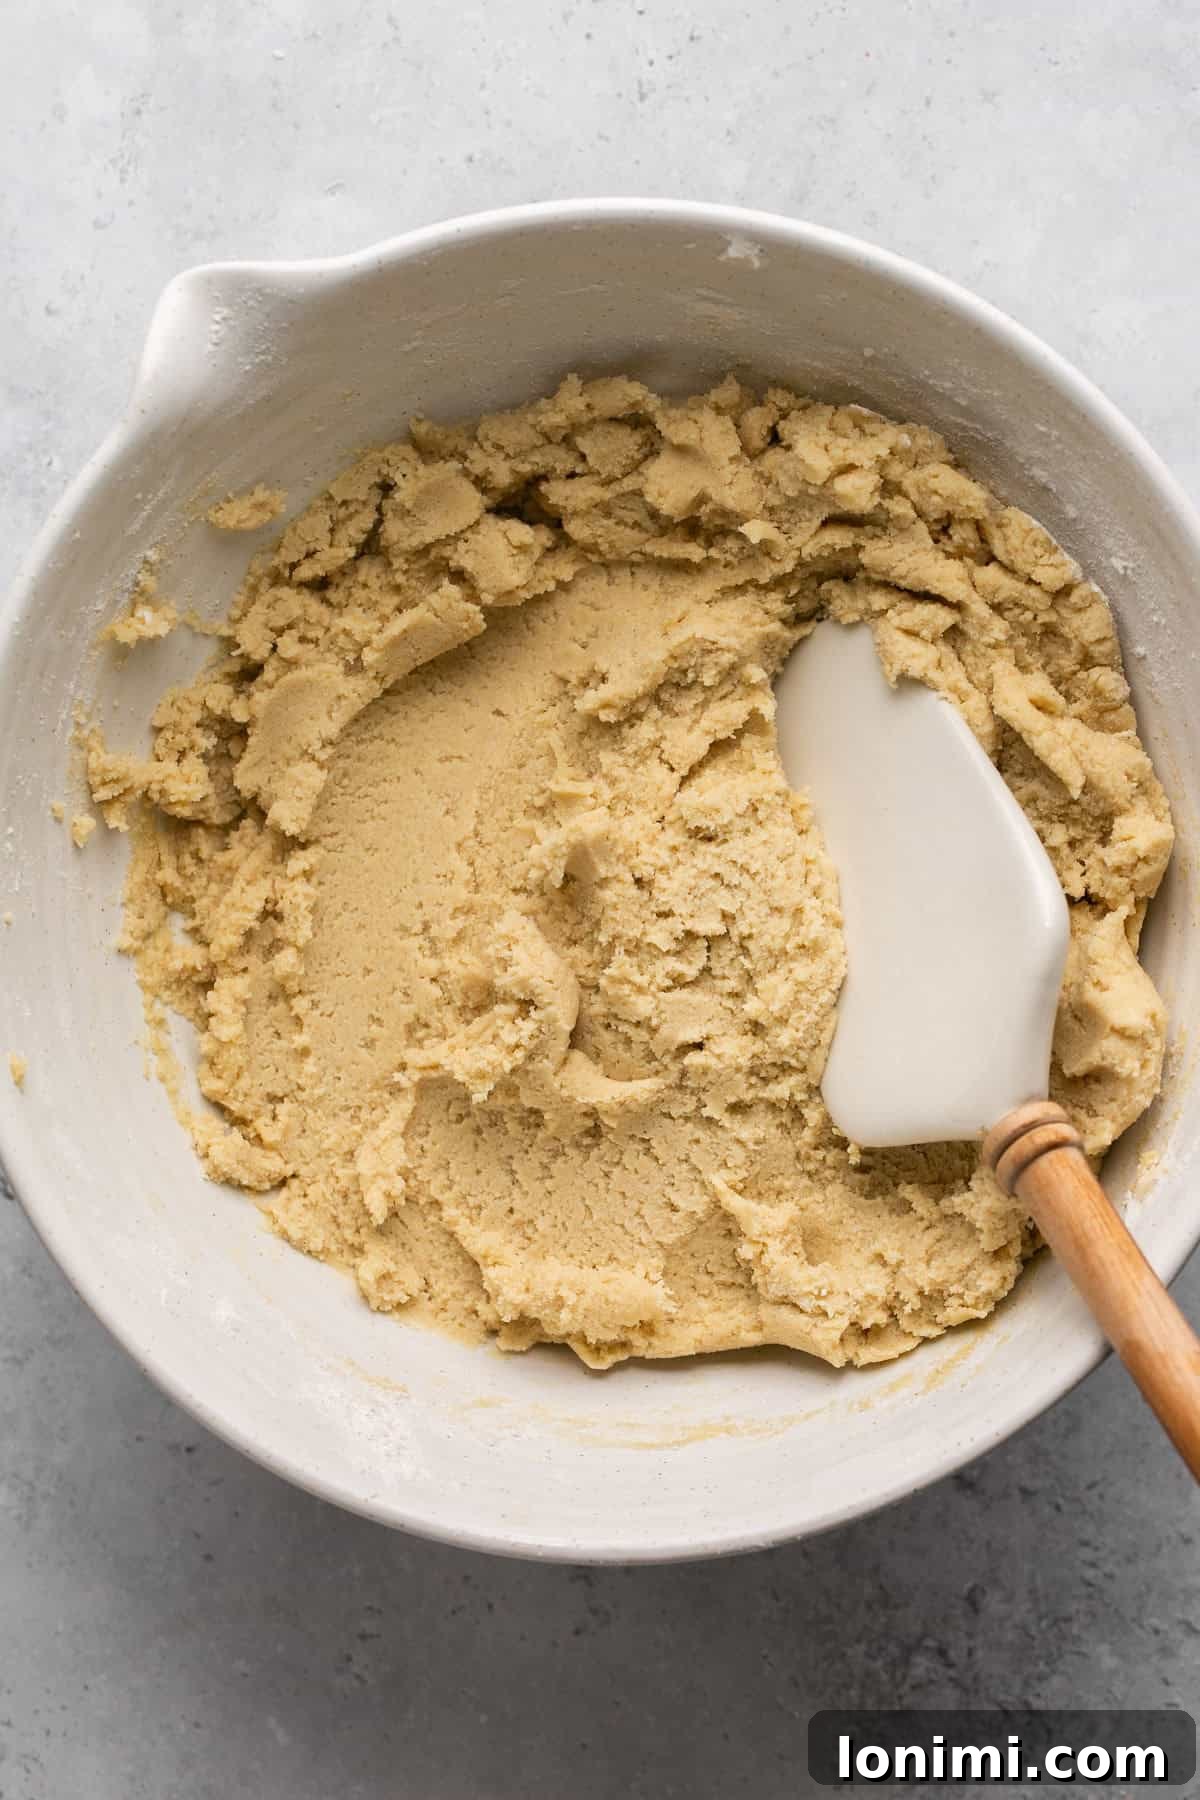
Step 7: Chill the Dough. This step is crucial for achieving wonderfully chewy cookies with excellent structure and reduced spread. Cover the bowl with plastic wrap or transfer the dough to an airtight container and refrigerate for at least 30 minutes. Chilling allows the flavors to meld, the flour to fully hydrate, and the butter to firm up.
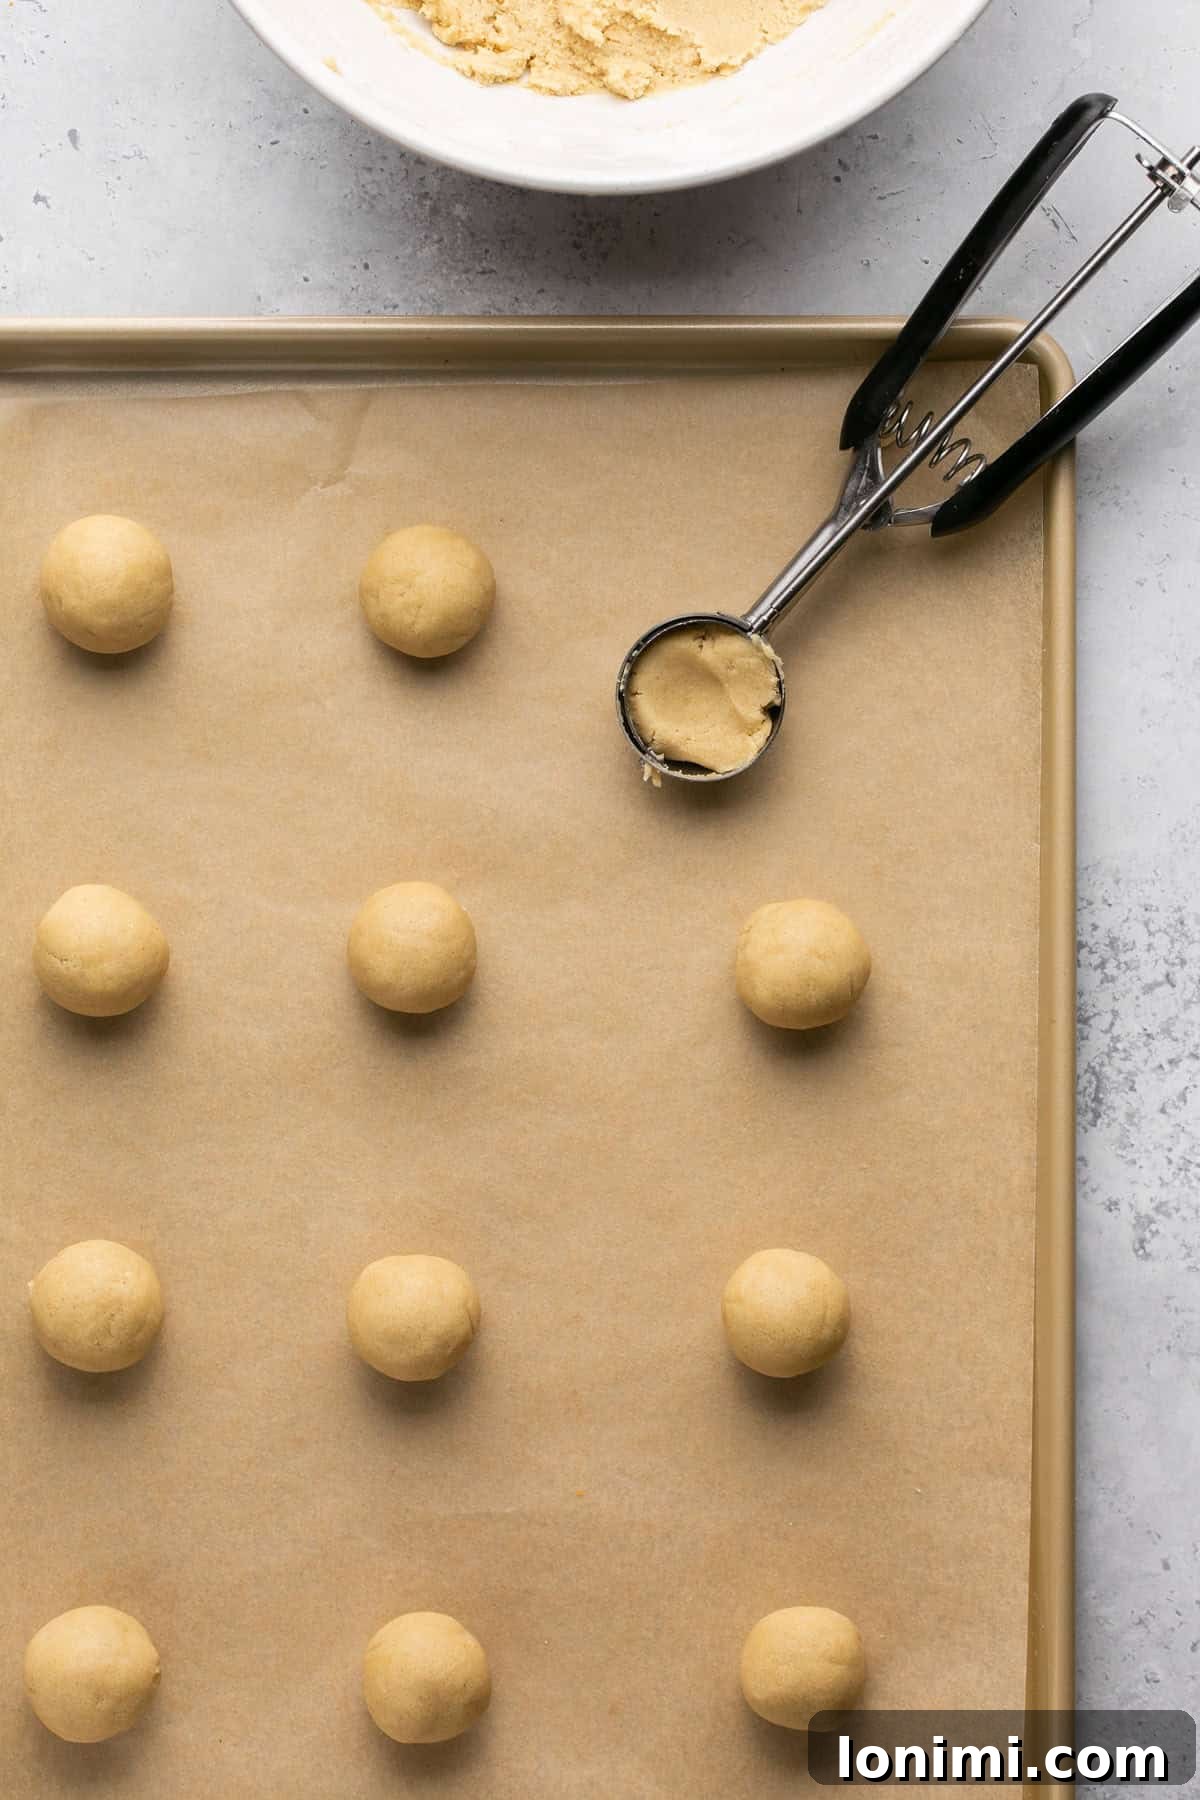
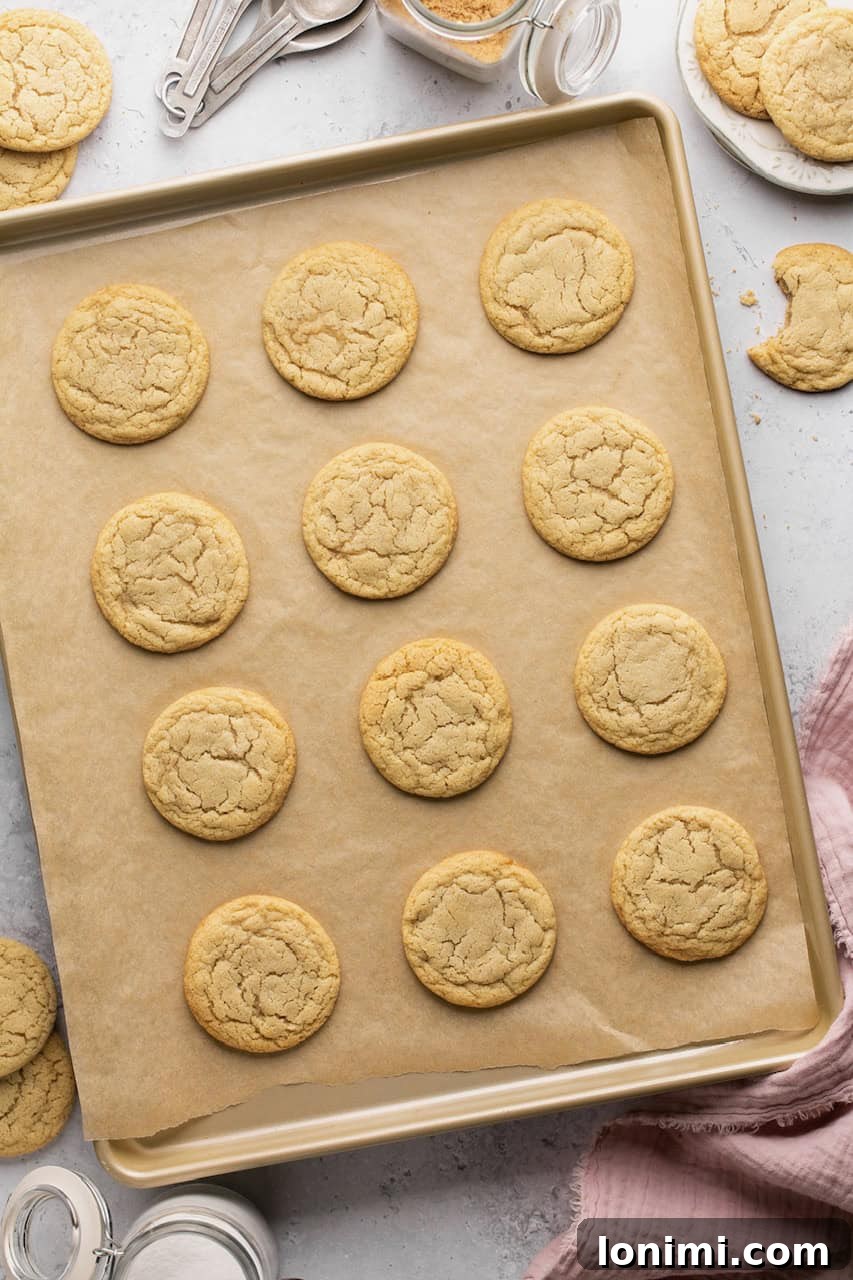
Step 8: Scoop and Bake. Once the dough is chilled, use a 1.5 tablespoon cookie scoop to portion the dough. Roll each portion into a smooth, even ball. Place the dough balls approximately 1-2 inches apart on your prepared baking sheets. This recipe yields about 24 cookies. Bake for 10-12 minutes, keeping a close eye on them until the edges are just beginning to turn a beautiful golden brown. The centers may still look slightly soft, but they will set as they cool. Remove from the oven and let the cookies cool on the hot baking sheet for 5 minutes. This carryover baking helps them firm up and prevents crumbling. Finally, transfer them to a wire rack to cool completely. For the ultimate sensory experience, consider sprinkling a touch of flaky sea salt on top of the warm cookies – it truly enhances the buttery vanilla notes!
Expert Tips & Tricks for Flawless Chipless Cookies
Achieving cookie perfection is easier than you think with these professional insights:
- Don’t Skip Chilling the Dough: This is arguably the most important step for chipless cookies! Chilling helps the butter solidify, which in turn prevents excessive spreading in the oven, leading to a thicker, chewier cookie. It also allows the flour to fully hydrate and the flavors to deepen, resulting in a more complex and satisfying taste. Aim for at least 30 minutes, but an hour or even overnight is even better for maximum flavor and texture.
- Invest in a Cookie Scoop: Using a cookie scoop (like a 1.5 tbsp size) ensures that each cookie ball is uniform in size. Uniformity is key for even baking, meaning all your cookies will be perfectly done at the same time, preventing some from being underbaked while others are overdone.
- Properly Measure Your Flour: Precision in baking is paramount. When measuring flour, spoon it into your measuring cup until it’s overflowing, then use the straight edge of a knife or an off-set spatula to level off the top. This technique prevents over-packing the flour, which can lead to dry, dense cookies. Avoid scooping directly from the bag, as this compacts the flour.
- Avoid Overbaking: For that coveted soft and chewy texture, it’s crucial not to overbake these cookies. They should be just lightly golden brown around the edges, and the centers might still look a little soft when you pull them from the oven. They will continue to bake slightly on the hot pan and firm up as they cool. Overbaking is the quickest way to end up with dry, crumbly cookies, especially without the moisture from chocolate chips.
- Cool Cookies Properly: Resist the urge to move your cookies immediately off the baking sheet. Allowing them to rest on the warm pan for at least 5 minutes after baking helps them to set and firm up. This prevents them from breaking apart when you transfer them to a wire rack. Cooling completely on a wire rack allows air circulation, preventing soggy bottoms and maintaining their crisp edges.
- Room Temperature Ingredients: Ensure your butter and egg are at room temperature. This allows them to cream together more effectively, creating a smoother, more emulsified batter that traps air better, leading to a lighter, more tender cookie.
Storage Tips for Fresh Cookies Every Time
Keep your chipless cookies fresh and delicious for longer with these simple storage guidelines:
Countertop Storage: Once completely cooled, store your baked cookies in an airtight container at room temperature for up to 5 days. Layering them between sheets of parchment paper can help prevent them from sticking together.
Freezer Storage for Baked Cookies: For longer enjoyment, freeze baked cookies in a sealed, freezer-safe container for up to 6 months. To prevent freezer burn, ensure they are tightly wrapped or in an airtight container. Thaw at room temperature or gently warm in the microwave for a fresh-baked feel.
Freezer Storage for Unbaked Dough: You can also prepare the dough ahead of time and freeze individual dough balls. Scoop the dough into balls, place them on a parchment-lined baking sheet, and freeze until solid. Once frozen, transfer the dough balls to a freezer-safe bag or container for up to 3 months. When ready to bake, place frozen dough balls directly on a prepared baking sheet and add 1-2 minutes to the bake time. No need to thaw!
Common Questions About Chocolate Chipless Cookies
What can I use in place of chocolate chips in cookies?
While this recipe celebrates the pure cookie dough, if you’re looking for other mix-in ideas (and are okay with them not being strictly “chipless”), consider butterscotch chips, peanut butter chips, or even M&Ms for a pop of color and flavor. For a fruitier twist, raisins or dried cranberries are excellent additions that also add moisture and chewiness. Just be sure to check for gluten-free labels if needed!
How can I prevent chocolate chipless cookies from turning out dry?
Since there are no chocolate chips to contribute moisture and fat, preventing dryness is crucial for chipless cookies. The most important rule is to avoid overbaking. Stick closely to the recommended bake time of 10-12 minutes; the cookies should look barely set with lightly golden edges. They will continue to cook and firm up as they cool on the baking sheet. Additionally, the extra egg yolk in this recipe is specifically included to add richness and moisture, significantly contributing to a wonderfully chewy texture.
Can I use this recipe to make gluten-free chocolate chip cookies?
Absolutely! This recipe provides a fantastic, robust gluten-free cookie base. To transform them into gluten-free chocolate chip cookies, simply fold in 1 to 1.5 cups of your favorite gluten-free chocolate chips (semi-sweet, dark, or milk chocolate) after combining the wet and dry ingredients. Ensure your chocolate chips are certified gluten-free if you have strict dietary requirements.
Can I make the cookie dough ahead of time?
Yes, definitely! Preparing the dough in advance can even enhance the flavor and texture. After mixing, form the dough into a ball, wrap it tightly in plastic wrap, and refrigerate it for up to 3 days. When you’re ready to bake, simply scoop and roll the chilled dough into balls and proceed with baking as directed. This makes them perfect for entertaining or when you need a quick dessert.
Why do my chipless cookies taste bland or too sweet?
Without the bold flavor of chocolate, other ingredients must carry the taste profile. Our recipe carefully balances sweet and savory notes using a specific combination of both granulated and brown sugars, a generous amount of pure vanilla extract, and a crucial touch of salt. If your cookies taste bland, it might be due to insufficient vanilla or salt. If too sweet, ensure accurate measurement of sugars and that your butter is salted, or add a pinch more salt to your next batch to enhance balance.
Can I use almond or coconut flour instead of a gluten-free blend?
It is generally not recommended to substitute almond or coconut flour as a 1:1 replacement for a gluten-free “measure for measure” blend in this recipe. These alternative flours have vastly different absorbency rates and protein structures, which would significantly alter the cookie’s texture, moisture content, and overall structure. If you wish to use these flours, it would require a completely different recipe specifically formulated for them.
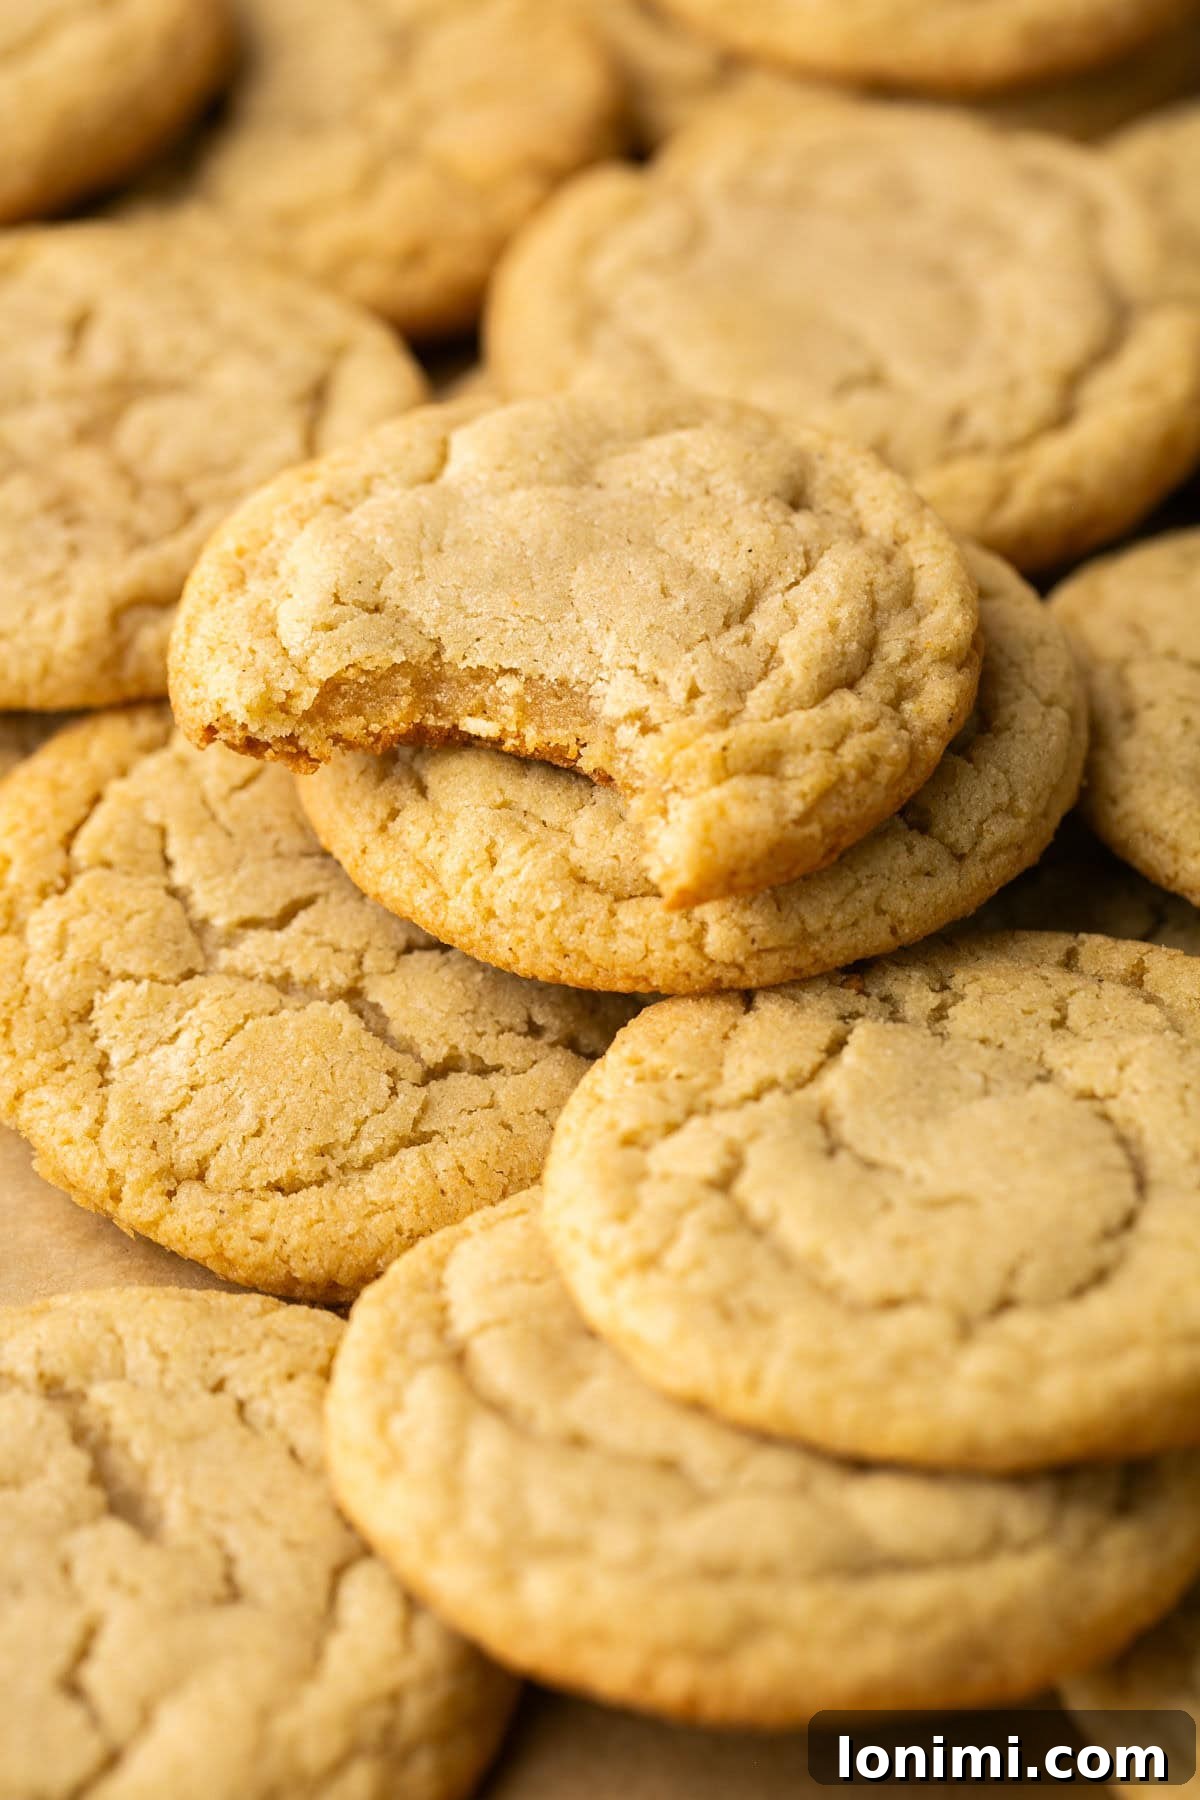
These chewy chocolate chipless cookies are more than just a dessert; they’re a testament to simple joys – golden-brown edges, an exquisite buttery flavor, and the comforting, nostalgic goodness of a perfect cookie base. They are an ideal treat for school lunches, a popular item for bake sales, or simply a warm, sweet indulgence on a quiet evening. Their universal appeal and delicious simplicity make them a guaranteed crowd-pleaser.
We encourage you to try them for yourself and discover the magic of a cookie that stands proudly on its own merit. Once you do, please consider leaving a review below to share your experience! And if your cookie cravings continue, don’t miss my Pretzel Christmas Crack for an irresistible salty-sweet treat that everyone adores, or these festive Peppermint Hot Cocoa Cookies for a fun, winter-themed delight!
Explore More Gluten-Free Cookie Recipes
Mary’s Famous Gluten Free Peanut Butter Cookies
Raspberry and White Chocolate Cookies (Gluten Free)
Gluten Free Monster Cookies (Dairy Free Option)
Gluten Free Chocolate Chip Almond Butter Oatmeal Cookies
Love this recipe? Please leave a 5-star 🌟🌟🌟🌟🌟 rating in the recipe card below & a review in the comment section. Or, follow me on Facebook, Pinterest or Instagram today!
Print Recipe
Chewy Chocolate Chipless Cookies (Gluten Free)
Mary Smith
10
11
51
24 cookies
Video Overview
For a visual guide on how to make these delicious cookies, please watch the video embedded above in the original article. It demonstrates each step to ensure perfect results.
Equipment
-
2 cookie sheets
-
1 1.5-tbsp cookie scoop
Ingredients
- ¾ cup salted butter, softened
- ¾ cup granulated sugar
- ¾ cup light brown sugar, packed
- 1.5 tsp pure vanilla extract
- 1 large egg
- 1 extra egg yolk
- 2 ¼ cups Gluten Free Measure for Measure Flour, I recommend King Arthur Baking brand
- 1 tsp baking soda
- ½ tsp gluten-free baking powder
- ¼ tsp salt
Instructions
-
Preheat oven to 375°F (190°C). Line two baking sheets with parchment paper and set aside.
-
In a medium bowl, thoroughly whisk together the gluten-free flour, baking soda, baking powder, and salt. Set aside.
-
In a separate, larger bowl (or a stand mixer), cream the softened butter, granulated sugar, and light brown sugar together until the mixture is light, fluffy, and well combined. Beat in the whole egg, extra egg yolk, and pure vanilla extract until smooth and creamy.
-
Gradually add the dry ingredients mixture into the wet ingredients bowl. Mix on low speed or by hand with a rubber spatula until just combined. You may need to exert some effort as the dough will be thick. Avoid overmixing. Refrigerate the cookie dough for at least 30 minutes to allow it to firm up and for flavors to develop.
-
Using a 1.5 tablespoon cookie scoop, roll the chilled dough into uniform balls. Place them 1-2 inches apart on your prepared baking sheets. This recipe typically yields about 24 cookies.
-
Bake for 10-12 minutes, or until the edges are just beginning to turn golden brown and the centers still look slightly soft. Remove from the oven and let the cookies cool on the baking sheet for 5 minutes before carefully transferring them to a wire rack to cool completely.
Notes
Storage: Store baked cookies in an airtight container on the countertop for up to 5 days to maintain freshness.
Freezing: Baked cookies can be frozen in an airtight container for up to 6 months. Thaw at room temperature before serving. Unbaked dough balls can also be frozen and baked directly from frozen by adding 1-2 minutes to the bake time.
Dairy-Free Option: To make these cookies dairy-free, substitute the butter with an equal amount of high-quality vegan butter (Miyoko’s and Kite Hill are excellent choices). If you opt to add chocolate chips, ensure they are also dairy-free (e.g., Enjoy Life Foods dark chocolate morsels).
Regular Flour Option: If you do not require a gluten-free recipe, you can easily use regular all-purpose flour in place of the gluten-free flour blend, using a 1:1 ratio.
Add-ins: While these chipless cookies are incredibly delicious as they are, you can customize them with various add-ins if you wish to diverge from the “chipless” theme. Consider semi-sweet or dark chocolate chips, M&M’s, butterscotch or peanut butter chips, or white chocolate chips for added flavor and texture.
Nutrition
Calories: 144kcal |
Carbohydrates: 21g |
Protein: 2g |
Fat: 7g |
Saturated Fat: 4g |
Polyunsaturated Fat: 0.3g |
Monounsaturated Fat: 2g |
Trans Fat: 0.2g |
Cholesterol: 30mg |
Sodium: 129mg |
Potassium: 15mg |
Fiber: 1g |
Sugar: 13g |
Vitamin A: 198IU |
Calcium: 22mg |
Iron: 1mg
All nutrition facts are an estimate and automatically calculated. While I fact check them using My Fitness Pal, please note that they may not always be 100% accurate and depend on ingredients used. For the most accurate grams per serving size, it is recommended to weigh your total yield and divide by the number of servings.
Did you make this?
Rate & comment below, and tag me on Instagram @maryswholelife