
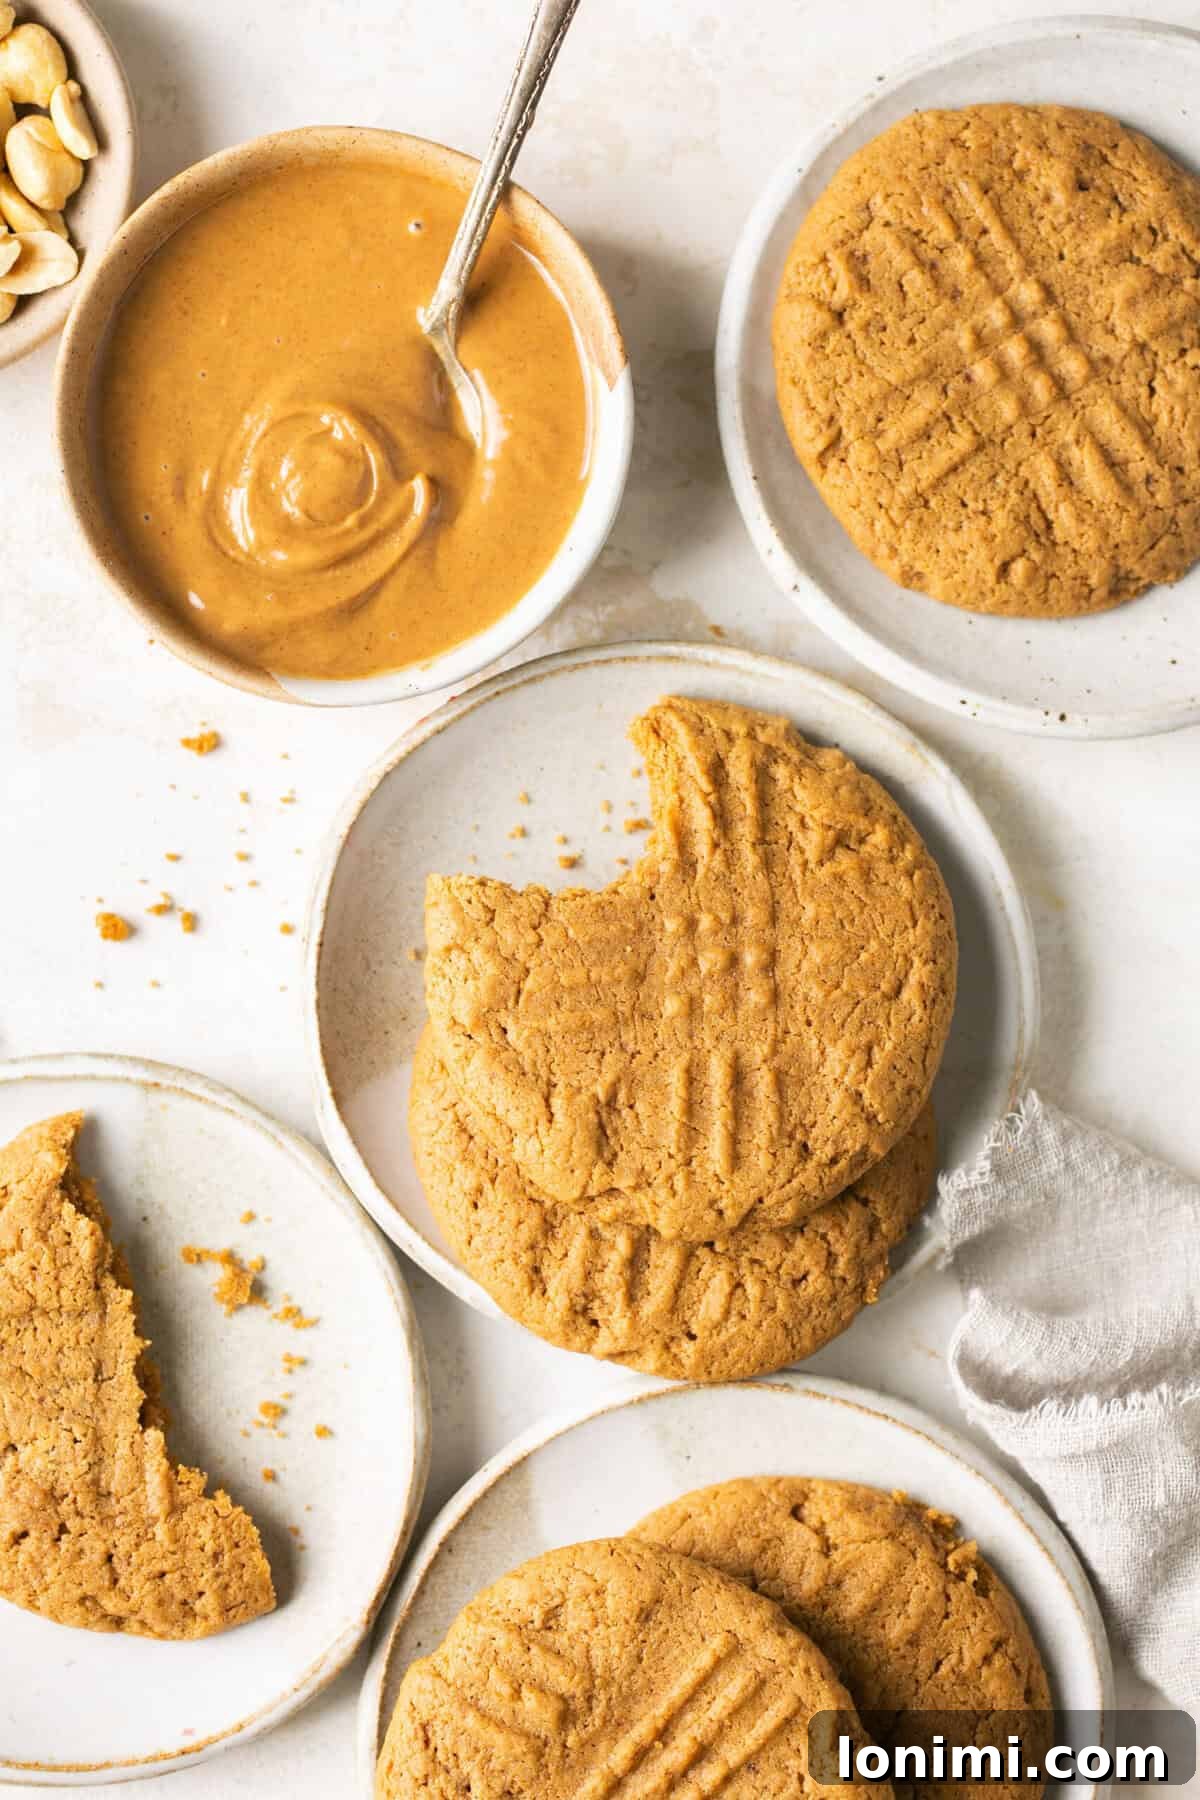
Welcome to your new favorite gluten-free baking adventure! Transform your kitchen into a delightful bakery with this incredibly simple, 20-minute recipe for **gluten-free peanut butter cookies**. Imagine biting into a freshly baked cookie – soft, wonderfully chewy on the inside, with just the right amount of crispness on the edges. These homemade treats capture everything you adore about classic peanut butter cookies, all while being completely gluten-free and easily adaptable for a vegan diet. Prepare to impress everyone with these absolutely perfect cookies that are ready in a flash!
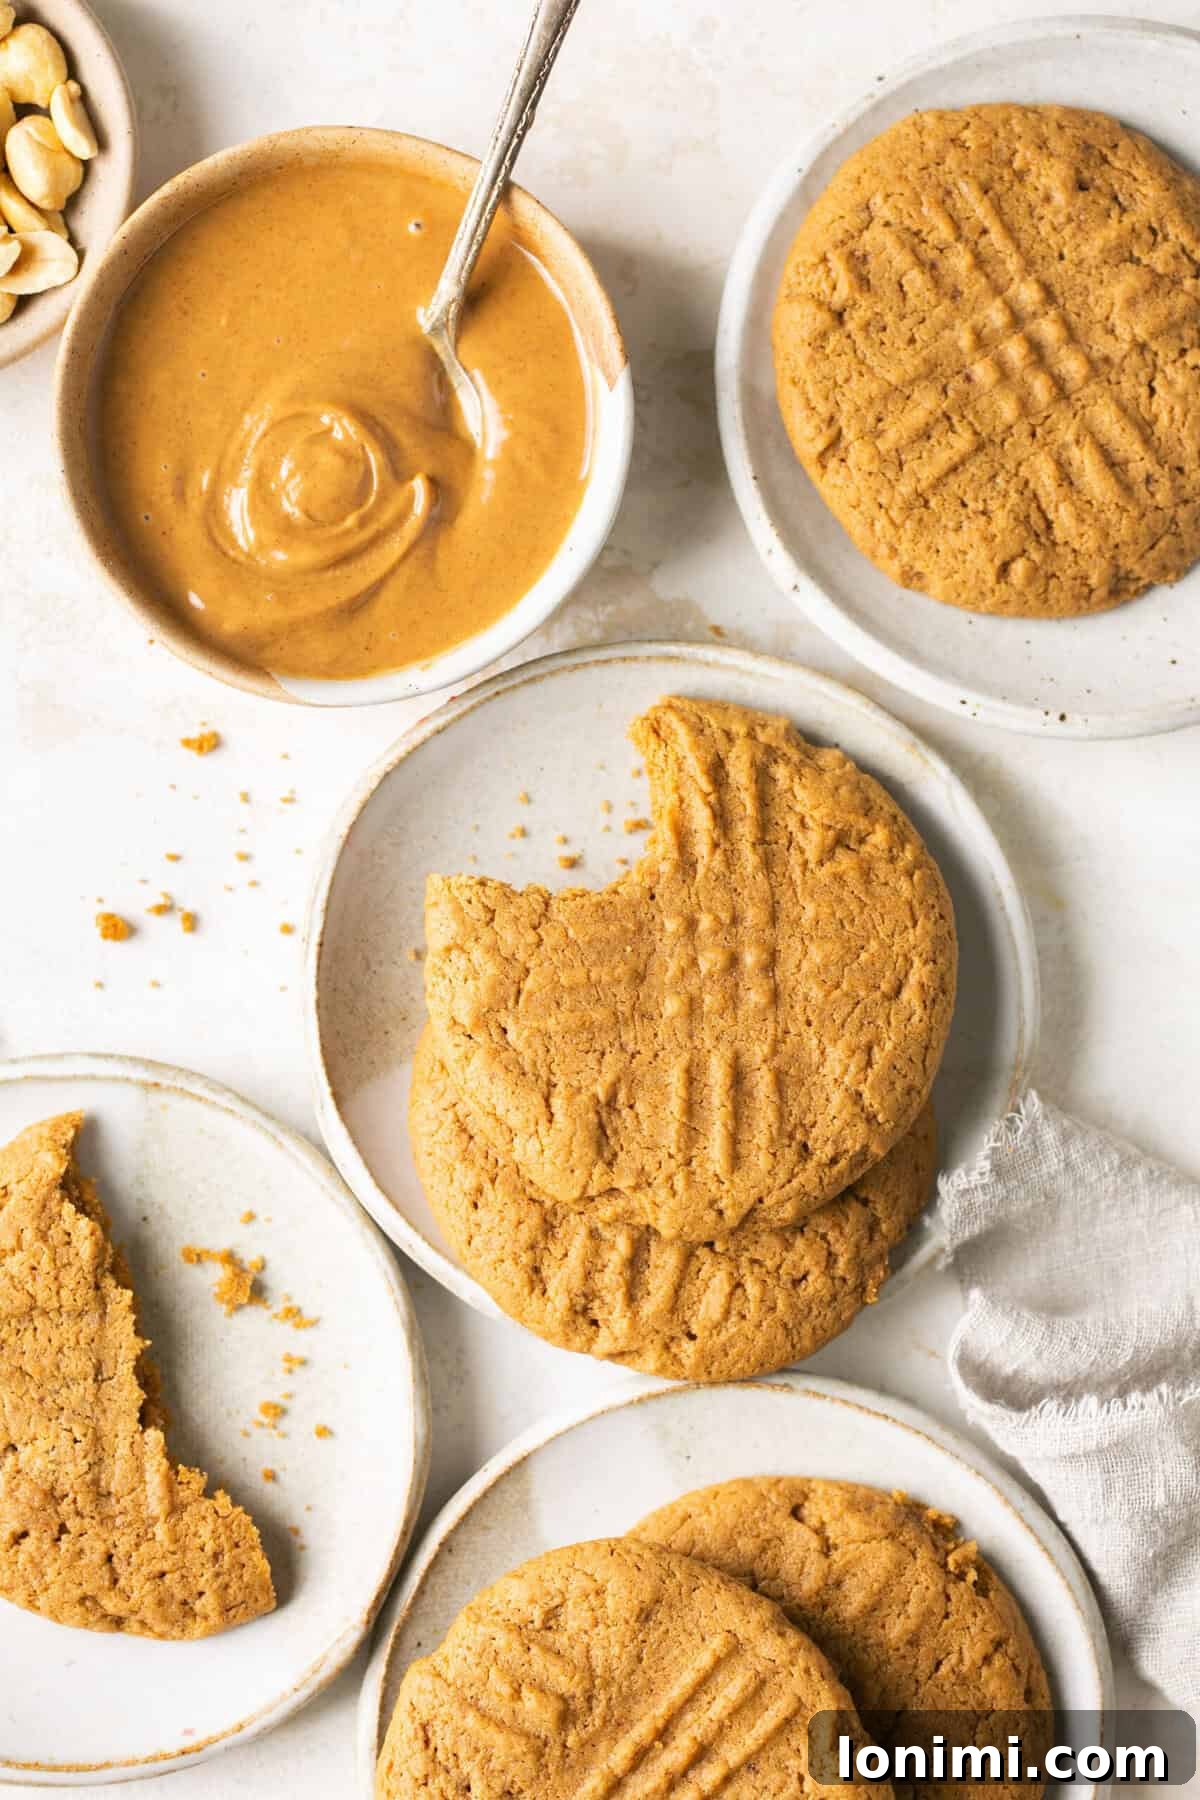
Unlocking the Joy of Gluten-Free Peanut Butter Cookies
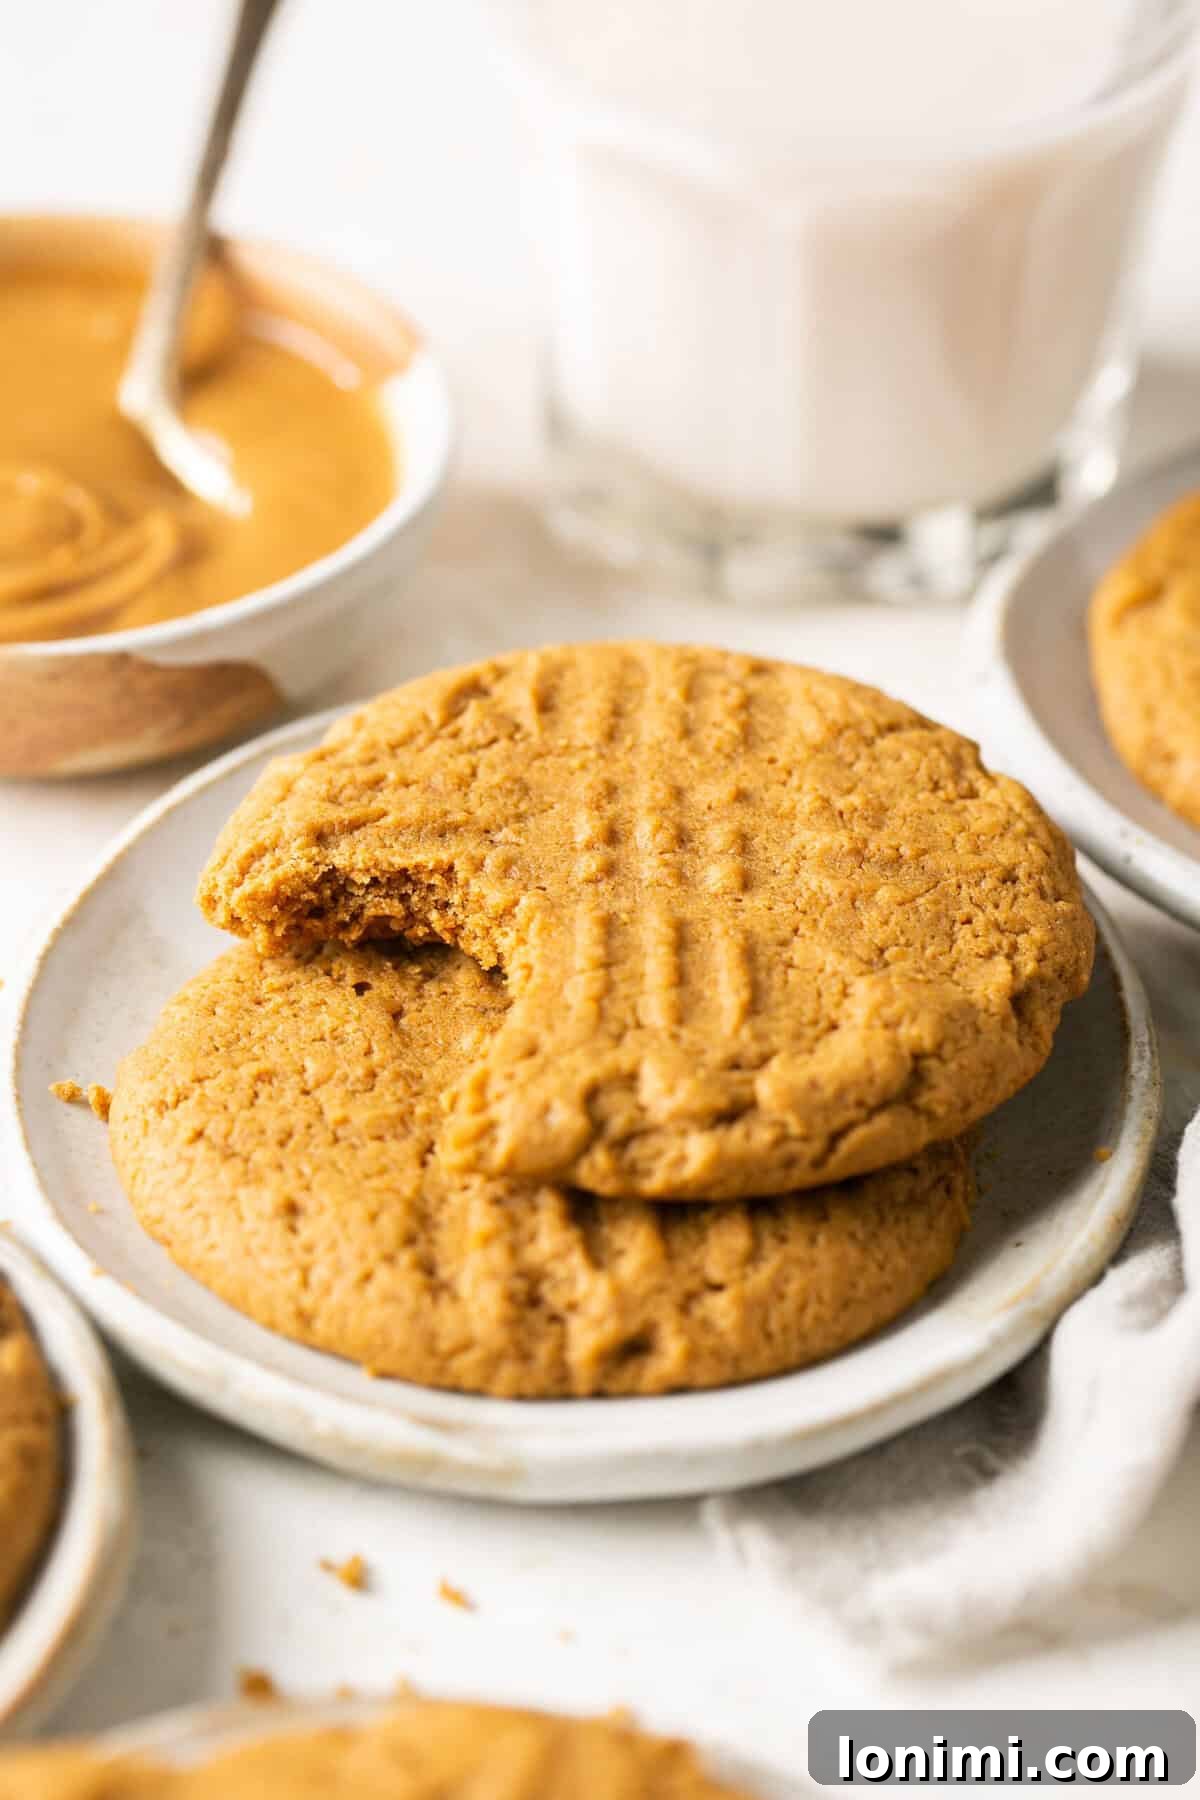
There’s an undeniable comfort in a warm, homemade cookie straight from the oven, especially when paired with a cold glass of milk (or almond milk, if you prefer!). However, for those navigating a gluten-free lifestyle, finding indulgent treats that don’t compromise on taste or texture can often feel like a challenge. Many gluten-free baked goods can be dry, crumbly, or simply lack the familiar chewiness we crave. That’s where this recipe steps in to save the day, proving that delicious gluten-free baking is not only possible but also incredibly easy.
These aren’t just any peanut butter cookies; they are a household favorite, frequently requested by friends and family alike. They achieve that coveted soft and chewy interior with satisfyingly crisp edges, just like the beloved cookies you grew up with. The rich, nutty flavor of peanut butter shines through, creating a genuinely delightful experience. What truly sets them apart is their incredible gluten-free nature – so good, in fact, that many won’t even realize they’re free from gluten!
Why These Cookies Are a Must-Try
- Naturally Gluten-Free Base: Peanut butter itself is a fantastic naturally gluten-free ingredient, making it an ideal foundation for delicious gluten-free baking.
- Irresistible Texture: Experience the best of both worlds with soft, wonderfully chewy centers complemented by perfectly golden, crisp edges.
- Bakery-Quality Flavor: These cookies taste like they came from your favorite artisanal bakery, delivering rich, homemade goodness in every bite.
- Customizable Delights: Elevate your cookies by adding your favorite mix-ins like chocolate chips, chopped nuts, or even peanut butter chips for an extra layer of flavor and gooey texture.
- Lightning-Fast Prep: From mixing bowl to your mouth, this entire recipe takes just 20 minutes, making it perfect for last-minute cravings or unexpected guests.
- Simple Ingredients: Made with readily available pantry staples, you won’t need any obscure ingredients to whip up a batch of these beauties.
- Dairy-Free Option: Using vegan butter makes these cookies easily dairy-free, catering to various dietary needs without sacrificing flavor.
Essential Ingredient Insights
Crafting the perfect gluten-free peanut butter cookie starts with understanding your ingredients. Each component plays a crucial role in achieving the desired flavor and texture. Here’s a detailed look at what you’ll need and why specific choices matter:
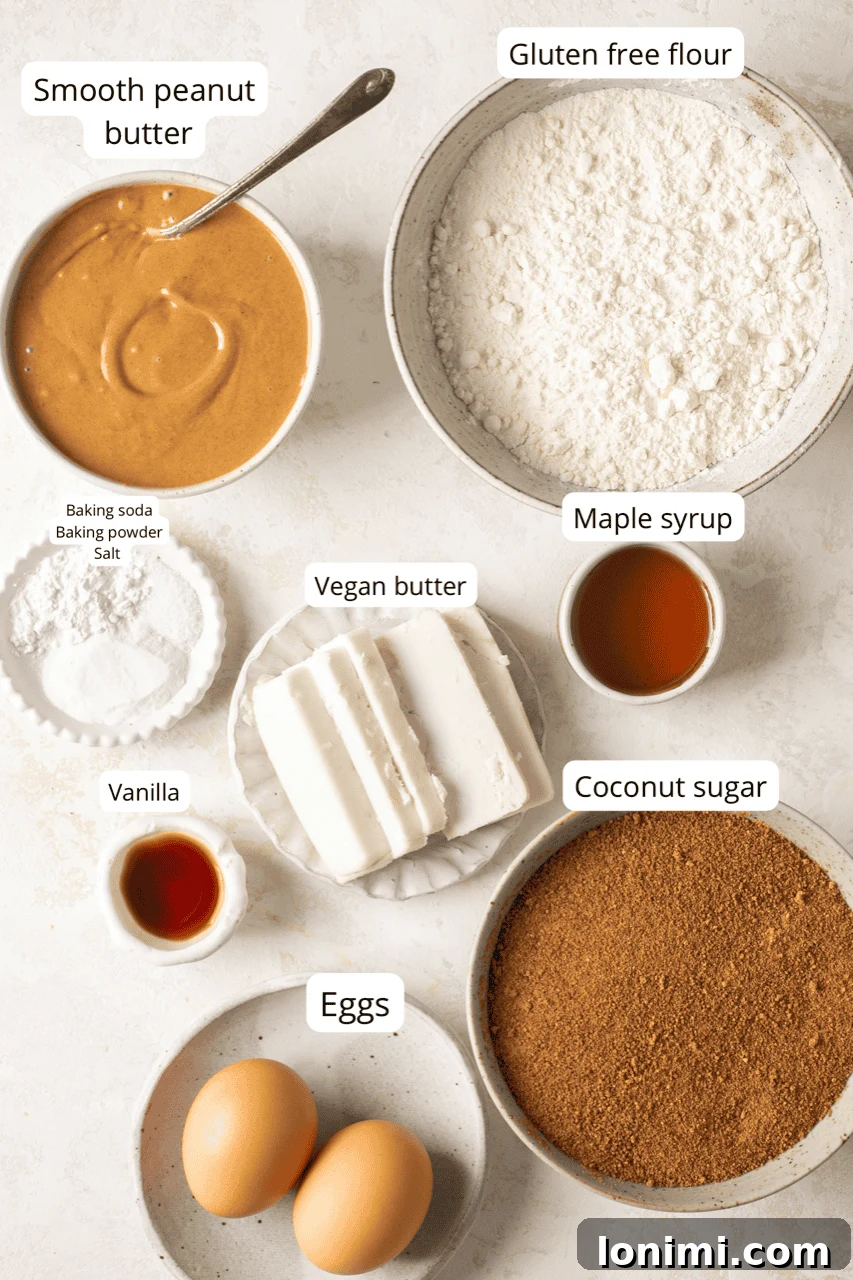
A comprehensive list of all ingredients and precise measurements can be found in the recipe card at the end of this article.
Vegan Butter: For achieving that perfect cookie texture and flavor without dairy, quality vegan butter is key. Brands like Miyoko’s or Kite Hill are excellent choices, known for their rich, buttery taste and consistent performance in baking. The crucial tip here is to ensure your vegan butter is *cold*. Cold butter helps prevent the cookies from spreading too much during baking, ensuring they retain their delightful shape and chewiness. If you don’t need a vegan option, regular unsalted butter can be used, also chilled.
Gluten-Free All-Purpose Flour: The foundation of any great gluten-free cookie is a reliable flour blend. I highly recommend a certified gluten-free 1:1 all-purpose flour substitute, such as the King Arthur brand. These blends are specifically formulated to replace traditional wheat flour cup-for-cup, simplifying the baking process as they already contain the necessary starches and gums (like xanthan gum) for structure and elasticity. Using a good quality 1:1 blend eliminates the need for adding extra ingredients, making your baking experience straightforward and successful.
Creamy Peanut Butter: The star of the show! The type of peanut butter you use significantly impacts the final cookie. Opt for a creamy peanut butter that isn’t overly liquidy or oily. Brands like Justin’s often have a thicker, more solid consistency, which is ideal for baking as it contributes to the cookie’s structure and prevents excessive spreading. If you’re using natural peanut butter, remember to stir it thoroughly until the oil is fully incorporated before measuring to ensure a consistent batter. You can absolutely use crunchy peanut butter if you prefer an added textural element, just ensure it has a similar thick consistency.
Coconut Sugar & Maple Syrup: These unrefined sweeteners are chosen not only for their natural goodness but also for the depth of flavor they impart. Coconut sugar offers a caramel-like richness that is less intensely sweet than granulated sugar, while maple syrup adds a subtle warmth and moisture. Together, they create a wonderfully complex and delicious flavor profile, making brown sugar or white granulated sugar unnecessary in this recipe. Using these sweeteners also contributes to a slightly healthier cookie option.
Vanilla Extract: No cookie recipe is complete without the warm, aromatic notes of vanilla extract. It enhances all the other flavors, adding a touch of sweetness and complexity. Investing in a good quality vanilla extract is always worthwhile. Many find great value in larger bottles from stores like Costco, or sourcing organic baking staples from places like Thrive Market for premium quality.
Eggs: Eggs act as a binder, helping to hold the cookies together and contributing to their chewy texture. They also add richness and moisture. Ensure your eggs are at room temperature, as this helps them incorporate more easily and evenly into the butter and sugar mixture, resulting in a smoother, more consistent dough.
Baking Soda and Baking Powder: These leavening agents work in tandem to give the cookies their perfect lift and texture. Baking soda helps with spread and creates a tender crumb, while baking powder contributes to a softer, cake-like interior. Together, they ensure your cookies are light and perfectly puffed.
Salt: A pinch of salt is crucial in sweet recipes. It balances the sweetness, enhances the peanut butter flavor, and brings out the richness of all the ingredients, making every bite more satisfying.
Simple Steps to Cookie Perfection
Ready to bake? These cookies come together incredibly quickly, perfect for when a craving strikes. Follow these easy, detailed steps to achieve perfect results every time:
- Prepare Your Oven: Begin by preheating your oven to 350°F (175°C). While the oven heats up, line a baking sheet with parchment paper. Parchment paper prevents sticking and makes for easy cleanup.
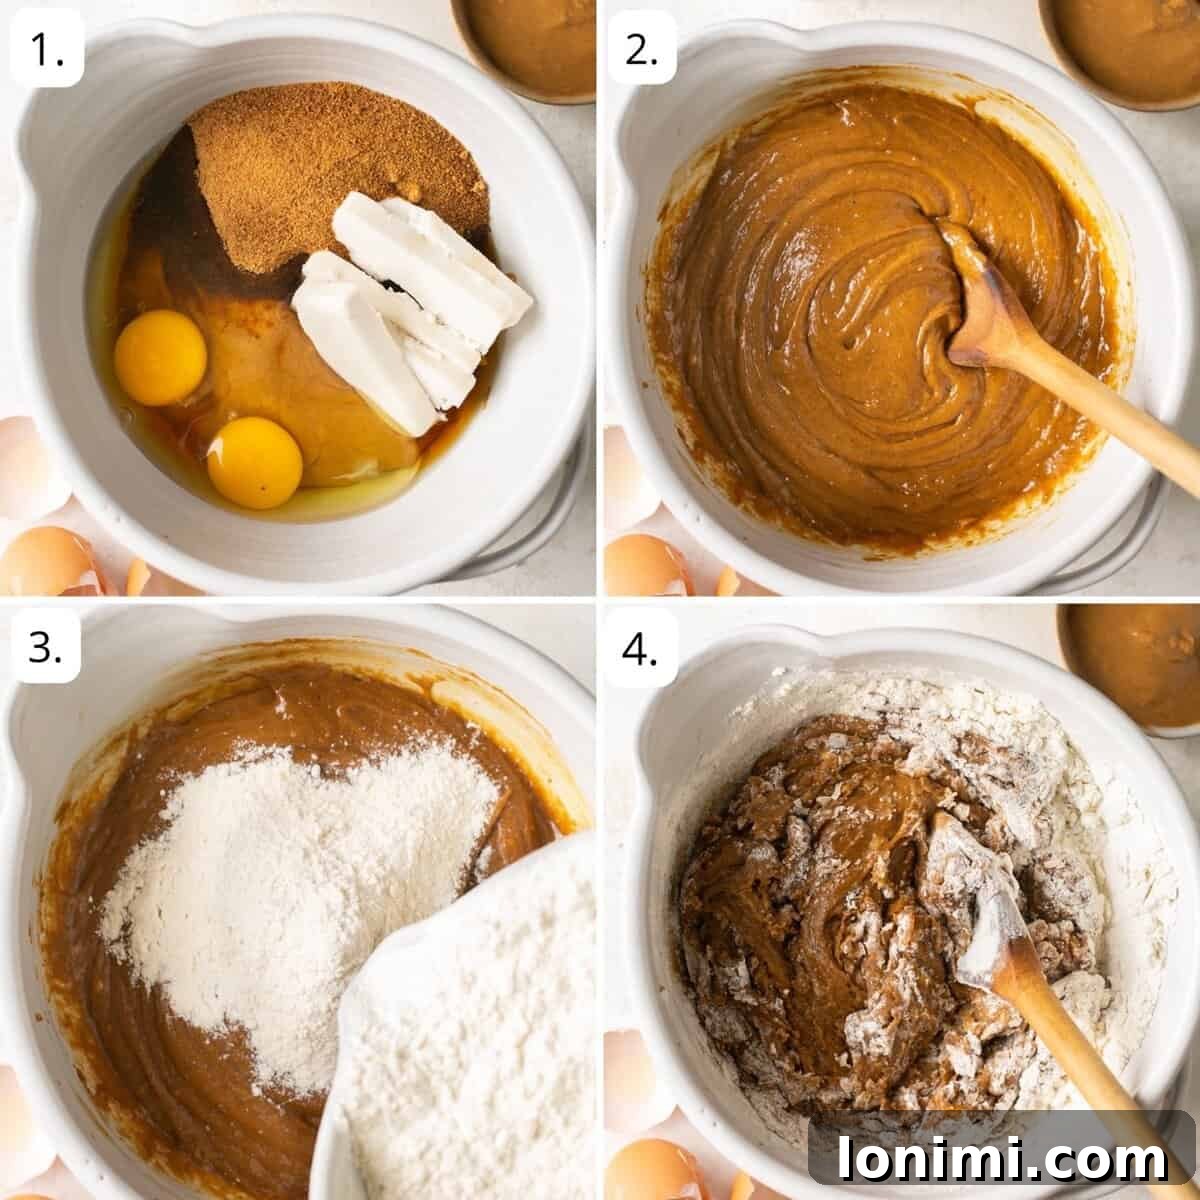
- Combine Wet Ingredients: In a large mixing bowl, add the creamy peanut butter, coconut sugar, maple syrup, cold vegan butter (cut into cubes for easier mixing), vanilla extract, and eggs. Using an electric mixer (handheld or stand mixer) on medium speed, beat these ingredients together until the mixture is light, fluffy, and well combined. This creaming process incorporates air, which contributes to the cookies’ texture.
- Whisk Dry Ingredients: In a separate, medium-sized bowl, whisk together the gluten-free all-purpose flour, baking soda, baking powder, and salt. Whisking ensures that the leavening agents and salt are evenly distributed throughout the flour, leading to uniform rising and flavor in every cookie.
- Integrate Wet and Dry: Gradually add the dry ingredient mixture to the wet ingredients, mixing on low speed until just combined. Be careful not to overmix the dough, as overmixing gluten-free flour can sometimes lead to tougher cookies. Stop mixing as soon as no streaks of dry flour remain.
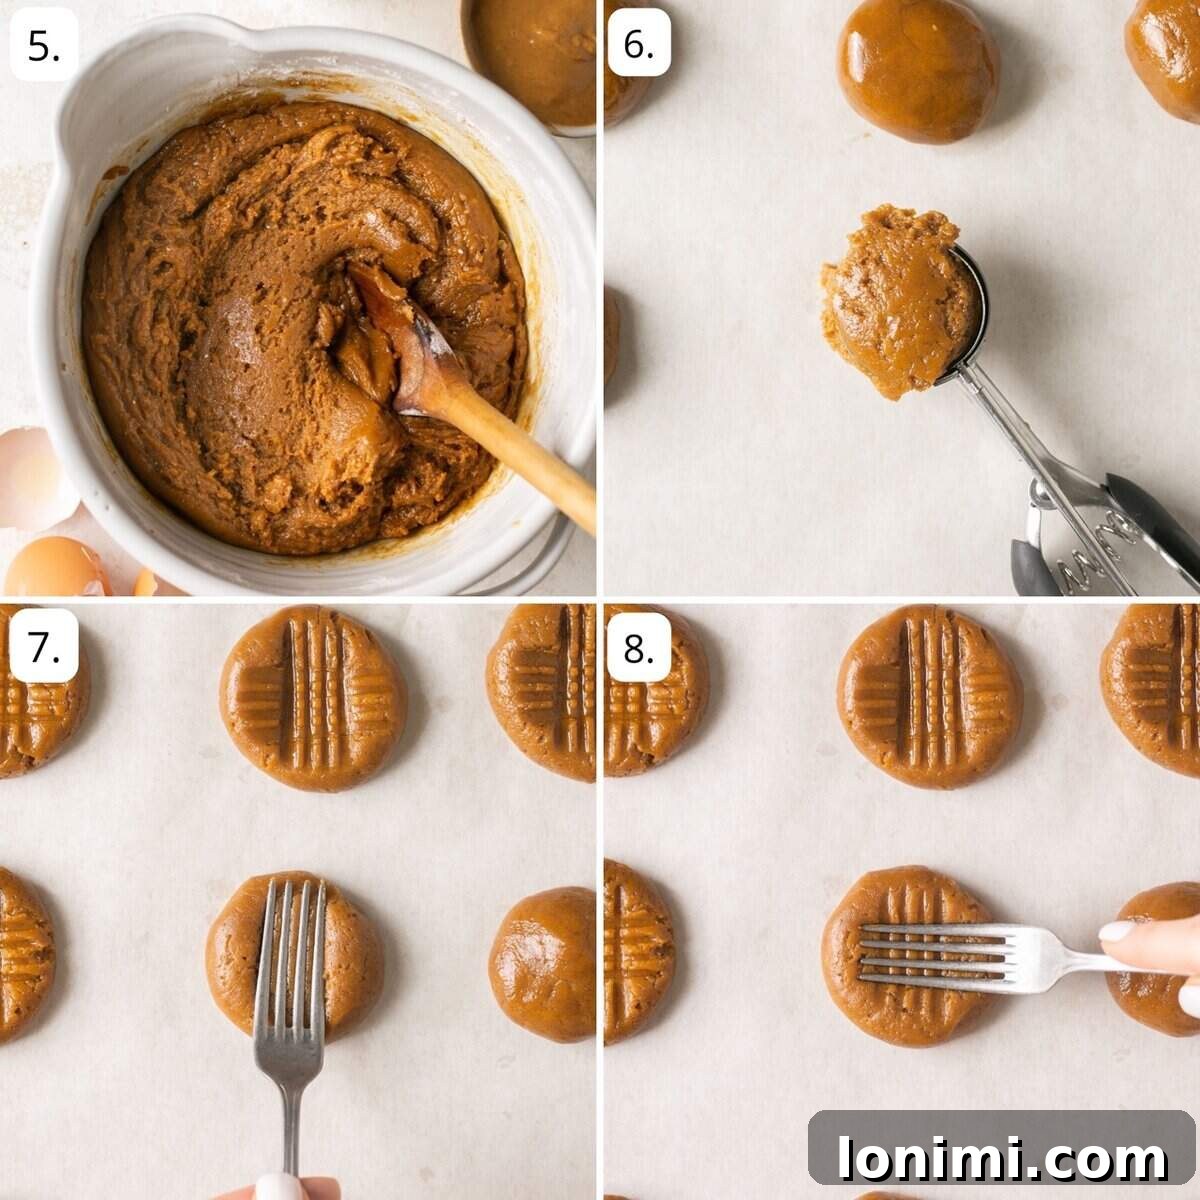
- Form the Cookies: Using a 1-inch cookie scoop or a tablespoon, portion the dough and roll it into smooth balls. Aim for approximately 30 evenly sized balls. Consistency in size ensures that all cookies bake uniformly.
- Arrange on Baking Sheet: Place the cookie dough balls onto your prepared baking sheet, ensuring they are spaced about 2 inches apart to allow for spreading during baking.
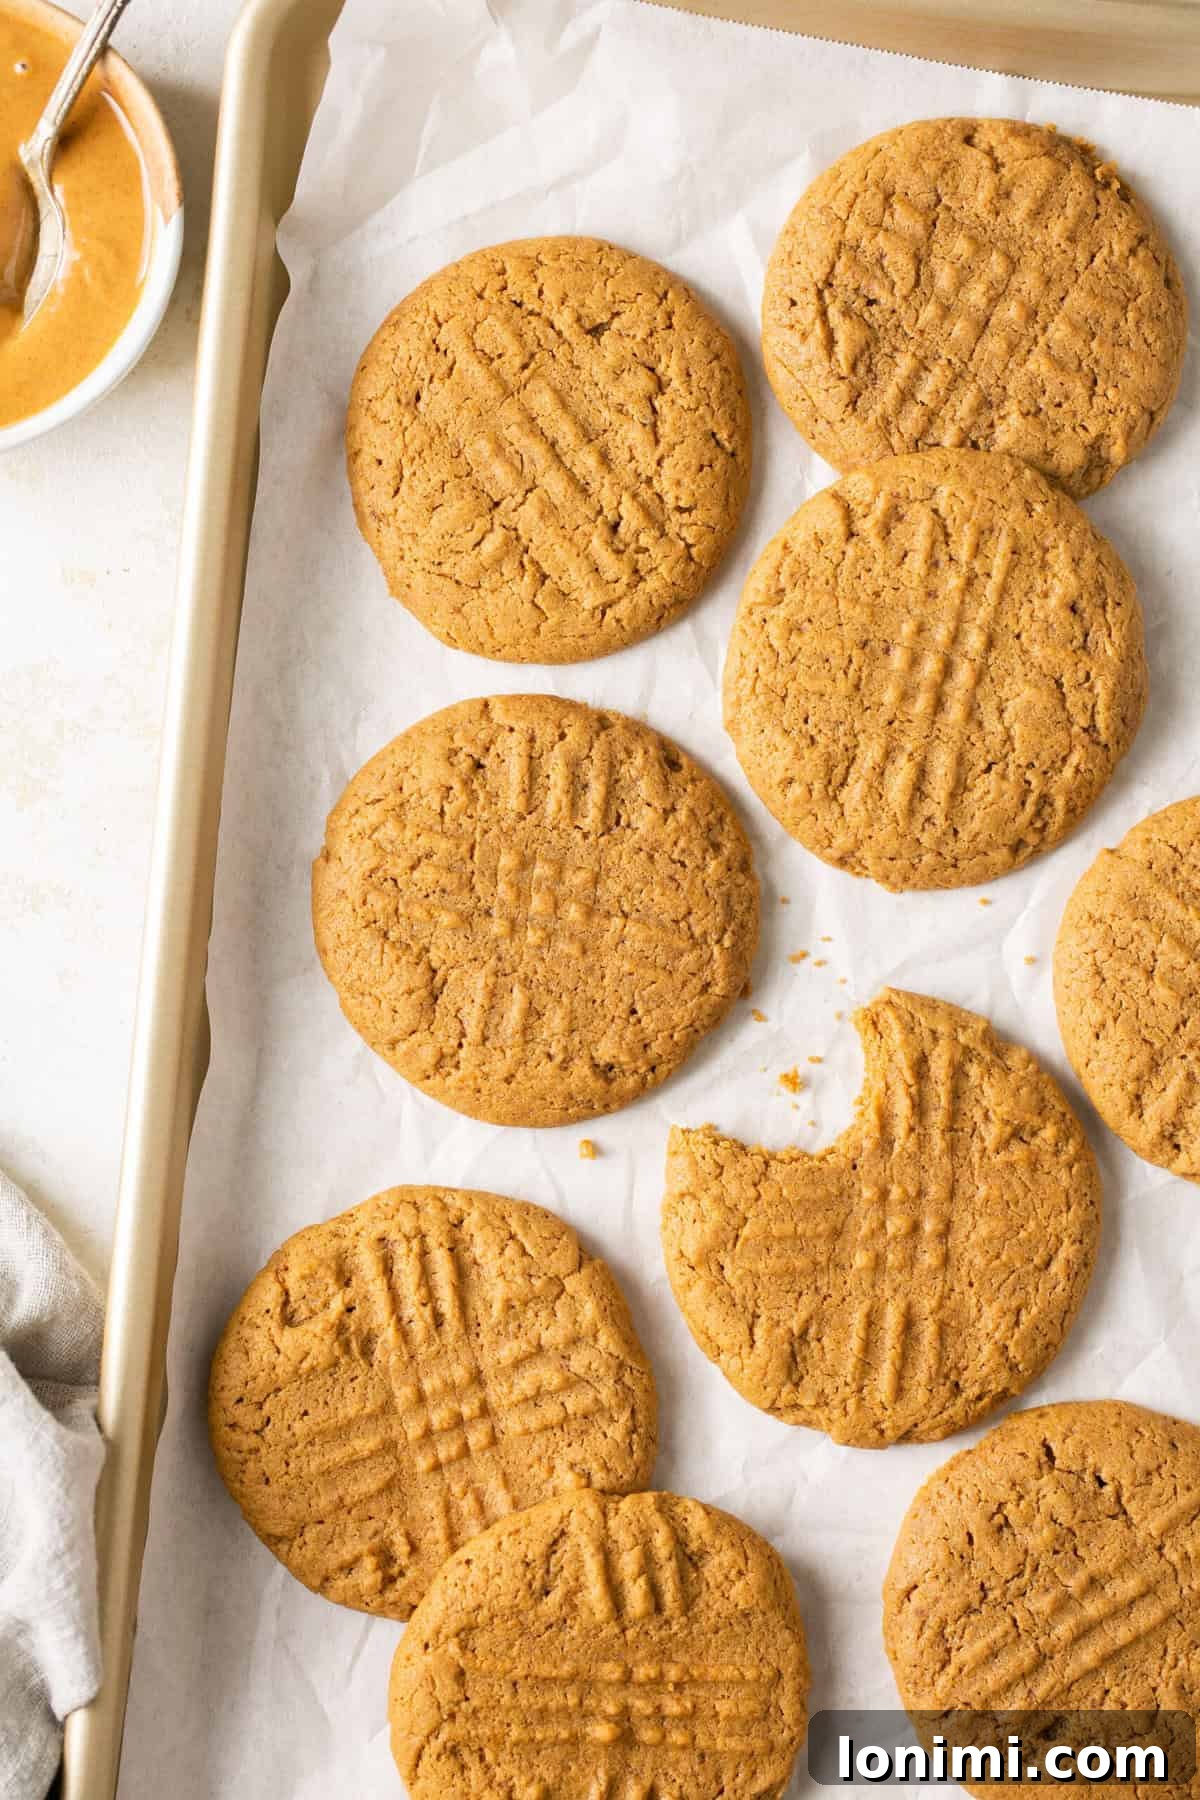
- Create Classic Criss-Cross Pattern: Take a fork and gently press down on the top of each cookie dough ball, first in one direction and then perpendicular to it, to create the iconic criss-cross pattern. This not only adds a decorative touch but also helps to flatten the cookies slightly and ensure even baking. Bake in the preheated oven for 9-10 minutes. The edges should be lightly golden, and the centers should still look slightly soft.
- Cool and Enjoy: Once baked, remove the baking sheet from the oven and let the cookies cool on the sheet for 5 minutes before transferring them to a wire rack to cool completely. This initial cooling on the hot sheet helps them firm up and prevents them from breaking. Once cooled, they are ready to be savored!
Expert Tips & Tricks for Perfect Gluten-Free Cookies
Elevate your gluten-free peanut butter cookie game with these insightful tips and tricks, designed to ensure your baking experience is always a success and your cookies are nothing short of spectacular.
Selecting Gluten-Free Peanut Butter Brands: While most peanut butter is naturally gluten-free, it’s always wise to double-check labels, especially if you have celiac disease or severe gluten sensitivity. Excellent options known for their quality and consistent texture include Thrive Market, Justin’s, MaraNatha, and Laura Scudder’s. Even popular brands like JIF and Skippy often offer gluten-free varieties; for healthier ingredients and less added sugar, I recommend opting for their “natural” versions. Always look for a clear “gluten-free” label to be completely sure, as cross-contamination can sometimes occur in manufacturing facilities.
The Importance of Cold Butter: As mentioned in the ingredient notes, using cold vegan butter (or regular butter) is crucial. When butter is cold, it melts slower in the oven, creating steam that helps the cookies puff up before they spread too much. This results in cookies that are thicker, chewier, and less prone to becoming flat and brittle. If your butter is too soft, the dough might become greasy, leading to excessive spreading.
Avoid Overmixing: Overmixing gluten-free flour can sometimes activate starches in a way that leads to a tougher cookie. Mix the dry ingredients into the wet until just combined, stopping as soon as no dry streaks of flour are visible. A few small lumps are perfectly fine and often preferred.
Chilling the Dough (Optional but Recommended): While this recipe is designed for a quick 20-minute turnaround, chilling the dough for at least 30 minutes (or even overnight) can significantly improve the texture and flavor. Chilling allows the flour to fully hydrate, the flavors to meld, and the butter to firm up, resulting in a richer flavor, chewier texture, and less spreading during baking.
Customizing with Mix-ins: Don’t hesitate to personalize your cookies! Once the dough is mixed, fold in ½ to ¾ cup of your favorite additions. Chocolate chips (Enjoy Life brand offers great gluten and dairy-free options), chopped walnuts, pecans, or even a swirl of jam can add an exciting twist to these classic cookies.
Troubleshooting Common Issues: If your cookies are spreading too much, ensure your butter was cold, your peanut butter wasn’t too oily, and your oven temperature is accurate (an oven thermometer can be very helpful). If they’re too dry, you might have overbaked them; remember, they should look slightly soft in the center when removed from the oven.
Storage Solutions: Properly stored, your homemade gluten-free peanut butter cookies will stay fresh and delicious. Store them at room temperature in an airtight container for up to 3 days to maintain their soft, chewy texture. For extended freshness, you can keep them in a sealed bag or airtight container in the refrigerator for up to a week. For longer storage, freeze them for up to 3 months. Refer to the FAQs below for specific instructions on how to freeze both baked cookies and raw cookie dough.
Baking a Double Batch: These cookies are so good, you’ll likely want more! The recipe is easily scalable. Simply increase the serving amount in the recipe card, and the ingredient quantities will automatically adjust. This is perfect for making one batch to enjoy immediately and another to freeze for future cravings.
Frequently Asked Questions About Gluten-Free Peanut Butter Cookies
Here are answers to some common questions you might have about making and enjoying these delicious gluten-free peanut butter cookies:
Absolutely! These cookies are excellent for freezing, either after they’ve been baked or as raw dough. Freezing baked cookies is straightforward: once completely cooled, place them in a single layer on a baking sheet to flash freeze for about an hour. Then, transfer them to a freezer-safe airtight container or Ziploc bag. To freeze the dough, I recommend rolling the dough into individual balls and separating the layers in your freezer-safe container with parchment paper to prevent them from sticking together. When you’re ready to bake, defrost the dough balls overnight in the refrigerator and then bake according to the recipe instructions below, adding an extra minute or two to the baking time if needed.
Yes, please do! Customizing your cookies with mix-ins is a fantastic way to add variety and flavor. Feel free to incorporate ½ to ¾ cup of your favorite additions into the dough. Popular choices include chopped nuts (like peanuts, walnuts, or pecans), chocolate chips (dark, milk, or white), or even peanut butter chips for an extra boost of peanut butter flavor. If you’re maintaining a gluten and dairy-free diet, I highly recommend Enjoy Life chocolate chips.
Generally, most brands of peanut butter are naturally gluten-free, especially those that list only peanuts and/or salt as ingredients. However, it’s always critical to check the product label if you have Celiac disease or a gluten sensitivity. Some brands might process their peanut butter on shared equipment with gluten-containing products, leading to potential cross-contamination. Fortunately, many reputable brands clearly label their products as “gluten-free,” making them a safe and delicious choice for your baking needs.
While eggs provide structure and moisture, you can try using an egg substitute if needed. Two “flax eggs” (2 tablespoons ground flaxseed mixed with 6 tablespoons water, allowed to sit for 5-10 minutes until gelled) often work well in cookie recipes like this. The texture might be slightly different, but the flavor will still be delicious.
Several factors contribute to cookie spread. Ensure your vegan butter is cold, not softened or melted. Also, use a thicker, less oily peanut butter. Overmixing the dough can also lead to thinner cookies, so mix until just combined. For best results, you can also chill the dough for 30 minutes before baking to help the butter solidify and prevent excessive spreading.
Explore More Gluten-Free Cookie Delights
If you loved these peanut butter cookies, be sure to explore more of our delicious gluten-free cookie recipes:
Gluten-Free Chocolate Chip Almond Butter Oatmeal Cookies
Vegan Millionaire Shortbread Cookie Bars
Gluten-Free Peanut Butter Blossoms
Almond Flour Gingersnap Cookies
Print Recipe
5 from 1 vote
Mary’s Famous Gluten-Free Peanut Butter Cookies
Equipment
-
1 baking sheet
Ingredients for 24 cookies
- 1 cup smooth peanut butter
- 1 ¼ cups coconut sugar
- 2 tbsp maple syrup
- ½ cup cold vegan butter (Miyoko’s or Kite Hill recommended)
- 1 tsp vanilla extract
- 2 large eggs (at room temperature)
- 1 ⅓ cups gluten-free all-purpose flour blend (King Arthur brand recommended)
- 1 tsp baking soda
- ½ tsp baking powder
- ¼ tsp fine sea salt
Instructions
-
Preheat your oven to 350°F (175°C). Line a large baking sheet with parchment paper.
-
In a large bowl, combine the peanut butter, coconut sugar, maple syrup, cold vegan butter, vanilla extract, and room temperature eggs. Mix well with an electric mixer until light and fluffy.
-
In a separate medium bowl, whisk together the gluten-free flour, baking soda, baking powder, and salt until evenly distributed.
-
Gradually add the dry ingredients to the wet ingredients, stirring until just combined. Be careful not to overmix.
-
Using a 1-inch cookie scoop, form the dough into approximately 30 balls. Place them on the prepared baking sheet, leaving about 2 inches between each cookie.
-
Use a fork to gently press down on each cookie dough ball, creating a classic criss-cross pattern. This helps to flatten them slightly and promotes even baking. Bake for 9-10 minutes.
-
Remove from the oven and let the cookies cool on the baking sheet for 5 minutes before transferring them to a wire rack to cool completely. Enjoy your perfect gluten-free peanut butter cookies!
Notes
Gluten-Free Peanut Butter Brands: When choosing peanut butter, opt for brands like Thrive Market, Justin’s, MaraNatha, or Laura Scudder’s, which are often specifically labeled gluten-free. For JIF and Skippy, look for their “natural” versions to reduce added sugars and ensure gluten-free status. Always verify labels.
Storage: Store baked cookies in an airtight container at room temperature for up to 3 days. For longer storage, refrigerate for up to a week or freeze for up to 3 months. For freezing raw dough, roll into balls, flash freeze, then transfer to an airtight container with parchment paper between layers.
Double Batch: This recipe is easily scaled up. Simply double all ingredient quantities to make a larger batch for entertaining or freezing. The baking time will remain the same.
Nutrition Information
Calories: 151kcal |
Carbohydrates: 16g |
Protein: 4g |
Fat: 9g |
Saturated Fat: 2g |
Polyunsaturated Fat: 2g |
Monounsaturated Fat: 4g |
Trans Fat: 1g |
Cholesterol: 14mg |
Sodium: 177mg |
Potassium: 71mg |
Fiber: 1g |
Sugar: 8g |
Vitamin A: 200IU |
Calcium: 19mg |
Iron: 1mg
All nutrition facts are an estimate and automatically calculated. While efforts are made to ensure accuracy, please note that they may not always be 100% precise and can vary depending on the specific ingredients used. For the most accurate gram measurements per serving size, we recommend weighing your total baked batch and dividing by the number of servings.