
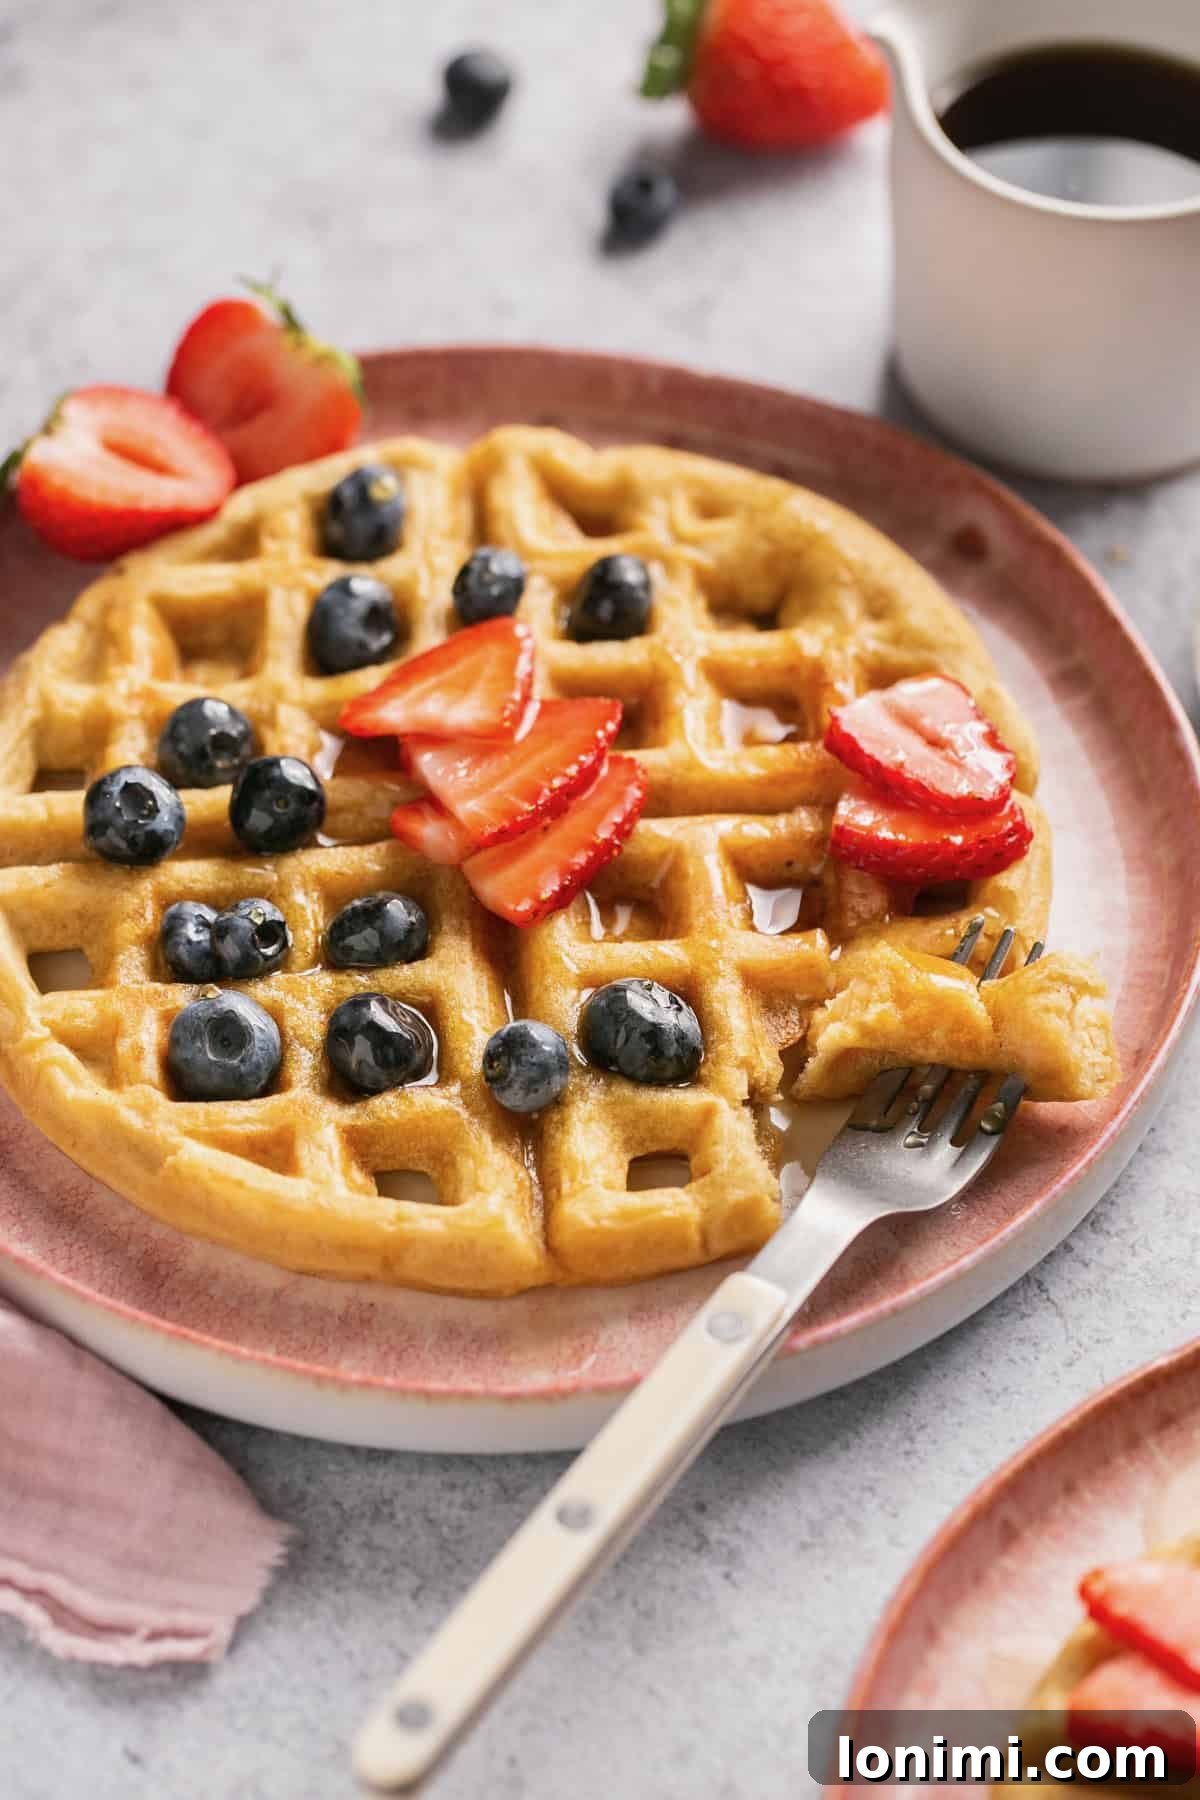
Welcome to your new favorite breakfast recipe! These delightful **gluten-free waffles** are not only incredibly easy to make but also astonishingly delicious. Crafted with just 10 simple ingredients, they can be ready to grace your breakfast table in a mere 15 minutes. Imagine biting into a waffle with a perfectly soft, fluffy interior complemented by an irresistibly crispy exterior. And for those seeking a nourishing start to their day, each of these homemade waffles packs an impressive 13 grams of protein! Say goodbye to bland mornings and hello to a wholesome, satisfying, and utterly scrumptious breakfast experience.
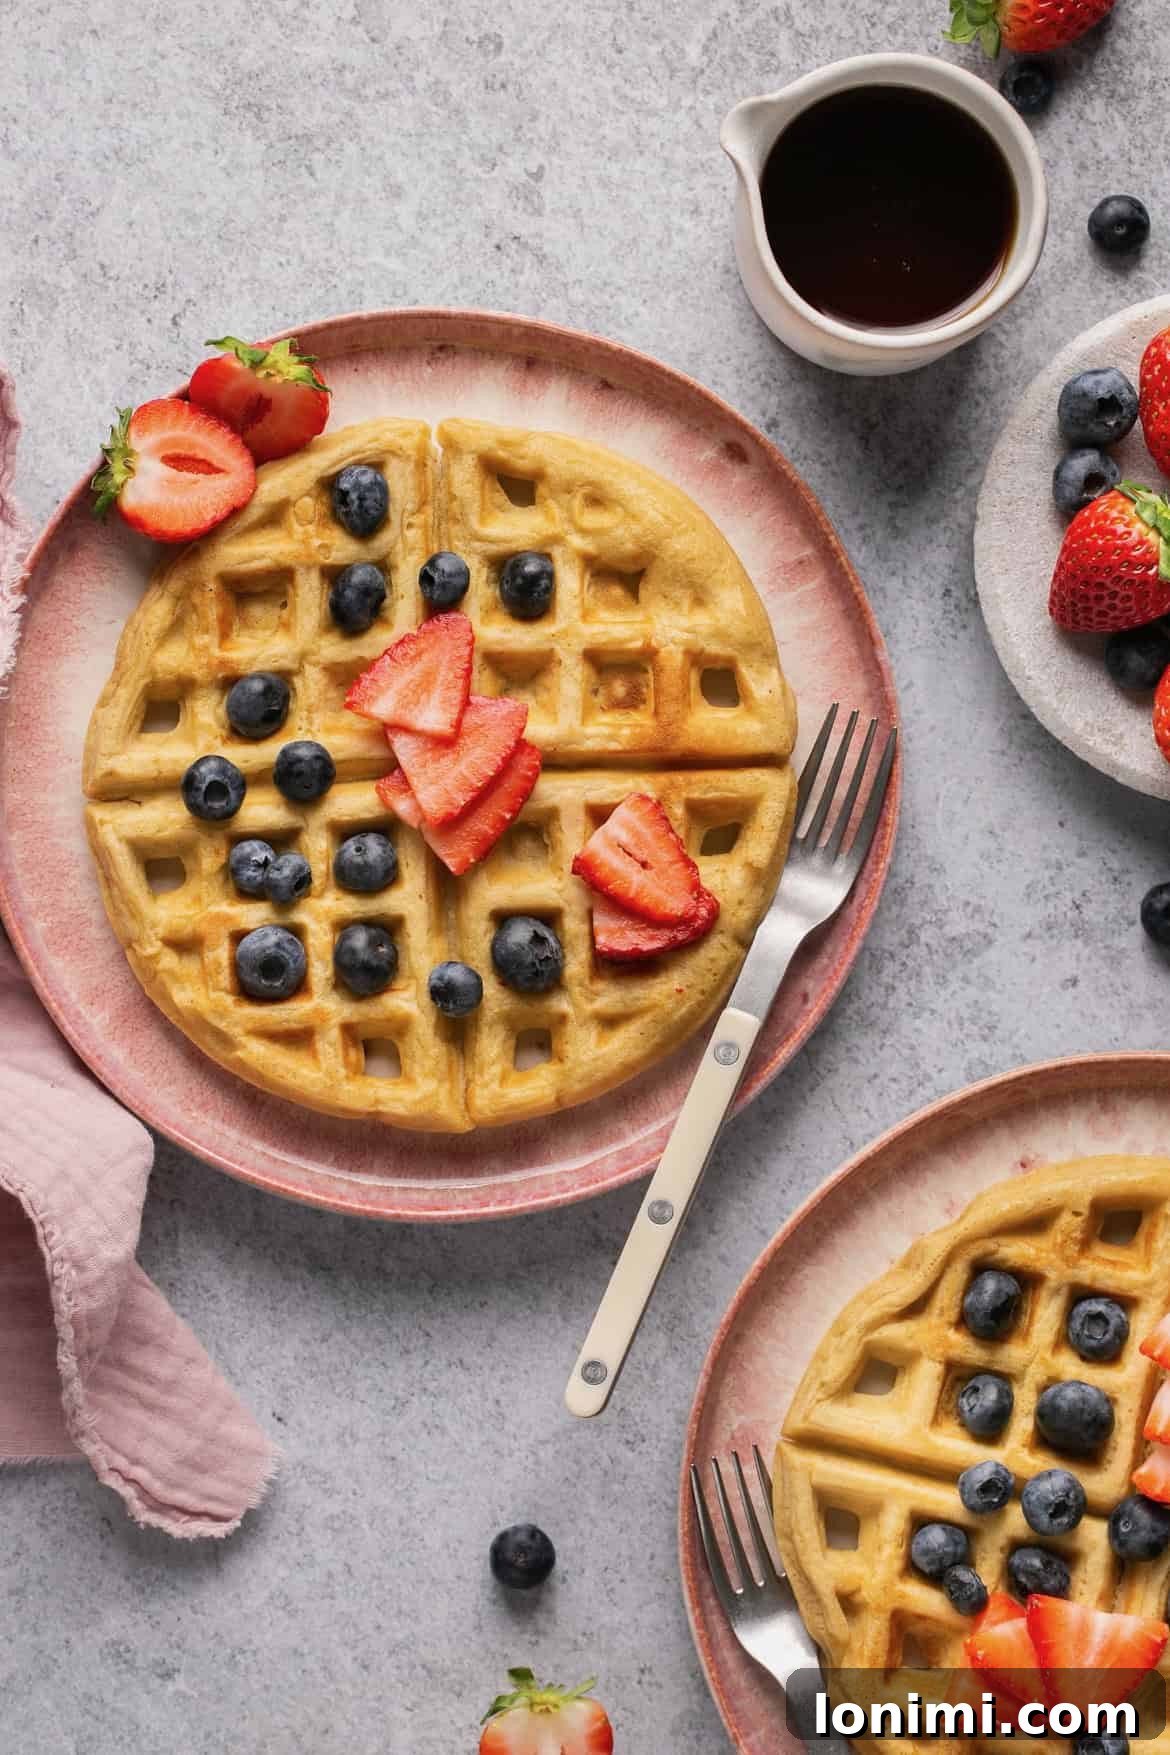
Why These Gluten-Free Waffles Are a Must-Try
I’ve been on a major protein recipe creation spree lately, and I’m thrilled to share my latest culinary triumph: the ultimate homemade gluten-free waffle. If you’re a fan of my popular Protein Pancakes, indulgent Vegan Baked Oatmeal, or the recently released Banana Protein Muffins, then these waffles are an absolute must-add to your recipe collection. They embody everything we love about a great breakfast: they’re mouthwateringly delicious, remarkably easy to prepare, and loaded with beneficial protein.
What sets these waffles apart is their incredible versatility and dietary friendliness. Beyond being entirely **gluten-free**, this recipe is also **dairy-free** and even offers a straightforward **vegan option**. This means more people can enjoy a stack of warm, golden waffles without compromising on flavor or dietary needs. You can customize them with your favorite mix-ins, pile on an array of toppings, prepare them in advance for busy mornings, or freeze batches for quick future meals. Seriously, it’s hard to go wrong with a recipe that delivers such outstanding results with minimal effort.
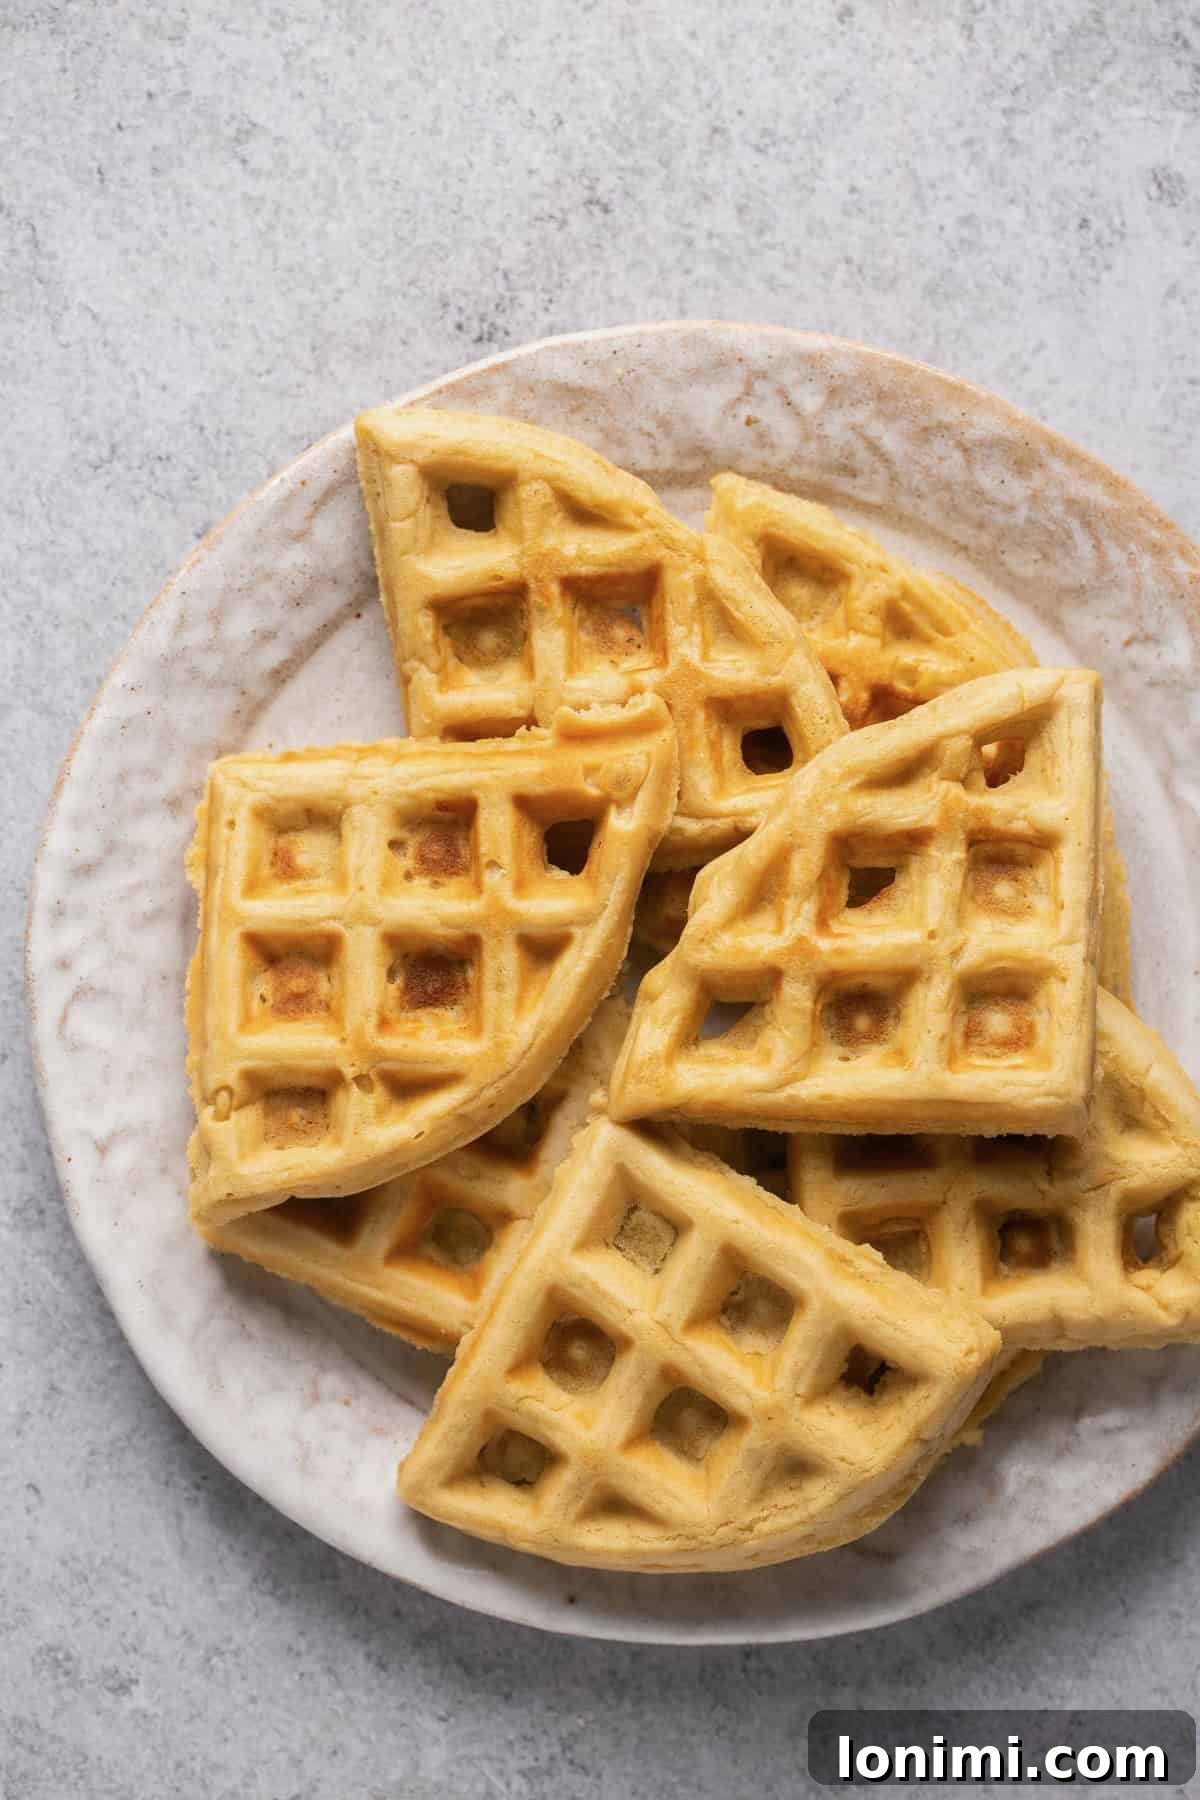
Crafted from scratch, these waffles strike a perfect balance between a soft, airy texture on the inside and a delightful crispness on the outside – the hallmark of a truly great waffle. With just 10 simple ingredients, 15 minutes of your time, and a whopping 13 grams of protein per waffle, this recipe isn’t just a meal; it’s a breakfast revolution. Prepare to declare this the BEST gluten-free waffle recipe you’ve ever tasted!
Essential Ingredients for Your Perfect Waffles
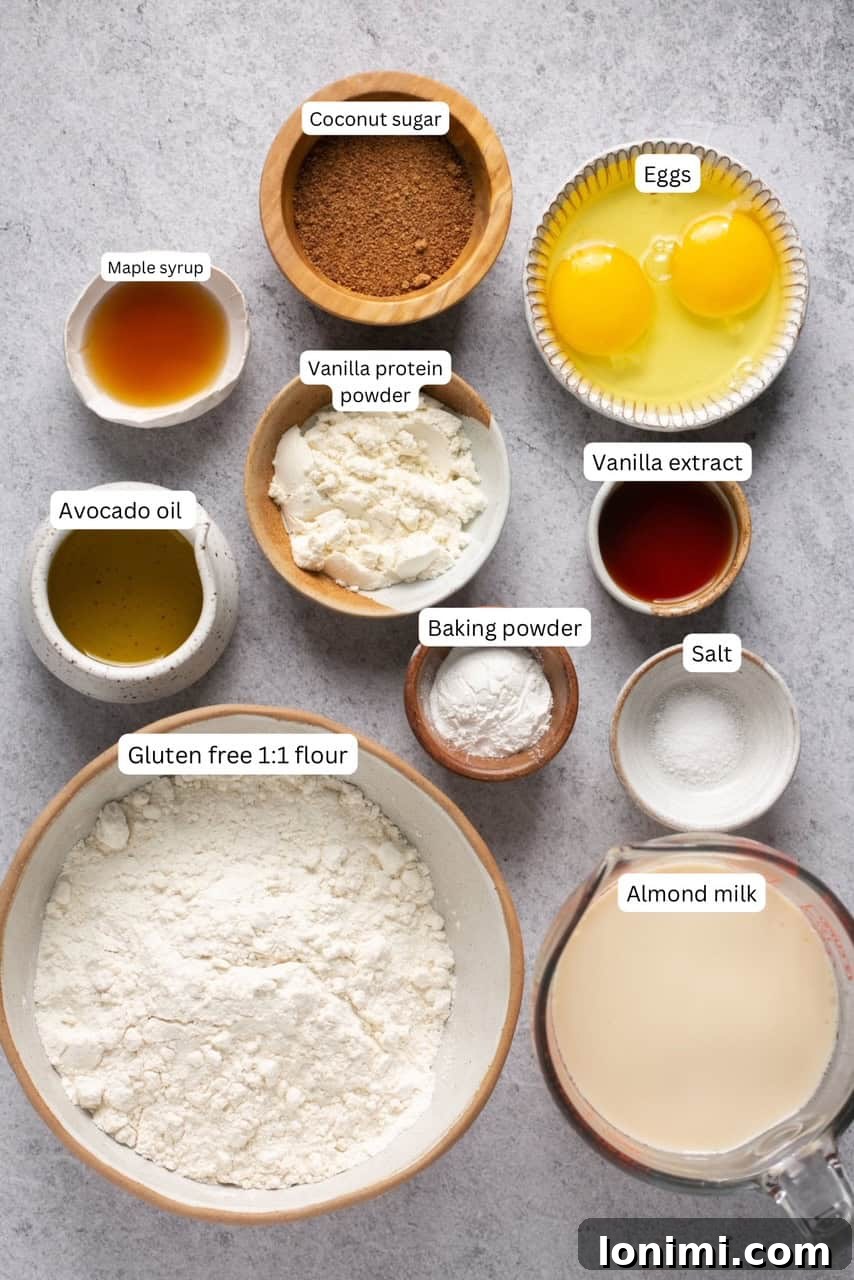
Creating these outstanding gluten-free waffles starts with a selection of readily available ingredients. Each component plays a crucial role in achieving the desired texture, flavor, and nutritional profile. Here’s a closer look at what you’ll need and why:
- Gluten-Free 1:1 Flour Blend: This is the cornerstone of our gluten-free recipe. A 1:1 blend is specifically formulated to replace wheat flour in equal measure, simplifying gluten-free baking. Brands like King Arthur Gluten-Free All-Purpose Flour and Bob’s Red Mill Gluten-Free All-Purpose Baking Flour are excellent choices, ensuring your waffles are light and airy without a gummy texture.
- Baking Powder: Essential for leavening, baking powder is what gives these waffles their incredible rise and fluffy texture. Always ensure your baking powder is fresh and, for true gluten-free adherence, check that it’s certified gluten-free.
- Vanilla Protein Powder: This ingredient is a game-changer, boosting the protein content to an impressive 13 grams per waffle while infusing a delicious vanilla flavor. I personally recommend the Be Well By Kelly brand for its quality and taste. If you prefer, an unflavored protein powder can be used, and you can adjust the vanilla extract to compensate.
- Almond Milk: As our dairy-free liquid base, almond milk contributes to the waffles’ tender crumb. Feel free to use your preferred unsweetened dairy-free milk, such as coconut milk for a richer flavor, or oat milk for a slightly creamier texture. For those who aren’t dairy-free, regular dairy milk works just as well.
- Coconut Sugar: This natural sweetener offers a subtle caramel note and helps achieve that beautiful golden-brown color. It’s a fantastic alternative to refined sugars.
- Maple Syrup: Adding a touch of pure maple syrup not only sweetens the batter but also enhances moisture and flavor. Choose high-quality maple syrup for the best results.
- Vanilla Extract: A splash of pure vanilla extract is essential for depth of flavor, complementing the vanilla protein powder beautifully.
- Eggs: Eggs provide structure, richness, and help bind the ingredients together, contributing to the waffles’ tender texture. For optimal mixing, ensure your eggs are at room temperature. For a vegan alternative, consider a Bob’s Red Mill egg replacer, a liquid egg substitute, or a homemade flax egg (1 tablespoon ground flaxseed mixed with 3 tablespoons water, let sit for 5 minutes).
- Avocado Oil: With its neutral flavor and high smoke point, avocado oil is perfect for creating a moist interior and a crisp exterior. Coconut oil can be used as an alternative, but note that it will impart a distinct coconut flavor.
- Salt: A pinch of salt is crucial for balancing the sweetness and enhancing all the other flavors in the batter, making the waffles taste even more incredible.
How to Make Perfect Gluten-Free Waffles: Step-by-Step Guide
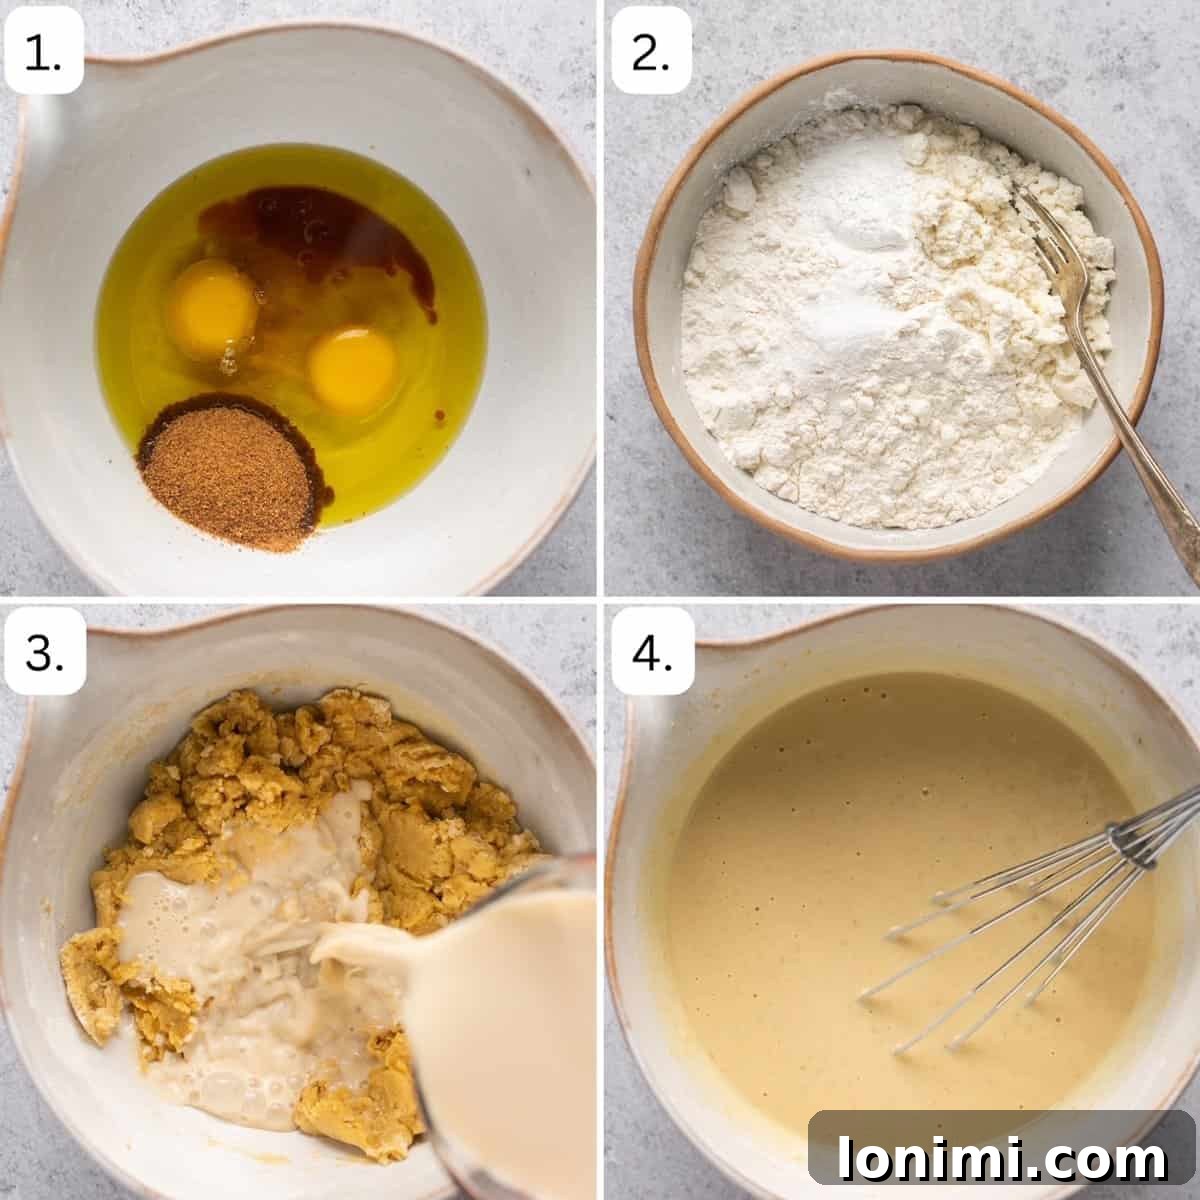
Making these gluten-free wonders is incredibly straightforward. Follow these steps for consistently perfect waffles every time:
- Prepare the Wet Ingredients: In a large mixing bowl, combine the coconut sugar, maple syrup, room-temperature eggs, avocado oil, and vanilla extract. Whisk vigorously until the mixture is well combined, smooth, and slightly frothy. This ensures the sweeteners are dissolved and the liquid components are fully integrated.
- Combine the Dry Ingredients: In a separate, medium-sized bowl, whisk together the gluten-free 1:1 flour, baking powder (ensure it’s gluten-free), vanilla protein powder, and salt. Whisking dry ingredients separately helps distribute the leavening agents evenly, preventing clumps and ensuring a consistent rise in your waffles.
- Bring it All Together: Gradually add the dry ingredient mixture to the wet ingredients. While slowly pouring in the dry mix, continuously whisk in the almond milk until the batter is very smooth. This might require some dedicated “elbow grease” to eliminate any lumps. The key is to mix just until combined; overmixing can develop gluten-free flours in a way that leads to a tougher texture, though less so than with wheat flour.
- Preheat and Grease Your Waffle Maker: Generously spray your waffle maker with avocado oil or another non-stick cooking spray. It’s crucial to preheat it fully according to the manufacturer’s instructions to ensure even cooking and prevent sticking. A properly preheated and greased iron is vital for achieving that desirable crispy exterior.
- Portion the Batter: For standard Belgian waffles (typically yielding four triangles or a large circular waffle), use a 1-cup measuring cup to scoop out the batter. Carefully pour the batter into the center of the preheated waffle iron, allowing it to spread naturally. Avoid overfilling, as this can lead to messy overflow.
- Cook to Golden Perfection: Close the waffle maker and cook according to your specific machine’s directions. For most Belgian waffle makers, this usually takes about 4-5 minutes total. I often flip my machine halfway through the cooking time to ensure even browning on both sides. Look for steam to stop escaping and a beautiful golden-brown color before removing.
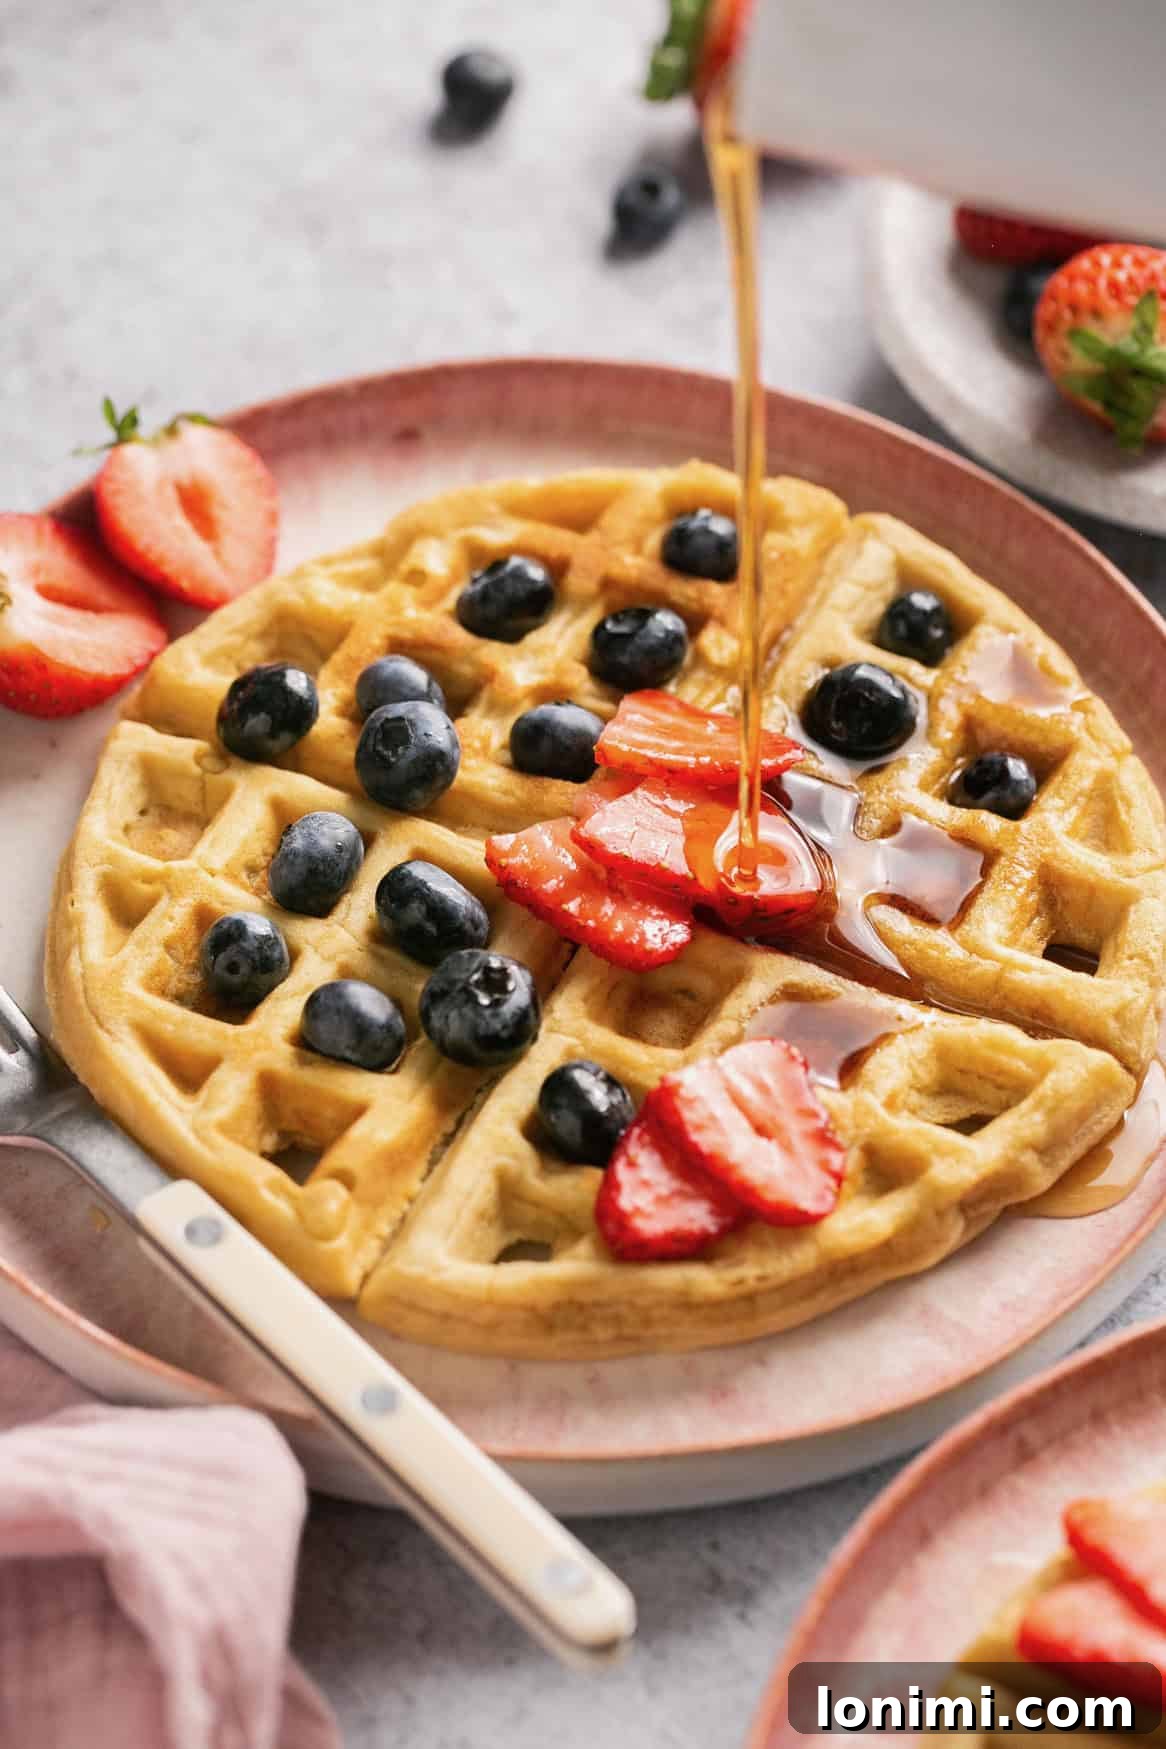
- Serve and Savor: Once cooked, carefully remove the warm waffles from the iron. Serve immediately to enjoy their crispiness, topped generously with fresh berries, a drizzle of maple syrup, or any of your favorite toppings.
Expert Tips for the Best Gluten-Free Waffles
Achieving waffle perfection, especially with gluten-free recipes, often comes down to a few key techniques. Here are some expert tips to ensure your waffles are consistently fantastic:
- Dairy Swaps for Everyone: This recipe is intentionally dairy-free, but if dairy isn’t a concern for you, feel free to substitute the almond milk with regular cow’s milk. The flavor and texture will still be excellent, making this recipe truly adaptable to various dietary preferences.
- Know Your Waffle Maker: Waffle makers come in various shapes, sizes, and heating capacities (Belgian, classic, flip, standard). The amount of batter you’ll need per waffle and the exact cooking time will vary depending on your specific model. Always consult your waffle maker’s instruction manual for precise guidance. I personally used this Belgian Waffle Maker for this recipe, which yields thicker, deeper pocket waffles.
- Don’t Skip the Grease: This cannot be stressed enough! Thoroughly greasing your waffle maker with cooking oil spray before adding the batter is paramount. It prevents sticking, ensures easy removal, and contributes significantly to the crispiness of the exterior. Even if your waffle iron is “non-stick,” a little extra oil acts as insurance for perfect results.
- Room Temperature Ingredients: Allowing your eggs and milk to come to room temperature before mixing ensures a smoother, more emulsified batter. This leads to a more evenly cooked waffle with a better texture.
- Achieving Peak Crispiness: For extra crispy waffles, don’t open the waffle maker too early. Allow the waffle to cook until the steam subsides, indicating that most of the moisture has evaporated. You can also lightly brush the cooked waffles with a touch of melted butter or oil after they come out of the iron and briefly return them to the warm (but off) waffle maker for an extra minute.
- Preventing Soggy Waffles: Once cooked, transfer waffles directly to a wire cooling rack rather than stacking them on a plate. Stacking them immediately traps steam, which can make them soggy. Keep them warm in a single layer in a low oven (around 200°F / 95°C) if serving a crowd.
Creative Serving Suggestions
These gluten-free waffles are fantastic on their own, but they truly shine when paired with your favorite additions and toppings. Get creative and make them uniquely yours!
- Exciting Batter Mix-ins: Elevate your waffles from the inside out! Before pouring the batter into the waffle iron, gently fold in a variety of delightful mix-ins. Consider classic chocolate chips (mini ones work great for even distribution), chopped nuts for a crunchy texture (like pecans or walnuts), fresh blueberries, diced strawberries, or a dash of cinnamon or nutmeg for a warm spice flavor. Experiment with different combinations to find your perfect match.
- Endless Topping Possibilities: The top of a warm waffle is a blank canvas for deliciousness. Here are just a few ideas to get you started:
- Classic & Fruity: A generous pour of pure maple syrup, fresh berries (strawberries, blueberries, raspberries), sliced bananas, or a dollop of whipped cream (dairy or coconut whipped cream).
- Nutty & Indulgent: Creamy peanut butter, almond butter, or cashew butter for added protein and richness. Sprinkle with extra chocolate chips or a handful of chopped nuts.
- Decadent Delights: A scoop of your favorite dairy-free ice cream, a drizzle of chocolate sauce, or a sprinkle of powdered sugar.
- Savory Twist: While typically sweet, a side of crispy bacon or sausage can offer a delightful contrast to the sweet waffles, creating a balanced breakfast or brunch.
Storage and Reheating Tips for Convenience
One of the best things about these gluten-free waffles is how well they store, making them perfect for meal prep and quick breakfasts throughout the week or even months!
- Make Ahead Magic: These waffles are a dream come true for meal prep enthusiasts. By following the freezing instructions below, you can have a batch of protein-packed, homemade waffles ready to go at a moment’s notice, transforming hectic mornings into effortless ones.
- Refrigerating Leftovers: If you plan to enjoy your leftover waffles within a few days, store them in an airtight container in the refrigerator. They will remain fresh and delicious for up to 4 days. To reheat, simply pop them into the microwave for a soft waffle or use a toaster/oven for a crispier result.
- How to Freeze for Long-Term Storage: Freezing is the ultimate way to preserve these waffles. First, ensure your cooked waffles have cooled completely to room temperature. Then, lay them in a single layer on a baking sheet and place them in the freezer for about 1-2 hours, or until solid. This “flash freezing” step prevents them from sticking together. Once solid, transfer the waffles to a freezer-safe zip-top bag or an airtight container. Remove as much air as possible to prevent freezer burn. Stored properly, they will maintain their quality for up to 6 months.
- Optimal Reheating Methods: For that fresh-from-the-iron crispiness, reheating is key.
- Toaster or Toaster Oven: This is generally the best method for frozen or refrigerated waffles, as it brings back that satisfying crispy exterior. Cook until heated through and golden.
- Regular Oven: Preheat your oven to 350°F (175°C). Place waffles in a single layer on a baking sheet and bake for 5-10 minutes, or until warm and crisp.
- Microwave: While convenient, the microwave will yield softer waffles and won’t restore crispiness. It’s best for a quick warm-up if texture isn’t your primary concern.
Recipe FAQs
Absolutely! To make these waffles completely egg-free and vegan, you’ll need to use an egg replacement. Excellent options include commercial egg replacers like Bob’s Red Mill Egg Replacer, a liquid egg substitute, or a homemade flax egg (combine 1 tablespoon ground flaxseed with 3 tablespoons water and let it sit for 5-10 minutes until it thickens). Additionally, ensure that your chosen protein powder is plant-based and that any mix-ins or toppings you use are also vegan-friendly. If you try this modification, please share your results in the comments!
Crispiness is often achieved by proper heating and careful removal. Ensure your waffle iron is fully preheated before adding batter. Don’t open it too soon; wait until steam largely stops escaping. Overfilling the iron can also reduce crispiness. After cooking, immediately place waffles on a wire rack to prevent steam buildup, which leads to sogginess. You can also briefly place them in a toaster or low oven after cooking to enhance crispiness.
While this recipe specifically calls for a 1:1 gluten-free flour blend, which is formulated to seamlessly substitute wheat flour, other blends might work with slight adjustments. However, results can vary significantly in texture and absorbency. If you use a different blend (e.g., one heavy on rice flour or almond flour), you may need to adjust the liquid content to achieve the right batter consistency. For best results, stick with a high-quality 1:1 blend.
This recipe uses natural sweeteners like coconut sugar and maple syrup, which can be part of a balanced diet. If you’re looking to reduce sugar further, you can decrease the amount of coconut sugar and maple syrup. You might also consider using sugar substitutes that are suitable for baking, though this could alter the texture and browning slightly. Adjust your toppings accordingly as well, opting for fresh fruit without added syrup.
More Delicious Gluten-Free Breakfast Recipes
If you loved these waffles, be sure to explore more fantastic gluten-free breakfast options from my kitchen:
Sausage Breakfast Casserole
Homemade Breakfast Sausage
Roasted Veggie Breakfast Casserole
Spinach and Feta Breakfast Bites
Gluten-Free Quiche
Love this recipe? Please consider leaving a 5-star 🌟🌟🌟🌟🌟 rating in the recipe card below and a review in the comment section. Or, follow me on Facebook, Pinterest or Instagram today for more delicious recipes!

🌟
🌟
🌟
🌟
Homemade Gluten-Free Waffles (Dairy-Free!)
Mary Smith
10 minutes
5 minutes
15 minutes
4
7″ Belgian waffles
Equipment
-
Belgian waffle maker
You can use another type – you may just need to measure out less batter and adjust cooking time!
Ingredients
-
2
tbsp
coconut sugar
-
1
tbsp
maple syrup
-
2
eggs,
room temperature -
½
cup
avocado oil,
or coconut oil – this will give them more of a coconutty taste! -
1.5
tsp
vanilla extract -
1 ¾
cups
Gluten-Free 1:1 Flour
,
I love King Arthur brand -
3
tsp
baking powder,
be sure to look for gluten-free -
2
tbsp
vanilla protein powder
,
I like Be Well By Kelly brand -
¼
tsp
salt -
1 ⅔
cups
almond milk,
or coconut milk / oat milk!
Instructions
-
Mix coconut sugar, maple syrup, eggs, avocado oil, and vanilla in a bowl.
-
Mix dry ingredients in a separate bowl.
-
Combine the two while simultaneously whisking in the milk. Mix until very smooth (this may take some elbow grease!)
-
Spray waffle maker with avocado oil and preheat.
-
For Belgian (4 triangles/large circle) waffles, use 1 cup measuring cup to scoop out the batter and pour it evenly into the middle of the waffle iron.
-
Cook waffles according to waffle maker directions. For my Belgian waffle maker, this took about 4-5 minutes total, flipping the machine halfway through.
-
Enjoy topped with berries and maple syrup!
Notes
Expert Tips
- Dairy: If you’re not dairy-free you can swap the non-dairy ingredients for regular dairy.
- Waffle Maker: The batter amount and cook time will adjust depending on your waffle maker. Make sure to follow the instructions according to your specific waffle maker.
- Oil: Don’t forget to grease your waffle maker to make sure the batter doesn’t stick. This is super important!
Serving Tips
- Batter Mix-ins: If you want to jazz up these waffles, you can add chocolate chips, nuts, blueberries, strawberries, or cinnamon to your waffle batter!
- All the Toppings: The topping options are endless. You can top it with peanut butter, almond butter, whipped cream, berries, sliced bananas, chocolate chips, maple syrup, and more!
Storage Tips
- Make Ahead: These gluten-free waffles are super easy to make ahead of time. Simply follow the freezing instructions below and you’ll have a protein-packed breakfast ready in no time!
- Leftovers: If you plan to eat them within a few days, you store leftovers in an airtight container in the fridge for up to 4 days. Reheat in the microwave or toaster.
- How to Freeze: Let your leftover waffles cool completely, then store them in a freezer-safe container or ziptop bag for up to 6 months.
- Reheating: Reheat leftover waffles (fresh or frozen) in a toaster oven to get them warm and crispy.
Nutrition
Serving:
1
waffle
|
Calories:
529
kcal
|
Carbohydrates:
50
g
|
Protein:
13
g
|
Fat:
33
g
|
Saturated Fat:
4
g
|
Polyunsaturated Fat:
5
g
|
Monounsaturated Fat:
21
g
|
Trans Fat:
0.01
g
|
Cholesterol:
96
mg
|
Sodium:
661
mg
|
Potassium:
73
mg
|
Fiber:
6
g
|
Sugar:
10
g
|
Vitamin A:
119
IU
|
Calcium:
390
mg
|
Iron:
3
mg
All nutrition facts are an estimate and automatically calculated. While I fact check them using My Fitness Pal, please note that they may not always be 100% accurate and depend on ingredients used. Weigh your total and divide by the number of servings for the most accurate grams per serving size.
Did you make this?
Rate & comment below, and tag me on Instagram @maryswholelife