
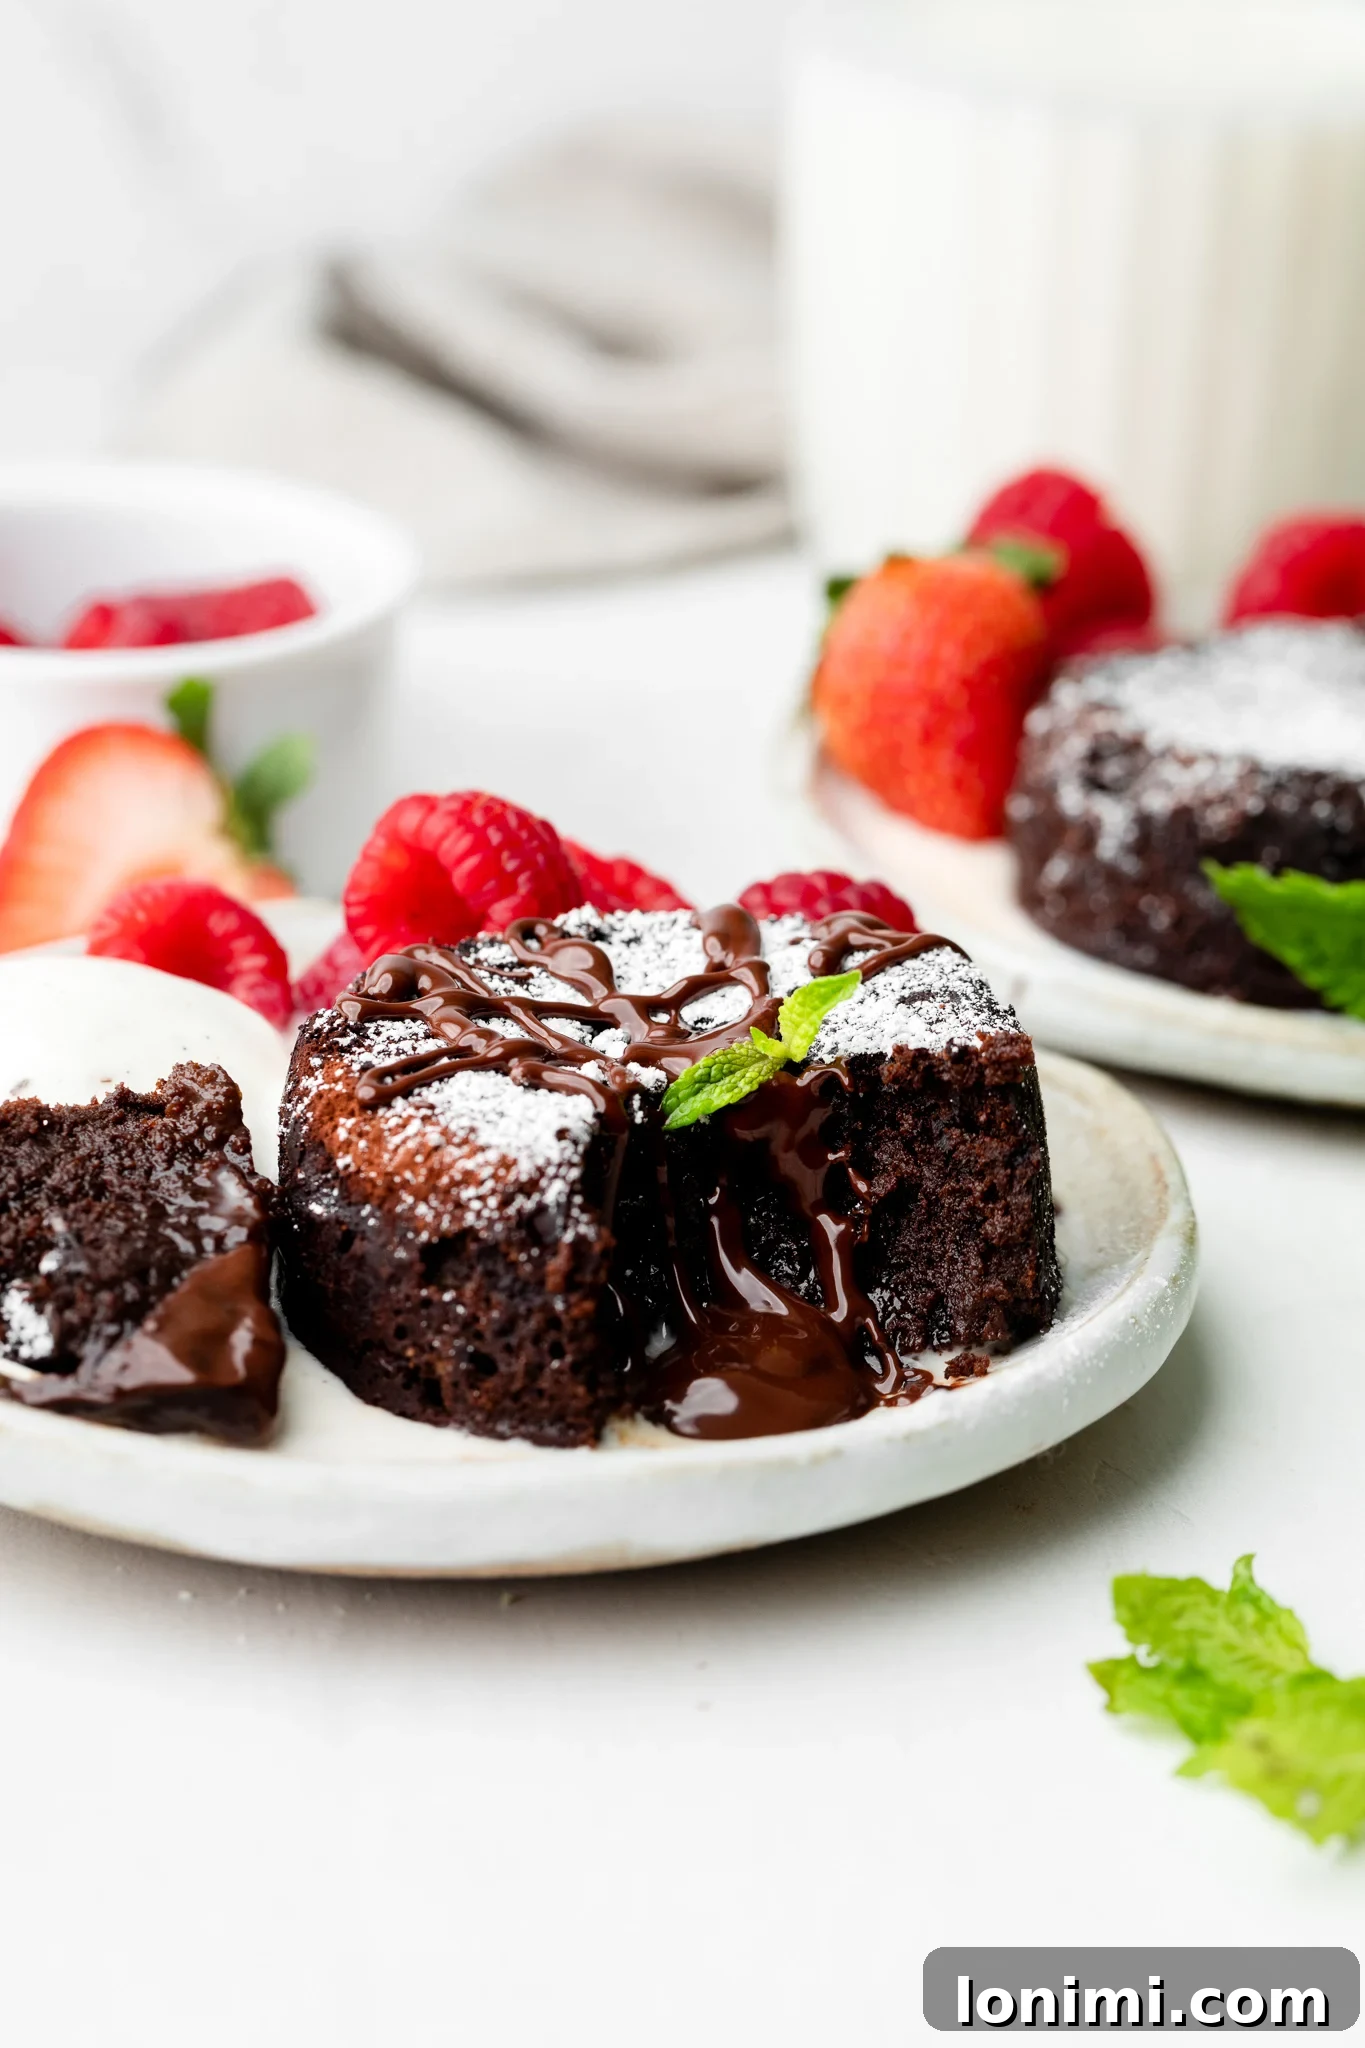
Prepare to be enchanted by these exquisite Gluten-Free Molten Chocolate Lava Cakes – a dessert so luxurious, yet surprisingly simple to create. Each miniature cake boasts a perfectly crisp exterior that gives way to an irresistibly warm, ooey-gooey molten chocolate center. This remarkable recipe transcends typical indulgence, offering a refined-sugar-free and grain-free treat crafted with wholesome ingredients like coconut sugar, maple syrup, almond flour, and coconut flour. Designed to be both quick and impressive, these mini chocolate cakes can be whipped up in under 30 minutes, making them your go-to dessert for any special occasion, or simply a spontaneous moment of craving.
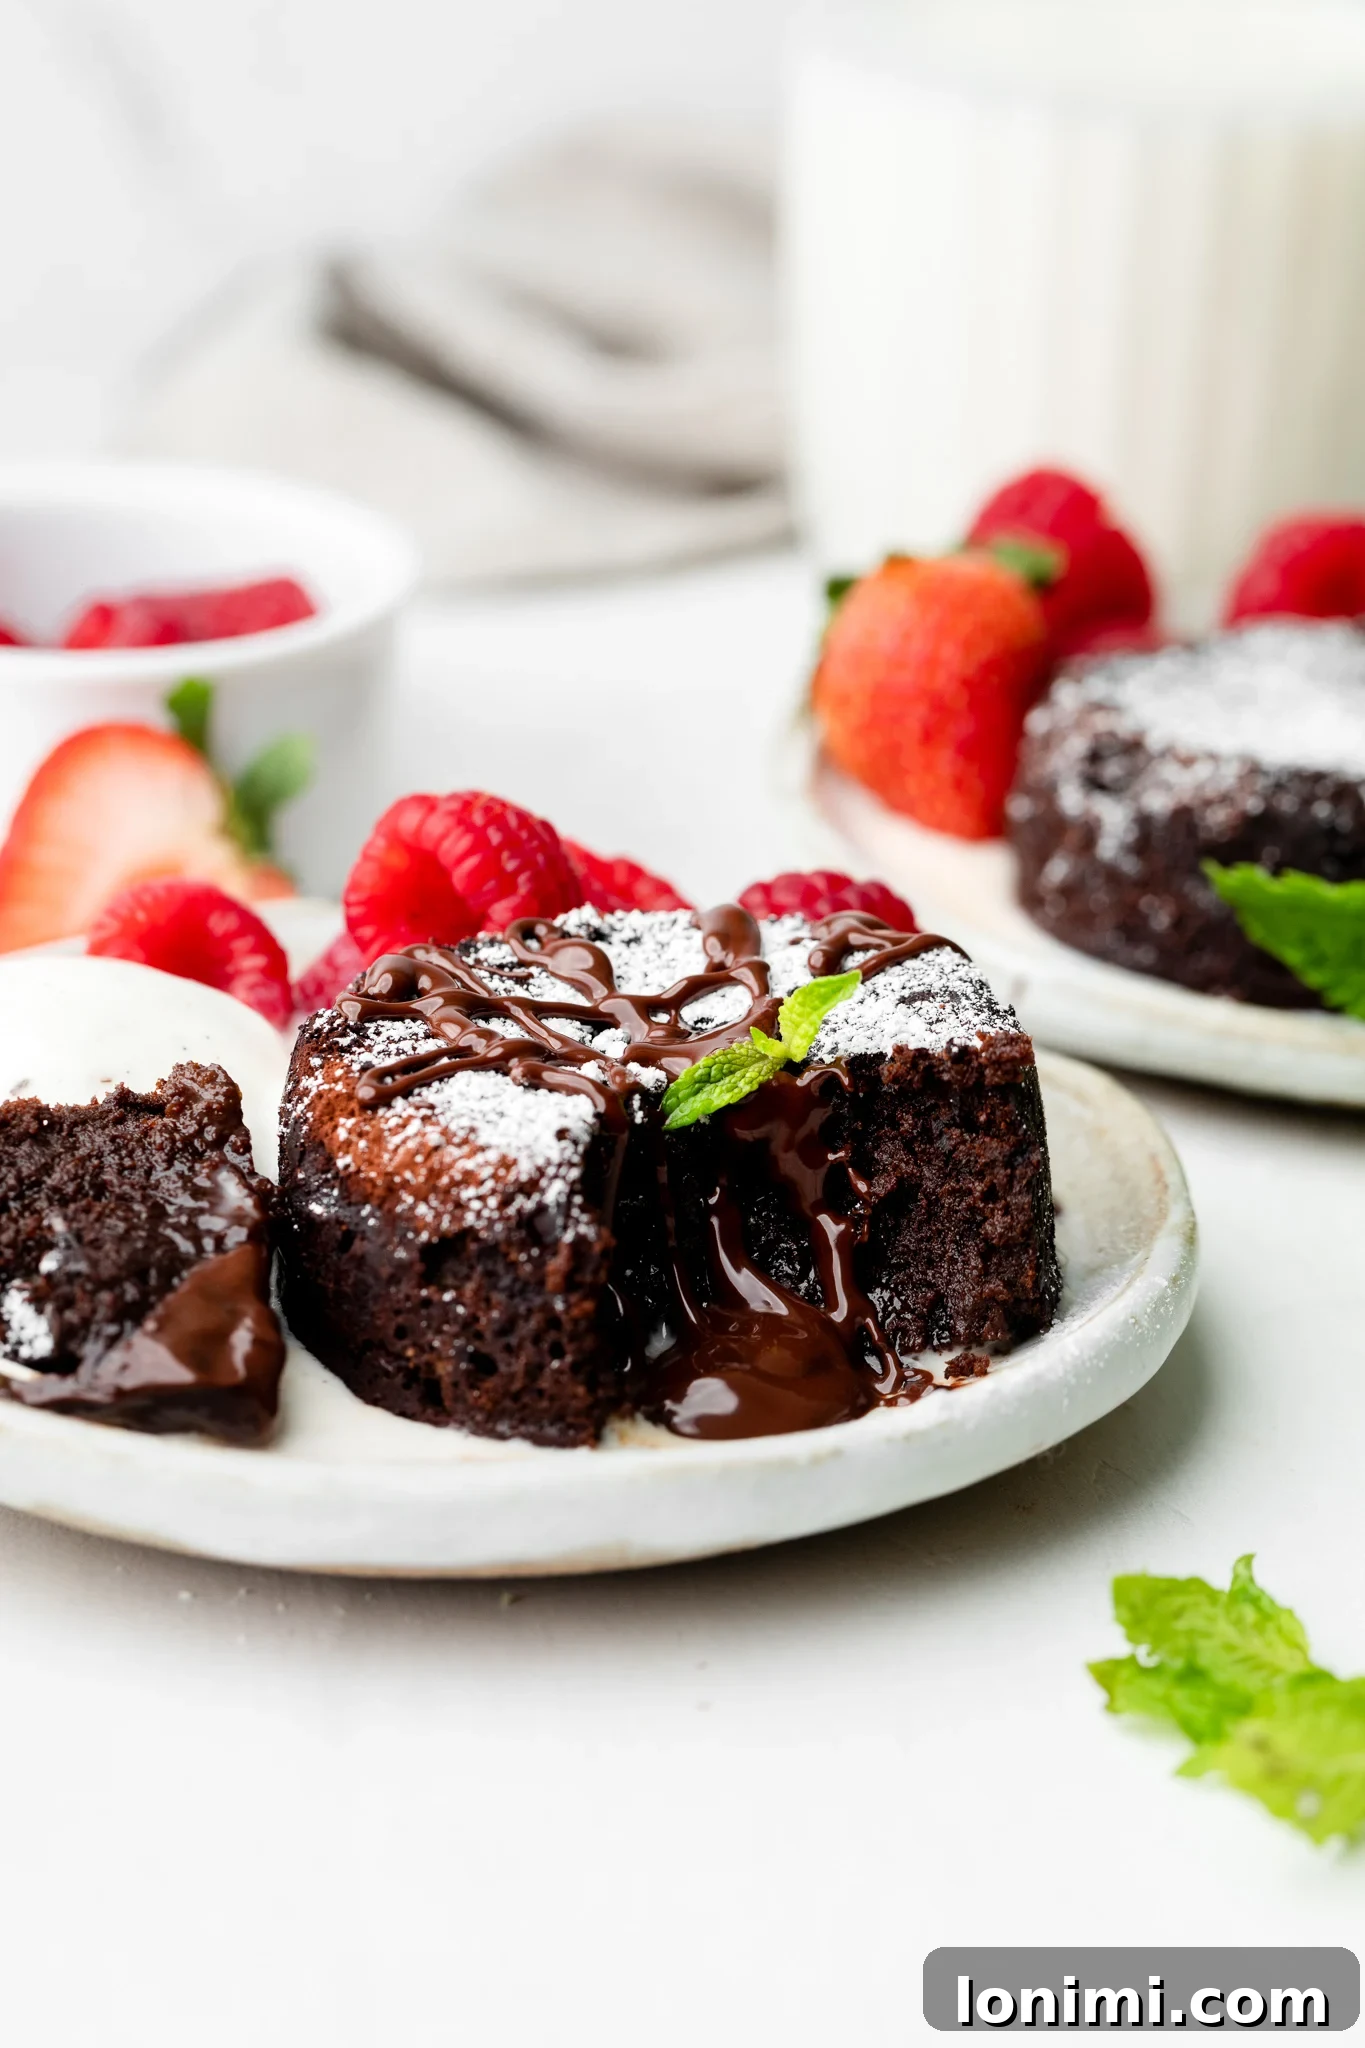
Why These Gluten-Free Lava Cakes Are a Must-Try Dessert
Are you on the hunt for a dessert that brilliantly balances ease, health-consciousness, and pure decadence? Look no further! These Gluten-Free Molten Chocolate Mini Lava Cakes are truly a culinary triumph, offering a sophisticated yet simple solution for anyone desiring a luxurious treat without compromising on dietary needs or healthier lifestyle choices. Unlike traditional lava cakes, which often rely on refined sugars and gluten-heavy flours, our recipe ingeniously incorporates thoughtful ingredient swaps that elevate both flavor and texture. Many enthusiasts even find these healthier versions to be more satisfying and deeply flavorful than their conventional counterparts.
The allure of this recipe lies not just in its delicious outcome but also in its incredible efficiency. From gathering ingredients to pulling warm, chocolatey cakes from the oven, the entire process takes less than 30 minutes. This makes them an ideal dessert for impromptu celebrations, romantic date nights, elegant dinner parties, or as a special treat for holidays and birthdays. The exquisite contrast between the subtly crisp cake exterior and the rich, warm, flowing chocolate interior creates a truly unforgettable sensory experience. Finish each cake with a delicate dusting of powdered sugar (or a low-sugar alternative) and crown it with a vibrant medley of fresh berries or a generous scoop of your favorite dairy-free ice cream for the ultimate chocolate indulgence. Prepare to fall head over heels for this mini chocolate cake recipe; it’s designed to impress with minimal effort!
Key Ingredients for Healthier Molten Lava Cakes
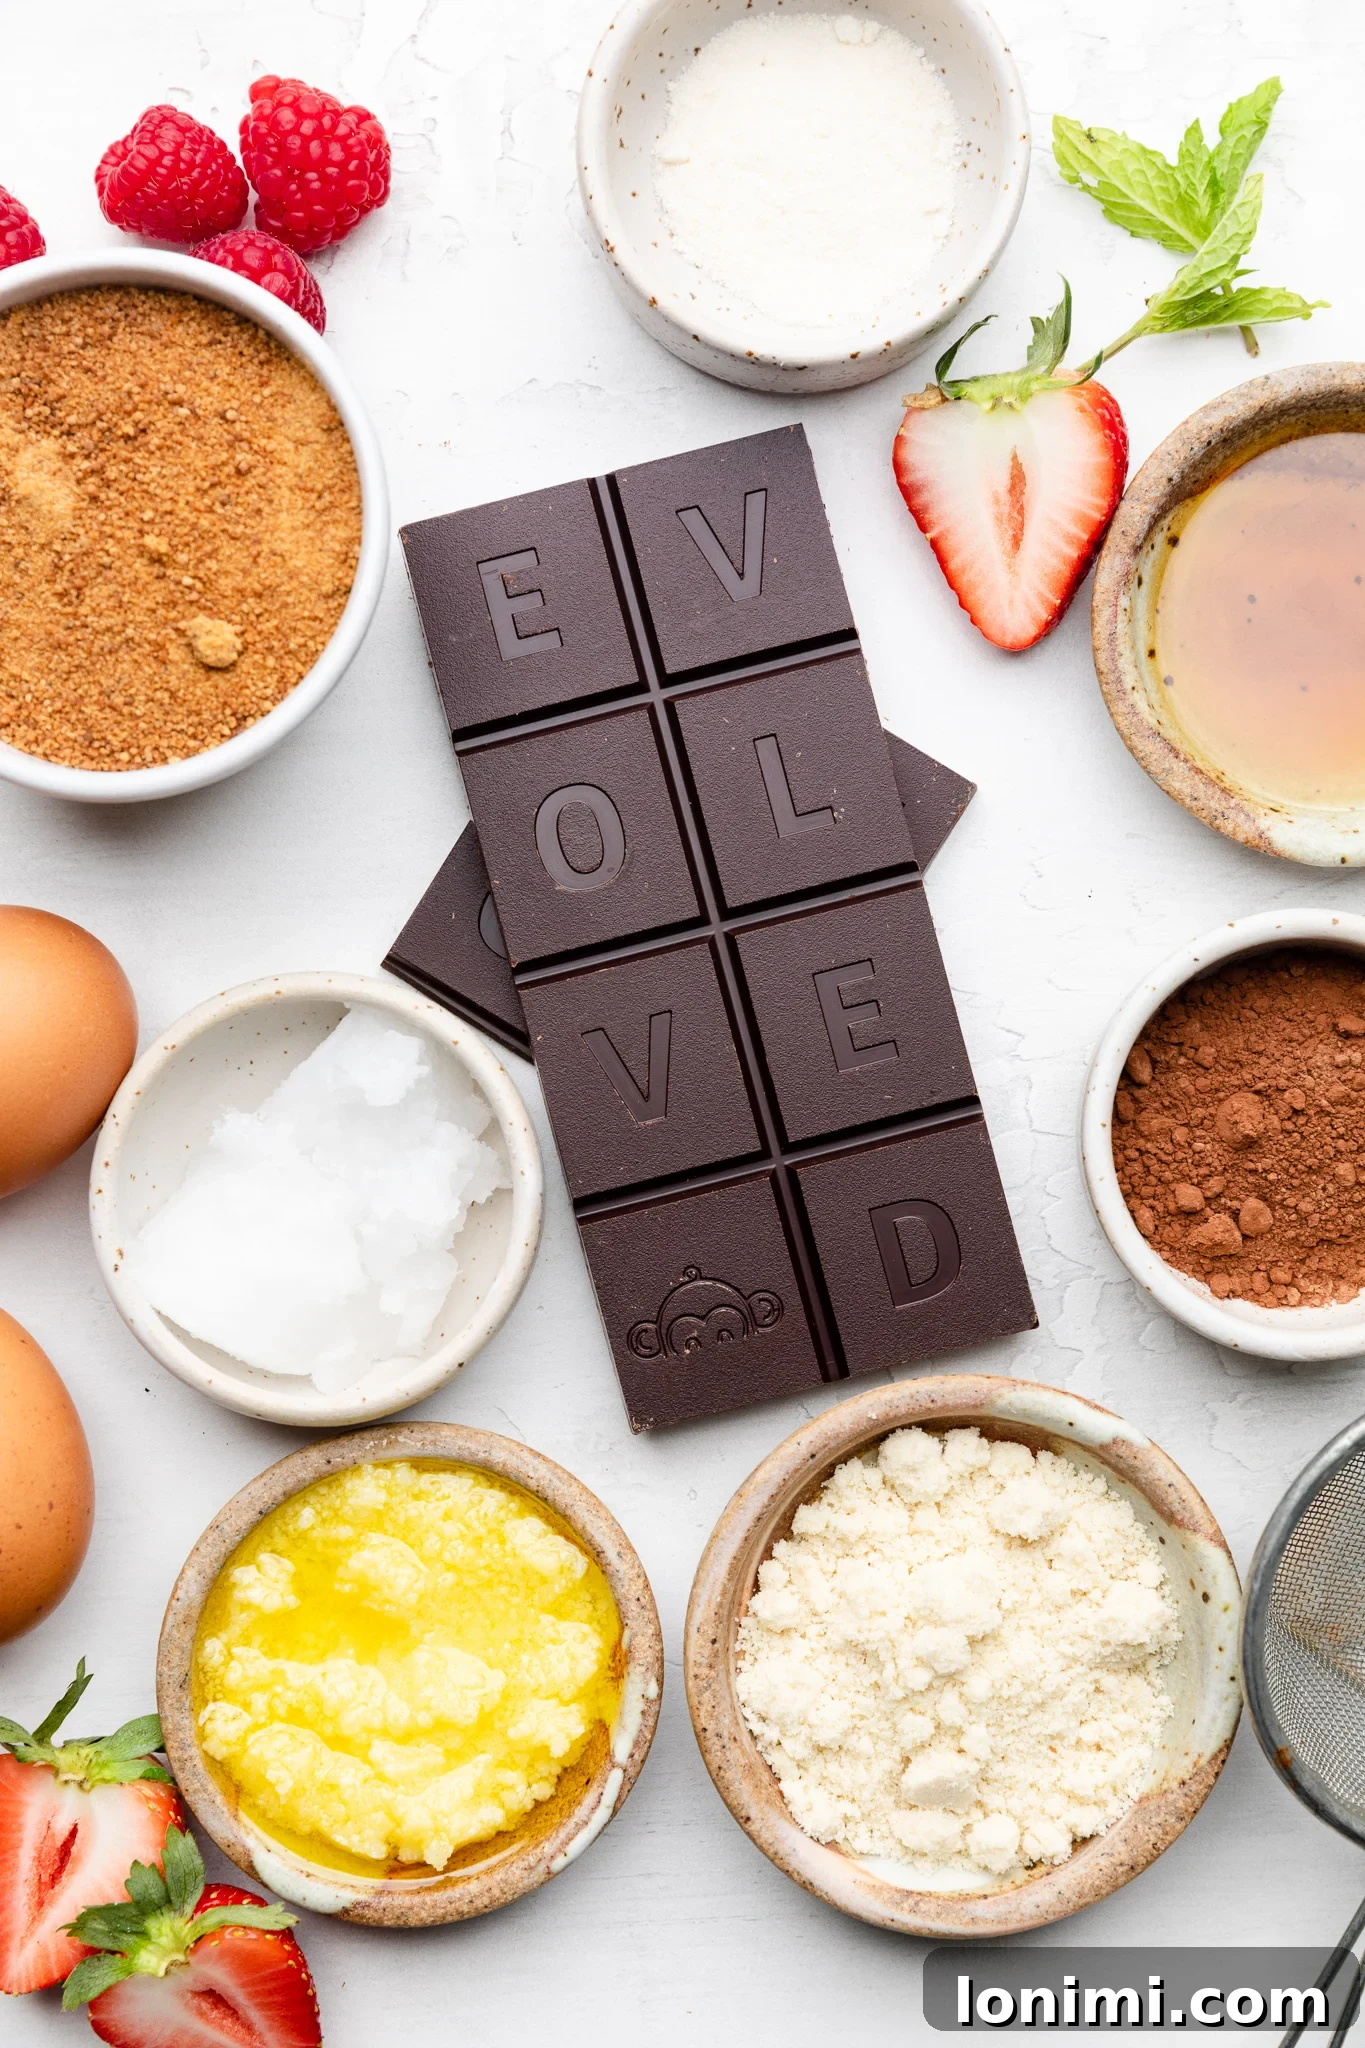
One of the true marvels of this recipe is its innovative use of gluten-free flours. The specific blend of almond flour and coconut flour is not just a substitute; it’s a deliberate choice that results in a cake incredibly moist, tender, and with a delicate crumb, mirroring the best qualities of traditional desserts without any gluten. Each ingredient has been carefully selected for its contribution to both the flavor profile and the nutritional benefits.
A Closer Look at Each Essential Ingredient:
- Dark Chocolate: This is the very essence of any lava cake! To achieve a truly rich, profound chocolate flavor, it’s paramount to select high-quality dark chocolate. For those following a Paleo or refined sugar-free diet, brands like Hu Chocolate and Eating Evolved are exceptional choices. If you prefer using chocolate chips, Enjoy Life Foods dark chocolate chips are fantastic, ensuring a dairy-free and allergen-friendly option. A higher cacao percentage will yield a less sweet, more intense chocolate experience, so tailor your choice to your personal taste.
- Coconut Oil: Serving as a superior, healthier alternative to less desirable cooking oils such as canola or vegetable oil, coconut oil is integral to the cake’s moistness. It imparts a subtle, inviting aroma that complements the chocolate without overpowering it, making it an excellent choice for maintaining the gluten-free and (potentially) dairy-free integrity of these lava cakes.
- Ghee (Clarified Butter): Ghee contributes a wonderfully nuanced, rich flavor and a luxurious mouthfeel to the cakes. While it is derived from butter and contains trace amounts of dairy, many individuals with dairy sensitivities find they can tolerate it well. For a strictly 100% dairy-free rendition, high-quality vegan butter substitutes perform admirably, ensuring the desired texture and taste. Remember to reserve a little extra ghee or vegan butter for meticulously greasing your ramekins.
- Coconut Sugar & Pure Maple Syrup: These natural sweeteners are fundamental to our “healthier-ish” baking philosophy. Coconut sugar offers a delightful caramel-like note and boasts a lower glycemic index compared to standard refined granulated or brown sugars. Pure maple syrup introduces a comforting warmth and essential moisture to the batter. This harmonious blend provides a perfectly balanced sweetness, completely free from refined sugars, aligning seamlessly with a Paleo lifestyle. Date syrup can also be used as a wholesome alternative to maple syrup.
- Almond Flour & Coconut Flour: This carefully balanced duo forms the cornerstone of our gluten-free flour blend. Almond flour provides a robust structure and a delicate nutty undertone, while coconut flour, renowned for its exceptional absorbency, is key to the cake’s extraordinary moistness and light, fluffy texture. It is absolutely critical to adhere precisely to the specified flour ratios in the recipe. Coconut flour’s unique properties mean that substituting or altering these proportions can significantly impact the final texture, potentially leading to a dry or crumbly cake. This precise blend is meticulously designed for optimal gluten-free results.
- Cacao Powder: We advocate for raw cacao powder over traditional unsweetened cocoa powder due to its superior antioxidant profile and profoundly deep, intense chocolate flavor, which amplifies the richness of these cakes. However, if unsweetened cocoa powder is what you have, it will work—just ensure it’s genuinely unsweetened to maintain control over the sugar content. Cacao powder is also indispensable for dusting the ramekins, creating a non-stick surface and an extra layer of chocolatey goodness.
- Eggs: Eggs are vital binding agents, providing essential structure and contributing significantly to the cake’s rich texture and subtle rise. Given that the center remains molten, using high-quality, preferably organic, eggs is strongly recommended to ensure food safety and the best flavor.
- Sea Salt: A small dash of sea salt is a crucial flavor enhancer, balancing the sweetness and intensifying the deep chocolate notes, preventing the cakes from tasting flat or overly sugary.
- Powdered Sugar (Optional): For a visually appealing and classic finishing touch. You can use conventional powdered sugar for dusting, or for an even healthier option, consider a low-sugar alternative like Swerve powdered sugar.
Essential Equipment for Crafting Your Gluten-Free Lava Cakes
While the recipe itself is straightforward, having the right tools on hand will ensure your molten lava cakes turn out perfectly every time. Here’s a brief list of the essential equipment:
- Ramekins: These small, individual oven-safe ceramic or glass dishes are absolutely indispensable for lava cakes. We recommend using either 4 oz or 6 oz ramekins. If you’re using 6 oz ramekins, you’ll typically fill them about two-thirds full with batter. For the smaller 4 oz ceramic ramekins (often seen in recipe photos), you can fill them closer to the brim. The size of your ramekins directly influences the baking time and the final molten consistency, so using consistent sizes is key.
- Microwave-Safe Bowl: A sturdy, microwave-safe bowl is perfect for efficiently melting your dark chocolate, coconut oil, and ghee mixture.
- Mixing Bowls: You’ll need at least two: one medium-sized bowl for whisking the wet ingredients and a larger bowl for combining all the components to form the final batter.
- Whisk and Spatula: A good whisk ensures your wet ingredients are smoothly combined. A flexible spatula is ideal for gently folding in the dry ingredients, which helps prevent overmixing and ensures a tender cake crumb.
- Measuring Cups and Spoons: Precision is particularly important in gluten-free baking. Accurate measuring cups and spoons are crucial for adhering to the specific ratios of almond and coconut flours.
- Baking Sheet: Placing your ramekins on a baking sheet provides stability and makes transferring them in and out of the oven much easier.
Step-by-Step Guide to Perfect Gluten-Free Molten Lava Cakes
Creating these divine lava cakes is simpler than you might imagine. Follow these detailed instructions carefully to ensure a flawless, delectable result with that irresistible molten center every single time:
- Prepare Your Ramekins: Begin by preheating your oven to 400°F (200°C). A preheated oven is vital for achieving the correct texture. Thoroughly grease the insides of four (4 oz or 6 oz) ramekins with a thin, even layer of ghee or vegan butter. This initial step is critical for preventing the cakes from sticking. Immediately after greasing, lightly dust the entire interior surface of each ramekin with cacao powder. This creates a non-stick barrier and adds to the cake’s rich, chocolatey exterior. Do not skip this crucial preparation step!
- Melt the Chocolate Mixture: In a microwave-safe bowl, combine your measured dark chocolate, coconut oil, and the 2 tablespoons of ghee. Microwave the mixture on high in short 30-second increments, stirring meticulously after each interval, until the chocolate is completely melted and the mixture is silky smooth. Consistent stirring prevents the chocolate from scorching. Once melted, set the bowl aside and allow the mixture to cool slightly until it’s warm to the touch but not hot. This prevents the eggs from scrambling when added.
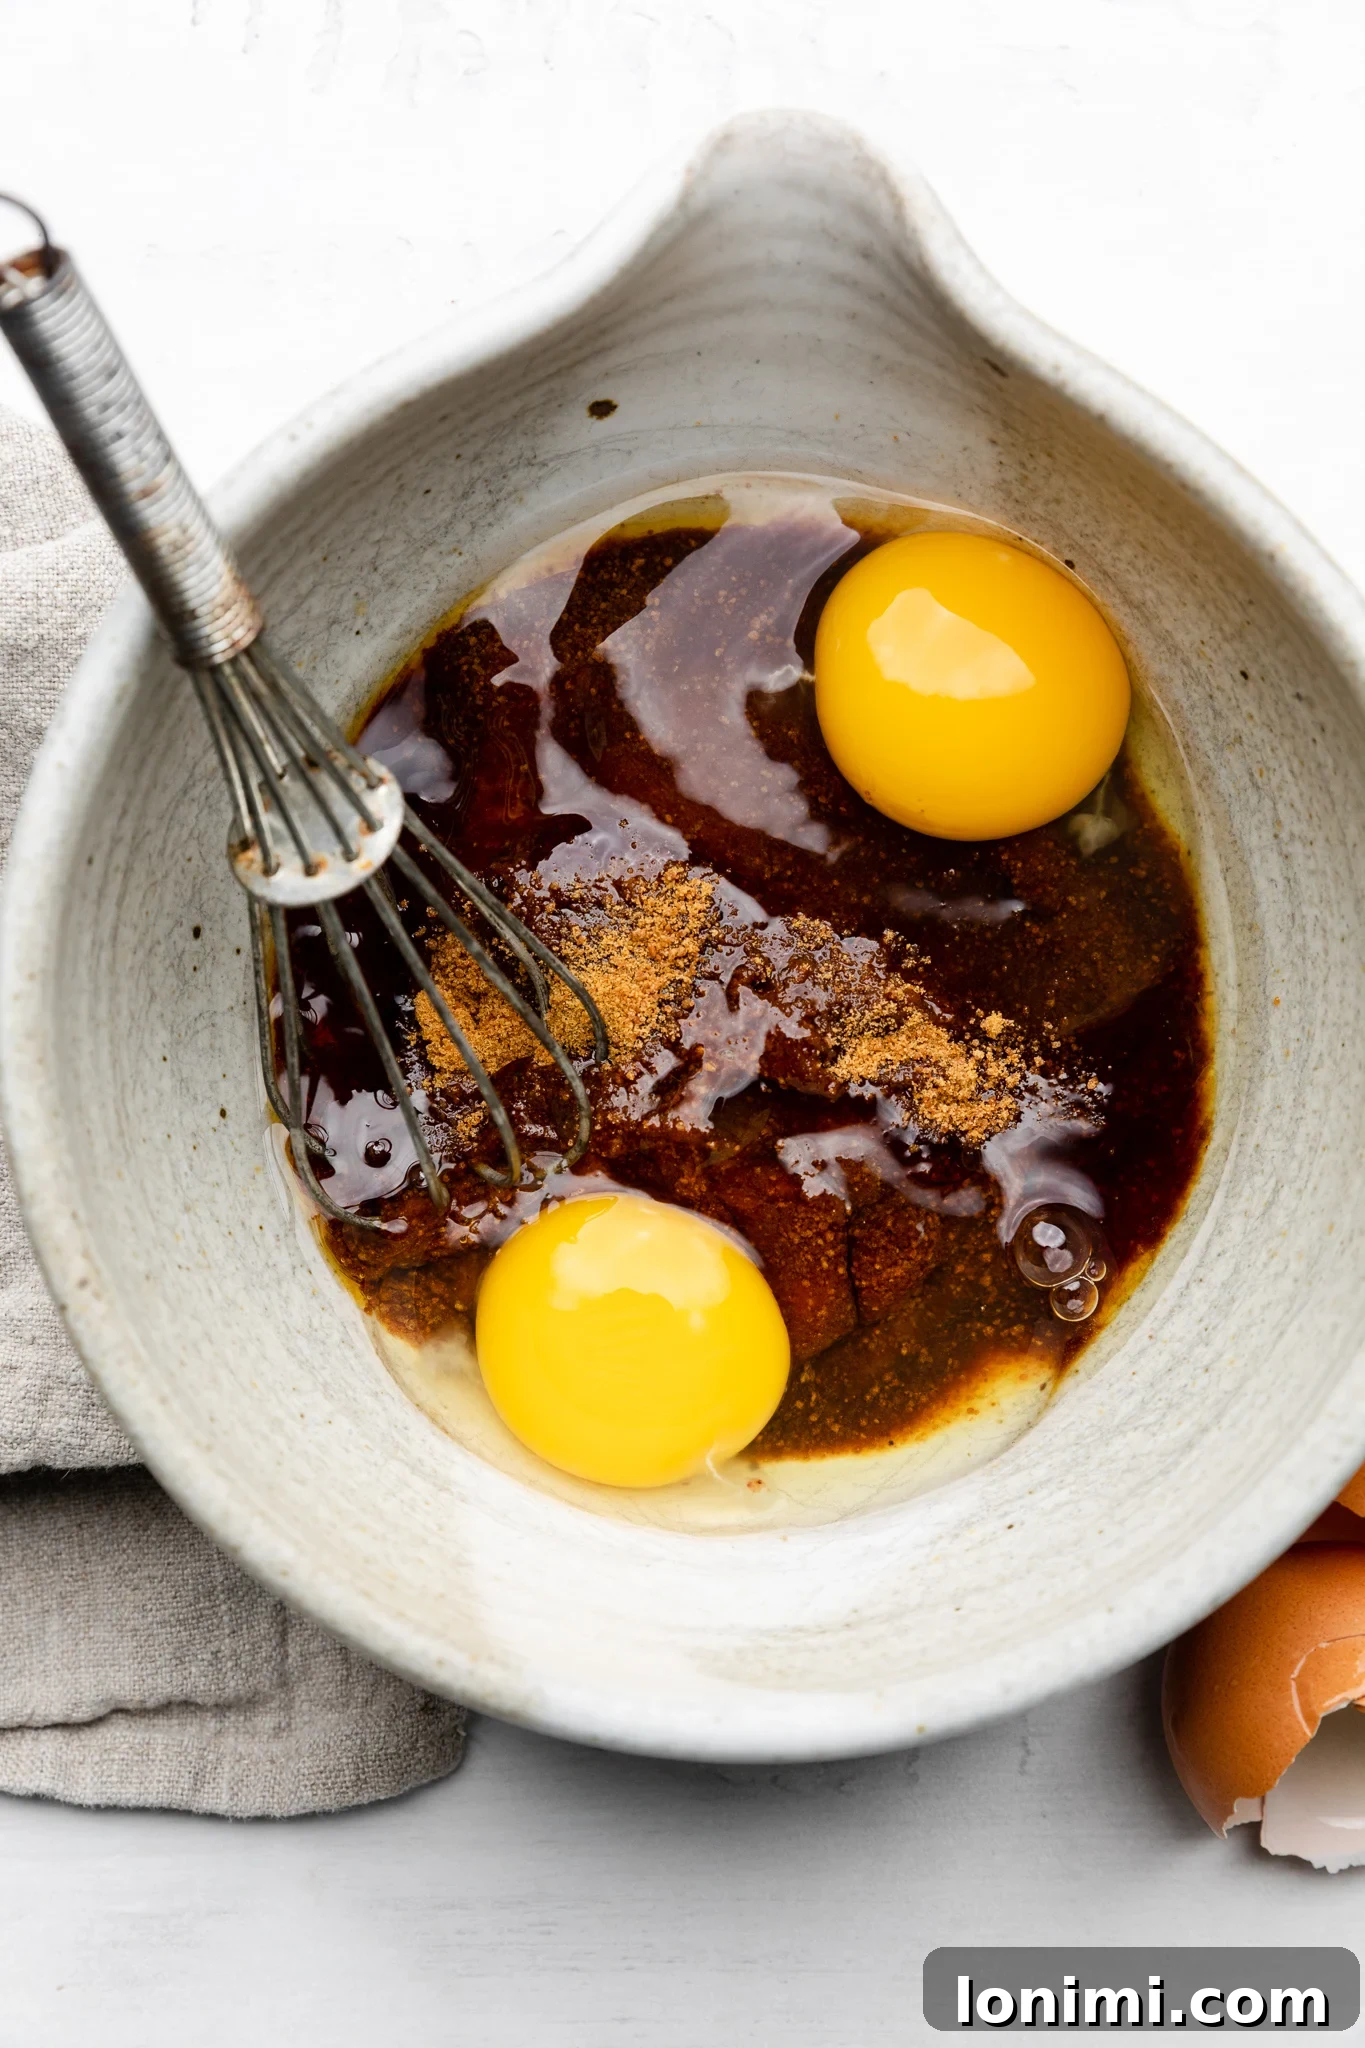
- Combine Wet Ingredients: In a separate, medium-sized mixing bowl, whisk together the eggs, coconut sugar, pure maple syrup, and a dash of sea salt until all ingredients are thoroughly combined and the mixture is uniform and lightly frothy. Next, carefully pour the slightly cooled melted chocolate, ghee, and coconut oil mixture into the egg and sugar mixture. Stir well with the whisk or spatula until everything is fully incorporated, forming a smooth, glossy liquid batter.
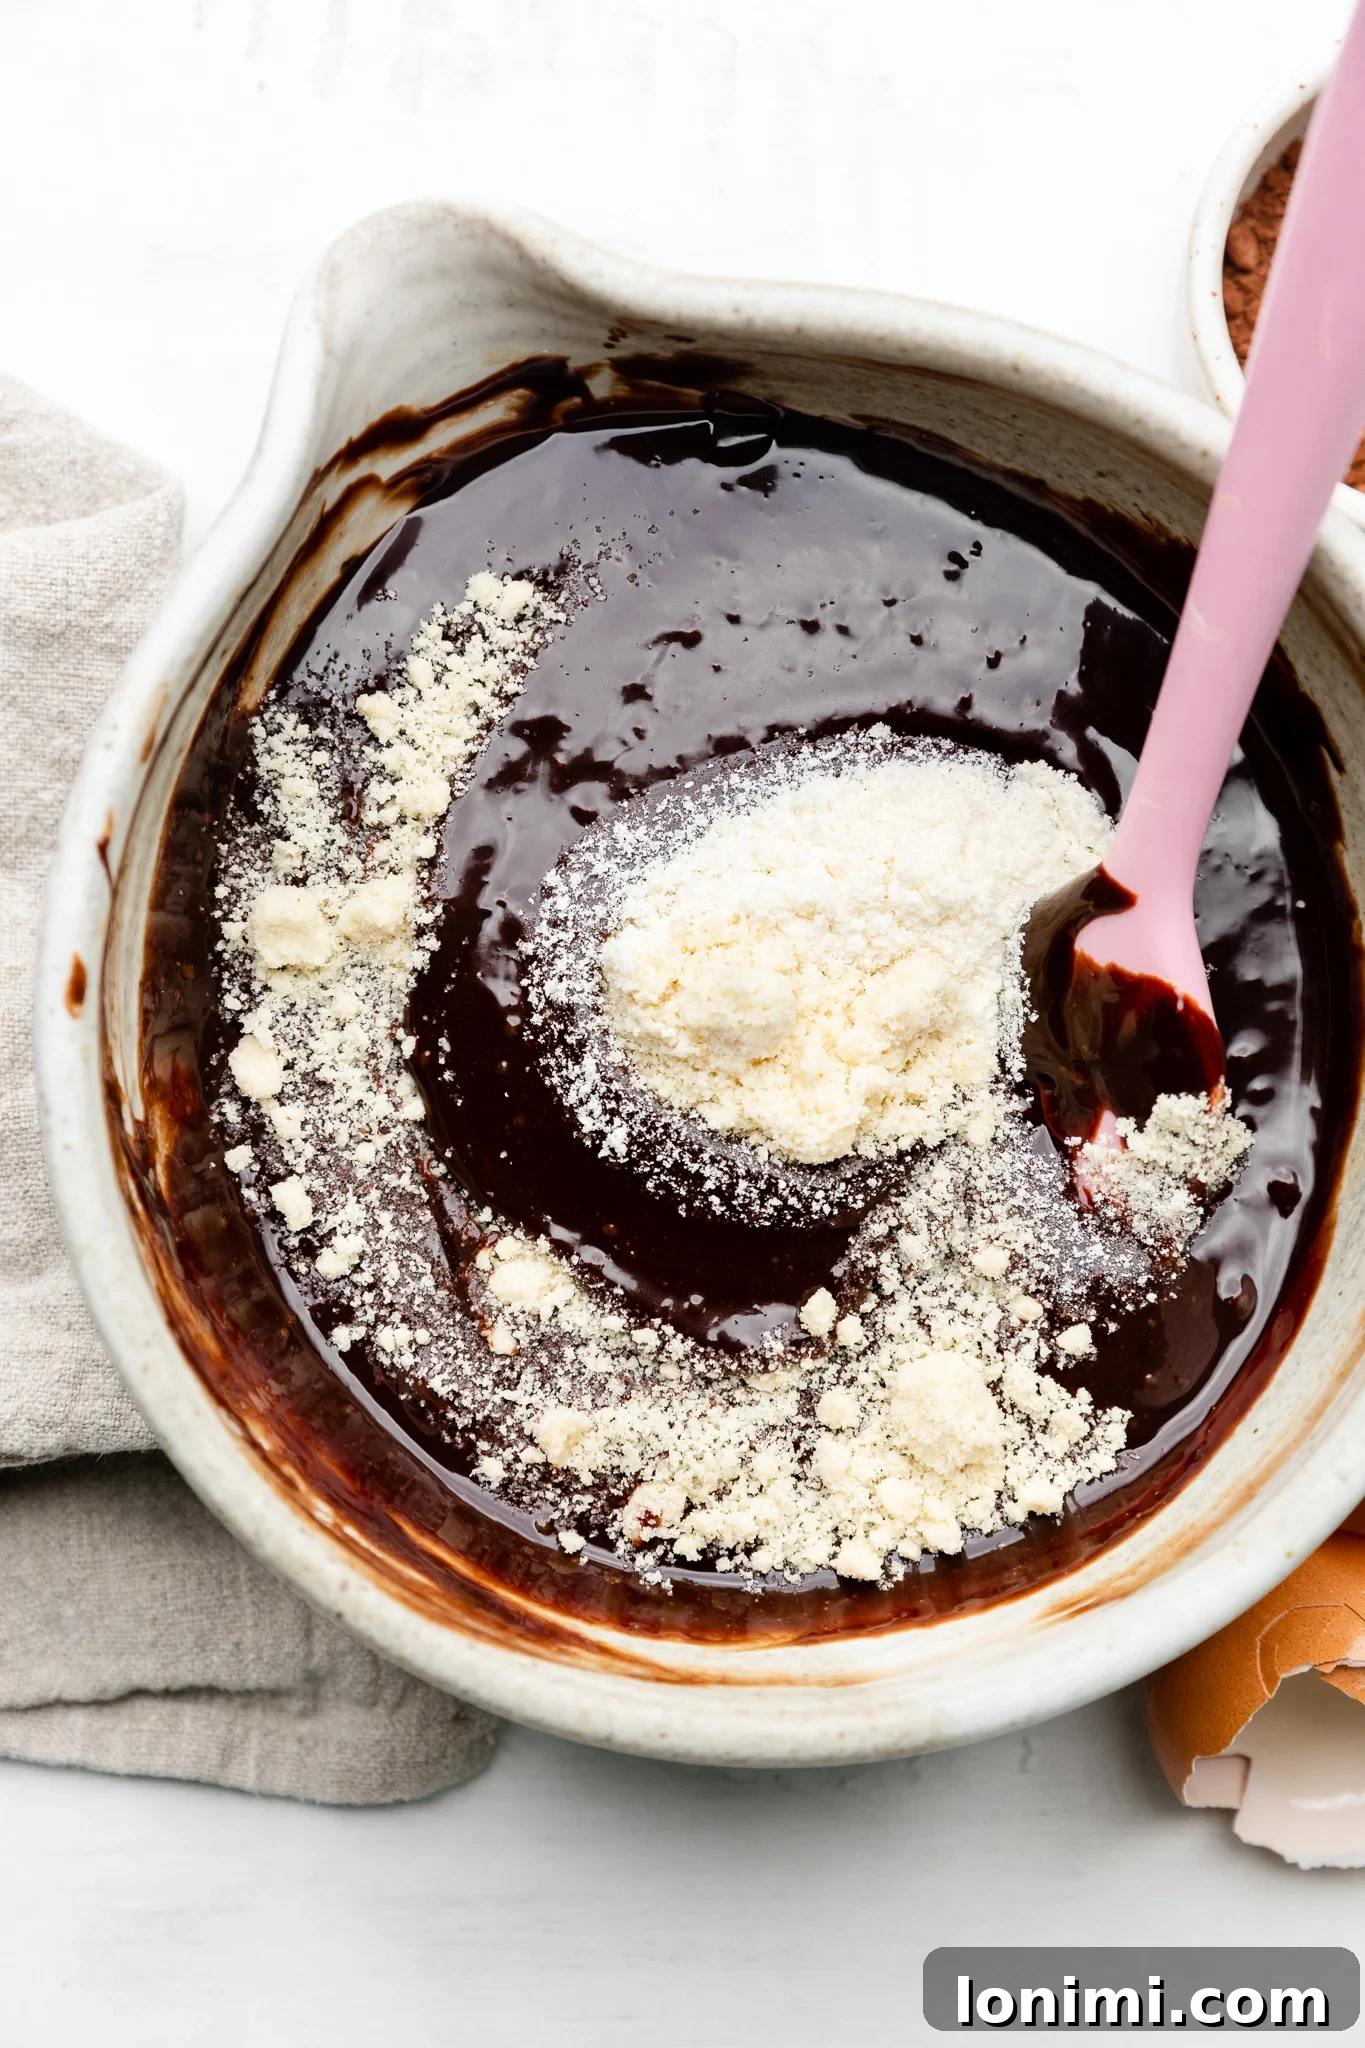
- Incorporate Dry Ingredients and Fill: Gently add the almond flour and coconut flour to the wet mixture. Using a flexible spatula, carefully fold the flours into the batter until just combined. The key here is not to overmix, as excessive stirring can develop gluten-free flours in a way that leads to a tougher cake. Divide the rich batter evenly among your four meticulously prepared ramekins. If you are using 6 oz ramekins, fill them approximately two-thirds full. For smaller 4 oz ramekins, you can fill them almost to the top.
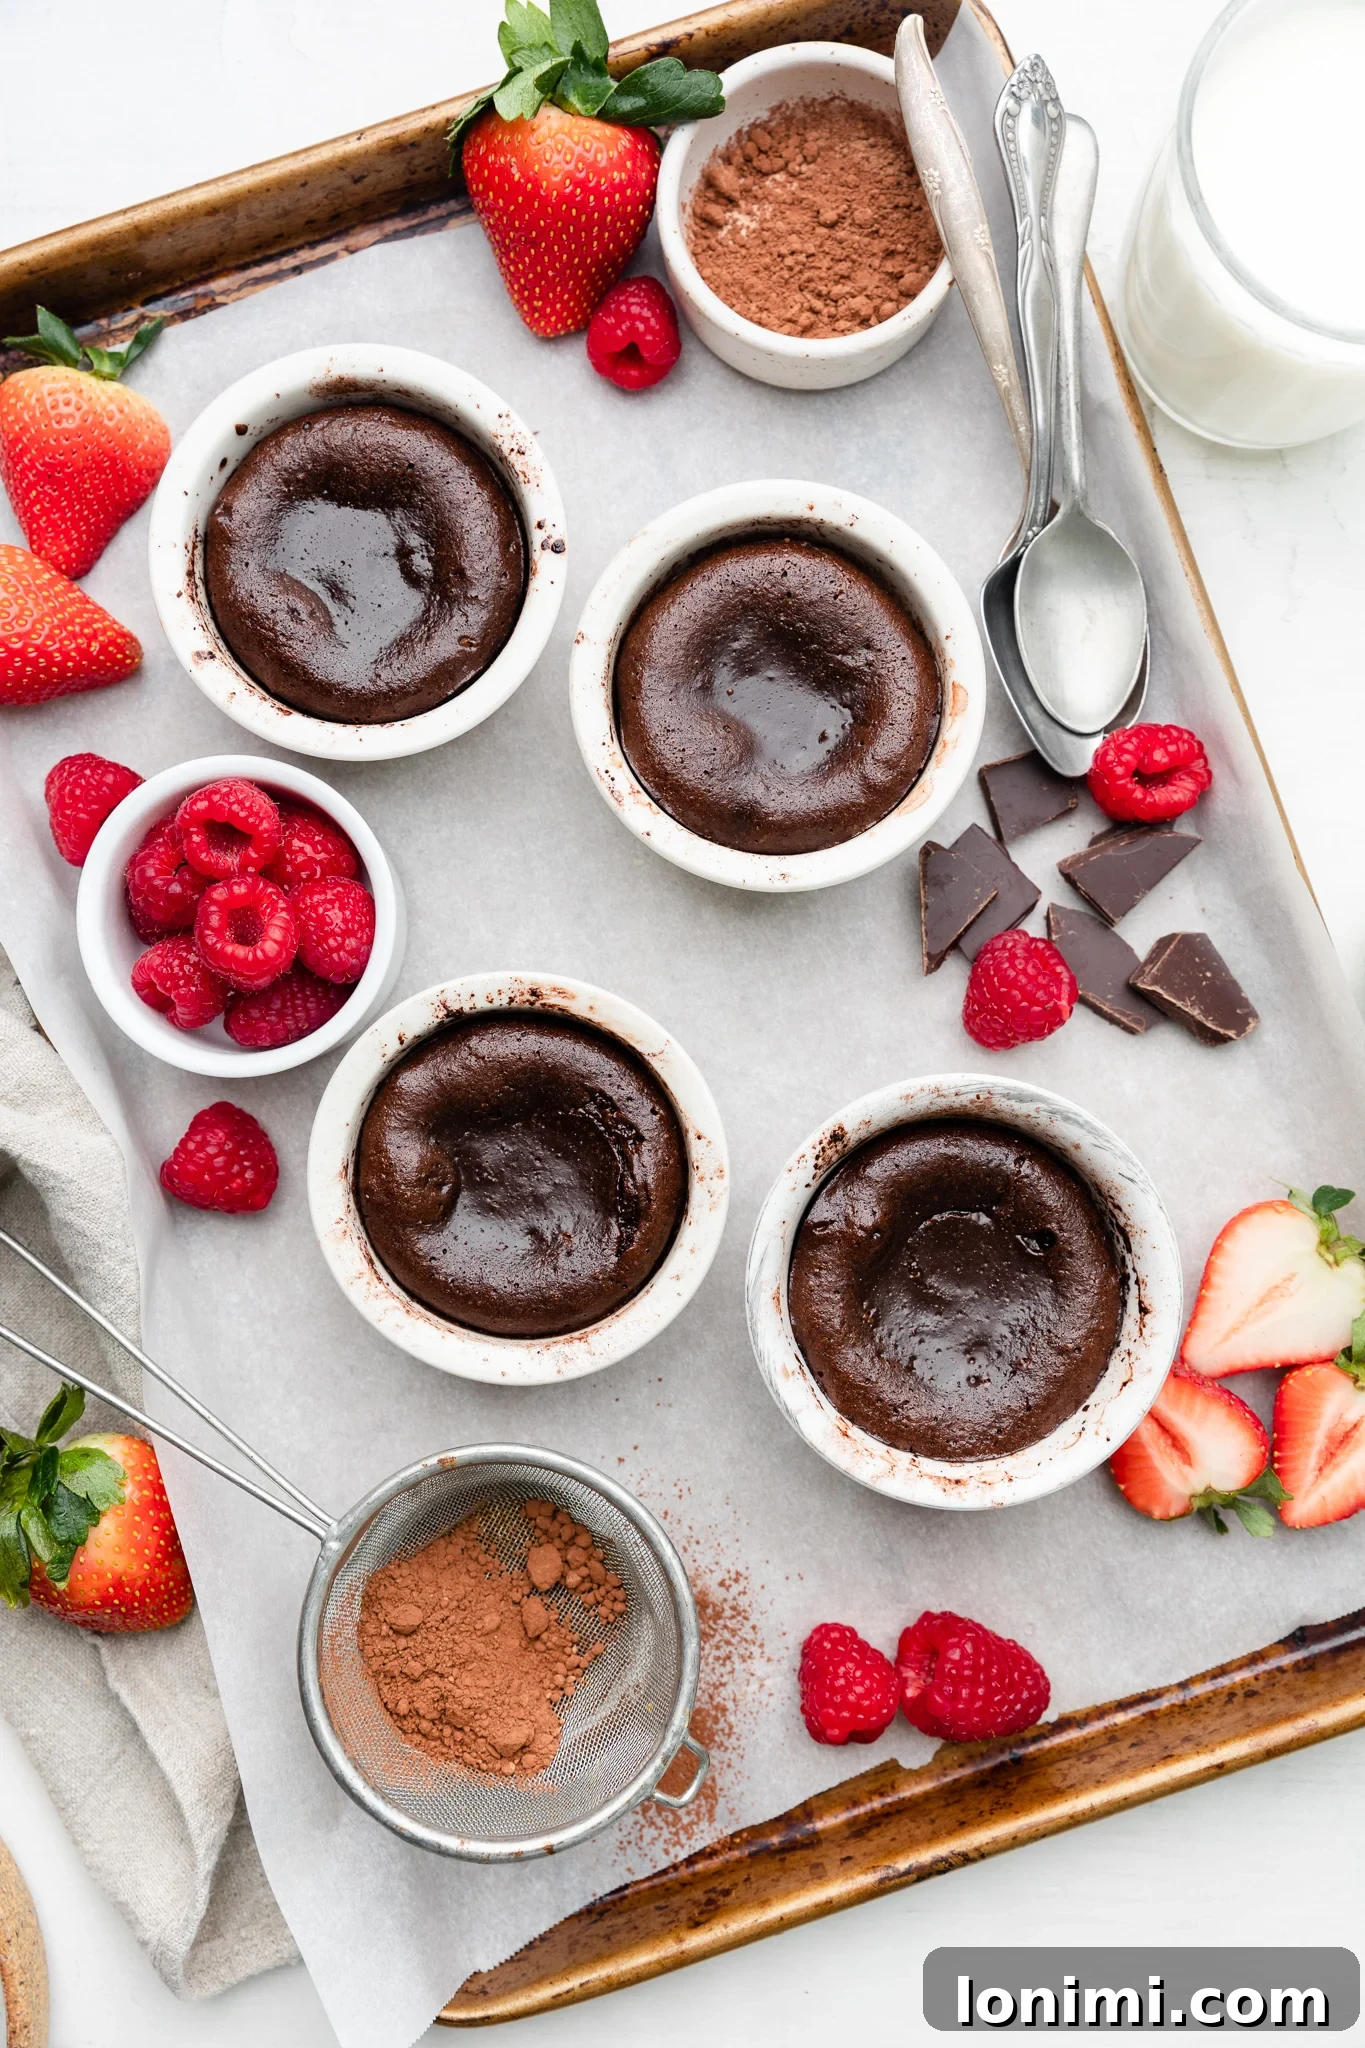
- Bake to Molten Perfection: Carefully place the filled ramekins on a baking sheet for easier handling and transfer them to the preheated oven. Bake for precisely 11-13 minutes. The baking time is the most critical factor for lava cakes; vigilant observation is essential! The cakes are perfectly done when the edges appear firm and set, but the very center still shows a slight wobble when gently shaken, indicating that coveted liquid core. A toothpick inserted about ½ inch from the side of the ramekin should come out clean. Remember, the goal is a molten interior, not a fully baked cake, so watch carefully to avoid overcooking.
- Cool, Unmold, and Serve: Once baked, remove the ramekins from the oven and allow them to rest undisturbed for 5-10 minutes. This crucial cooling period allows the cake’s structure to set slightly, making them much easier to unmold without breakage. To remove, place a serving plate face down over each ramekin and, holding both firmly, quickly invert them. Give the bottom of the ramekin a gentle tap; the cake should “plop” right out onto the plate, revealing its beautiful dome shape. Serve these delightful mini chocolate cakes immediately, adorned with fresh berries, a light dusting of powdered sugar, or a generous scoop of your preferred ice cream. Enjoy every warm, chocolatey bite!
Expert Tips & Tricks for Flawless Gluten-Free Lava Cakes
Achieving that iconic molten center and perfectly tender cake exterior consistently requires a few insider insights. Here are some expert tips to ensure your gluten-free lava cakes are always spectacular and worthy of any dessert spread:
- Mastering the Precise Bake Time: The window for perfectly molten lava cakes is incredibly narrow, typically ranging from 11-13 minutes at 400°F (200°C). The ultimate secret is constant vigilance. The edges of your individual chocolate cakes should appear firm and set, while the center, when gently jiggled, should still exhibit a slight, delightful wobble. This jiggle is your sign of that glorious, still-liquid core. A toothpick inserted about ½ inch from the side of the ramekin should emerge clean, but the very middle will intentionally remain moist. Always remember: the objective is a *molten* interior, not a fully baked solid cake. Overcooking is the arch-nemesis of a good lava cake!
- Effortless Cooling and Unmolding: Patience is indeed a virtue when it comes to unmolding these delicate desserts. After baking, resist the urge to immediately flip them. Instead, allow your lava cakes to rest undisturbed in their ramekins for a crucial 5-10 minutes. This cooling period is vital; it allows the cake structure to firm up just enough to prevent it from crumbling or sticking when inverted. To release them gracefully, simply place a serving plate face down over the ramekin, then, holding both firmly together, quickly and confidently flip them over. A gentle tap on the bottom of the ramekin should help the cake slide out effortlessly onto the plate, revealing its beautiful, intact shape.
- Addressing Nut Allergy Concerns: This specific recipe heavily relies on almond flour for its unique structure, delicate texture, and subtle nutty flavor. Unfortunately, we have not conducted tests for this mini chocolate cake recipe using alternative nut-free flours. The intricate balance between almond flour and coconut flour is fundamental to its success. If you choose to experiment with a substitute like tigernut flour or a seed-based flour blend, we kindly ask that you share your valuable results and experiences in the comments section below, as this feedback can greatly assist other bakers in our community.
- Optimal Storage and Reheating Methods: Should you find yourself with the rare luxury of leftover lava cakes (which seldom happens!), ensure they are completely cooled before storing. Place them in an airtight container in the refrigerator. If you need to stack them, separate layers with parchment paper to prevent sticking. To magically restore their molten core and warmth, simply reheat them in the microwave for a brief 15-20 seconds. Exercise caution here, as overheating will solidify the center, diminishing the “lava” effect.
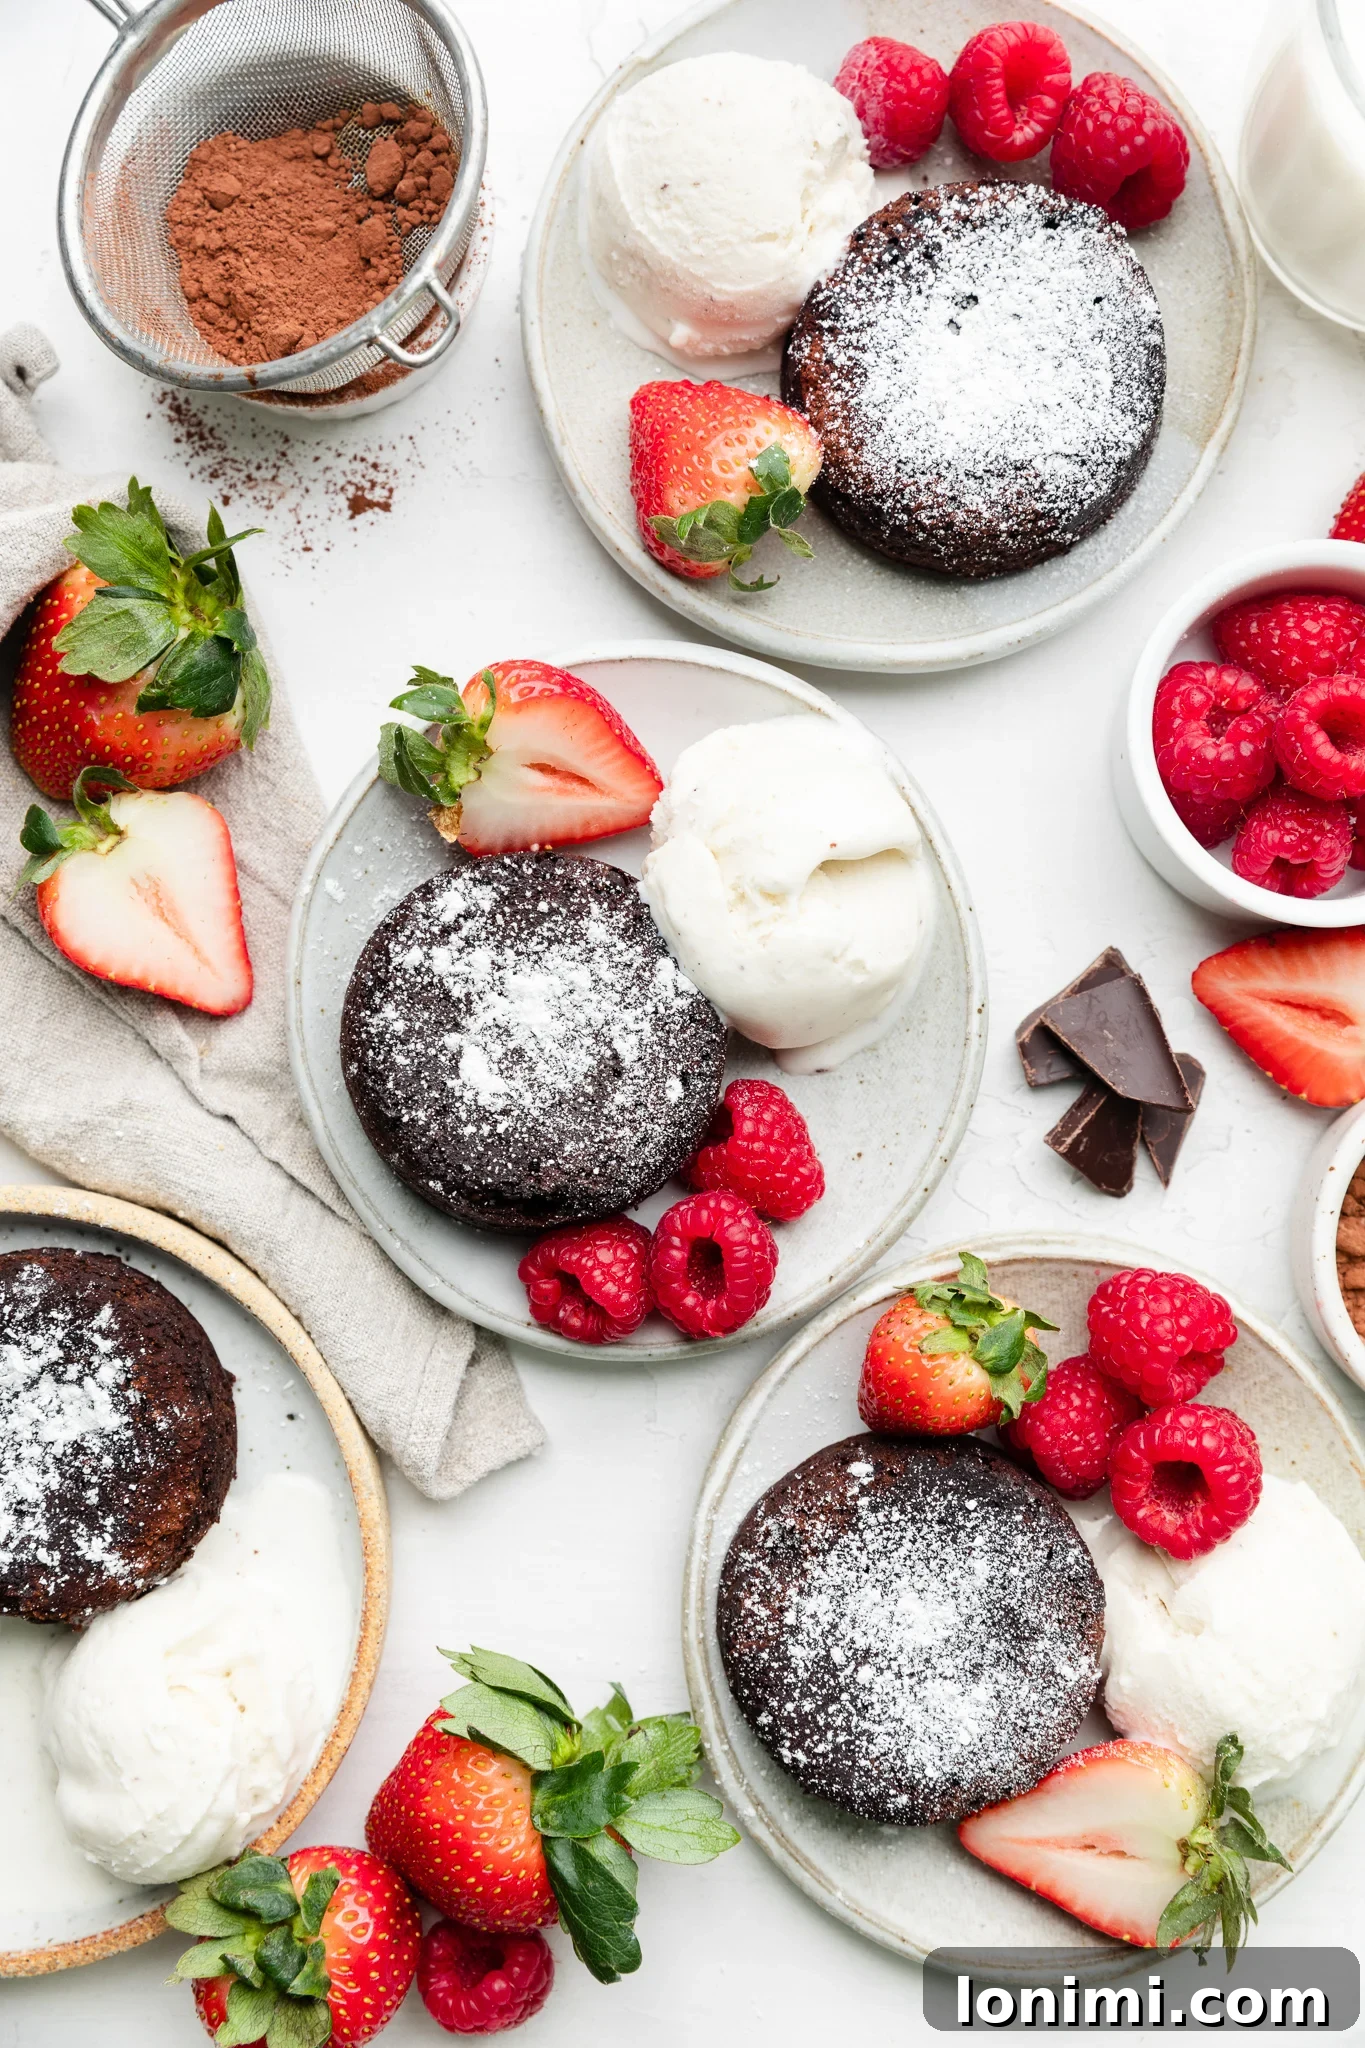
- Inspiring Serving Suggestions: These gluten-free cakes are undeniably at their peak when served warm, immediately after being unmolded. To enhance their elegance and flavor, consider a light, even dusting of organic powdered sugar. For an exquisite finish and burst of flavor, top them with a vibrant medley of fresh berries—such as plump raspberries, juicy strawberries, or sweet blueberries. A generous dollop of dairy-free whipped cream or a scoop of your favorite dairy-free vanilla or chocolate ice cream also creates a sensational contrast of temperatures and textures. For an extra touch of gourmet sophistication, a delicate drizzle of additional maple syrup or a sprinkle of flaky sea salt can truly elevate the entire experience.
- Ensuring Non-Stick Success: The meticulous greasing and subsequent cacao powder dusting of the ramekins are paramount steps for a clean release. Ensure that you coat the entire interior surface—bottom and sides—thoroughly and evenly. As an added layer of assurance, especially if you’re new to baking lava cakes, you can cut small circles of parchment paper to precisely fit the bottom of your ramekins before you proceed with the greasing and dusting.
- The Importance of Ingredient Quality: Given that the flavor profile of these molten chocolate lava cakes is so intensely chocolate-forward, the quality of your dark chocolate and cacao powder will profoundly influence the final taste. We strongly encourage investing in good quality, flavorful ingredients to achieve the most exceptional and satisfying outcome.
Frequently Asked Questions About Gluten-Free Lava Cakes
These gluten-free molten chocolate lava cakes are thoughtfully designed to be a healthier-ish indulgence! They are carefully crafted to be dairy-free, Paleo-friendly, grain-free, and entirely refined sugar-free. By incorporating wholesome ingredients like coconut sugar, pure maple syrup, coconut oil, and a unique blend of almond and coconut flours, we’ve made significant allergen-friendly and nutritionally conscious swaps compared to standard lava cake recipes. While still a delightful dessert, they offer a more nutritious profile without sacrificing any of that irresistible decadent flavor and texture.
Absolutely, yes! The molten center is an intentional feature, designed to be delightfully gooey and warm, but it is cooked just enough to be perfectly safe for consumption. For added peace of mind and the best flavor, we always highly recommend using high-quality, organic eggs for this recipe. The alluring consistency of the center is very similar to that of a perfectly cooked sunny-side-up or over-easy egg, where the yolk is wonderfully runny. The brief baking time ensures the edges are set while leaving the interior gloriously fudgy and liquid.
Yes, using both almond flour and coconut flour in the precise ratios specified is unequivocally crucial for the success of this particular recipe. Coconut flour is known for its exceptional absorbency and requires a significant amount of moisture to perform correctly, while almond flour provides essential complementary texture and structure. This carefully balanced, unique blend has been extensively tested and re-tested to ensure these cakes achieve their signature moist, tender crumb without becoming dry or crumbly. We strongly advise against substituting one flour for the other or attempting to use a general gluten-free all-purpose flour blend, as this will drastically alter the intended results and likely lead to an unsatisfactory outcome.
No, surprisingly, neither baking powder nor baking soda is required for these gluten-free lava cakes! The primary leavening and structural integrity in this recipe come from the eggs and the specific, unique properties of our carefully balanced flour blend. The inherent magic of a lava cake lies in its dense, rich exterior and its flowing, fudgy center, which simply doesn’t necessitate the use of chemical leavening agents typically found in lighter, more airy cake recipes.
While these delectable cakes are undeniably best served fresh and warm, you do have the option to prepare the batter up to 24 hours in advance. Simply mix the batter as instructed, then cover it tightly and refrigerate. When you’re ready to bake, give the cold batter a quick stir and then divide it into your prepared ramekins. You may find that adding an extra minute or two to the baking time is necessary since the batter will be cold. Alternatively, you can bake the cakes, allow them to cool completely, and then gently reheat them in the microwave for 15-20 seconds right before serving to bring back that wonderful molten center.
Delight in More Gluten-Free & Healthy Dessert Recipes
If you’ve thoroughly enjoyed crafting and savoring these delectable gluten-free molten chocolate lava cakes and are eager to explore more wholesome, easy, and allergen-friendly dessert options, here are some other fantastic recipes from our collection to inspire your next baking adventure:
- Quick & Easy Gluten-Free Mug Cake (Paleo & Dairy-Free)
- Rich & Creamy Paleo Vegan Chocolate Mousse
- Nostalgic Gluten-Free Strawberry Shortcake (Paleo)
- No-Bake Mini Cheesecake Jars (Gluten-Free & Dairy-Free)
- Chewy Gluten-Free Almond Butter Chocolate Chip Oatmeal Cookies
Love this recipe? We’d be thrilled if you could leave a 5-star 🌟🌟🌟🌟🌟 rating and share your thoughts with a review in the comment section below. Your feedback helps us grow! Or, connect with us and stay inspired by following on Facebook, Pinterest, or Instagram for our latest healthy and delicious recipes!
Gluten-Free Molten Chocolate Mini Lava Cakes
These gluten-free lava cakes make the most decadent dessert. Featuring an ooey gooey molten chocolate middle, these mini chocolate cakes are perfect for any occasion. Made with a combination of coconut sugar, maple syrup, almond flour, and coconut flour for a refined-sugar-free and grain-free dessert that everyone will love.
By: Mary Smith
Prep Time: 10 mins
Cook Time: 12 mins
Total Time: 22 mins
Yield: 4 cakes
Ingredients
- 4 oz dark chocolate (e.g., Eating Evolved or Hu are both great Paleo brands. Enjoy Life Chocolate Chips work, too!)
- 2 tbsp coconut oil
- 2 tbsp ghee, plus more for greasing the ramekins (can substitute vegan butter for dairy allergies)
- 2 eggs
- ½ cup coconut sugar
- Dash sea salt
- 1 tbsp maple syrup
- 2 tbsp almond flour
- ½ tbsp coconut flour
- 1 tbsp cacao powder, for dusting ramekins
Instructions
- Preheat oven to 400°F (200°C). Grease 4 (4 oz or 6 oz) ramekins with a tiny bit of ghee or vegan butter, then dust thoroughly with cacao powder to prevent sticking.
- Add the dark chocolate, coconut oil, and 2 tbsp ghee to a microwave-safe bowl. Microwave on high in 30-second increments, stirring in between, until completely melted and smooth. Set aside to cool slightly.
- In a medium-sized bowl, whisk the eggs, coconut sugar, maple syrup, and sea salt until well combined.
- Pour the slightly cooled melted chocolate mixture into the egg and sugar mixture. Stir well until fully incorporated.
- Add the almond flour and coconut flour to the batter. Gently fold them in using a spatula until just combined. Be careful not to overmix.
- Divide the batter evenly between the 4 prepared ramekins. Fill them about two-thirds full if using 6 oz ramekins, or almost to the top if using 4 oz ramekins.
- Bake for 11-13 minutes. The cakes are done when a toothpick inserted ½ inch from the side comes out clean, but the very center remains melty. Avoid overcooking to preserve the molten core.
- Let the cakes sit in the ramekins for 5-10 minutes. To remove, invert each ramekin onto a plate and lightly tap the bottom. They should plop right out. Serve warm with your preferred toppings.
Notes
- Baking the Lava Cakes: Keep a close eye on your cakes; 11-13 minutes is a guideline. They should be set around the edges with a jiggly, molten center. Overbaking will turn the center firm.
- Removing from Ramekins: The 5-10 minute resting period is key for easy unmolding. This allows the cake to firm up just enough to release cleanly.
- Nut-Allergy: This recipe has not been tested with nut-free flour substitutes. The almond flour is integral to the texture.
- Storage: Store cooled leftovers in an airtight container in the fridge, separating layers with parchment paper if needed. Reheat briefly (15-20 seconds) in the microwave to restore the molten center.
- Serving: Enjoy these cakes warm, dusted with organic powdered sugar, and topped with fresh berries or dairy-free ice cream of choice for the best experience.
Nutrition Information (Estimated Per Serving)
- Calories:
- 432 kcal
- Carbohydrates:
- 36g
- Protein:
- 6g
- Fat:
- 31g
- Saturated Fat:
- 19g
- Cholesterol:
- 102mg
- Sodium:
- 79mg
- Potassium:
- 263mg
- Fiber:
- 4g
- Sugar:
- 23g
- Vitamin A:
- 119 IU
- Calcium:
- 46mg
- Iron:
- 4mg
All nutrition facts are an estimate and automatically calculated. While we fact-check them using My Fitness Pal, please note that they may not always be 100% accurate and depend on the specific ingredients used. For the most accurate grams per serving size, it is recommended to weigh your total recipe and divide by the number of servings.
Photos by: Casey from The Mindful Hapa