
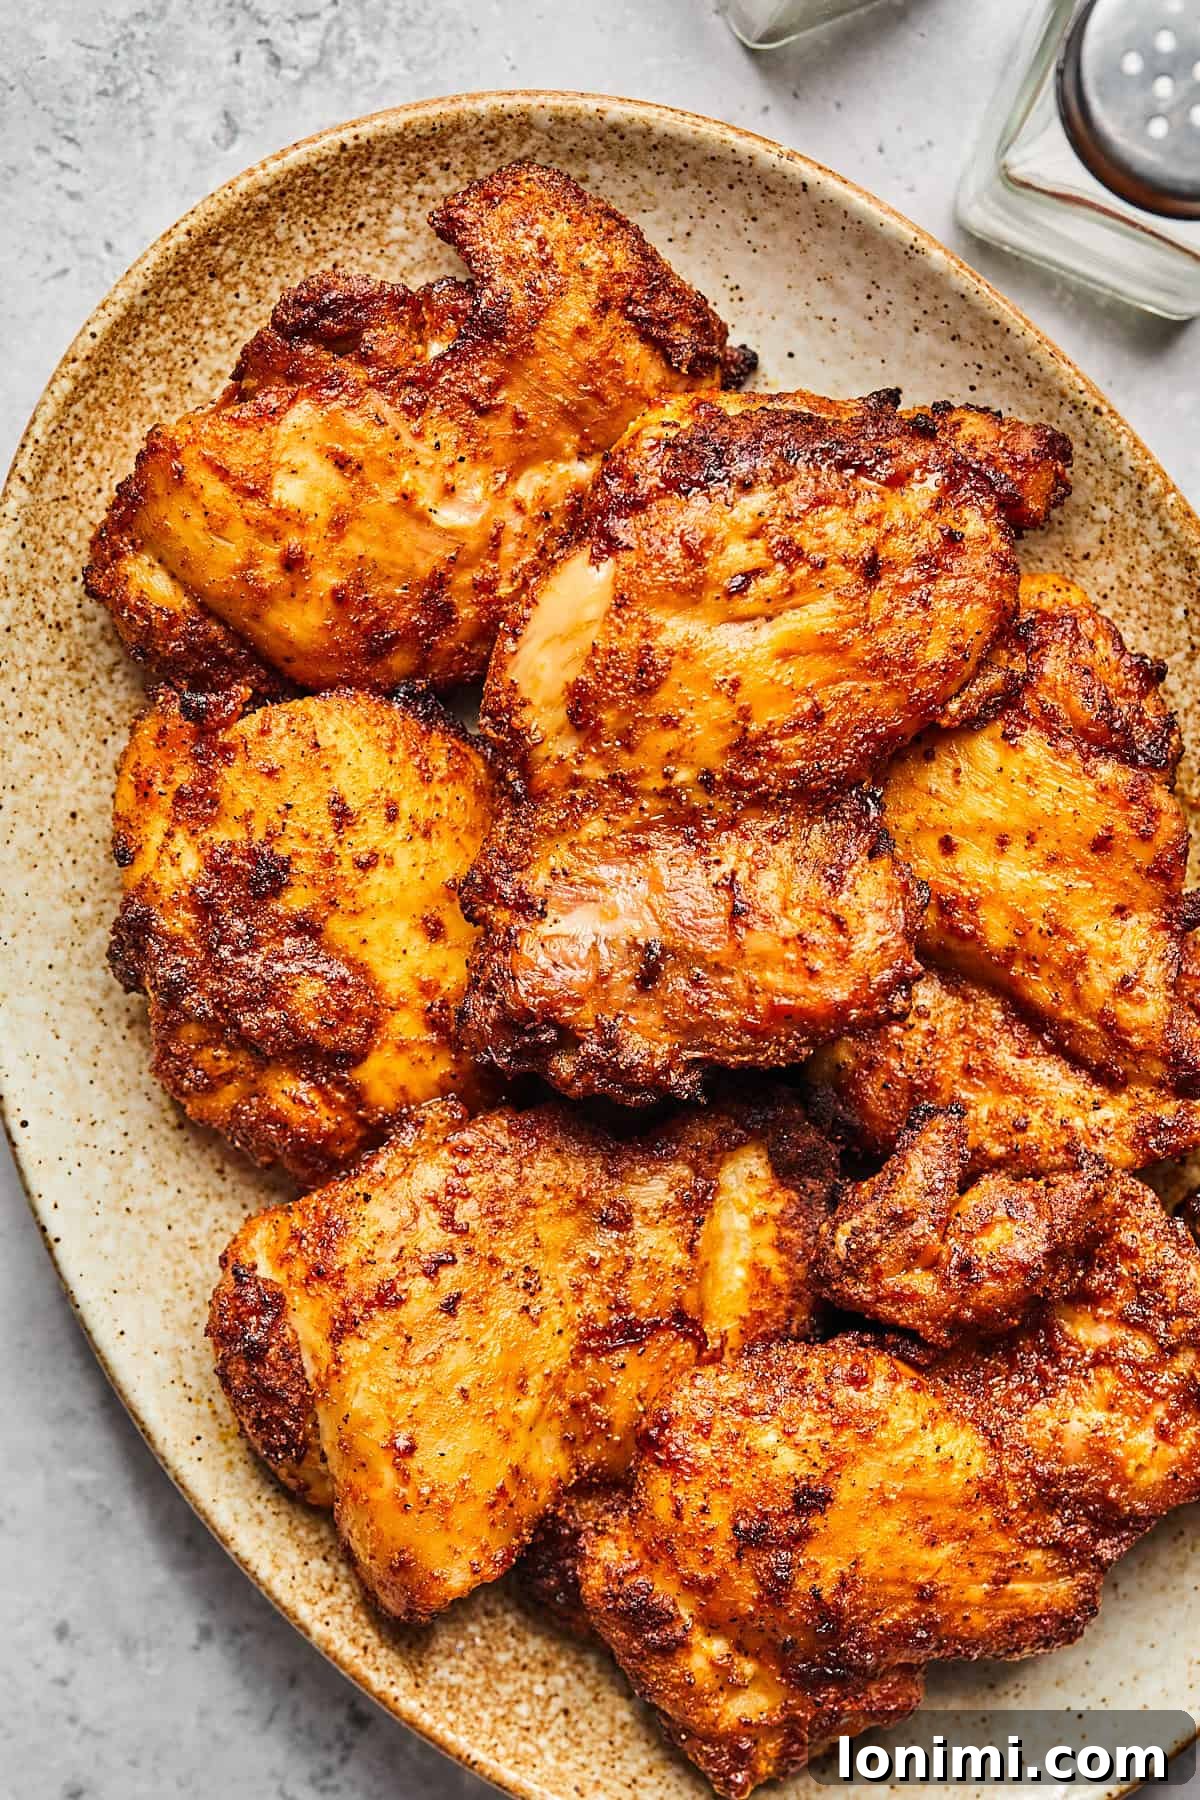
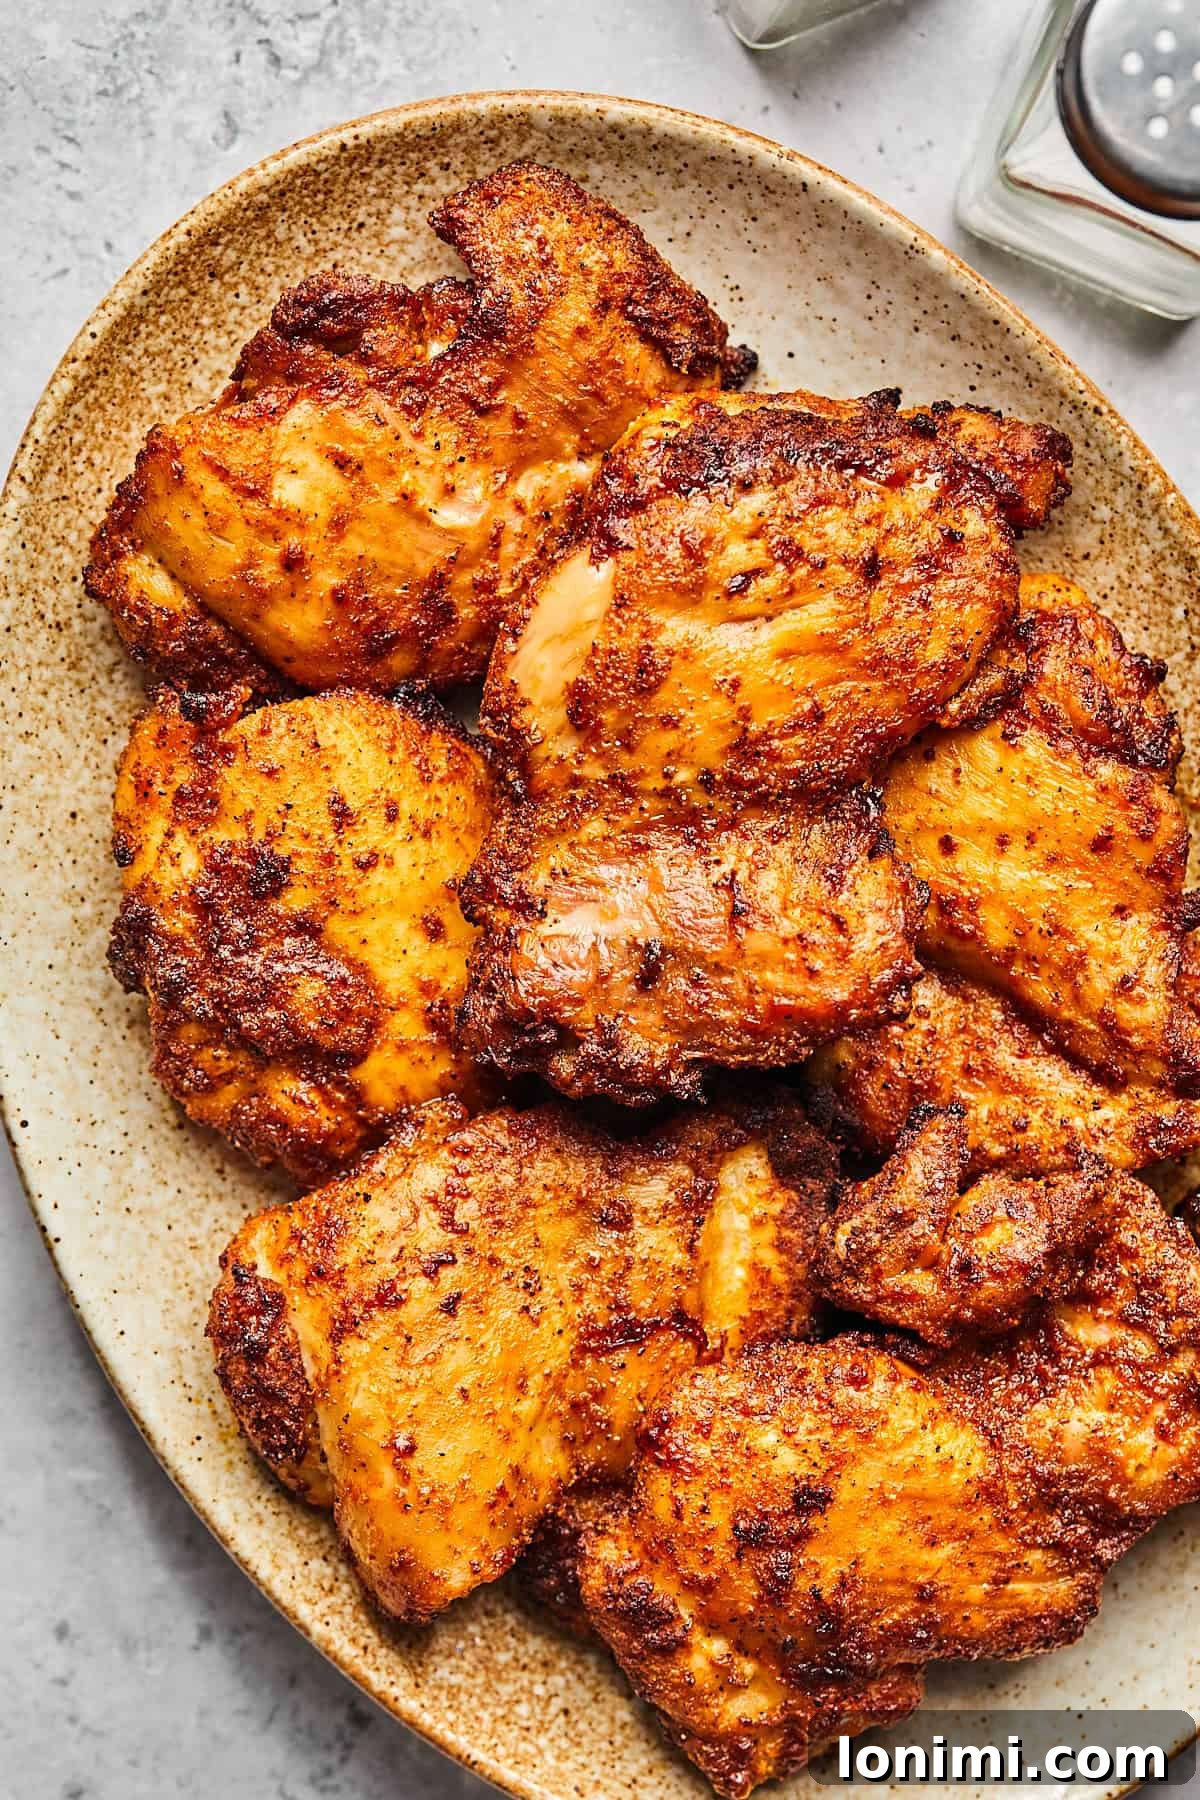
Unlock the secret to incredibly tender, flavorful chicken with this effortless recipe for Air Fryer Boneless Chicken Thighs. Say goodbye to dry, bland chicken and hello to a culinary revelation that’s crispy on the outside, remarkably juicy within, and bursting with a bold, savory seasoning. Crafted with a perfect blend of garlic, paprika, and a hint of cayenne, these chicken thighs develop a rich, irresistible crust, while the air fryer’s circulating hot air works magic, locking in natural moisture for unparalleled tenderness. Ideal for today’s fast-paced lifestyles, this easy-to-follow recipe brings a restaurant-quality meal to your table in less than 20 minutes, making it a perfect solution for busy weeknights, efficient meal prep, or simply when you crave delicious, wholesome food without the fuss.
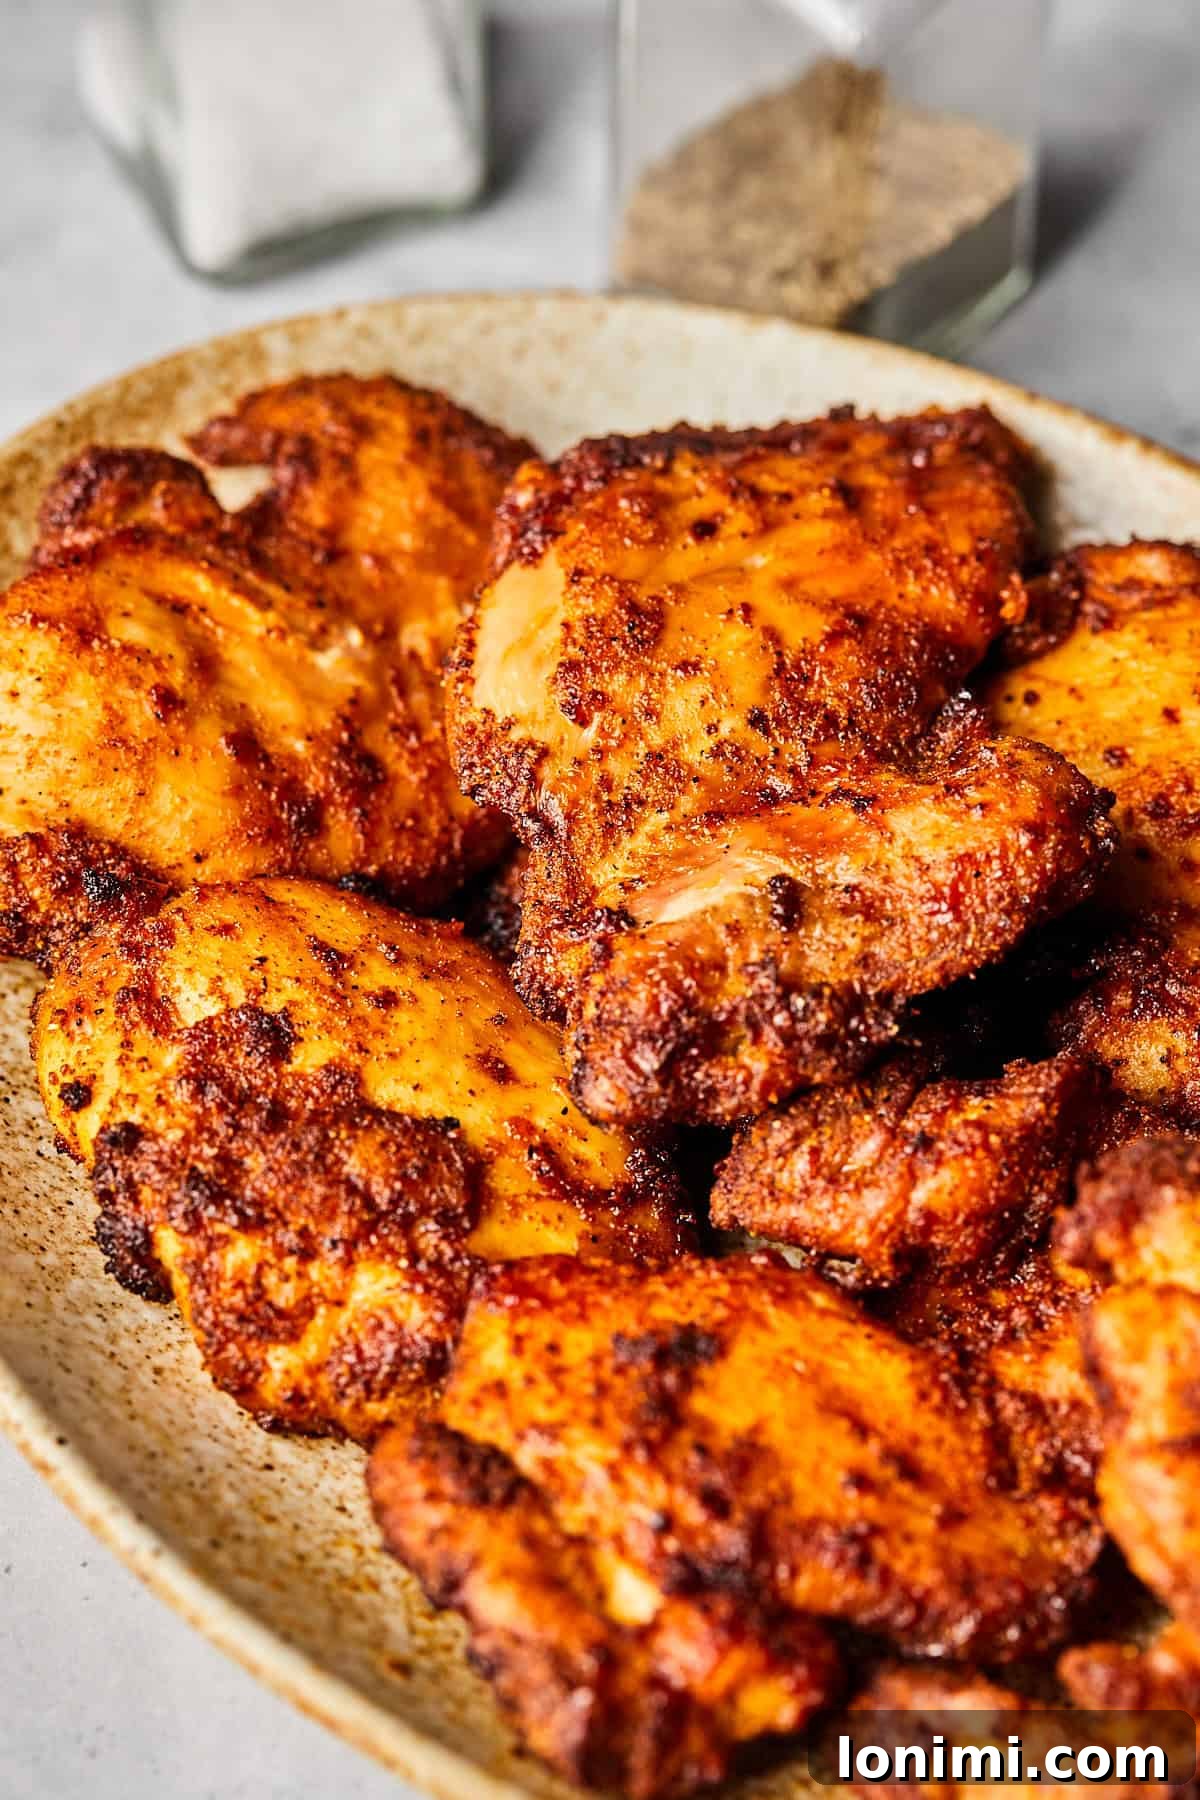
Why These Air Fryer Boneless Chicken Thighs Will Become Your Go-To Recipe
There’s a reason the air fryer has become a kitchen superstar, and this recipe for boneless chicken thighs perfectly exemplifies why. This method isn’t just a cooking technique; it’s a game-changer for achieving maximum flavor and ideal texture with minimal effort and cleanup. Forget the days of greasy deep-frying or oven baking that leaves chicken dry and uninspired. The air fryer utilizes powerful circulating hot air to create an incredibly crispy exterior on your chicken, mimicking the results of frying, but with significantly less oil.
Unlike traditional pan-frying, which often requires more fat and careful monitoring to avoid uneven cooking, the air fryer offers consistent, hands-off results. It also surpasses baking by preventing the meat from drying out, a common pitfall when oven roasting chicken. The rapid, even heat distribution ensures that every inch of your boneless chicken thigh cooks perfectly, sealing in juices and creating that desirable golden-brown crispness without any extra grease or guesswork. This means you can enjoy succulent, tender chicken every single time.
These boneless chicken thighs are not just convenient; they are incredibly flavorful. A simple yet potent dry rub penetrates the meat, infusing every bite with rich, savory notes that stand up to even bone-in varieties. While bone-in chicken thighs offer their own unique depth, the boneless, skinless cut used here ensures quicker cooking and easier eating, without compromising on taste. If you do enjoy bone-in chicken, consider trying our popular bone-in keto chicken thigh recipe for another fantastic option.
Whether you’re planning a speedy weeknight dinner, preparing healthy meals for the week ahead, or looking for a versatile protein to pair with almost any side, these air-fried chicken thighs are a reliable and delicious choice. They are a fundamental recipe for anyone new to air frying, offering guaranteed success. Alongside our gluten-free chicken tenderloins and panko breaded chicken cutlets, these boneless chicken thighs are among the best beginner-friendly air fryer recipes—quick, straightforward, and consistently packed with mouthwatering flavor.
Essential Ingredients for Perfectly Crispy Air Fryer Chicken Thighs
Crafting these delectable air fryer chicken thighs requires just a handful of common ingredients, most of which you likely already have in your pantry. Each component plays a vital role in creating the ultimate flavor and texture. For precise quantities and the full step-by-step instructions, be sure to reference the recipe card below.
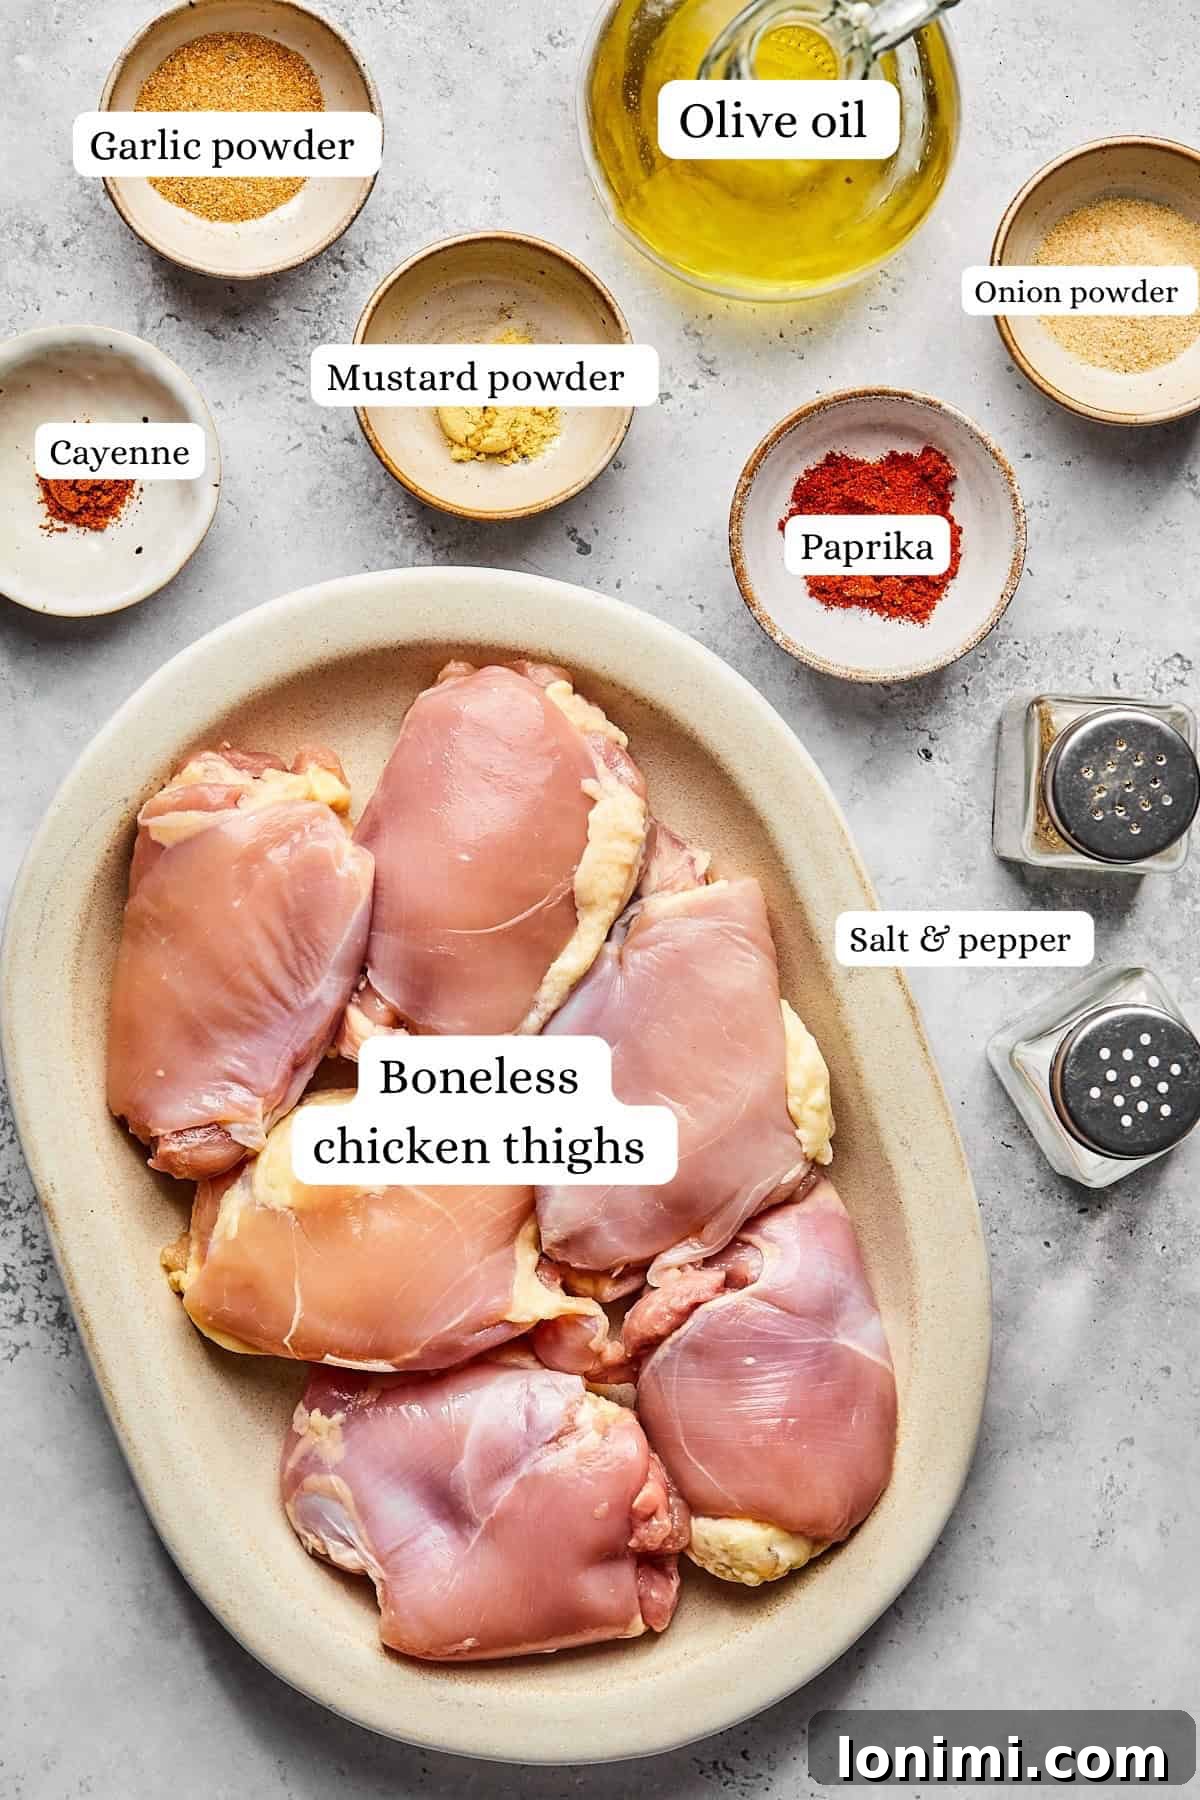
- Boneless, Skinless Chicken Thighs: The star of our dish! Chicken thighs are inherently rich and juicy, making them perfect for air frying as they resist drying out. Opt for organic if possible for enhanced flavor. If your thighs are particularly large or thick, you may need to slightly extend the cooking time to ensure they reach the correct internal temperature.
- Olive Oil: A crucial binder that helps our aromatic seasoning blend adhere to the chicken, ensuring every bite is flavorful. It also contributes significantly to achieving that desirable crispy, golden-brown exterior. Avocado oil makes an excellent, high-smoke-point alternative if preferred.
- Salt & Black Pepper: The foundational seasonings that elevate and enhance the natural, savory taste of the chicken. Don’t underestimate their power in building a balanced flavor profile.
- Garlic Powder & Onion Powder: This dynamic duo forms the backbone of our savory rub, infusing the chicken with deep, aromatic notes that are universally loved. They create a rich, umami base that complements the chicken beautifully.
- Paprika: Adds a gorgeous reddish hue and a wonderfully smoky, slightly sweet undertone to the crispy chicken thighs. Smoked paprika can be used for an even more intense smoky flavor.
- Dry Mustard Powder: A secret weapon in many rubs, dry mustard powder introduces a subtle tangy depth and a complex, earthy warmth that brightens the overall flavor profile without being overtly mustardy.
- Cayenne Pepper: For those who enjoy a little kick! Just a small pinch of cayenne pepper delivers a mild, pleasant heat that invigorates the senses. Feel free to adjust the amount or omit it entirely if you prefer a milder dish.
Step-by-Step Guide: How to Make This Easy Air Fryer Chicken Thigh Recipe
Achieving perfectly crispy and juicy air fryer chicken thighs is surprisingly simple with these straightforward steps. Follow along to transform basic ingredients into a culinary masterpiece in mere minutes.

Step 1: Create the Flavorful Rub. In a small mixing bowl, combine the salt, black pepper, garlic powder, onion powder, paprika, dry mustard powder, and cayenne pepper. Whisk them together thoroughly to ensure a homogenous blend. This creates your signature dry rub, packing a punch of flavor into every bite.
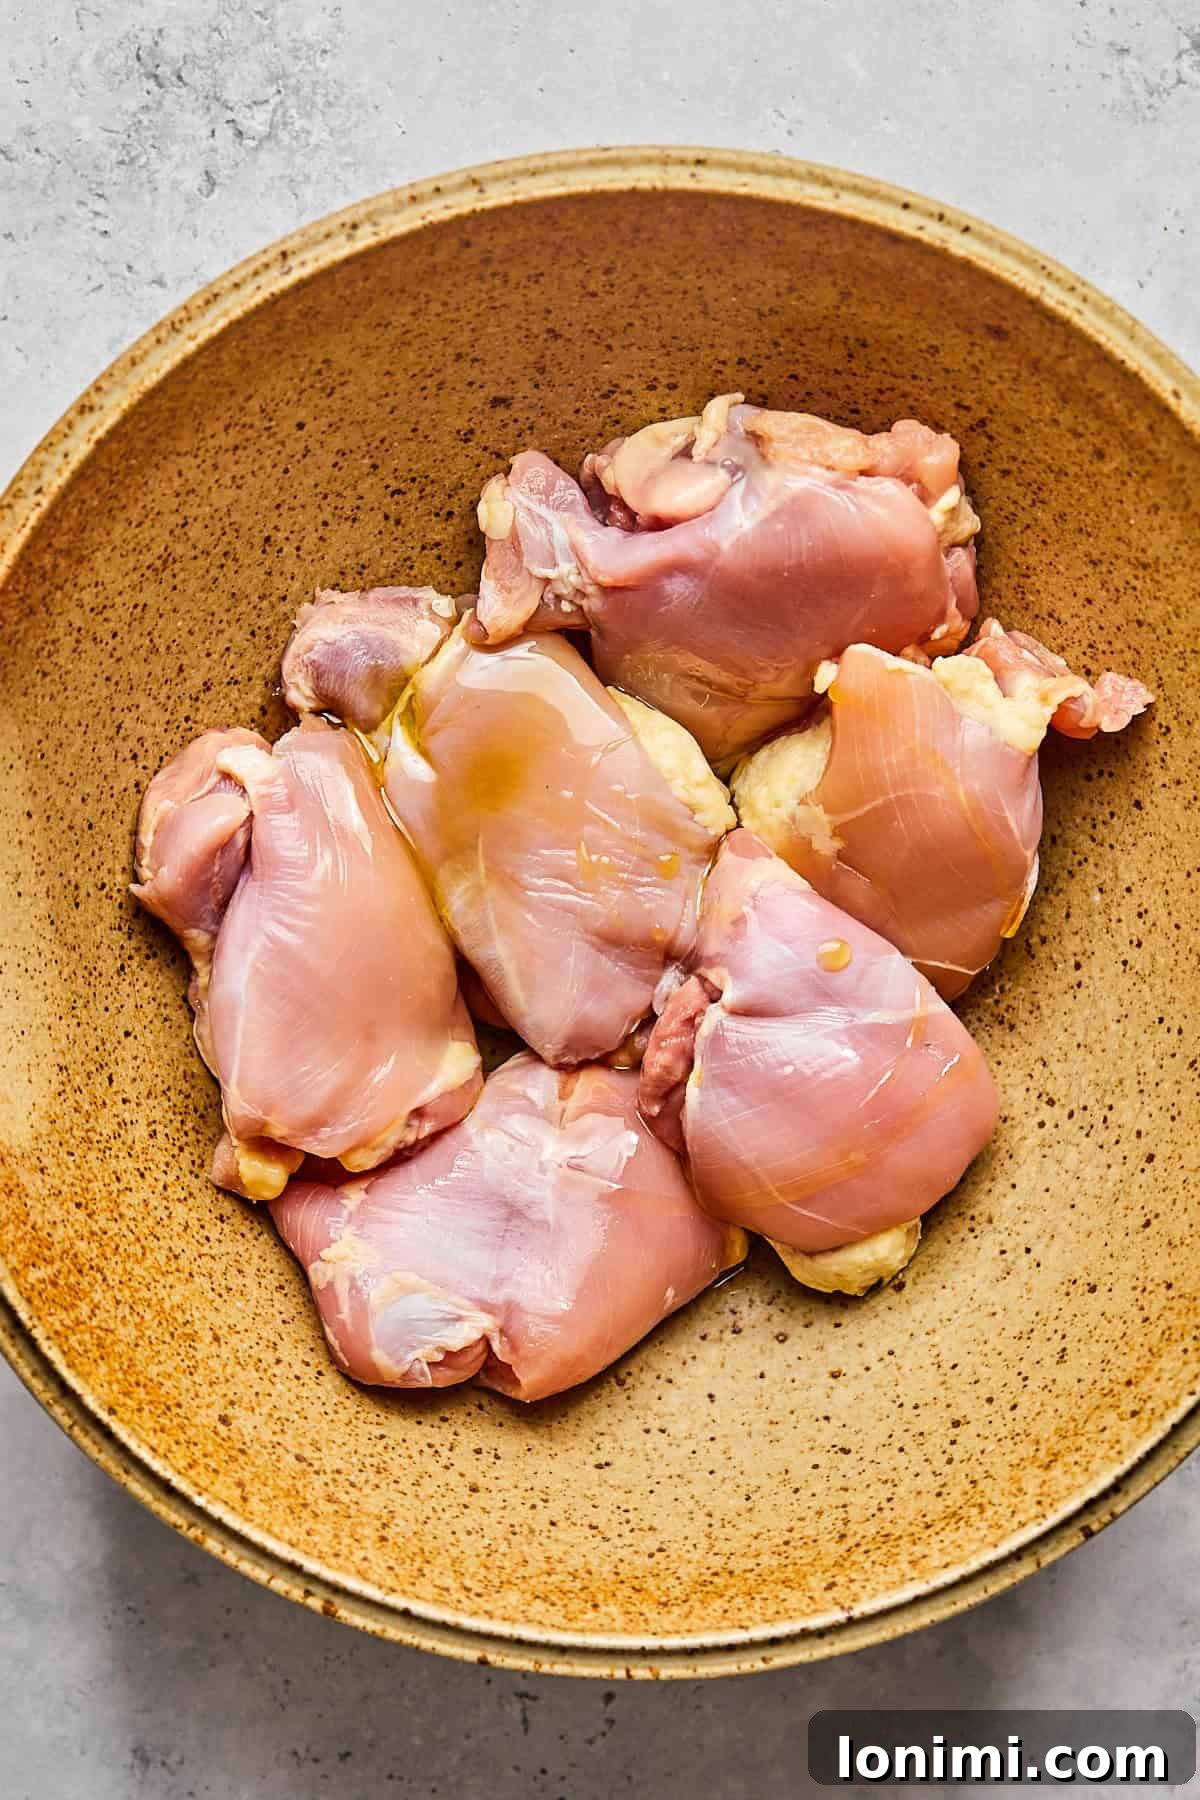
Step 2: Prepare the Chicken for Optimal Crispiness. Before seasoning, it’s absolutely crucial to pat your boneless chicken thighs thoroughly dry with paper towels. Removing excess moisture is the key to achieving that coveted crispy skin and prevents the chicken from steaming instead of crisping in the air fryer. Don’t skip this important step!
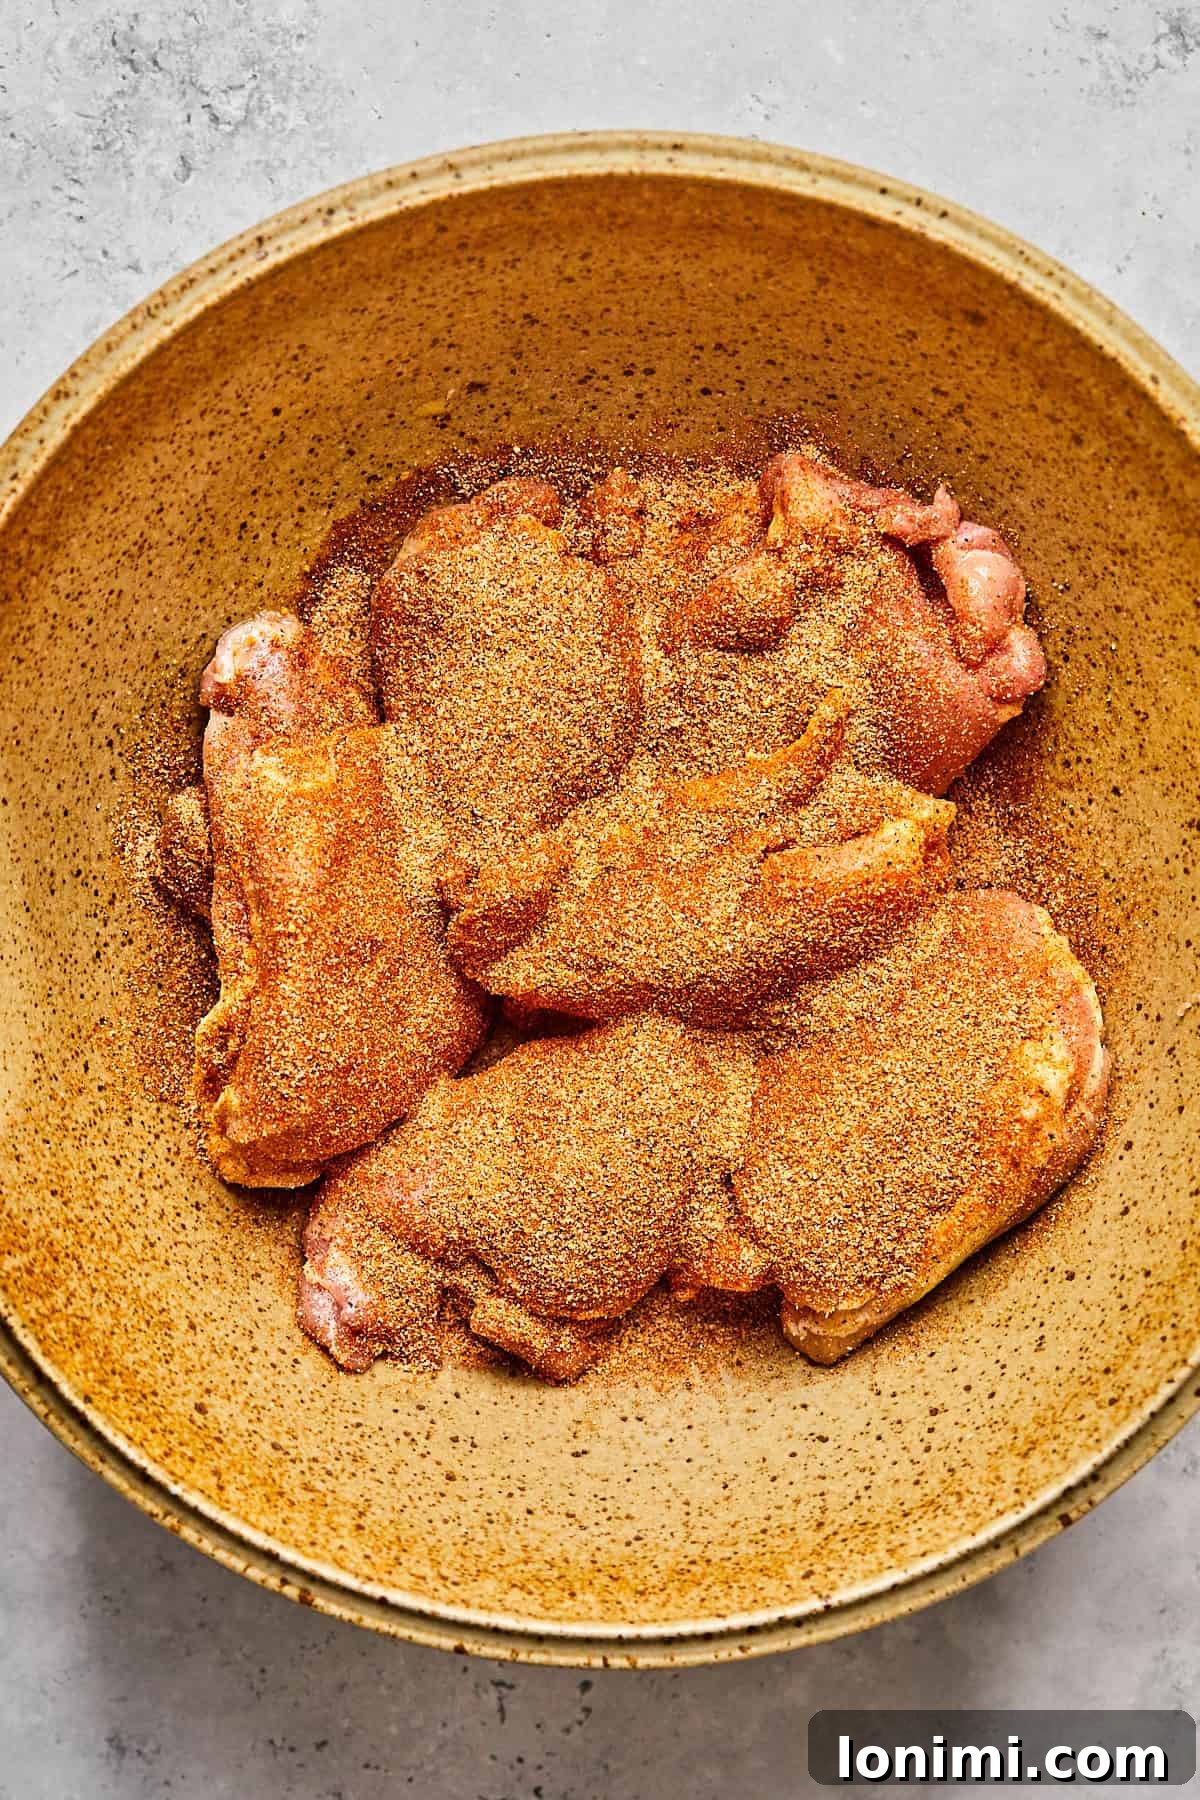
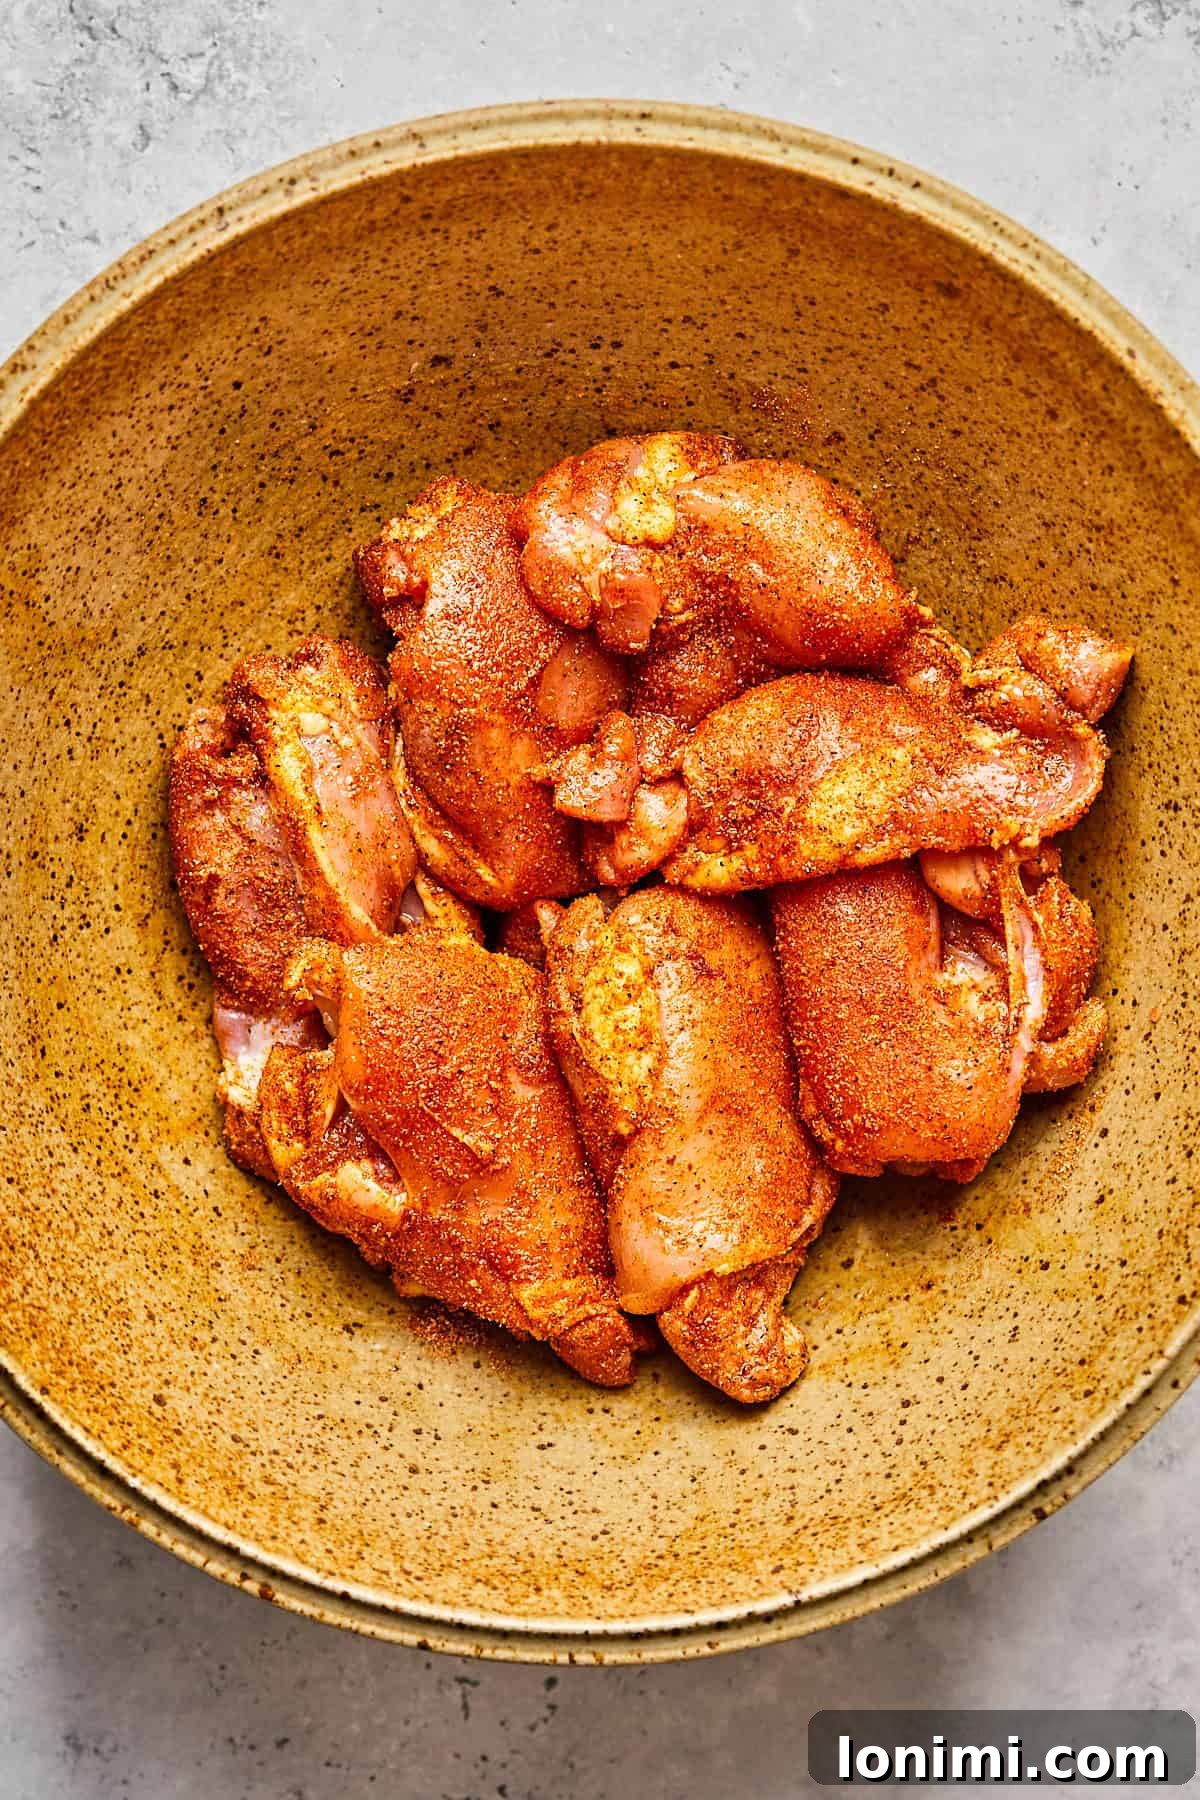
Step 3: Season the Chicken Generously. Place the dried chicken thighs into a large mixing bowl. Drizzle the olive oil over the chicken, ensuring each piece is lightly coated. Then, sprinkle your prepared spice mix evenly over the oiled chicken. Use your hands to rub the seasoning into every crevice, ensuring a complete and uniform coating. This intimate contact helps the flavors meld and creates a beautiful crust.
Step 4: Preheat Your Air Fryer. Preheat your air fryer to 400°F (200°C) for 2-3 minutes. While it preheats, lightly coat the air fryer basket with a cooking spray to prevent sticking. Proper preheating is essential for immediately searing the chicken and achieving that desirable crispy texture.
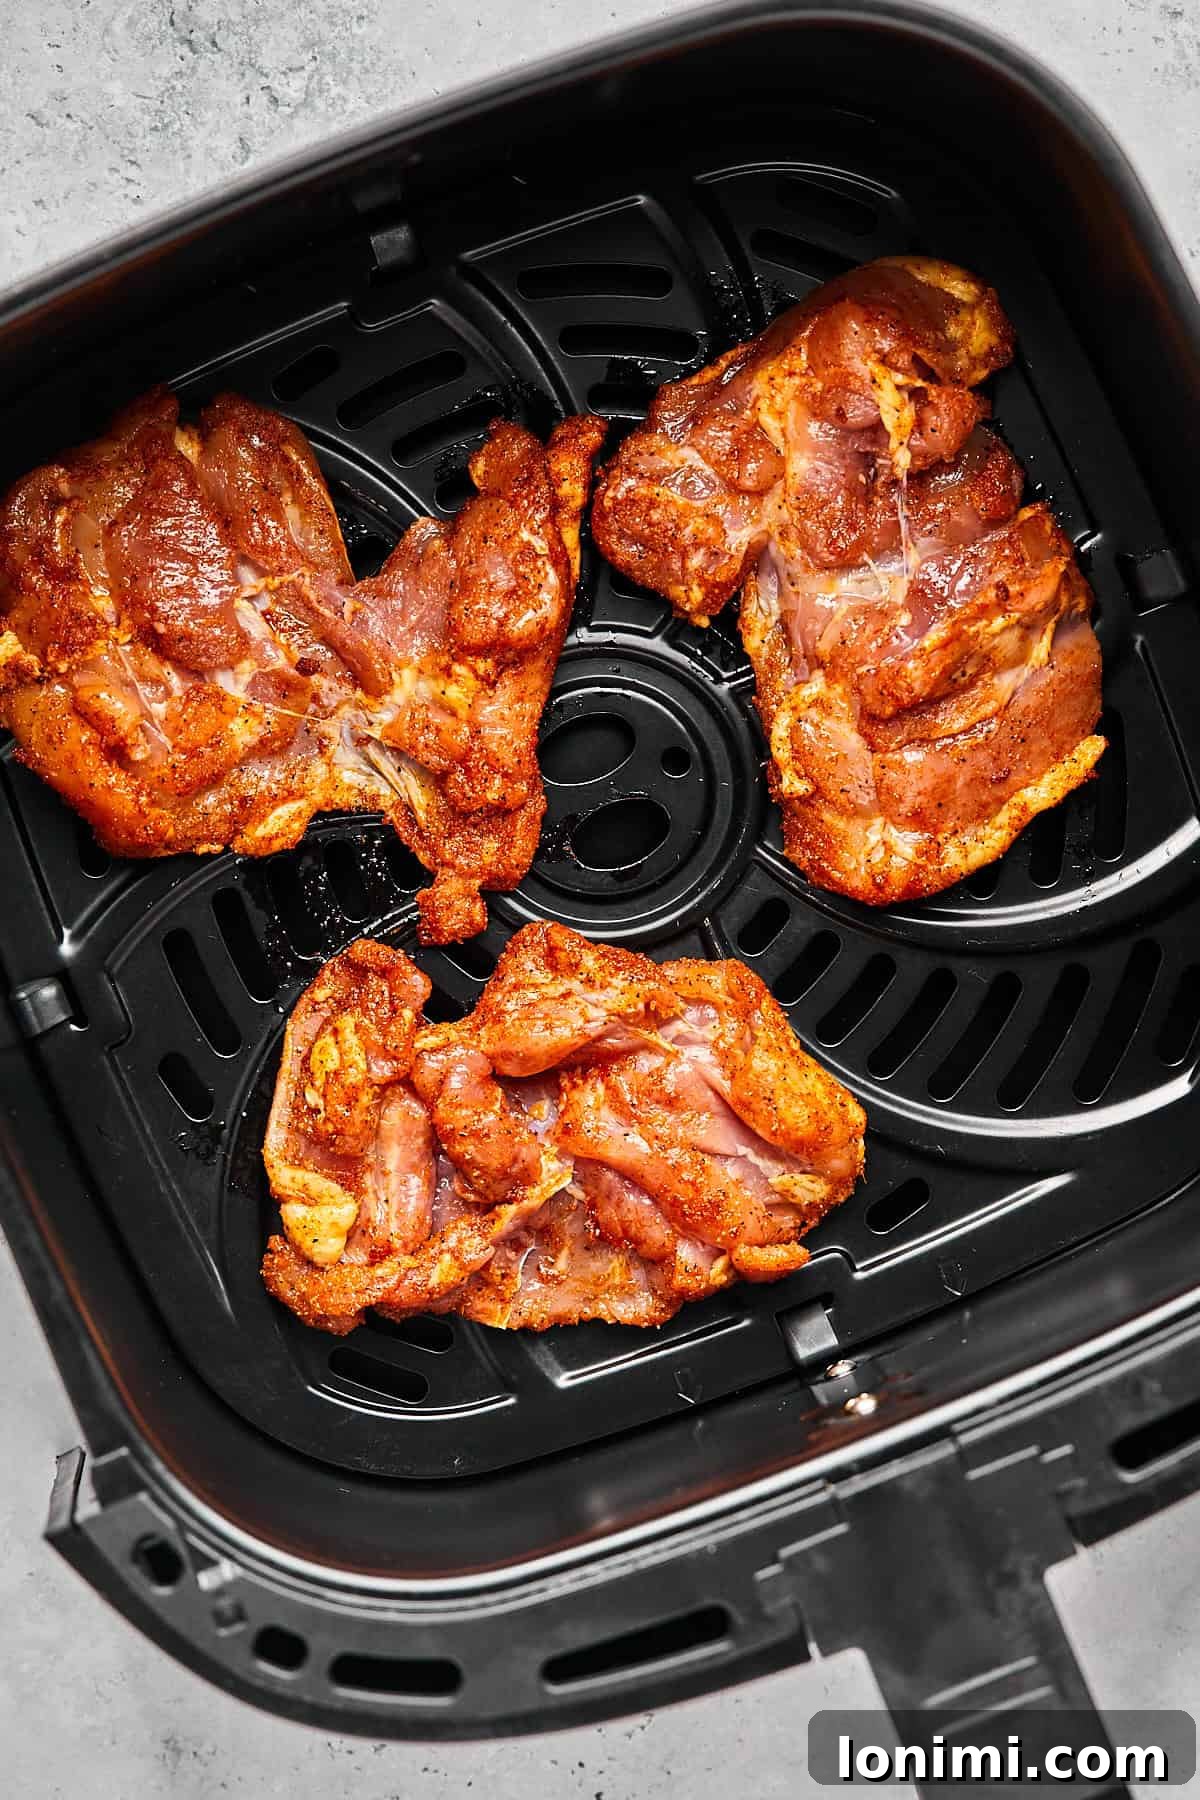
Step 5: Begin Air Frying. Carefully arrange the seasoned chicken thighs in a single layer in the preheated air fryer basket, ensuring the smooth side is facing down. Avoid overcrowding the basket, as this can impede air circulation and lead to uneven cooking. Cook for an initial 10 minutes.
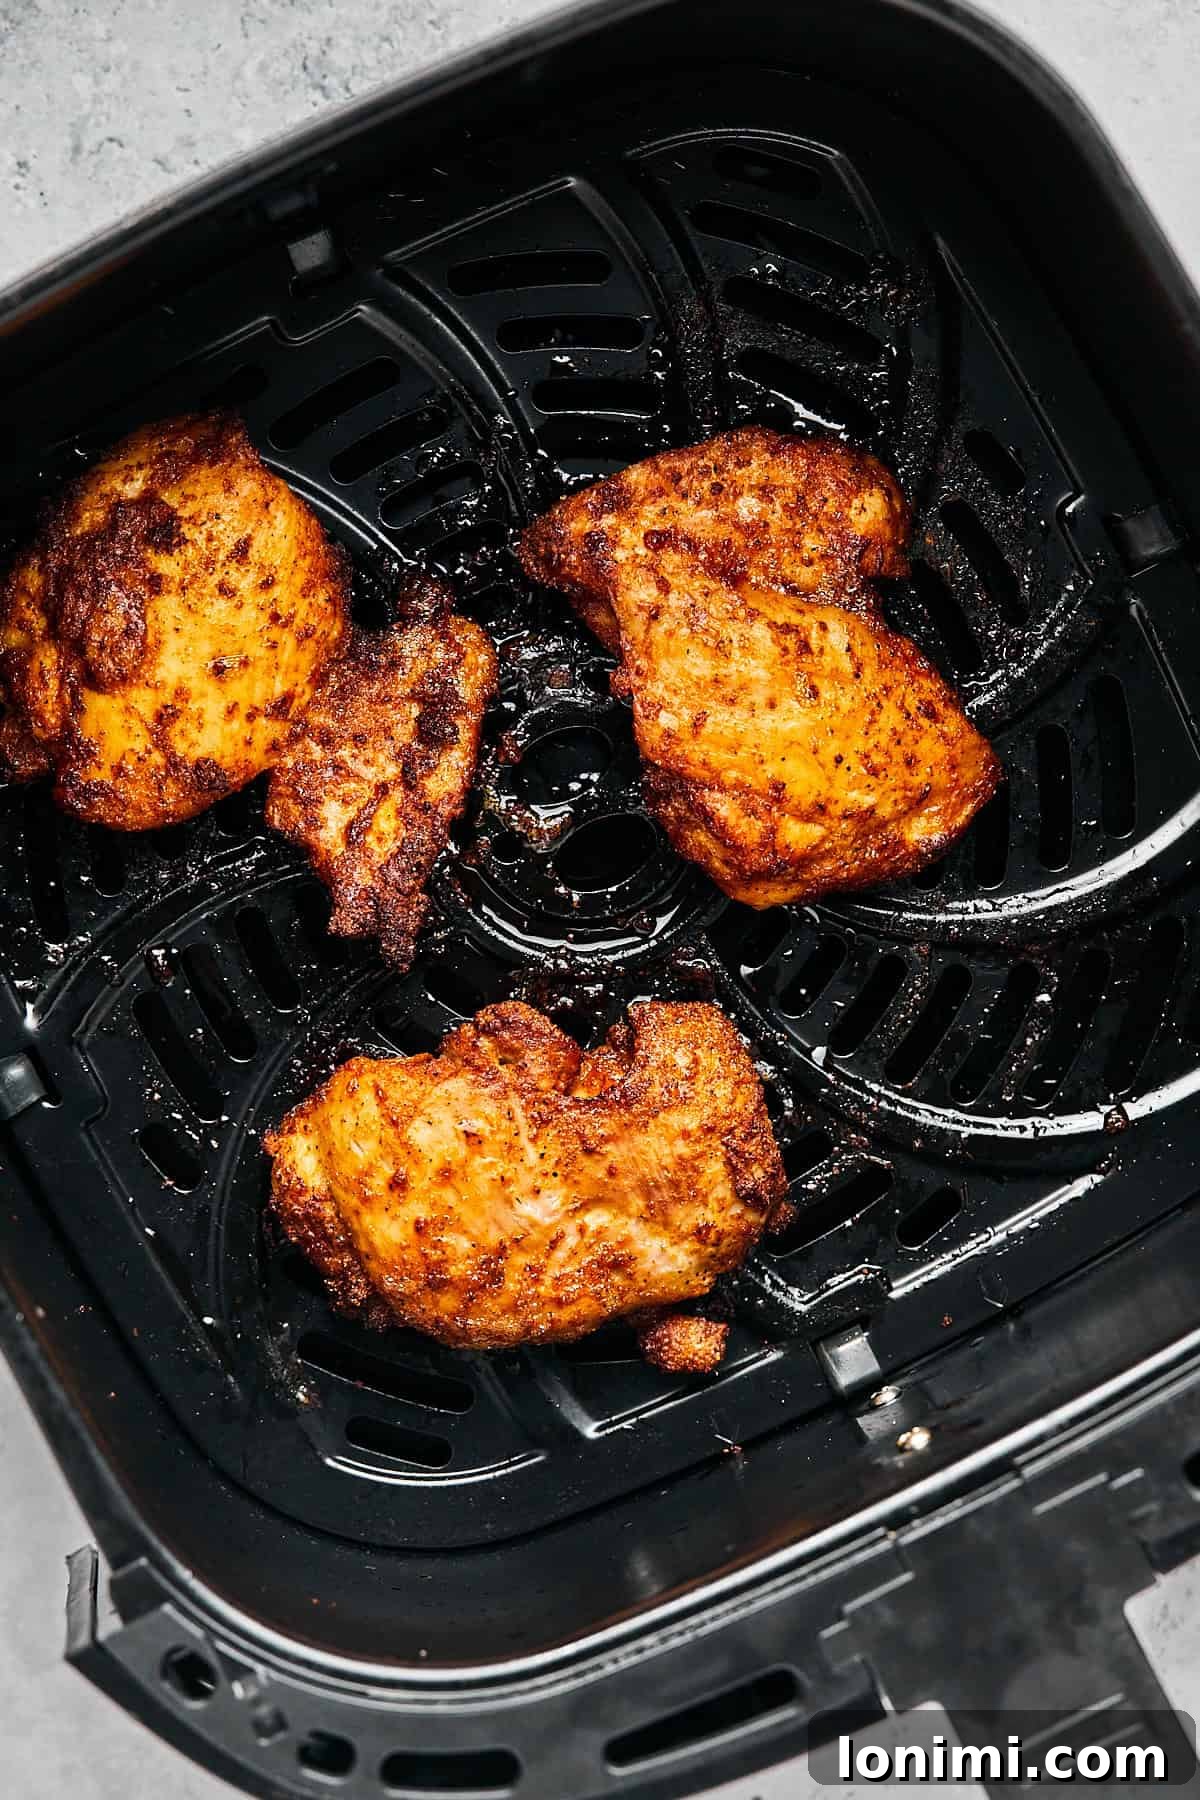
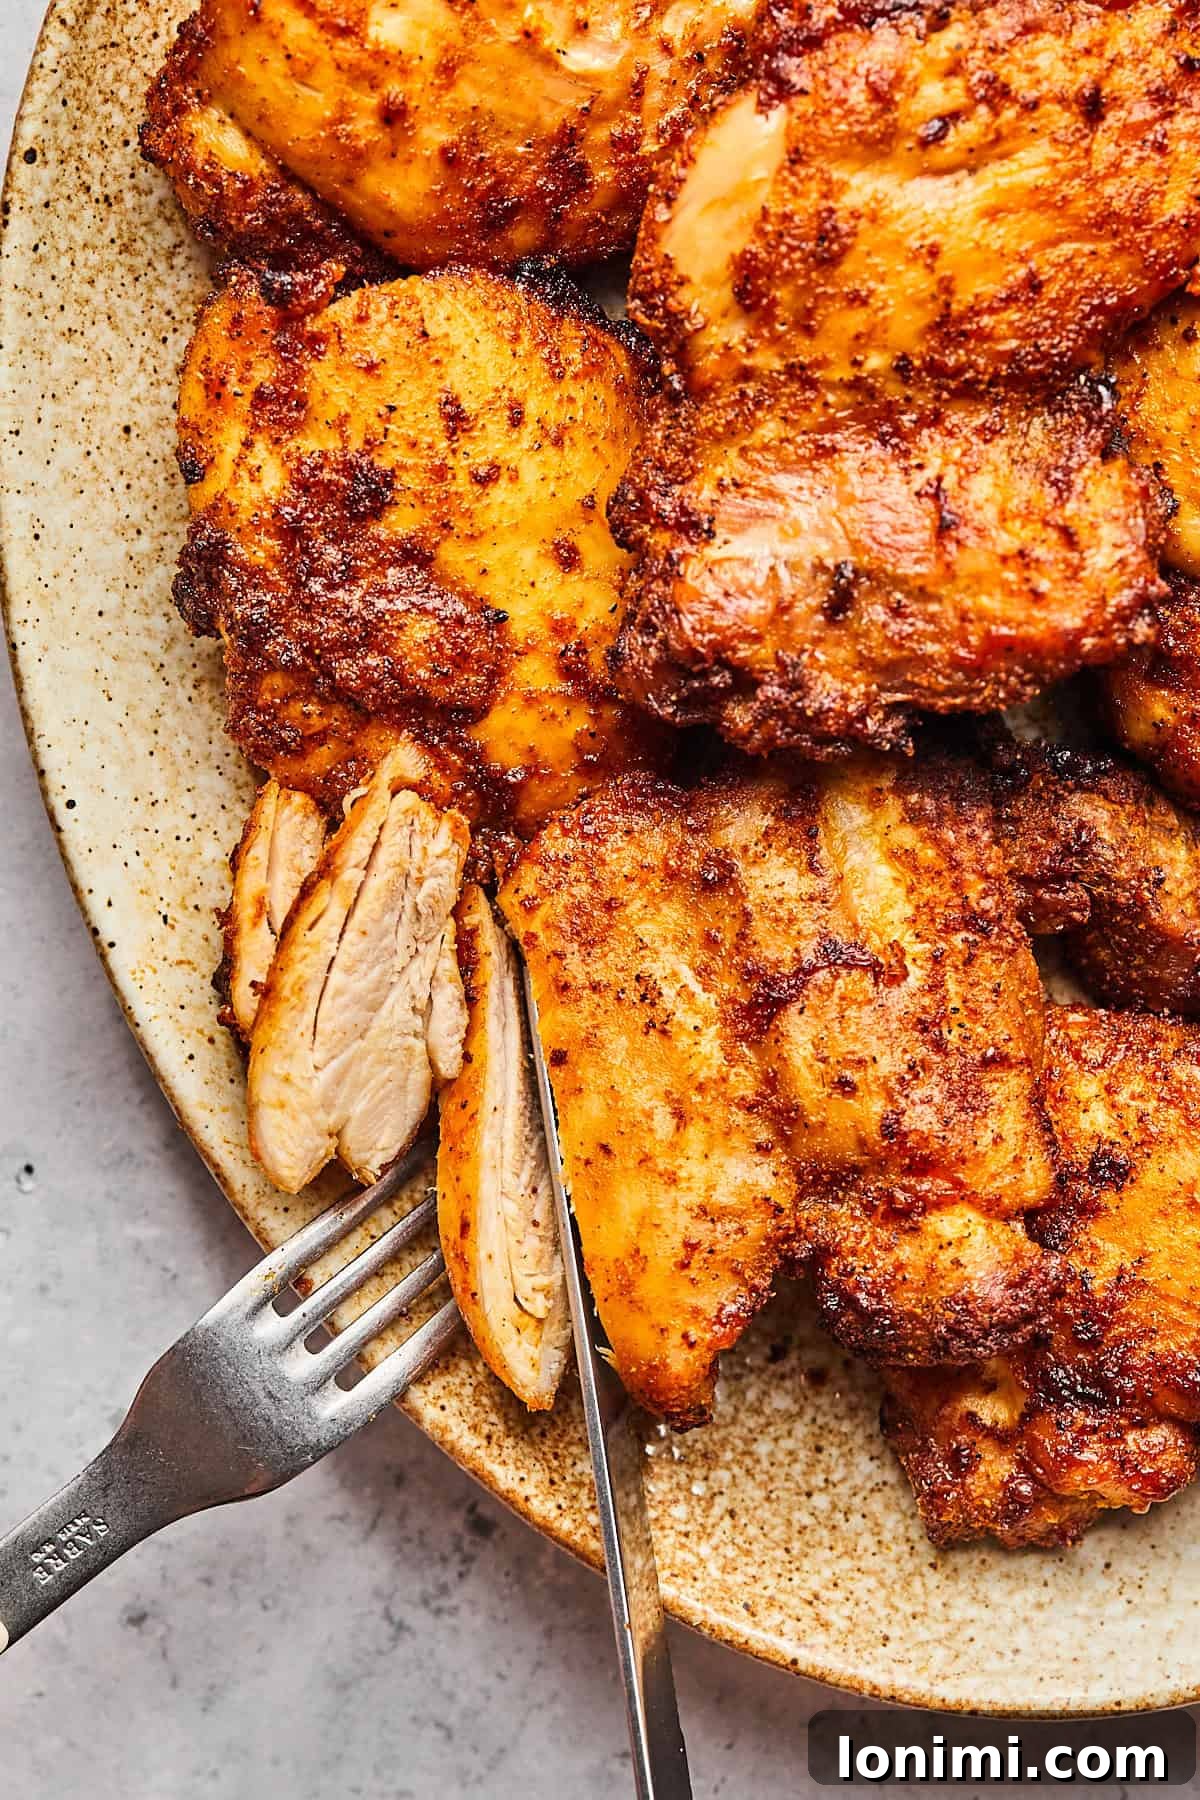
Step 6: Flip and Finish Cooking. Once the 10 minutes are up, carefully flip each chicken thigh using tongs. Continue cooking for another 5-6 minutes, or until a meat thermometer inserted into the thickest part of the thigh reads at least 165°F (74°C). For dark meat like chicken thighs, cooking to 175-180°F (79-82°C) can actually enhance juiciness without drying it out. Finally, let the perfectly cooked, juicy chicken thighs rest for 5 minutes before slicing or serving. This allows the juices to redistribute, ensuring maximum tenderness.
Pro Tips for the Best Air Fryer Chicken Thighs
To ensure your air fryer boneless chicken thighs turn out perfect every single time, keep these expert tips in mind:
- For Enhanced Crispiness, Try Skin-On Thighs: While this recipe calls for skinless thighs, if you crave an even crispier texture, experiment with bone-in, skin-on chicken thighs. The skin renders beautifully in the air fryer, becoming incredibly crunchy. Remember to increase the cooking time slightly (typically 22-25 minutes at 400°F, flipping halfway through) and always verify doneness with a meat thermometer.
- Never Overcrowd the Air Fryer Basket: This is perhaps the most crucial rule for successful air frying. Overcrowding prevents proper air circulation, which is essential for achieving that characteristic crispy texture. If you have a larger batch of chicken, cook it in two or more batches. The slight inconvenience of cooking in batches is far outweighed by the superior results.
- Allow the Chicken to Rest: Patience is a virtue, especially after cooking. Once the chicken thighs are done, transfer them to a plate or cutting board and let them rest for at least 5 minutes before slicing or serving. This resting period allows the internal juices to redistribute throughout the meat, resulting in incredibly tender and succulent chicken.
- Adjust Cooking Time for Thicker Thighs: Chicken thighs vary in size and thickness. If your boneless thighs are particularly large or dense, they will require a longer cooking time. Always rely on an instant-read meat thermometer to confirm doneness. The internal temperature should reach at least 165°F (74°C) at its thickest point. For dark meat, cooking to 175-180°F (79-82°C) can actually improve tenderness.
- Don’t Skip Patting Dry: As mentioned in the instructions, removing surface moisture is paramount for a crispy finish. Wet chicken will steam rather than crisp.
- Clean Your Air Fryer Regularly: A clean air fryer performs better. Residual grease can cause smoke and affect the taste of your food. Wipe down the basket after each use.
- Experiment with Seasonings: While our spice blend is delicious, feel free to get creative! Add a pinch of smoked paprika for deeper flavor, a dash of dried oregano for Mediterranean flair, or a touch of brown sugar for a caramelized crust.
Delightful Serving Suggestions for Your Air Fryer Chicken Thighs
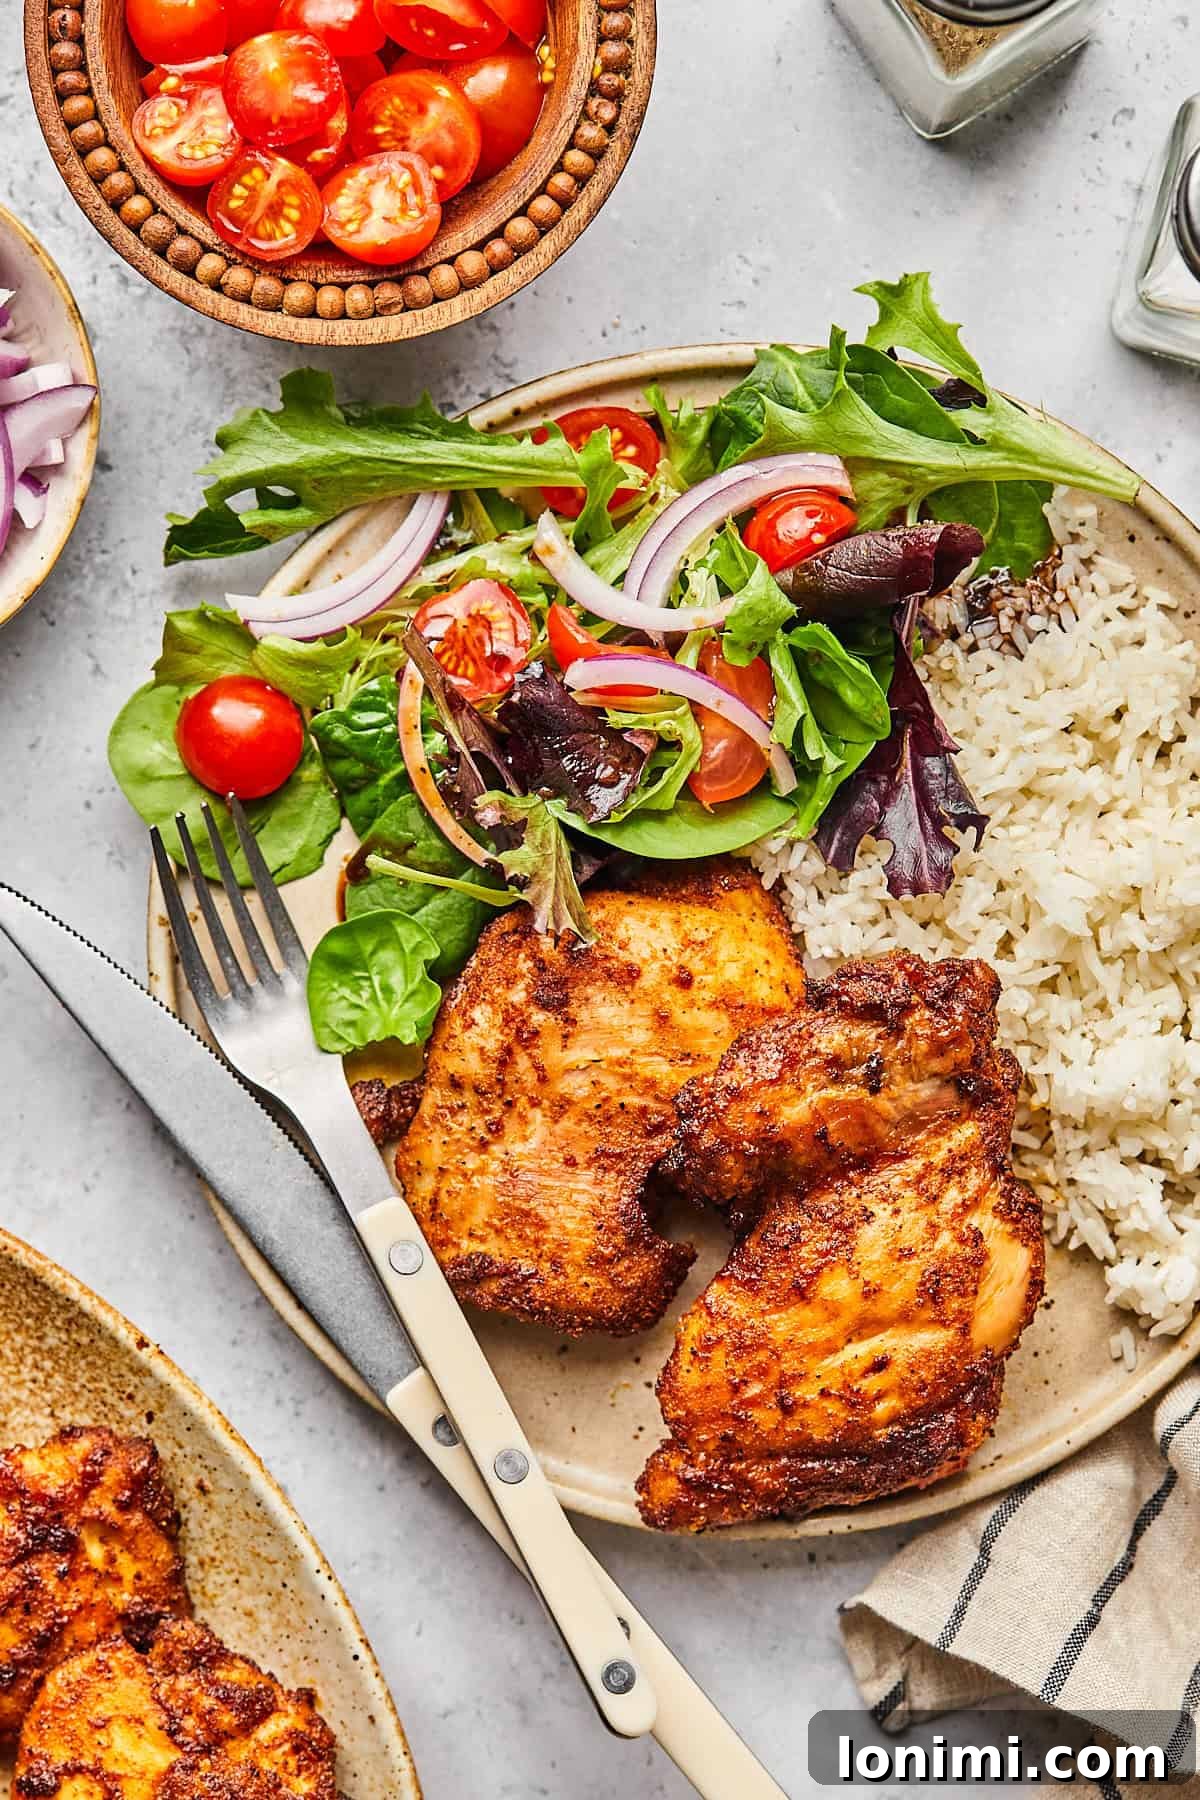
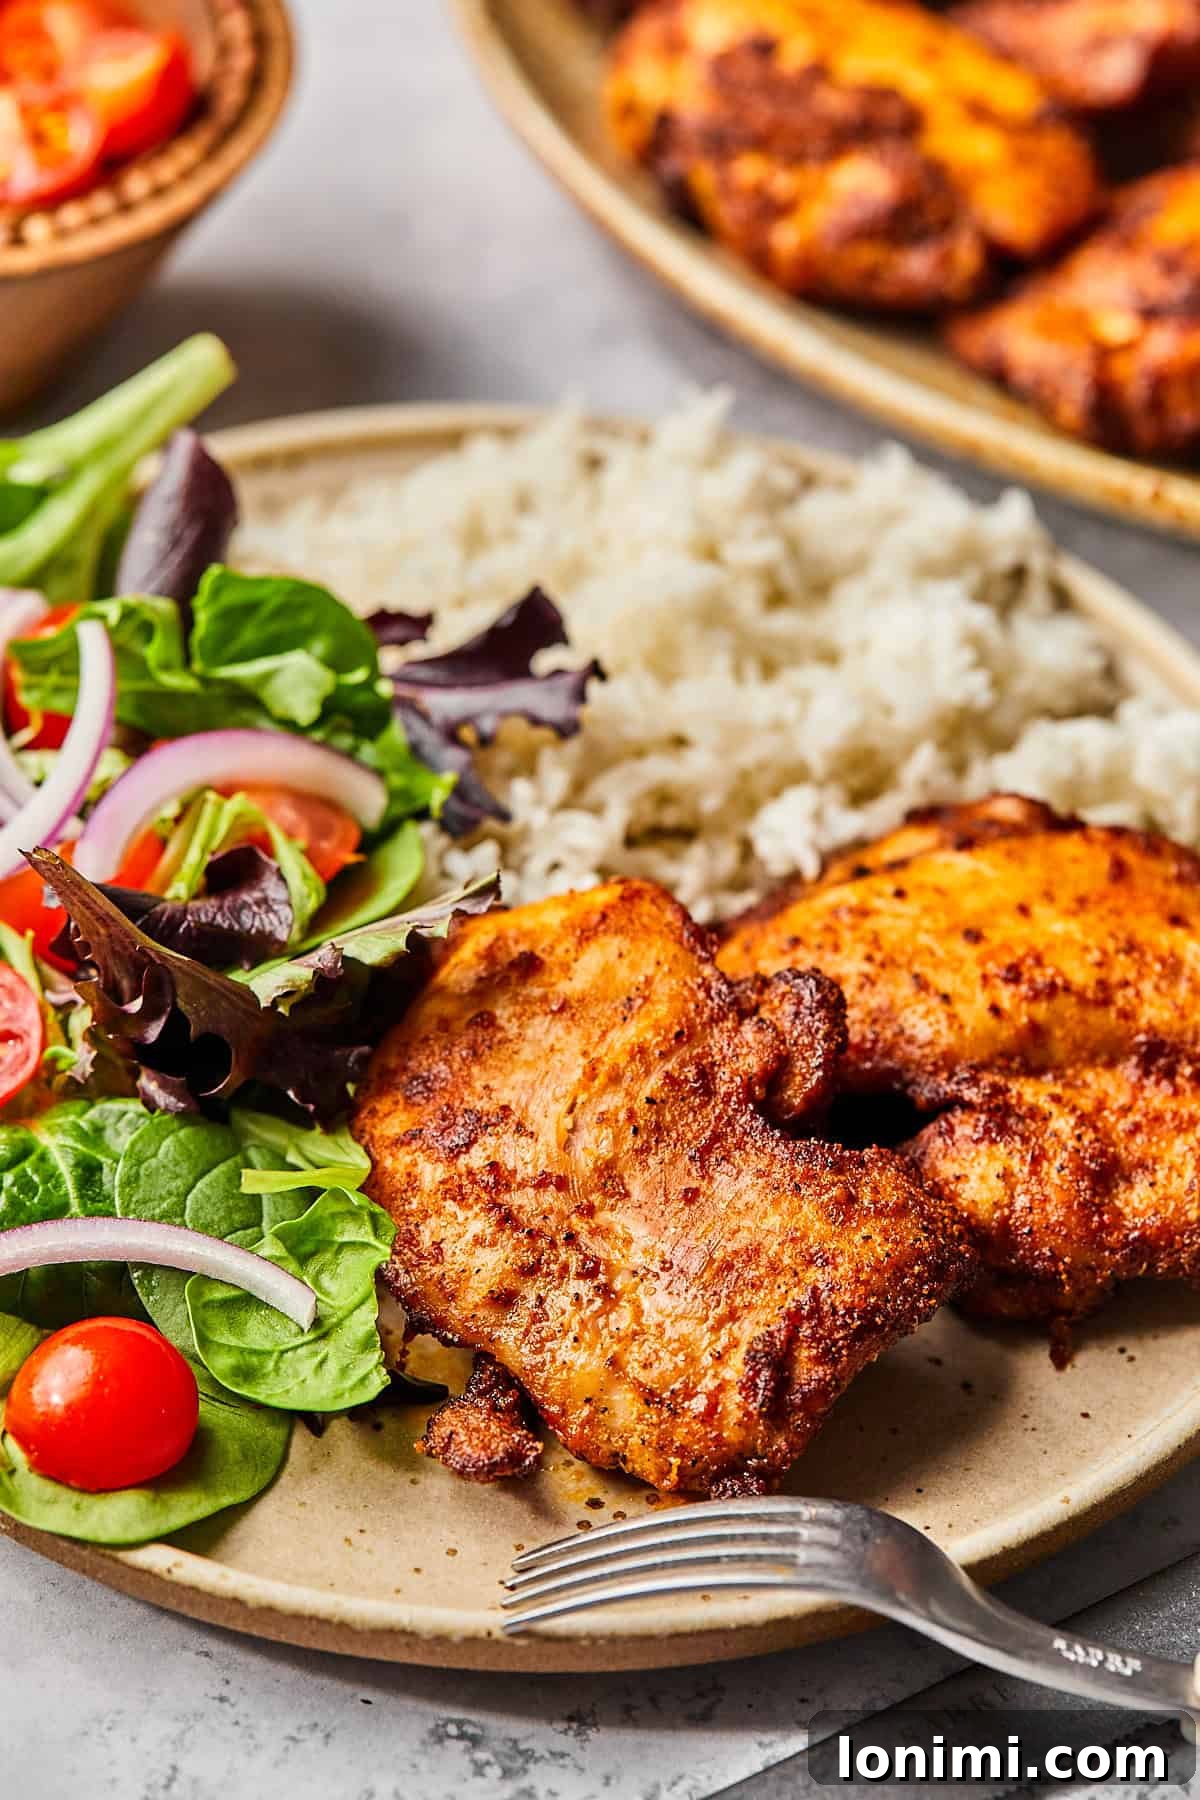
The versatility of these air fryer boneless chicken thighs means they pair wonderfully with a wide array of side dishes, making meal planning a breeze. Here are some of our top recommendations to create a complete and satisfying meal:
- Crispy Air Fryer Potato Wedges: A natural complement to the chicken, these seasoned potato wedges cooked in the air fryer offer a quick, easy, and satisfying starchy side that echoes the crispy texture of the main dish.
- Thyme Roasted Radishes and Onions: For a lighter, more vibrant option, these roasted vegetables provide an earthy, slightly peppery counterpoint to the rich chicken, adding a fresh and balanced component to your plate.
- Coconut Cilantro Lime Cauliflower Rice: An excellent choice for those following keto or low-carb diets. This flavorful cauliflower rice is not only light and healthy but also acts as a perfect vehicle for soaking up all the delicious juices and seasonings from the chicken.
- Creamy Dairy-Free Mashed Potatoes: For ultimate comfort, a bowl of rich and creamy mashed potatoes (dairy-free or traditional) makes an incredibly satisfying pairing, creating a classic, hearty meal.
- Fresh Mixed Greens Salad with Lemon Vinaigrette: For the freshest and lightest meal, slice the cooked chicken thighs and serve them over a bed of crisp mixed greens, tossed with a bright and zesty lemon vinaigrette. Add some cherry tomatoes, cucumber, and red onion for extra crunch and flavor.
- Steamed Green Beans with Toasted Almonds: A simple yet elegant vegetable side. The crunch of almonds adds texture, while the fresh green beans offer a lovely contrast.
- Quinoa or Brown Rice: For a whole-grain option, a serving of fluffy quinoa or nutty brown rice provides a healthy and filling base that absorbs the chicken’s flavors beautifully.
Storage and Meal Prep Brilliance: Maximize Your Air Fryer Chicken Thighs
One of the many fantastic aspects of these air fryer boneless chicken thighs is how wonderfully they lend themselves to meal preparation. If you’re someone who appreciates having healthy, ready-to-eat protein throughout the week, you’ll definitely want to double or even triple this batch! Not only do they make for quick meals, but they honestly taste just as good, if not better, the next day as the flavors have more time to fully develop.
I frequently make extra to streamline my lunch routine. Slicing up the leftover chicken and tossing it into a vibrant salad is a fantastic way to enjoy a delicious, protein-packed lunch. They can also be effortlessly reheated for a quick protein boost any time of day, making them a versatile component of any meal prep strategy.
- Storing Leftovers: Cooked and cooled chicken thighs can be stored in an airtight container in the refrigerator for up to 4 days. Ensure they are completely cool before storing to prevent condensation.
- Freezing for Longer Storage: For longer preservation, place the cooled chicken thighs in a freezer-safe container or heavy-duty freezer bag. They will keep well in the freezer for up to 3 months. When ready to use, thaw them overnight in the refrigerator before reheating.
- Reheating for Best Texture: To restore that desirable crispiness, the air fryer is your best friend for reheating! Warm the chicken thighs in the air fryer at 350°F (175°C) for 3-4 minutes, or until heated through and crispy. If an air fryer isn’t available, you can reheat them gently in a microwave in short intervals (30-60 seconds) to avoid overcooking and drying out the meat, though they won’t be as crispy.
Embrace the convenience and flavor of meal prepping with these versatile chicken thighs!
Frequently Asked Questions (FAQs) About Air Fryer Boneless Chicken Thighs
While it is possible to cook chicken thighs directly from frozen in the air fryer, we generally recommend thawing them first for the best results. If you must cook from frozen, increase the cook time to approximately 18-20 minutes at 400°F (200°C), making sure to flip them halfway through. However, thawing ensures a more even seasoning application and a superior, consistent texture.
Absolutely! Bone-in chicken thighs work wonderfully in the air fryer and can even offer a slightly richer flavor and juicier result due to the bone. However, they do require a longer cooking time compared to boneless thighs. Plan to increase the cooking time to 22-25 minutes at 400°F (200°C), flipping the chicken halfway through to ensure even cooking and crisping. Always check the internal temperature with a meat thermometer.
The most accurate way to determine if your chicken thighs are fully cooked is by using an instant-read meat thermometer. Insert the thermometer into the thickest part of the thigh, avoiding the bone. The internal temperature should register at least 165°F (74°C). For dark meat like chicken thighs, many chefs prefer to cook them to 175-180°F (79-82°C), as this range often results in even more tender and juicy meat without drying it out.
Yes, marinating your chicken thighs is a fantastic way to infuse them with even deeper flavor! For an extra layer of taste, you can marinate the chicken for at least 30 minutes, or even better, overnight in the refrigerator. A great marinade base could include olive oil, minced garlic, a splash of lemon juice, and the same spices listed in our recipe. Just remember to pat the marinated chicken thoroughly dry with paper towels before air frying; this step is critical for achieving that crispy exterior.
Don’t worry if you don’t own an air fryer! You can absolutely still enjoy these flavorful boneless chicken thighs using a traditional oven. Preheat your oven to 400°F (200°C) and bake the seasoned chicken thighs for 25-30 minutes, flipping them halfway through the cooking time. For an added touch of crispiness, you can broil them for the last 2 minutes, keeping a close eye on them to prevent burning. Ensure the internal temperature reaches 165°F (74°C).
Discover More Easy Air Fryer Recipes
15-Minute Air Fryer Halibut
The BEST Air Fryer Filet Mignon
Easy Air Fryer Frozen Salmon (No Thaw Method!)
Quick & Easy Air Fryer Frozen Shrimp
Love this recipe? Please leave a 5-star 🌟🌟🌟🌟🌟 rating in the recipe card below & a review in the comment section. Or, follow me on Facebook, Pinterest or Instagram today!

Air Fryer Boneless Chicken Thighs
Equipment
-
Air Fryer
Ingredients
- 6 boneless skinless chicken thighs, I use organic which can sometimes be smaller – you may need to adjust cooking time for larger thighs
- 1 tbsp olive oil
- ½ tsp salt
- ½ tsp pepper
- 1 tsp garlic powder
- 1 tsp onion powder
- 1 tsp paprika
- ½ tsp dry mustard powder
- ¼ tsp cayenne
Instructions
- Add all of the spices to a small bowl and mix to combine.
- Add the chicken thighs to a large bowl and drizzle oil over top. Sprinkle spices on top. Use your hands to mix well and rub the spices into the chicken.
- Preheat your air fryer to 400 for 2-3 minutes. Add 3 of the chicken thighs smooth-side down into the basket in an even layer. Cook for 10 minutes.
- When the timer goes off, flip the chicken thighs and cook for an additional 5-6 minutes or until the internal temperature reaches at least 165 degrees.
- Let the thighs rest for 5 minutes, then enjoy!
Notes
- Don’t overcrowd the basket. Cook in batches if needed to allow proper air circulation, ensuring even crisping.
- Let the chicken rest. Resting for 5 minutes after cooking helps retain the juices, making the meat even more tender.
- Adjust cooking time for larger thighs. If your chicken thighs are extra thick, you may need an additional 2-3 minutes of cooking time. Always check with a meat thermometer.
- Use skin-on thighs for extra crispiness. If you prefer a crispier texture, try this recipe with bone-in, skin-on thighs and increase the cooking time slightly.
- Baked option: 400 for 25-30 minutes.
- Store leftovers in a container for up to 4 days. To freeze, place cooled chicken thighs in a freezer-safe container for up to 3 months. Thaw overnight in the fridge before reheating.
Nutrition
Calories: 159kcal |
Carbohydrates: 1g |
Protein: 22g |
Fat: 7g |
Saturated Fat: 1g |
Polyunsaturated Fat: 1g |
Monounsaturated Fat: 3g |
Trans Fat: 0.02g |
Cholesterol: 107mg |
Sodium: 295mg |
Potassium: 292mg |
Fiber: 0.2g |
Sugar: 0.1g |
Vitamin A: 88IU |
Vitamin C: 1mg |
Calcium: 13mg |
Iron: 1mg
All nutrition facts are an estimate and automatically calculated. While I fact check them using My Fitness Pal, please note that they may not always be 100% accurate and depend on ingredients used. Weigh your total and divide by the number of servings for the most accurate grams per serving size.