
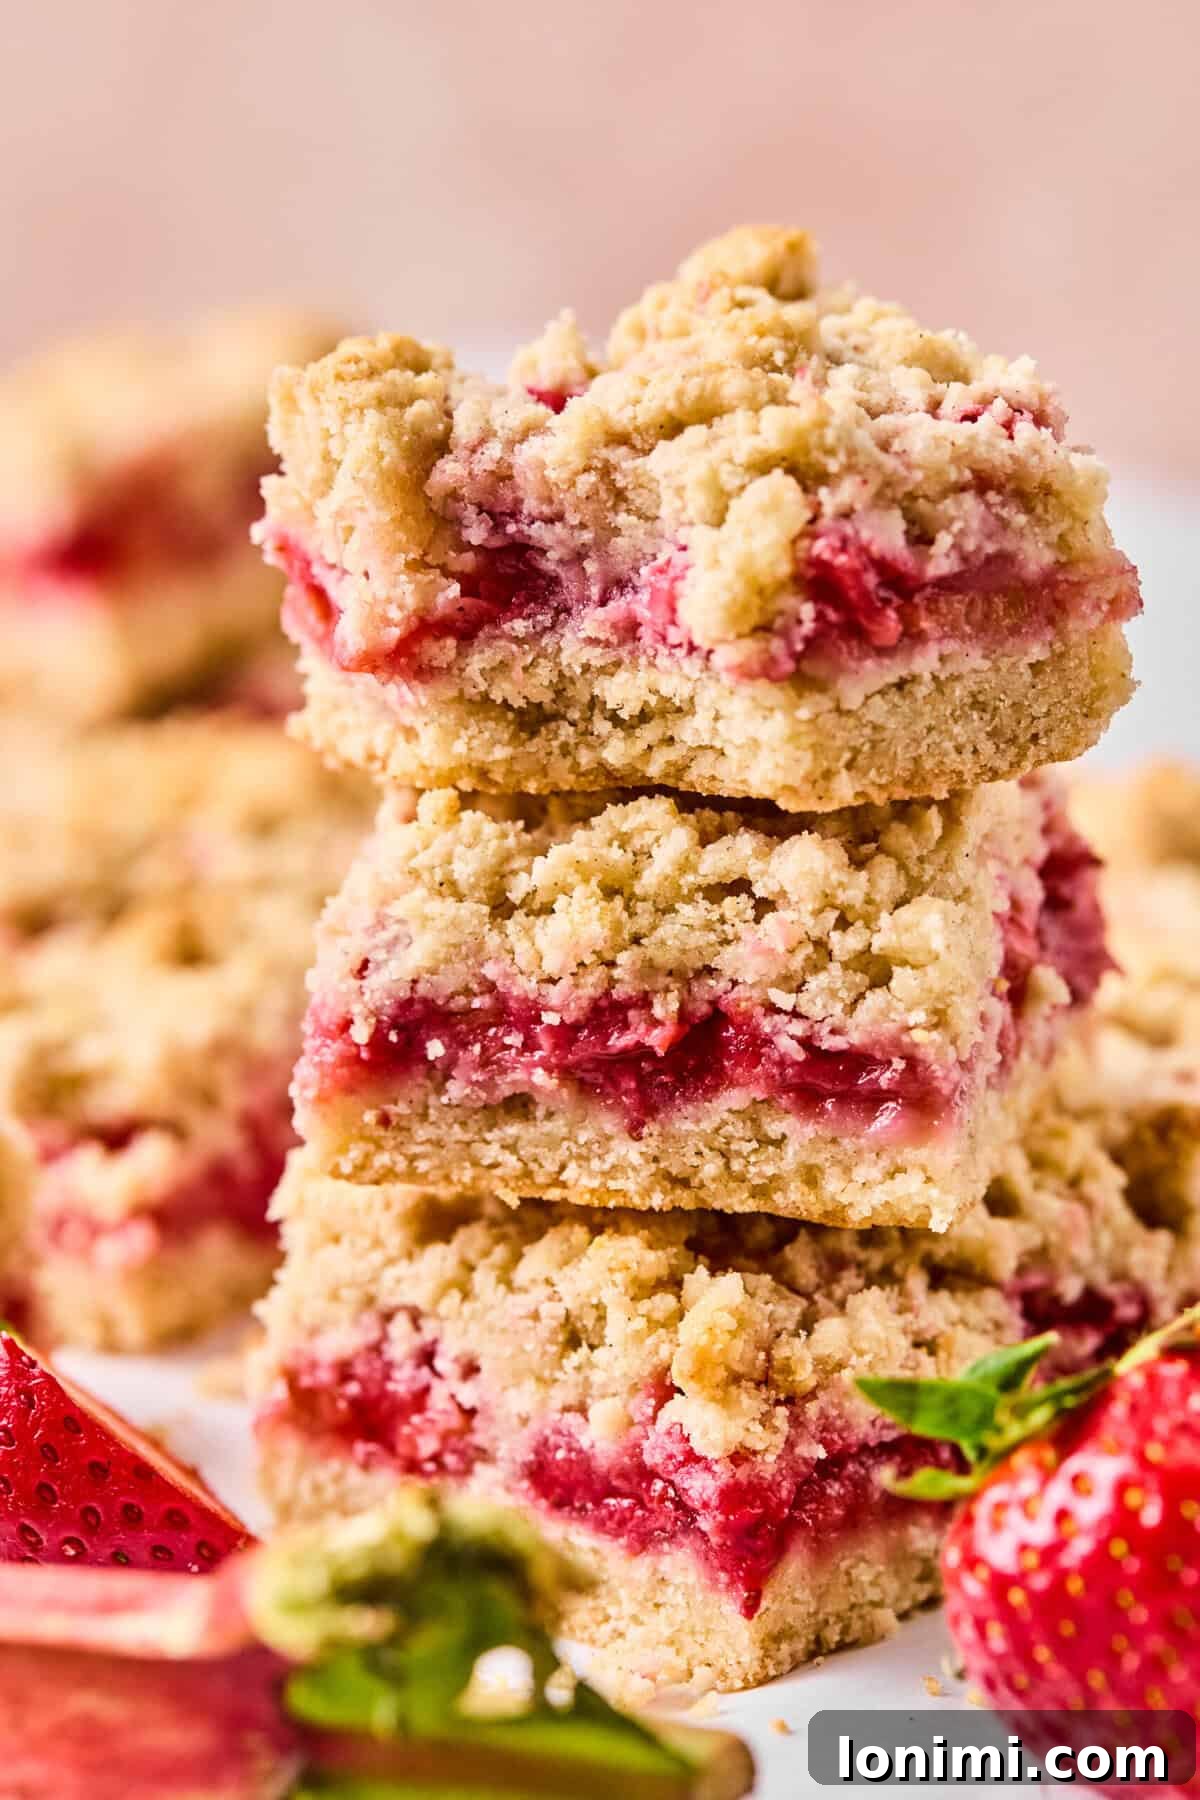
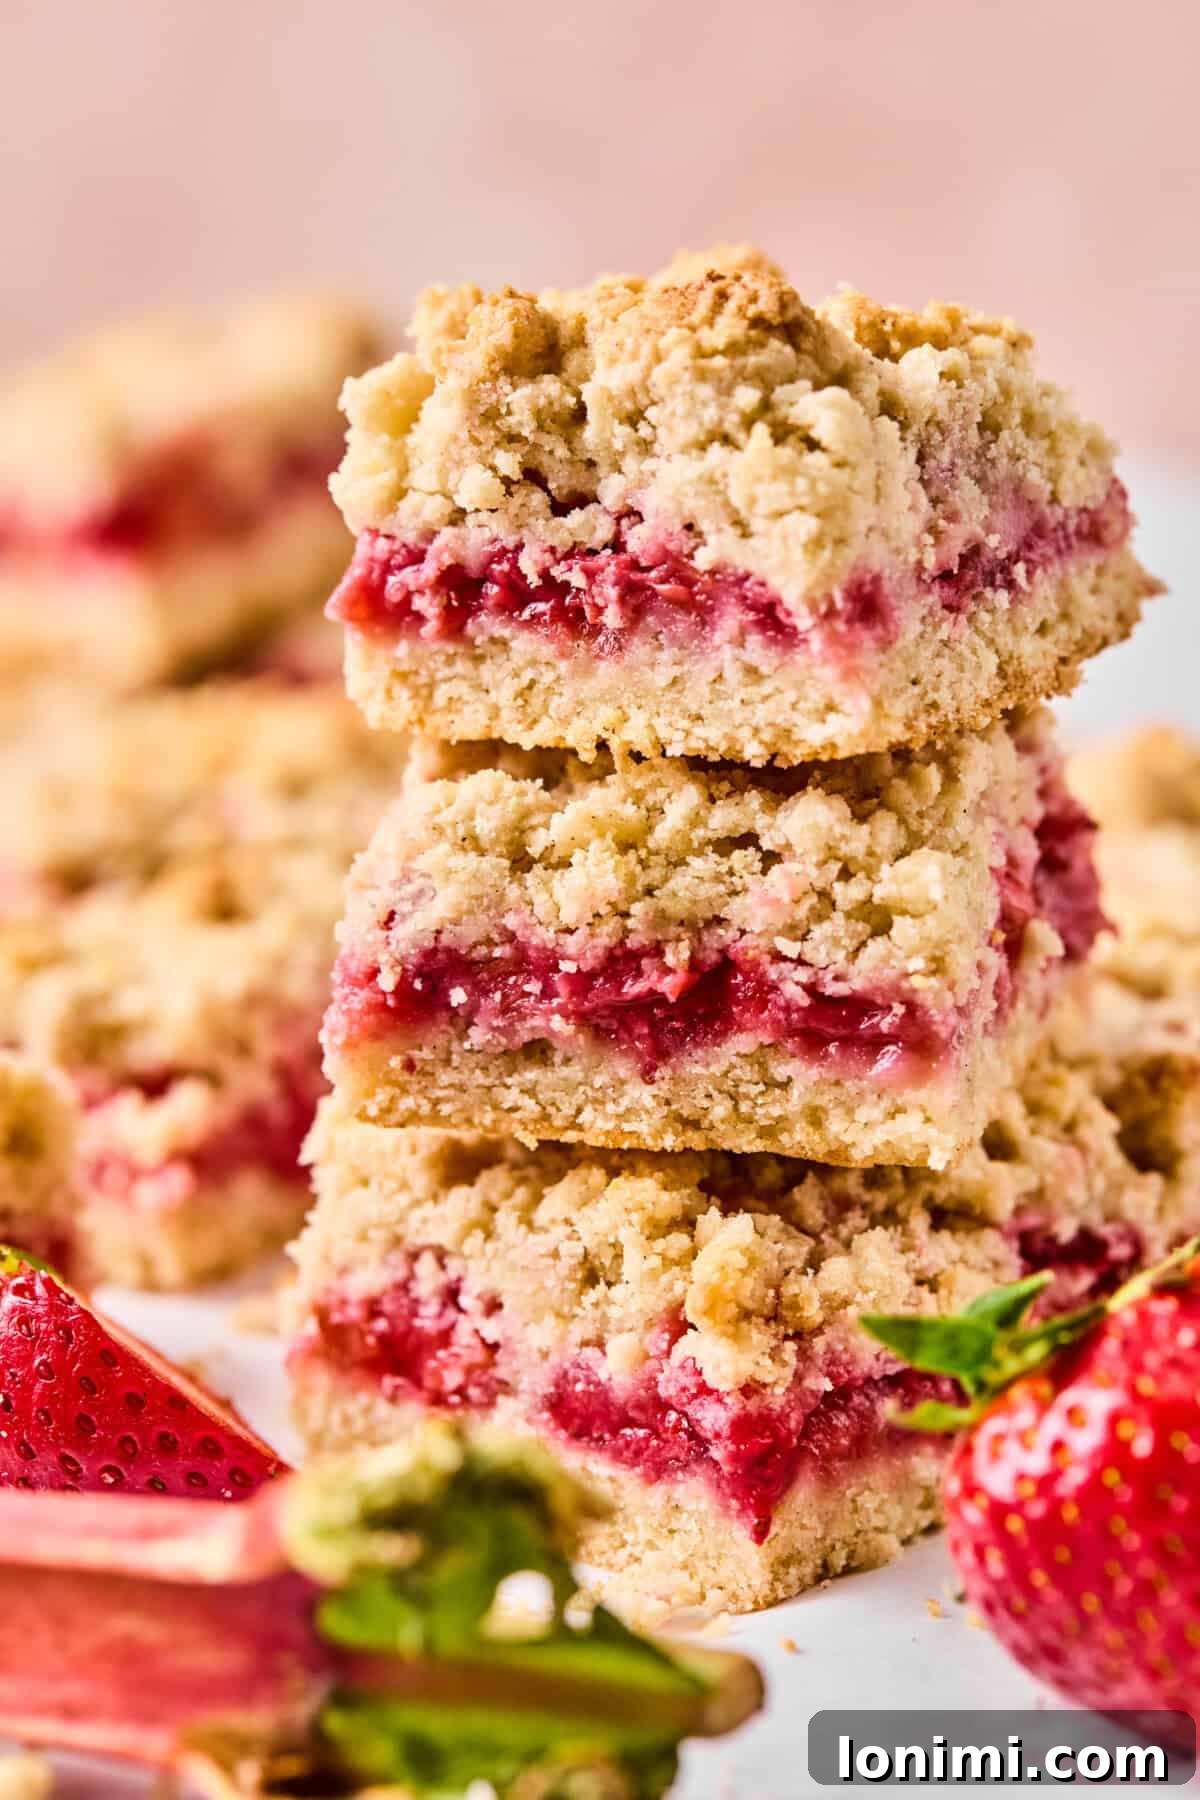
Welcome to the ultimate guide for crafting the most irresistible Gluten-Free Strawberry Rhubarb Crumble Bars! Forget complicated desserts or the endless search for allergy-friendly treats that truly deliver on taste and texture. These delectable bars are not only entirely gluten-free and nut-free but also offer a dairy-free option, making them a crowd-pleaser for nearly every dietary need. Imagine a luscious, vibrant strawberry-rhubarb filling, perfectly jammy and sweet-tart, nestled beneath a buttery, crisp, golden crumble topping – all ready in under an hour. Whether you’re planning a picnic, preparing a family dessert, or simply craving a wholesome treat, these bars promise a sliceable, satisfying, and utterly delightful experience. We’ll walk you through every step, ensuring your crumble bars emerge from the oven golden, bubbly, and bursting with fresh fruit flavor, proving that allergen-friendly baking can be both simple and spectacularly delicious.
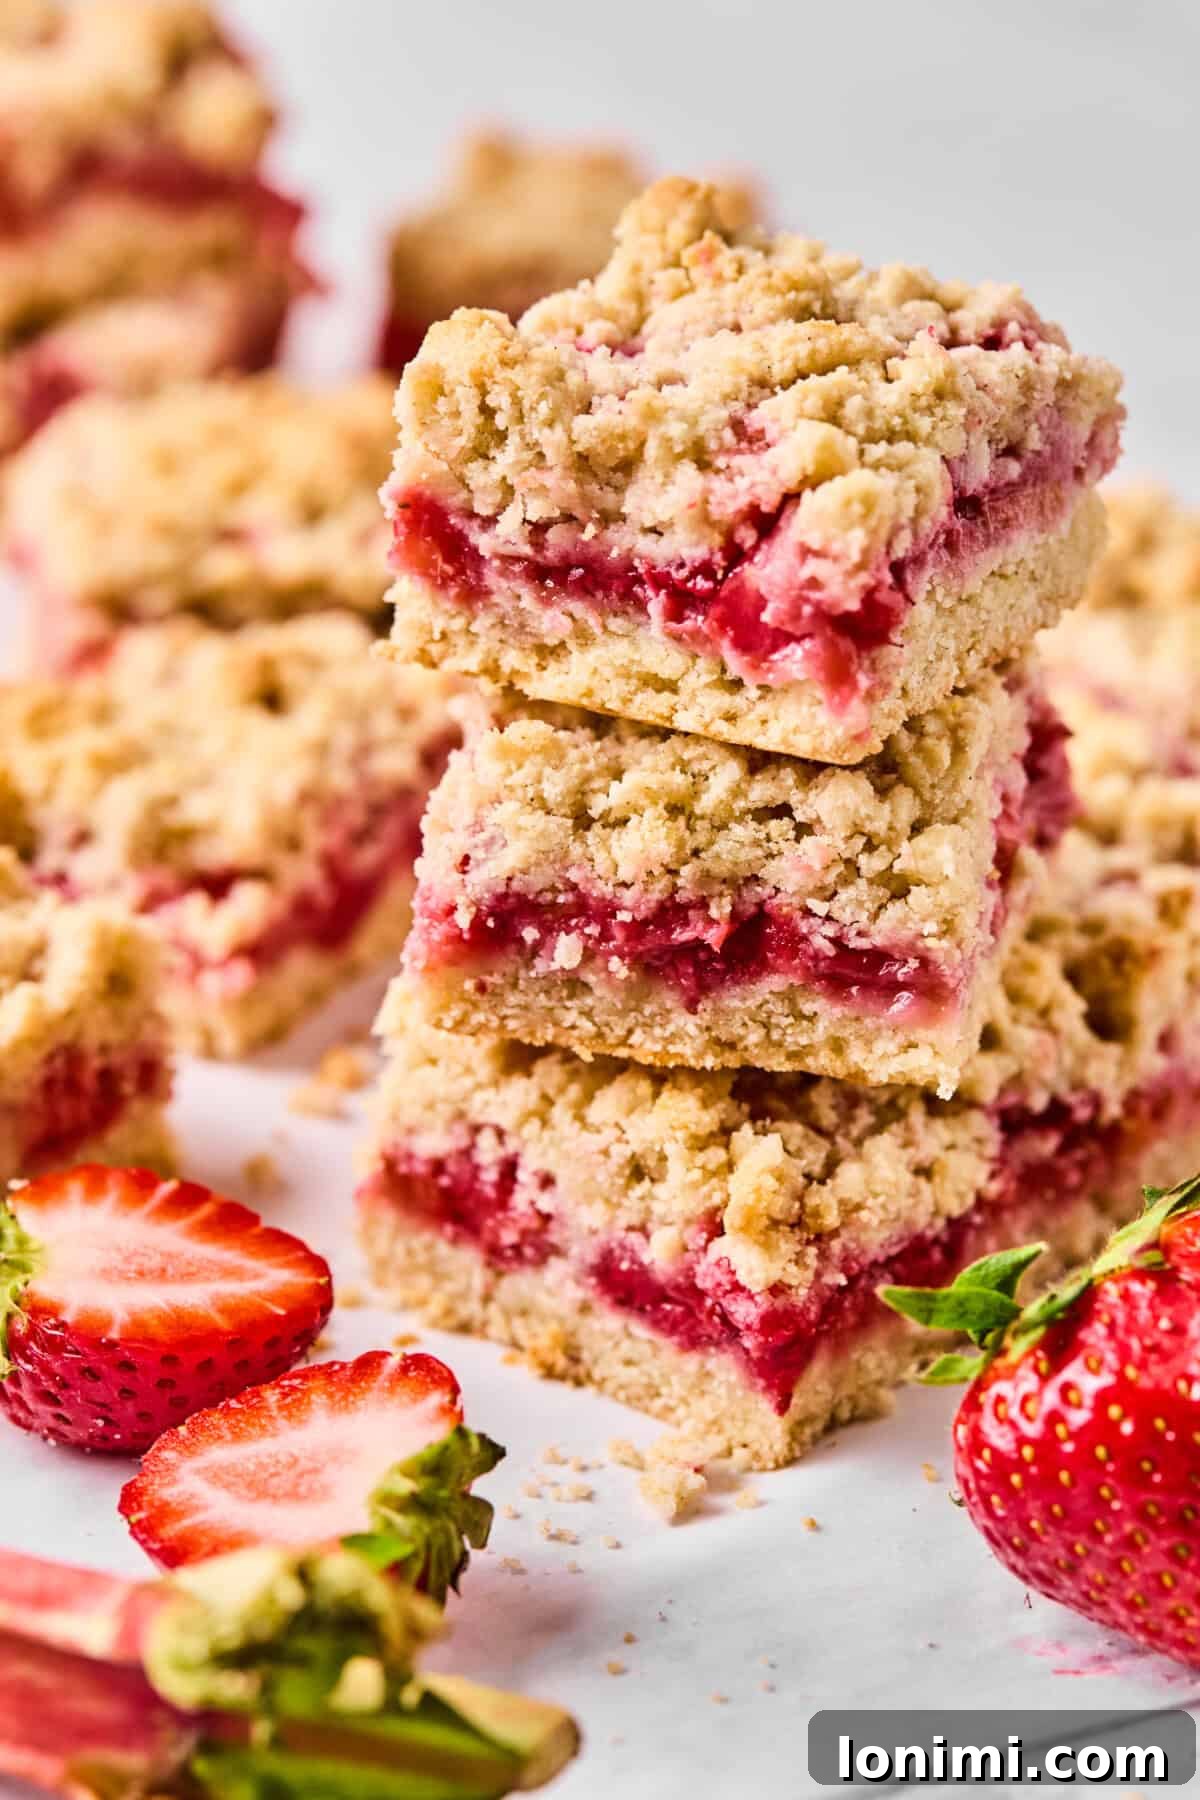
Recipe Breakthrough: Nut-Free Meets Gluten-Free Baking Excellence
Developing a crumble bar recipe that caters to both gluten and nut sensitivities was a challenge born from frequent reader requests for a universally enjoyable rhubarb treat. The goal was to create a dessert that was robust and flavorful, without relying on common allergens like almonds or oats, which often feature in gluten-free baking. The true breakthrough came with the strategic use of King Arthur 1:1 Gluten-Free Flour. This particular blend is a game-changer, as it already incorporates xanthan gum, a vital ingredient that provides structure and elasticity often missing in gluten-free doughs. This eliminated the need for additional binders, ensuring the crust and crumble topping remain perfectly sturdy and crisp, never dry or crumbly. The result is a genuinely allergy-friendly bar that maintains exceptional texture, making it a delicious option for everyone at the table, regardless of dietary restrictions.
If these incredible gluten-free strawberry rhubarb crumble bars leave you craving more wholesome fruit-filled goodness, explore some of our other favorite crisp and bar recipes. Discover the sweet delight of my mixed berry crisp or savor the comforting flavors of my cozy grain-free apple crisp. For those who adore strawberries, don’t miss out on this light and airy paleo strawberry shortcake or these refreshing no-bake strawberry cheesecake bars! Each recipe is designed to be as delicious and accommodating as these crumble bars, ensuring your baking adventures are always a success.
Essential Ingredients for Perfect Strawberry Rhubarb Crumble Bars
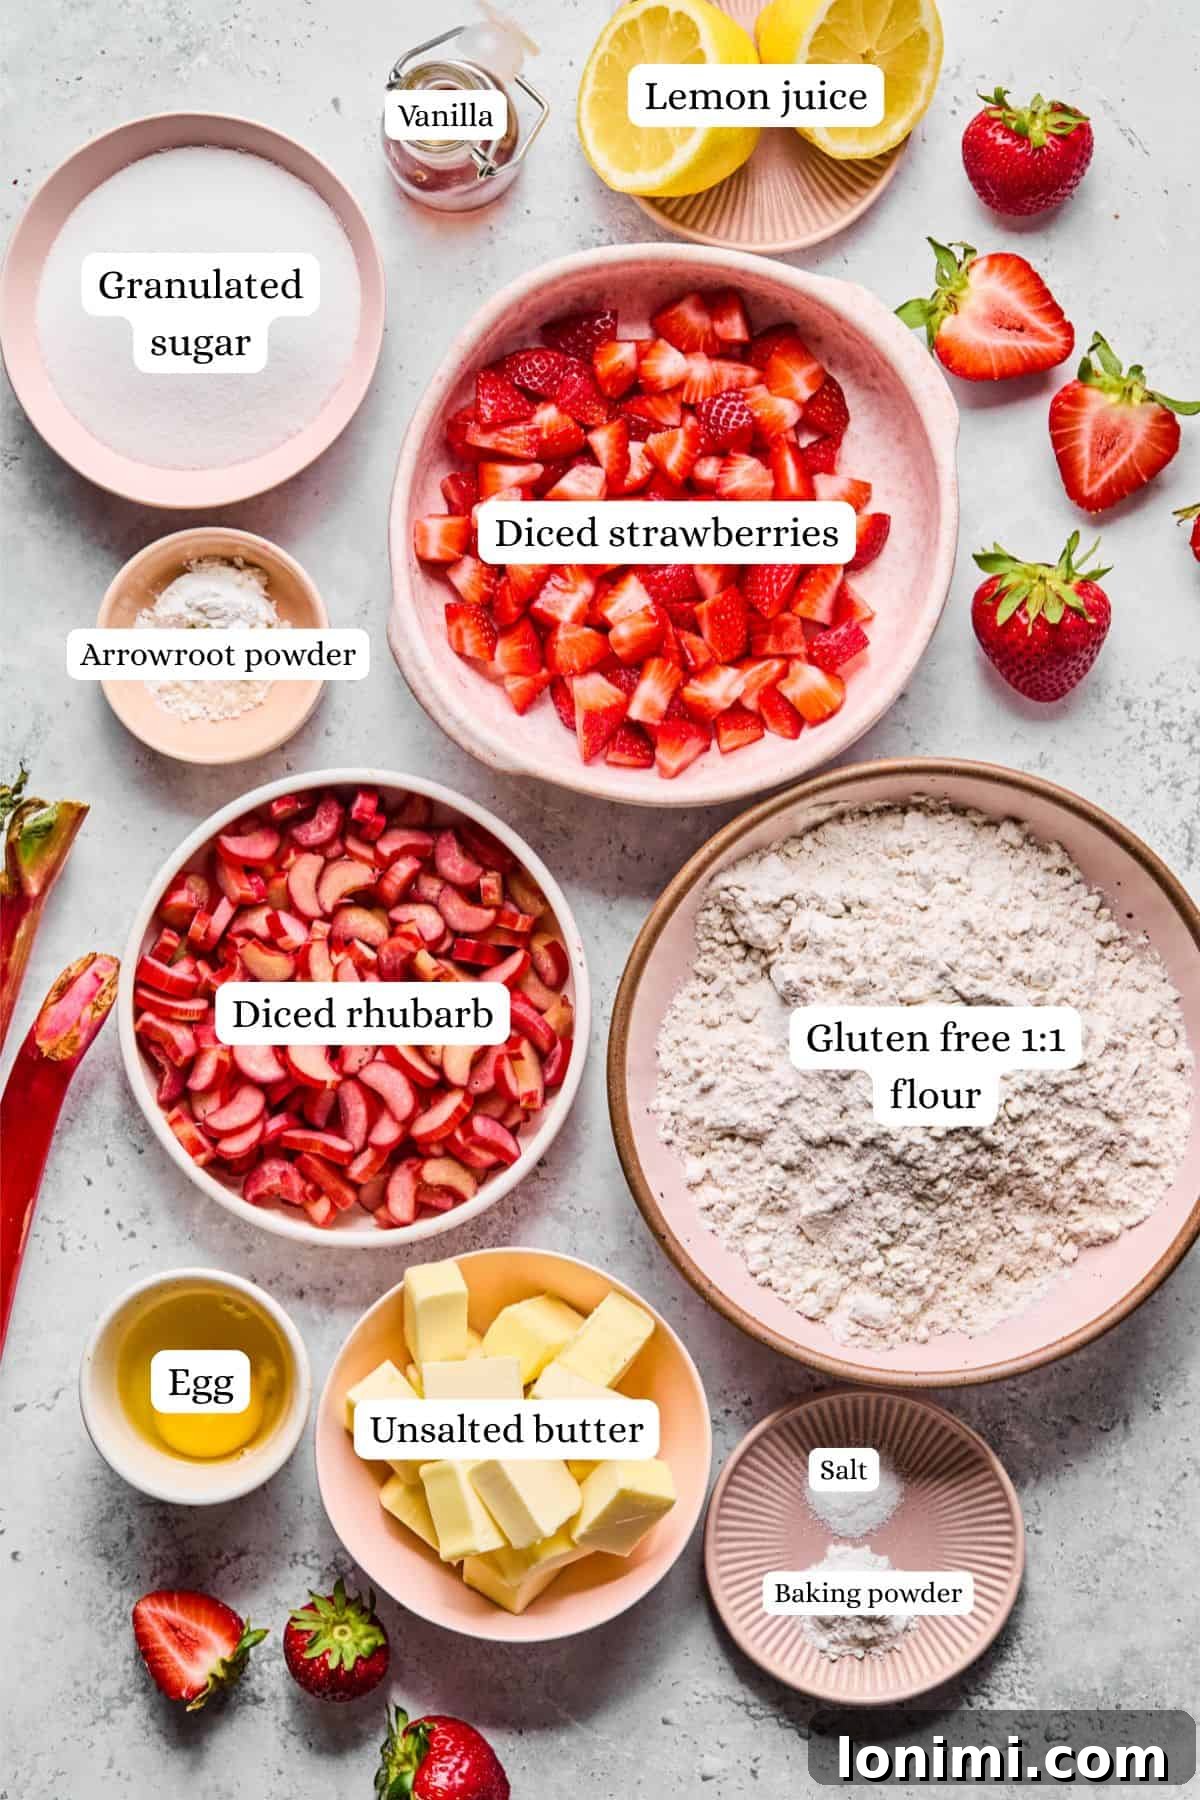
Crafting these delectable gluten-free strawberry rhubarb crumble bars requires a thoughtful selection of ingredients, each playing a crucial role in achieving the perfect balance of flavor and texture. Here’s a closer look at what you’ll need and why:
- Strawberries + Rhubarb: The star of our filling! You can use either fresh or frozen fruit for this recipe. If using frozen, there’s no need to thaw them first; simply toss them with the other filling ingredients. The combination of sweet strawberries and tart rhubarb creates a classic, beautifully balanced flavor profile. The arrowroot powder ensures that the fruit filling becomes wonderfully jammy, preventing it from turning soupy during baking.
- Lemon Juice: A small but mighty ingredient, fresh lemon juice is essential. It brightens the natural flavors of the strawberries and rhubarb, adding a zesty counterpoint to the sweetness and preventing the filling from tasting too flat.
- Arrowroot Powder: This is our preferred gluten-free thickener for the fruit filling. Unlike cornstarch, arrowroot powder provides a clear, glossy finish and sets quickly, ensuring your filling is perfectly firm and sliceable without any cloudy appearance. It’s particularly effective at handling the moisture released by fruits, especially when using frozen varieties.
- Butter: Cold and cubed unsalted butter is critical for creating a tender, flaky crust and a crumbly topping. The cold butter prevents overworking the dough and ensures pockets of steam are released during baking, resulting in a light and crisp texture. For a dairy-free alternative, cold coconut oil works wonderfully; just be sure to chill the mixture slightly longer as detailed in our expert tips.
- Gluten-Free 1:1 Flour Blend: As discussed, a high-quality 1:1 gluten-free flour blend, such as King Arthur’s, is key. These blends are specifically formulated to mimic traditional wheat flour and typically contain xanthan gum, which provides the necessary structure and elasticity for gluten-free baking, preventing a dry or crumbly result.
- Granulated Sugar: Used in both the filling and the crumble, granulated sugar sweetens the tart rhubarb and enhances the sweetness of the strawberries, while also contributing to the golden-brown crust and topping.
- Baking Powder: A leavening agent that gives a slight lift to the crumble, making it tender and airy rather than dense.
- Salt: A pinch of salt is vital for balancing the sweetness and enhancing all the other flavors in both the crust and the filling. Don’t skip it, as it truly makes a difference in the overall taste.
- Egg: The egg acts as a binder in the crumble dough, helping to hold it together and provide structure. It also contributes to the rich flavor and tender texture of the baked bars.
- Vanilla Extract: Pure vanilla extract adds a warm, aromatic depth that complements the fruity flavors, making the entire dessert more inviting and delicious.
How to Master Gluten-Free Strawberry Rhubarb Crumble Bars
Creating these delightful bars is simpler than you might think, and with our detailed steps, you’ll achieve perfect results every time. Follow these instructions carefully to bring your sweet and tart masterpiece to life.
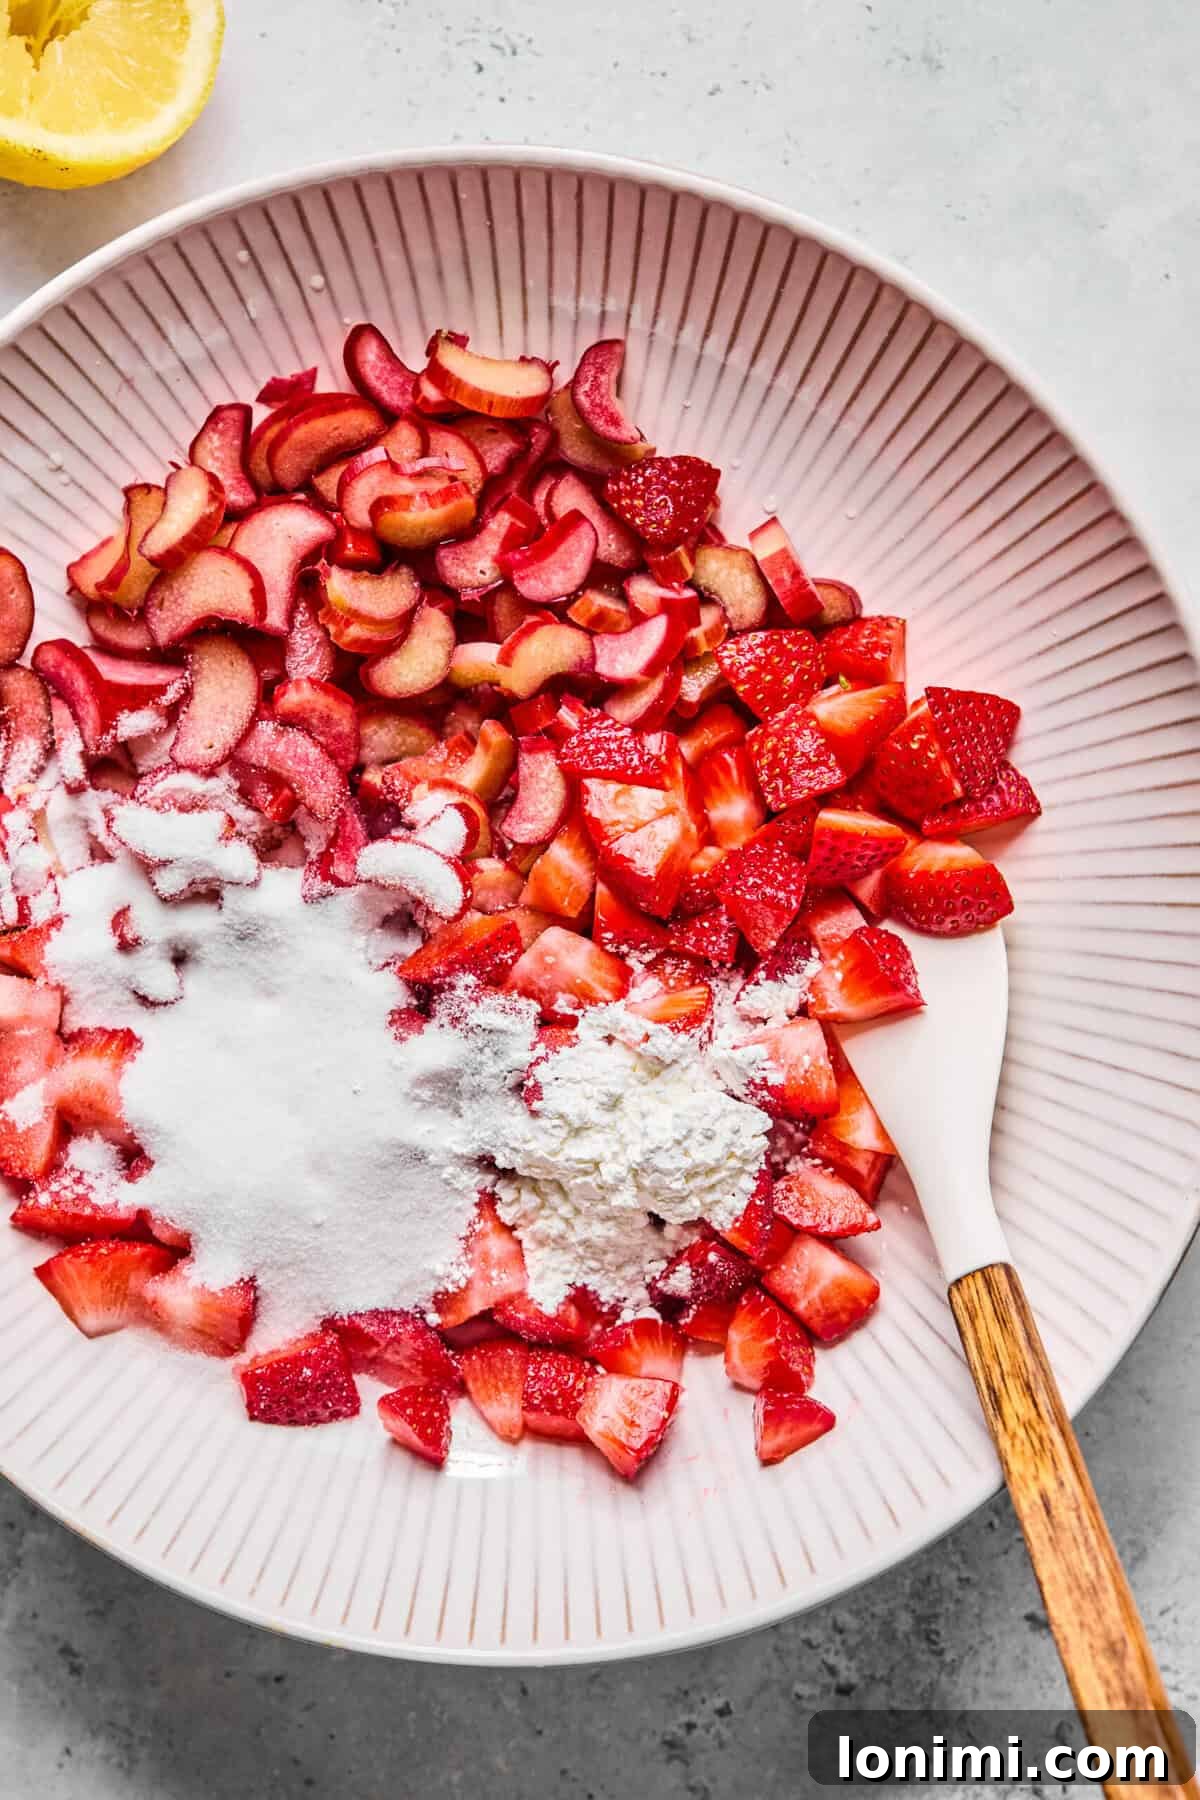
Step 1: Prepare Your Oven and Fruit Filling
Begin by preheating your oven to 375°F (190°C). This ensures your bars start baking immediately upon entering the oven, contributing to that perfect golden crust. Next, prepare your 9×9-inch baking pan by lining it with parchment paper, leaving an overhang on two sides. This simple trick will make lifting the cooled bars out of the pan incredibly easy, preventing sticking and ensuring clean cuts. In a medium bowl, combine your diced strawberries and rhubarb. Add the fresh lemon juice, granulated sugar, and arrowroot powder. Toss gently until all the fruit is evenly coated. The lemon juice brightens the fruit flavors, while the sugar helps draw out the natural juices. The arrowroot powder, our secret weapon, will quickly activate in the heat of the oven to create that irresistible, thick fruit filling. Set this mixture aside while you prepare the crumble.
Step 2: Craft the Crumble Base and Topping
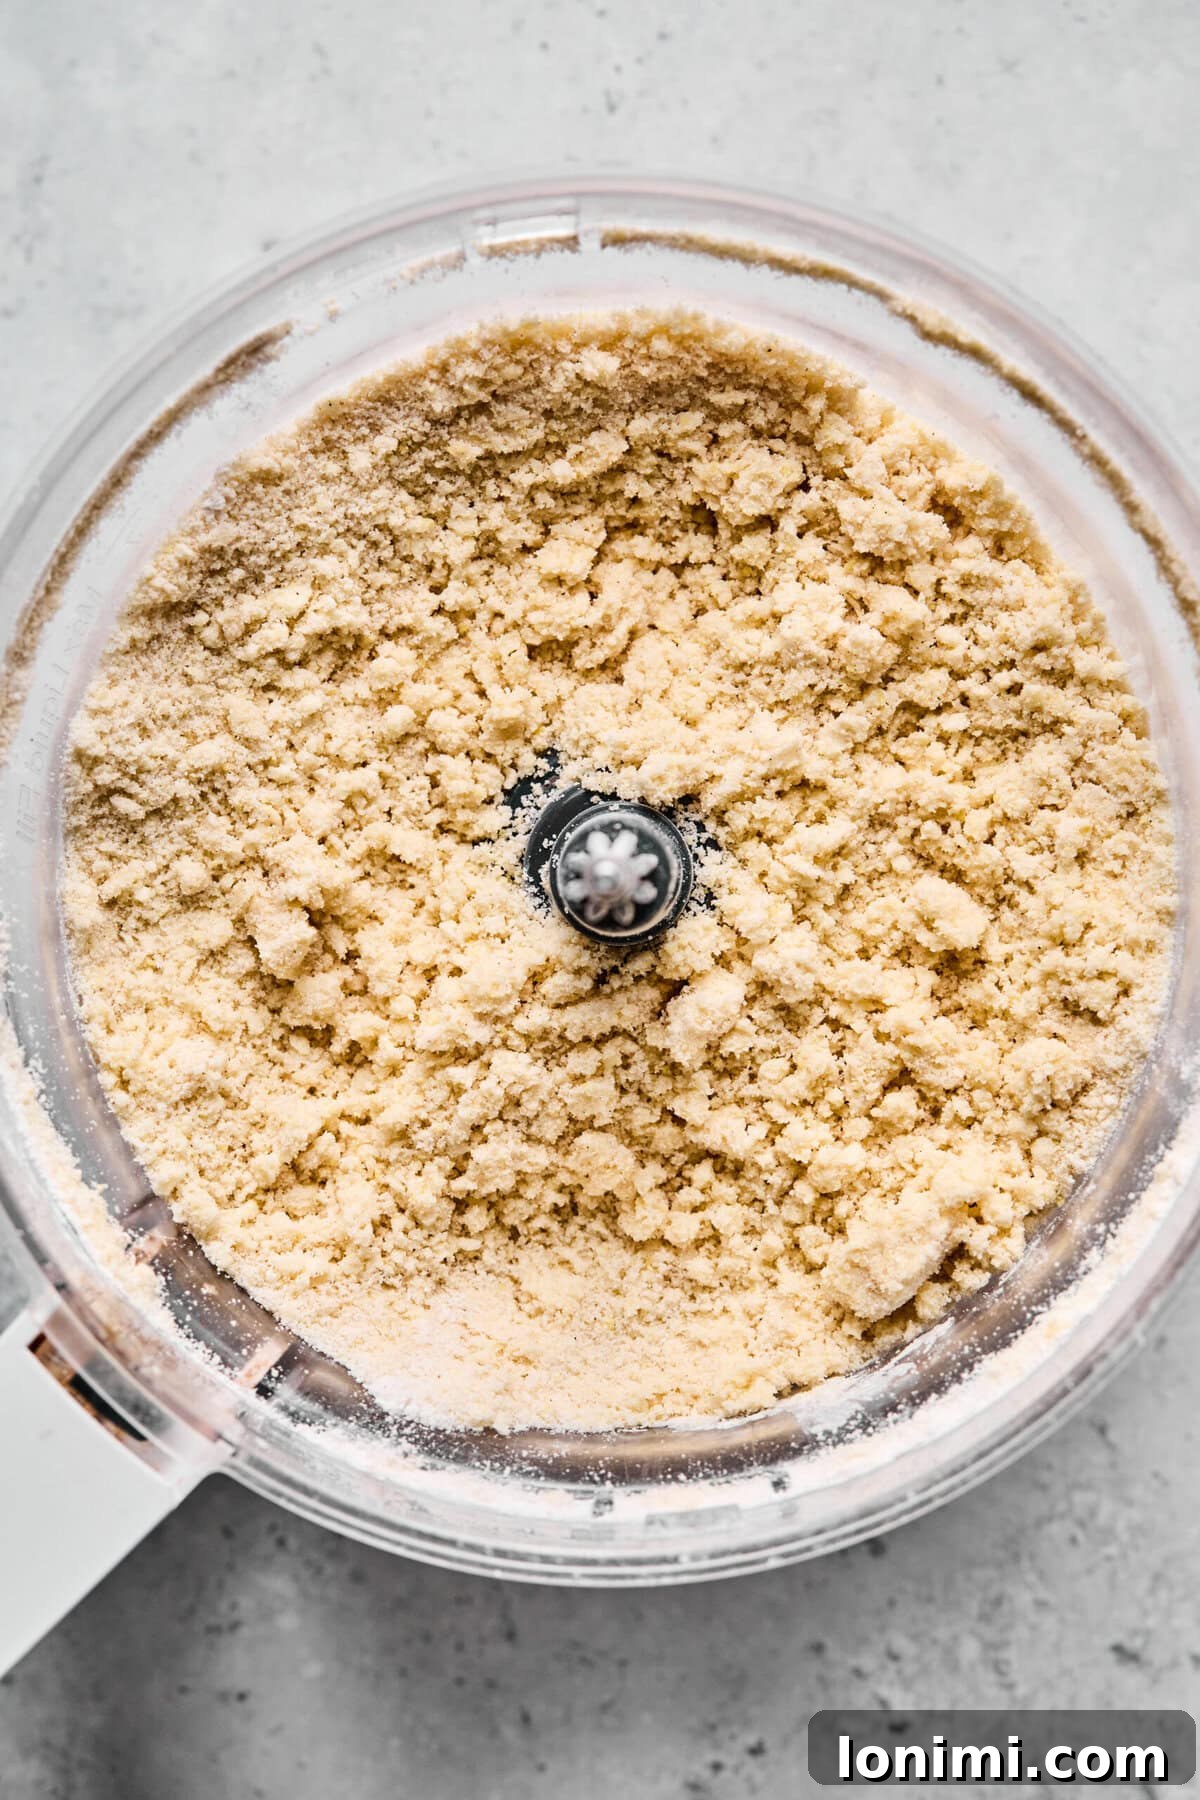
In the bowl of a food processor, combine the gluten-free 1:1 flour blend, granulated sugar, baking powder, and salt. Pulse a few times to ensure these dry ingredients are well combined. Then, add the cold, cubed unsalted butter and the egg. Pulse the mixture in short bursts until the butter is incorporated and the mixture resembles coarse, pea-sized crumbs. It’s important not to overmix; you want a clumpy, somewhat shaggy dough, not a smooth paste. Overmixing can lead to a tough crust. The cold butter is crucial here, as it will create pockets of steam during baking, contributing to a wonderfully flaky and crisp texture. Once combined, your crumble dough is ready for assembly.
Step 3: Form the Sturdy Crust
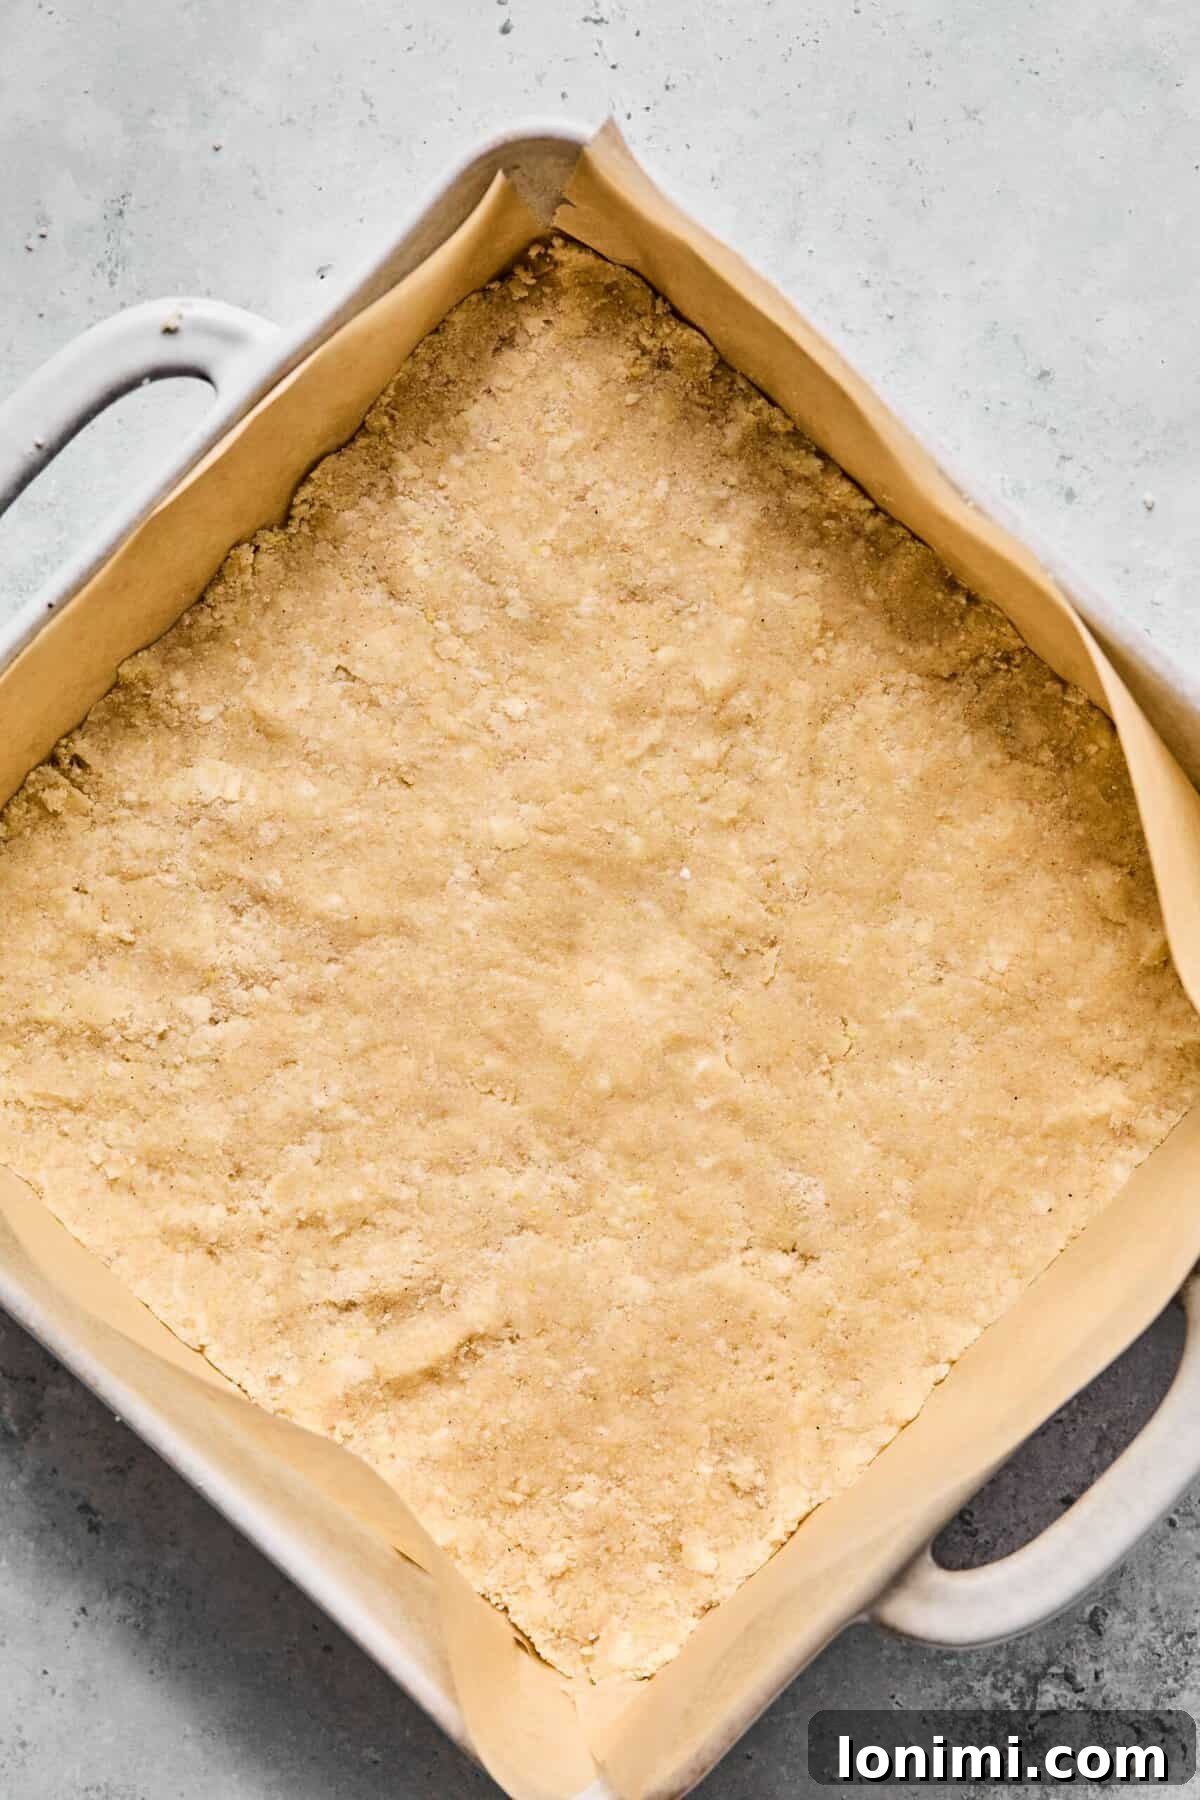
Take half of the prepared crumble dough mixture and transfer it to your parchment-lined 9×9-inch baking pan. Using your fingertips or the flat bottom of a glass, firmly and evenly press the dough into the bottom of the pan. This will create a compact, sturdy crust that forms the delicious foundation for your crumble bars. Ensure the crust is uniform in thickness across the entire bottom of the pan to promote even baking and prevent any thin spots that might become too crisp or crumbly.
Step 4: Layer on the Vibrant Fruit Filling
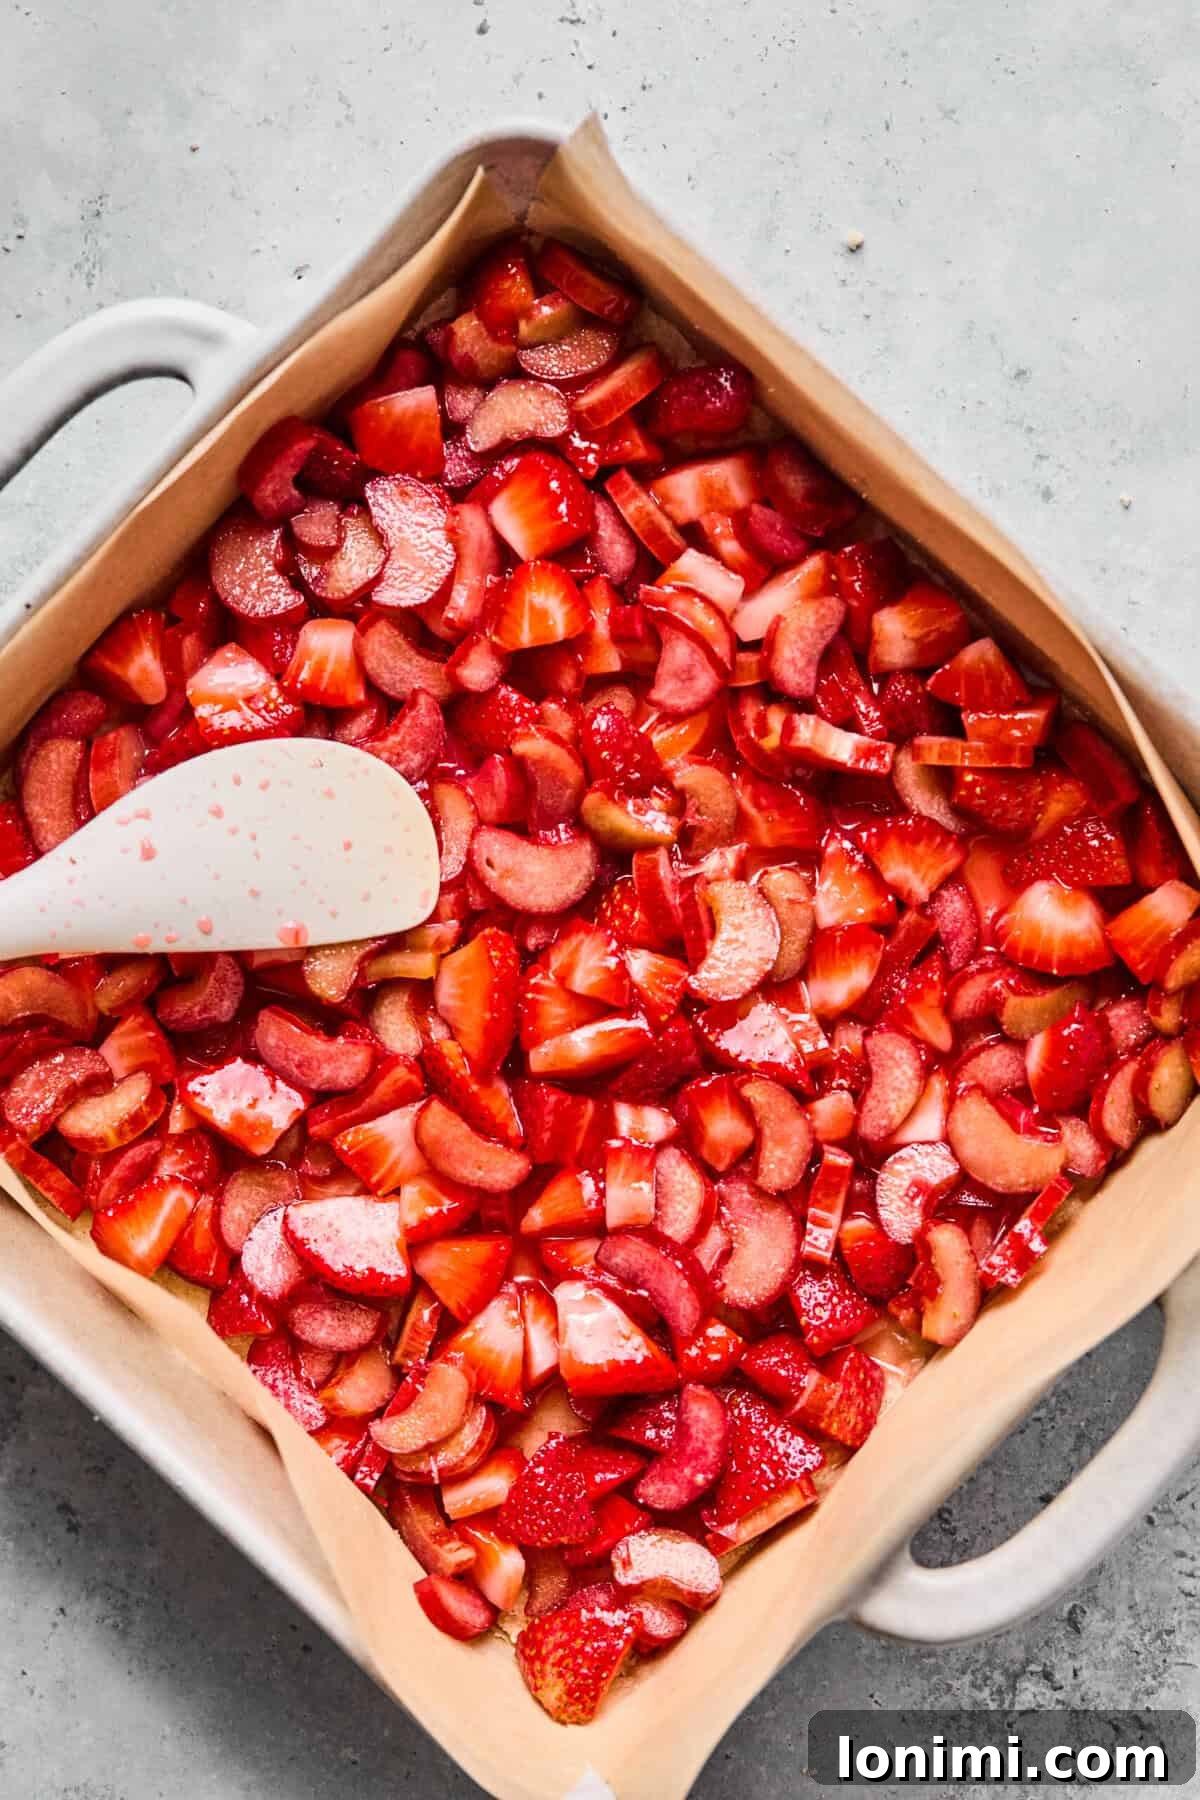
Carefully spoon the prepared strawberry rhubarb fruit filling evenly over the pressed crust. Use a spatula to gently spread the fruit mixture from edge to edge, ensuring every bite of your bar is packed with juicy fruit. Lightly press the fruit down so that the pieces lie relatively flat. This helps create a more uniform layer and ensures even cooking of the fruit, preventing any dry spots or overly thick areas that might not cook through properly. The vibrant colors of the fruit will peek through, promising a burst of flavor in every serving.
Step 5: Add the Crumble Topping and Bake to Golden Perfection
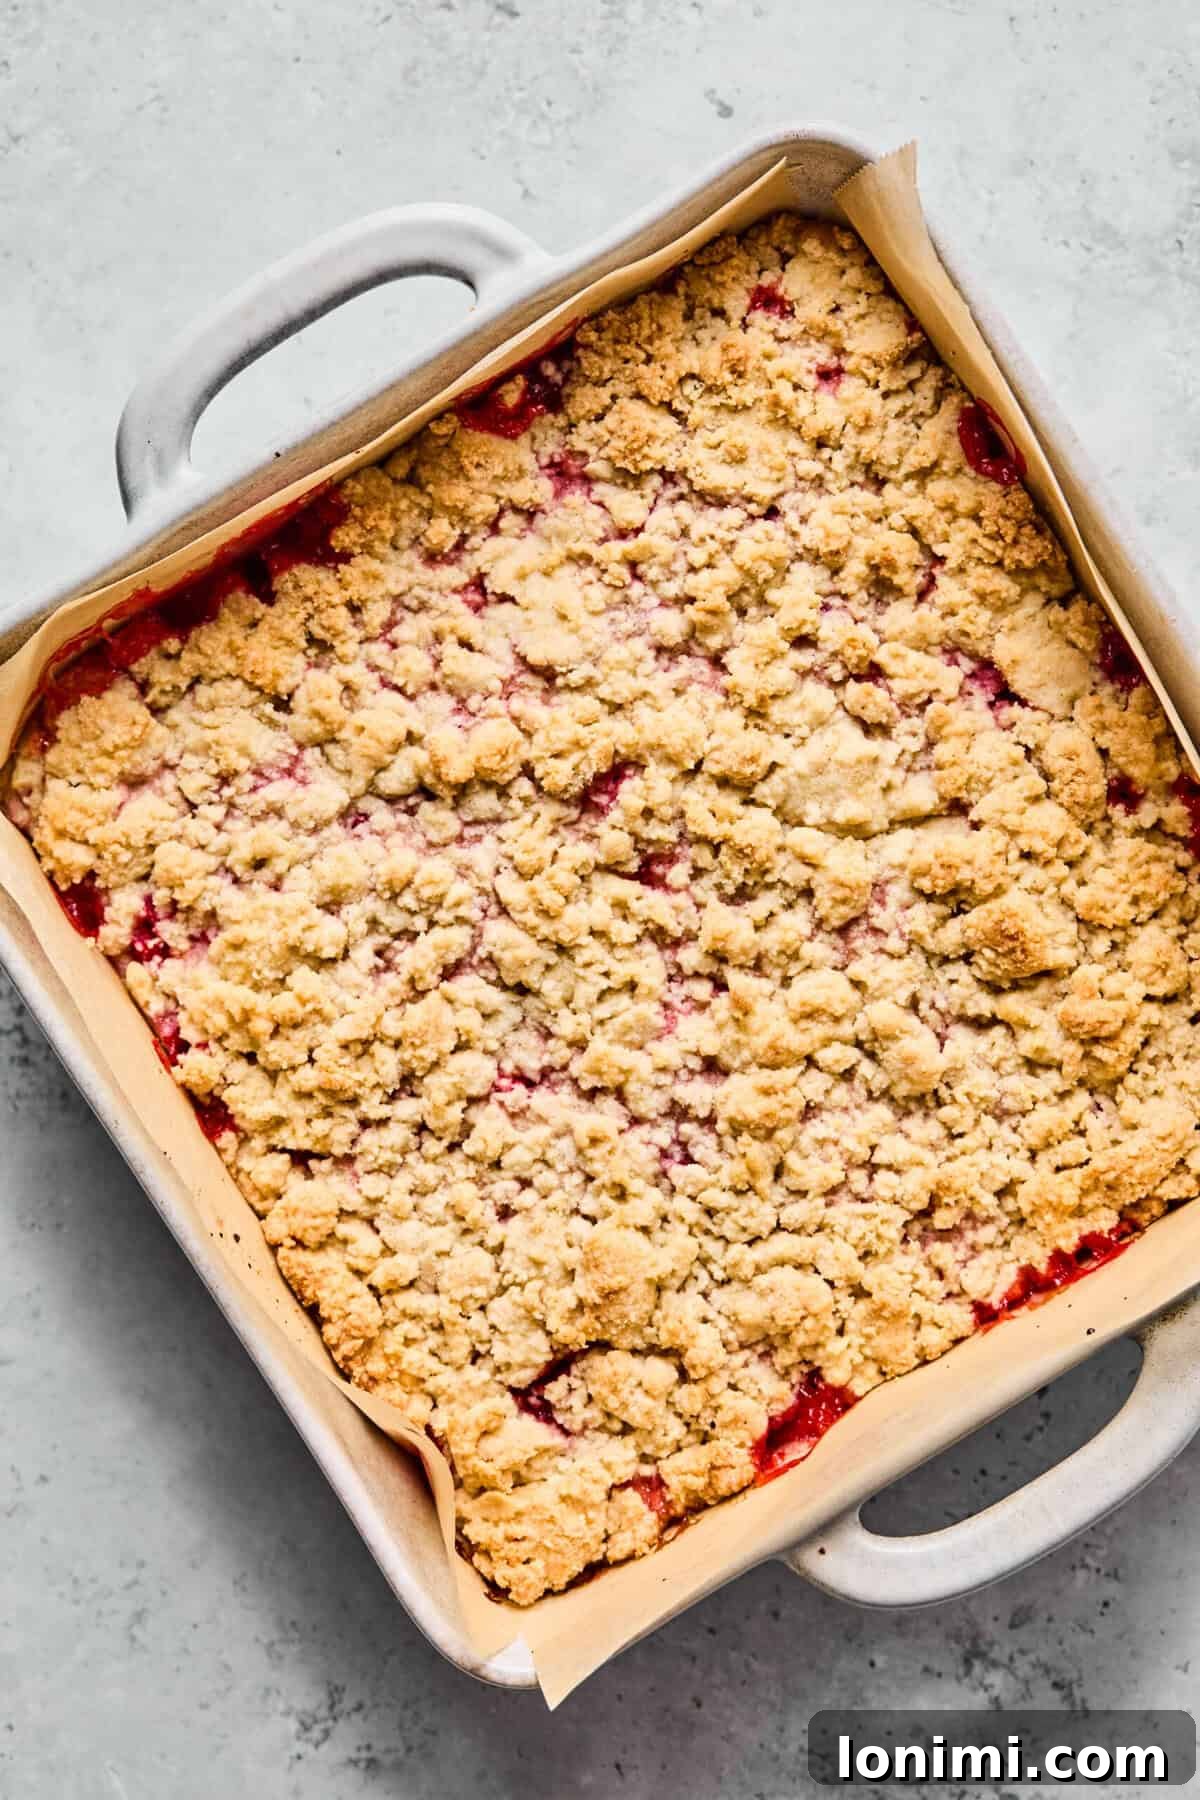
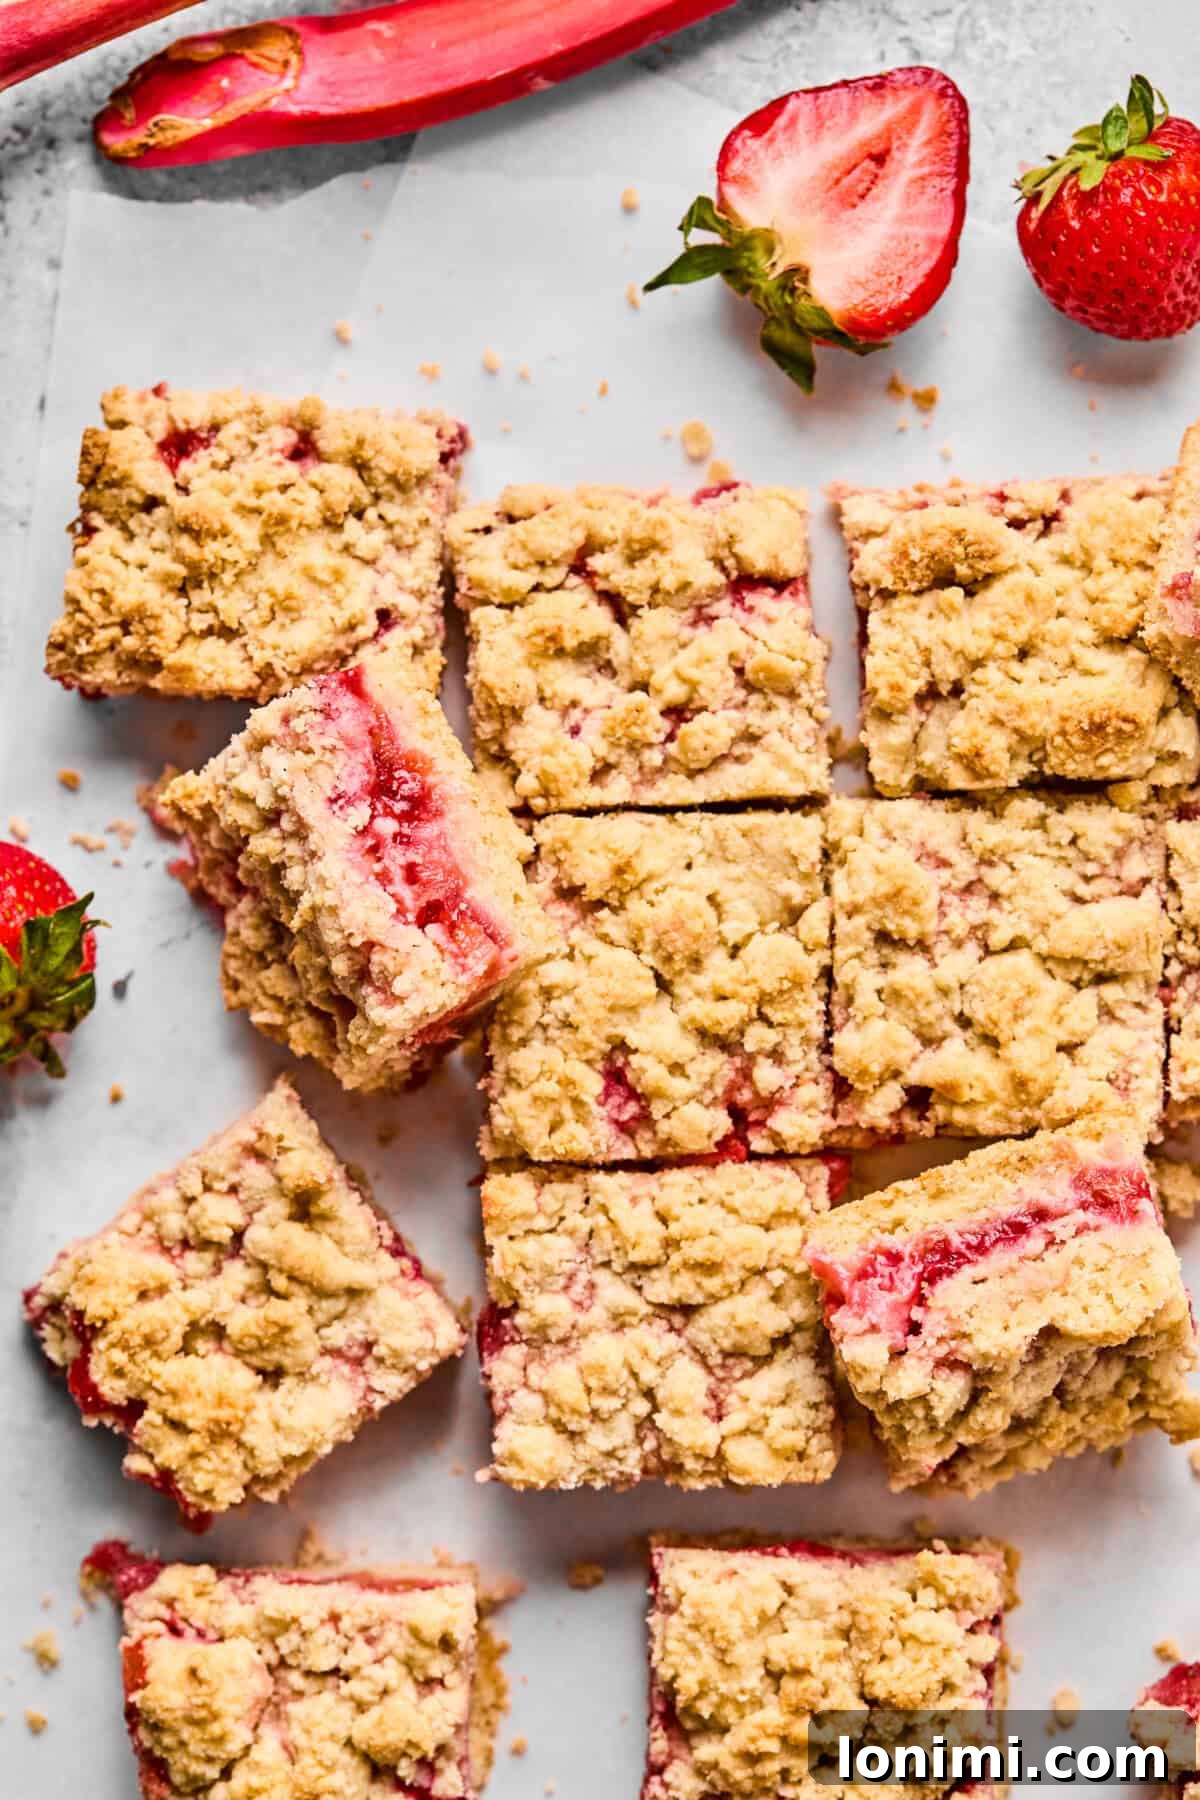
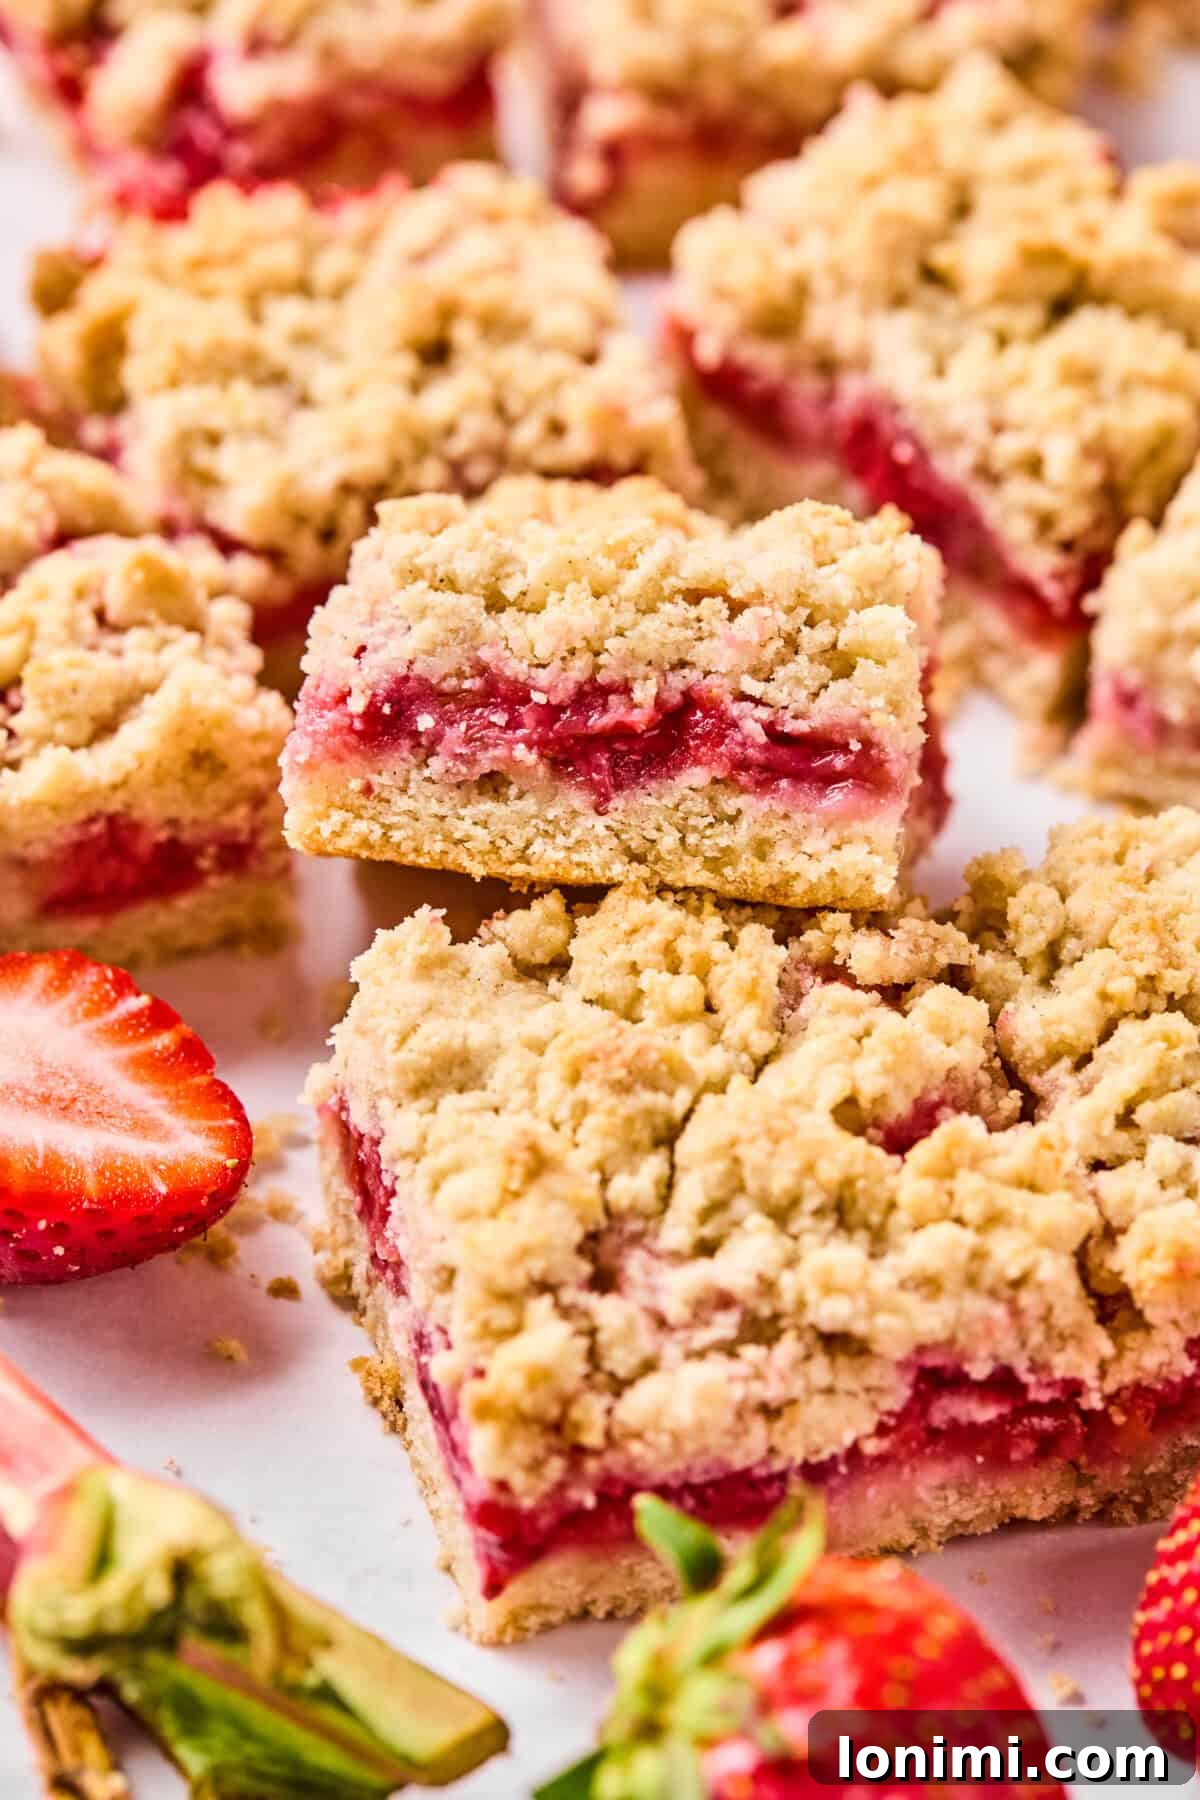
Now for the grand finale: the crumble topping! Using your hands, crumble the remaining dough mixture evenly over the fruit layer. Distribute the crumbs generously, but don’t feel the need to cover every single inch; leaving some small gaps will allow steam to escape during baking, preventing sogginess and giving glimpses of the bubbling fruit below. Place the pan in your preheated oven and bake for 35-40 minutes. The bars are done when the topping is beautifully golden brown and the fruit filling is visibly bubbling around the edges. This bubbling indicates the fruit juices have thickened properly. Once baked, remove the pan from the oven and, here’s the crucial part: allow the bars to cool completely in the pan on a wire rack. This cooling period is absolutely essential for the filling to fully set and for the bars to firm up, making them easy to slice cleanly into 16 perfect squares. Resist the urge to cut them warm, no matter how tempting!
Crumble Topping & Texture Troubleshooting
Even experienced bakers sometimes encounter minor issues. Here are quick fixes to ensure your crumble bars always have the perfect topping and filling texture:
- Pale topping? If your crumble topping isn’t as golden brown as you’d like after baking, don’t worry! After the initial baking time, carefully place the finished pan under the broiler for just 60 seconds. Keep a close eye on it, as broilers can quickly go from golden to burnt. This brief broiling will add that desirable deep golden color and extra crispness.
- Too much juice? If you notice your fruit filling seems excessively wet or soupy, particularly when using frozen fruit which tends to release more moisture, you can easily adjust. For future batches, increase the arrowroot powder to 1 ½ tablespoons. This extra thickening agent will absorb more of the excess liquid, ensuring a perfectly jammy and set filling that holds its shape beautifully.
- Burning crumbs? If you find the crumble topping browning too quickly at the 25-minute mark of baking, simply tent the pan loosely with aluminum foil. This will shield the topping from direct heat, preventing it from burning while allowing the fruit filling underneath to continue cooking and bubbling to perfection.
Expert Tips for Ultimate Crumble Bar Success
Take your gluten-free strawberry rhubarb crumble bars from great to extraordinary with these expert tips, covering dairy-free alternatives and convenient make-ahead options.
- Dairy-Free Transformation: Making these bars dairy-free is incredibly simple! Just replace the unsalted butter with an equal amount of cold coconut oil, cut into small chunks. To ensure the crumble maintains its clumpy, buttery texture, we recommend an extra chilling step: once you’ve pulsed the ingredients with the coconut oil in the food processor, chill the crumble mixture in the refrigerator for about ten minutes before forming the crust and topping. This additional chill helps the coconut oil firm up, making it easier to work with and ensuring the topping crisps up just like its dairy counterpart.
- Smart Make-Ahead & Freezing Strategies: These crumble bars are fantastic for meal prepping or making ahead for future enjoyment. Once baked, allow them to cool completely, then slice them into individual bars. For storage, arrange the bars in a single layer on a sheet pan and freeze them until solid. Once frozen, transfer the bars to an airtight container or freezer bag, layering them with parchment paper in between to prevent sticking. They can be stored in the freezer for up to three months. When you’re ready to enjoy, simply thaw them at room temperature for about 30 minutes. This method helps preserve their bakery-style edges and fresh taste, making them perfect for unexpected guests or a quick dessert anytime.
- Serving Suggestions: While these bars are absolutely delightful on their own, consider serving them warm with a scoop of vanilla bean ice cream (dairy or non-dairy), a dollop of fresh whipped cream, or a drizzle of homemade caramel sauce for an extra touch of decadence.
Frequently Asked Questions About Strawberry Rhubarb Crumble Bars
Here are answers to some common questions you might have while baking these delicious gluten-free strawberry rhubarb crumble bars.
Yes, you absolutely can! While the strawberry-rhubarb combination offers a unique sweet-tart balance, feel free to adapt. If you prefer an all-strawberry bar, simply use 3 cups of diced berries. The amount of arrowroot powder should remain the same to ensure adequate thickening, as strawberries release a good amount of juice. If you opt for all rhubarb, you might want to slightly increase the sugar by 1-2 tablespoons to balance its intense tartness. You could also try other fruit combinations like apples and berries!
Botanically speaking, rhubarb is classified as a vegetable, as it’s the stalks of the plant that are consumed. However, due to its common culinary use in sweet dishes, pies, and desserts, U.S. law has classified it as a fruit for trade purposes. Regardless of its official classification, its tart flavor pairs perfectly with sweet strawberries in this delicious dessert!
A gummy texture in your crumble typically results from over-mixing the dough. When you overmix, you develop excess starch in the gluten-free flour blend, even though it contains no gluten. For the best, tender crumble, make sure to pulse the ingredients in the food processor only until they are just combined and resemble pea-sized crumbs. Stop as soon as you reach this texture to avoid a dense, gummy outcome.
These gluten-free strawberry rhubarb crumble bars keep exceptionally well! Store any leftovers in an airtight container in the refrigerator for up to five days. For longer storage, you can freeze them for up to three months, as detailed in our ‘Make-Ahead Tips’ section. Be sure they are completely cooled before storing to prevent condensation.
Absolutely! These crumble bars are an ideal make-ahead dessert. You can bake them entirely, let them cool, slice them, and then store them in the refrigerator for a few days before your event. For longer storage, freezing is an excellent option, allowing you to prepare them weeks in advance. Just remember to thaw them properly at room temperature before serving for the best texture and flavor.
More Delicious Fruit-Filled Desserts to Try
If you’re anything like us, you can never have enough fruit-filled desserts! Here are a few more wholesome and equally delightful recipes to satisfy your sweet cravings:
- Easy Gluten-Free Strawberry Crumble: A classic comfort dessert with a crisp topping and bubbling strawberry filling.
- Grain-Free Apple Crisp: Warm, spiced apples topped with a hearty, grain-free crumble – perfect for cozy evenings.
- Peach Berry Crisp Skillet: A vibrant combination of sweet peaches and mixed berries baked in a convenient skillet for easy serving.
- Gluten-Free Strawberry Angel Food Cake Trifle: A stunning, layered dessert featuring fluffy angel food cake, fresh strawberries, and creamy goodness.
Love this recipe? Please leave a 5-star 🌟🌟🌟🌟🌟 rating in the recipe card below & a review in the comment section. Or, follow me on Facebook, Pinterest or Instagram today!
Print Recipe
Gluten Free Strawberry Rhubarb Crumble Bars
By: Mary Smith
Prep: 10 mins | Cook: 35 mins | Total: 45 mins | Yield: 16 bars
Equipment
- 9×9 baking dish
- food processor
Ingredients
Filling
- 1 ½ cups diced strawberries
- 1 ½ cups diced rhubarb, sliced into ¼ inch thick
- 1 tbsp fresh lemon juice
- ⅓ cup granulated sugar
- 1 tbsp arrowroot powder
Crust & Crumble Topping
- 2 cups King Arthur Gluten Free 1:1 Flour
- ⅔ cup granulated sugar
- 1 tsp baking powder
- ¼ tsp salt
- ¾ cup unsalted butter, cut into chunks
- 1 egg
- 1 tsp vanilla extract
Instructions
- Preheat oven to 375°F (190°C). Prepare a 9×9-inch baking pan by spraying it lightly or lining it with parchment paper, leaving an overhang on two sides for easy removal.
- In a medium bowl, combine the diced strawberries and rhubarb, fresh lemon juice, granulated sugar, and arrowroot powder. Stir thoroughly to ensure all fruit is evenly coated. Set this mixture aside to allow the flavors to meld while you prepare the crumble.
- In the bowl of a food processor, combine the gluten-free 1:1 flour, granulated sugar, baking powder, and salt. Pulse briefly to combine. Add the cold, cubed unsalted butter and the egg. Pulse until the mixture forms coarse, pea-sized crumbs and a shaggy dough starts to come together. Be careful not to overmix to prevent a gummy texture.
- Press half of the prepared crumble dough firmly into the bottom of the lined 9×9-inch pan to create an even, compact crust. Use your fingertips or the back of a spoon to ensure it’s tightly packed.
- Evenly spoon the strawberry rhubarb filling over the pressed crust. Gently spread it out with a spatula, pressing down slightly so the fruit pieces lie flat and form a uniform layer across the crust.
- Using your hands, crumble the remaining dough mixture evenly over the fruit filling to form the top crumble layer. Distribute the crumbs generously across the surface.
- Bake in the preheated oven for 35-40 minutes, or until the crumble topping is golden brown and the fruit filling is visibly bubbling around the edges.
- Remove the pan from the oven and allow the bars to cool completely on a wire rack before attempting to cut them. This cooling period is crucial for the filling to set and the bars to firm up, ensuring clean, perfect slices. Once cooled, carefully lift the bars out using the parchment paper overhang and cut into 16 squares. Enjoy!
Notes
- Dairy-Free: To make these bars dairy-free, simply replace the unsalted butter with an equal amount of cold coconut oil, cut into chunks. For the best texture, chill the crumble mixture for ten minutes after pulsing in the food processor and before pressing into the pan. This extra chill helps the coconut oil firm up, ensuring a crisp topping similar to butter.
- Make Ahead & Freezing Tips: These bars are excellent for making ahead. Once baked and completely cooled, slice them into squares. Freeze the bars on a sheet pan until solid, then transfer them to an airtight container or freezer bag, separated by parchment paper, for up to three months. Thaw at room temperature for about 30 minutes before serving for perfect bakery-style edges and flavor.
Nutrition Information
Serving: 1 bar |
Calories: 188 kcal |
Carbohydrates: 26g |
Protein: 2g |
Fat: 10g |
Saturated Fat: 6g |
Polyunsaturated Fat: 0.5g |
Monounsaturated Fat: 2g |
Trans Fat: 0.3g |
Cholesterol: 33mg |
Sodium: 69mg |
Potassium: 62mg |
Fiber: 2g |
Sugar: 14g |
Vitamin A: 294IU |
Vitamin C: 9mg |
Calcium: 41mg |
Iron: 1mg
All nutrition facts are an estimate and automatically calculated. While I fact check them using My Fitness Pal, please note that they may not always be 100% accurate and depend on ingredients used. For the most accurate grams per serving size, weigh your total yield and divide by the number of servings.